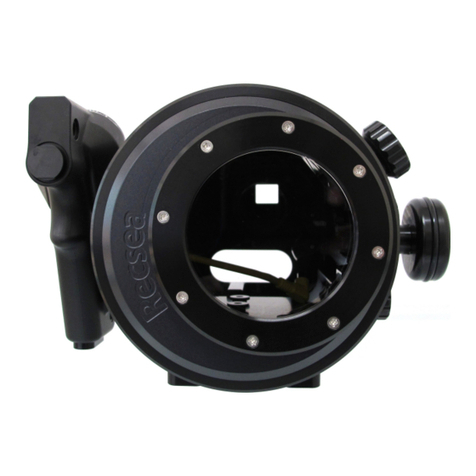
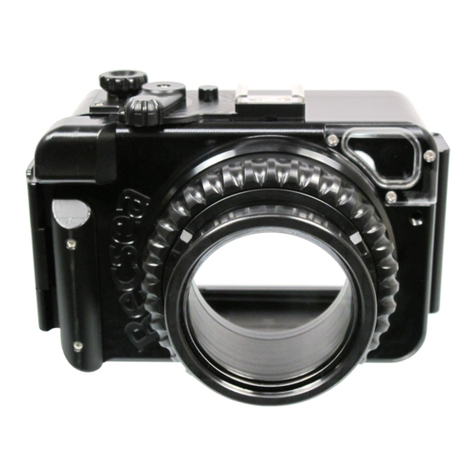
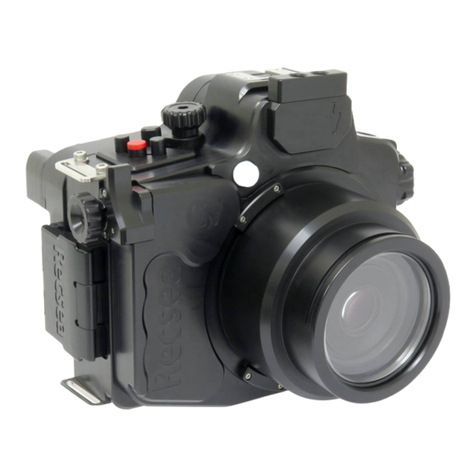
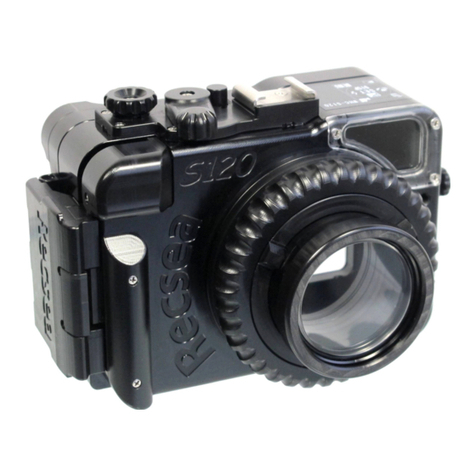
5. Using t e O-Ring Removal Pick, remove O-Rings.
6. Clean O-Ring grooves and contact surfaces using a clean cotton swab. DO NOT clean
ousing or Lens Port wit volatile organic solvents or c emical cleaning agents suc as
t inner, gasoline, and benzine, etc.
7. Perform O-RING GREASING & MAINTENANCE as instructed below before re-installing.
O-RING GREASING & MAINTENANCE ( 1)※
CAUTION! DO NOT use silicone grease ot er t an t at provided by Seatool/Recsea.
CAUTION! T is ousing uses two (2) O-Rings, bot black in color. T e larger O-Ring is for
t e Back Cover, w ile t e smaller O-Ring is for Main Body. Please be sure to install O-Rings
as s own above. Failure to do so will result in water leakage.
1. Using t e O-Ring Removal Pick, remove O-Rings.
2. Clean sand, salt, ot er contaminants and old grease from O-Rings.
3. Clean O-Ring grooves and O-Ring contact surfaces using a clean cotton swab.
4. Visually and p ysically c eck O-Ring by running it t roug finger tips, feeling for cuts,
cracks or any ot er defects t at may cause leakage. Suc defects will cause water
leakage, so be sure to replace t e O-Ring. Be careful not to stretc or pull t e O-Ring too
muc .
5. Squeeze a rice grain sized bead of silicone grease on your t umb and forefinger. Taking
care not to pull or stretc t e O-Rings too muc , uniformly spread grease on O-Ring. Too
little grease may cause t e O-Ring to twist in t e groove, possibly causing water leakage.
6. Place O-Ring in t e appropriate O-Ring groove, making sure t at it is uniform, not twisted
or bulging out, possibly causing water leakage. W en closing back cover, visually c eck
O-Ring surfaces, tracing a finger over t e to making sure no air, lint or ot er
contaminants are attac ed.
IMPORTANT NOTES:
※W en ousing is not used for long periods, remove O-Rings and place in separate plastic
bags to keep t em free of dust and ot er contaminants and store in a place out of direct
sunlig t. Please also be careful of prolonged exposure to direct sunlig t during use. T e
O-Rings and ousing may become deformed, causing water leakage.
※After extended periods of non-use, soak closed empty ousing in lukewarm for alf a day.
Manipulate all buttons and dials several times. Using a soft, dry clot wipe away water.
CAUTION!
※T e O-Rings are an essential part of waterproofing for t is ousing. Not properly greasing
t e O-Rings as directed may cause t e O-Rings to twist in t e O-Ring grooves, possibly
causing water leakage.
※Always perform t e above O-Ring, O-Ring groove and O-Ring surface maintenance and
greasing every time you open/close t e ousing.
5

