manuals.online logo
Brands
  1. Home
  2. •
  3. Brands
  4. •
  5. RH Teen
  6. •
  7. Indoor Furnishing
  8. •
  9. RH Teen COLBIN BUNK BED - TWIN OVER TWIN User manual

RH Teen COLBIN BUNK BED - TWIN OVER TWIN User manual

Made in Vietnam
Distributed in the U.S.A. by:
Restoration Hardware Baby & Child
11640 Harrel St. Suite B
Mira Loma, CA 91752
www.rhbabyandchild.com
Distributed in Canada by:
Restoration Hardware Canada, Inc.
1500-1055 West Georgia Street
Vancouver, British Columbia V6E4N7
All Restoration Hardware Bunk Beds are designed to meet the highest safety
standards and comply with all U.S. and Canadian Bunk Beds regulations.
COLBIN BUNK BED - TWIN OVER TWIN
CUSTOMER SERVICE
If you are missing parts or have any questions about this product, contact us first. You can also order parts by writing to the address above. Include the
product model number, color, and a brief description of the part.
Call 1-800-762-1751.
CARE AND CLEANING
DO NOT scratch or chip the finish. DO NOT use abrasive chemicals for cleaning. Dust often using a clean, soft, dry cloth. Blot spills immediately and wipe
with a clean damp cloth. If the crib is to be stored, store in a cool dry place and carefully package all original hardware to protect from loss.
TOOLS AND INSTALLATION
Tools Necessary: Allen Key (included)
Wrench (included)
Screwdriver (not included)
Note: It may be easier to assemble product with two people.
NOTE: When inserting bolts, turn clockwise until tight. Then loosen 12- 34of a turn. After bunks is
completely assembled, return to each bolt and tighten. Use wax or soap on all bolts to facilitate assembly.
Page 1 of 12
IMPORTANT SAFETY INFORMATION FOR BUNK BED
WARNING
1. Follow the information on the WARNINGS appearing on the
upper bunk end structure and on the carton.
2. Always use the specified size mattress, mattress support, or
both to help prevent the likelihood of entrapment or falls.
3. Surface of mattress must be at least 5 inches below the
upper edge of guardrails on top bunk.
4. Do not allow children under 6 years of age to use the upper
bunk.
5. Prohibit more than one person on upper bunk.
6. Periodically check and ensure that the guardrails, ladder,
and other components are in their proper position, free from
damage, and that all connectors are tight.
7. Do not allow horseplay on or under the bed and prohibit
jumping on the bed.
8. Always use the ladder for entering and leaving the upper
bunk.
9. Do not use substitute parts. Contact Restoration Hardware
for replacement parts.
10.Use of a night light may provide added safety precaution for
a child using the upper bunk.
11.Use guardrails on both sides of the upper bunk.
12.If the bunk bed will be placed next to a wall, the guardrail
that runs the full length of the bed should be placed against
the wall to prevent entrapment between the bed and the
wall.
13. The use of water flotation mattress is prohibited.
14.STRANGULATION HAZARD - Never attach or hang items
to any part of the bunk bed that are not designed for use
with the bed: for example, but not limited to, hooks, belts,
and jump ropes
15.Keep these instructions for future reference.
To help prevent serious or fatal injuries from entrapment of
falls:
·Never allow a child under 6 years on upper bunk.
·Use only mattress which is 74"-75" long and 37 1
2"-38 1
2"
wide on upper bunk.
·Ensure thickness of mattress does not exceed 6" and
mattress is at least 5" below upper edge of guardrails.
·Use guardrails on both sides of upper bunk.
·Prohibit horseplay on or under bed(s).
·Prohibit more than one person on upper bunk.
·Use ladder for entering and leaving upper bunk.
·STRANGULATION HAZARD - Never attach or hang
items to any part of the bunk bed that are not designed
for use with the bed; for example, but not limited to,
hooks, bells, and jump ropes.
DO NOT REMOVE THIS LABEL
COLBIN BUNK BED - TWIN OVER TWIN
Page 2 of 12
PARTS INCLUDED
A [2] HEADBOARD & FOOTBAORD
B [1] STORAGE
C [1] LOWER SIDE RAIL
D [2] UPPER SIDE RAILS
E1 [1] LONG GUARDRAIL
E2 [1] SHORT GUARDRAIL
F1 [3] BED SLATS (LONG)
F2 [3] BED SLATS (SHORT)
G [1] LOWER PLATFORM PANEL
H [2] UPPER PLATFORM PANELS
I [1] LADDER
7
Flat Head Phillips
Screw (M4x20mm) 36 pcs.
8
9
10
NO. ITEM DESCRIPTION QTY.
1Threaded Rod 12 pcs.
2Curved Washer 12 pcs.
3Lock Washer 20 pcs.
4
5Wrench 1 pc.
Hex Nut 12 pcs.
6Allen Bolt
(M8 x 40mm) 8 pcs.
Round Head Screw
(M4x25mm) 38 pcs.
Plain Washer 8 pcs.
Allen Key 1 pc.
11
12
Metal bracket 1 5 pcs.
3 pcs.
Metal bracket 2
COLBIN BUNK BED - TWIN OVER TWIN
COMPONENT IDENTIFICATION AND HARDWARE
Page 3 of 12
A
A
B
E1
F1
G
I
F2
H
H
D
C
E2
ASSEMBLY INSTRUCTIONS:
1. Place the Upper side rails (D) up on a flat surface.
2. Place the Long guardrail (E1) and Short guardrail (E2) on the top of the Upper side rails (D), then attach the Metal bracket 1 (11) and Metal bracket
2 (12) into the side rails and guardrails. Insert screw (10) provided to pass through hole on metal bracket 1 (11) and Metal bracket 2 (12) to the
pre-drill hole on side rails and guardrail. Refer to FIGURE 1 & FIGURE 2.
IMPORTANT
These bed parts can be cumbersome and heavy, therefore the assistance of two or more people is recommended in order to prevent personal injury
and ensure the bed parts are not damaged during the assembly process.
Fig. 3
Fig. 3 Fig. 4
FIGURE 3
FIGURE 4
A
3. Lay the headboard and the footboard (A) on a flat surface.
4. Attach the threaded rods (1) into the fixed nuts in the post of the headboard/footboard by turning them manually. See FIGURE 3 and FIGURE 4.
Fig. 1
Fig. 2
Fig. 1
Fig. 2
E1 E2
D
D
FIGURE 1
10
11
10
12
FIGURE 2
COLBIN BUNK BED - TWIN OVER TWIN
Page 4 of 12
5. Fully remove all the drawers out of the storage (B). Attach the storage to the headboard (A), as per illustration in FIGURE 8. NOTE: SEE DETAIL
ON PAGE 10 TO REMOVE DRAWER.
6. Attach the lower side rail (C) to the headboard as per illustration in FIGURE 9. NOTE: Side panel is exchangeable for ladder placement on either
side.
7. Bring the upper side rail with Guardrail (D&E1) & (D&E2) in upright position and align the threaded rods on the headboard to the corresponding
holes in the end of the upper side rail. Attach the upper side rail to the headboard, as in FIGURE 5, FIGURE 6. Insert screw (10) provided to pass
through hole on metal bracket of upper side rail to the pre-drill hole on headboard, as in FIGURE 7-A, FIGURE 7-B. KEEP HOLDING THIS SIDE
RAIL DURING NEXT STEP.
FIGURE 5 FIGURE 6
FIGURE 7-A
FIGURE 7-B
FIGURE 9
FIGURE 8
Fig. 5
Fig. 7
Fig. 6
Fig. 8
Fig. 9
736
8
234
5
234
5
2
3
4
5
D
10
COLBIN BUNK BED - TWIN OVER TWIN
Page 5 of 12
E1
A
E2
C
B
D
8. Align the threaded rods on the footboard (A) to the corresponding holes at the end of the storage (B), lower side rail (C) and upper side rails with
guardrail (D&E1), (D&E2). Align the locator pins on the end of the storage and the side rails to the corresponding holes in the footboard. Insert the
footboard into the storage and the side rails.
9. Repeat step 5, 6, 7 to attach the storage and the side rails to the footboard. See SKETCH below.
COLBIN BUNK BED - TWIN OVER TWIN
Page 6 of 12
10. Set the bed slats (F1, F2) on the upper bunk and lower bunk. Secure each slat by using screws (9) provided. See FIGURE 10.
11. Place the platform panels (H, G) on the lower bunk and the upper bunk, then fix them with screws (9). See FIGURE 11.
FIGURE 10
FIGURE 11
9
9
COLBIN BUNK BED - TWIN OVER TWIN
Page 7 of 12
F1
F2
H
G
NOTE: For the default setting, the ladder will be attached on the top-left of the side rail near headboard (so the guard rail is pre-attached on the
upper side rail). If you want to attach the ladder on the bottom-left of side rail please unscrew and move the guard rail to the top of side rail.
Re-install the screws and metal bracket to secure the guard rail. See illustration in FIGURE 12 and FIGURE 13.
Fig. 12
Fig. 13
Fig. 13
Fig. 12
Guard rail
Fig. 13
Fig. 13
FIGURE 12
FIGURE 13
COLBIN BUNK BED - TWIN OVER TWIN
Page 8 of 12
12. Hook simultaneously the ladder (I) on the upper side rail an lower side rail. Use screw (10) provided to fix the top and bottom of ladder with side
rail. as per illustration in FIGURE 14 and FIGURE 15.
13. For other optional ladder. Unscrew on metal bracket, ladder metal bracket and move the guard rail to the top of side rail then repeat step on
PAGE 8 for re-install. See FIGURE 14, FIGURE 15. Repeat step 13 to attach the ladder to the bed.
14. Return the drawers to the storage by FOLLOW STEP BY STEP AT PAGE 11, 12. Assembly is complete.
10
FIGURE 14
FIGURE 15
OPTION 2
OPTION 1
COLBIN BUNK BED - TWIN OVER TWIN
Page 9 of 12
Fig. 14
Fig. 15
STEP #1: DRAWER REMOVAL INSTRUCTIONS
FIGURE A
Step #1.2:
Hold the drawer with both your hands. Carefully lift the drawer front up from the front metal pin, then slide drawer forward to remove from back hooks. See
FIGURE B.
UNLOCK
Plastic
peg
FIGURE B Metal pin/
Hole for pin
Step #1.1:
Pull the drawer out. See at bottom side of drawer. Unlock the plastic peg by pulling black plastic peg
on runner out. See FIGURE A.
COLBIN BUNK BED - TWIN OVER TWIN
Page 10 of 12
Step #2.2:
Hold the drawer with both of your hands. carefully lift the drawer front up from the front metal pin, then slide forward to remove from back hooks. See
FIGURE D.
Metal pin/
Hole for pin
Step #2.3:
Lock the drawer to the runner by pushing the black plastic peg on the runner in. See detail FIGURE 5.
FIGURE D
FIGURE E
STEP #2: DRAWER ASSEMBLY INSTRUCTIONS
LOCK
Step #2.1:
Pull the runner on the way out. Put the drawer onto them then hold both the runner with your hands. Lift the drawer up with your
thumbs and push to hook the drawer at end of the runner. See FIGURE C.
Metal hook
FIGURE C
COLBIN BUNK BED - TWIN OVER TWIN
Page 11 of 12
STEP #3: DRAWER HIGH ADJUSTMENT INSTRUCTIONS
FIGURE F
Plastic button
Step #3:
Adjust around gap of drawer by turn plastic button clockwise/counterclock wise direction. See FIGURE F.
COLBIN BUNK BED - TWIN OVER TWIN
Page 12 of 12

Other manuals for COLBIN BUNK BED - TWIN OVER TWIN

1

Other RH Teen Indoor Furnishing manuals

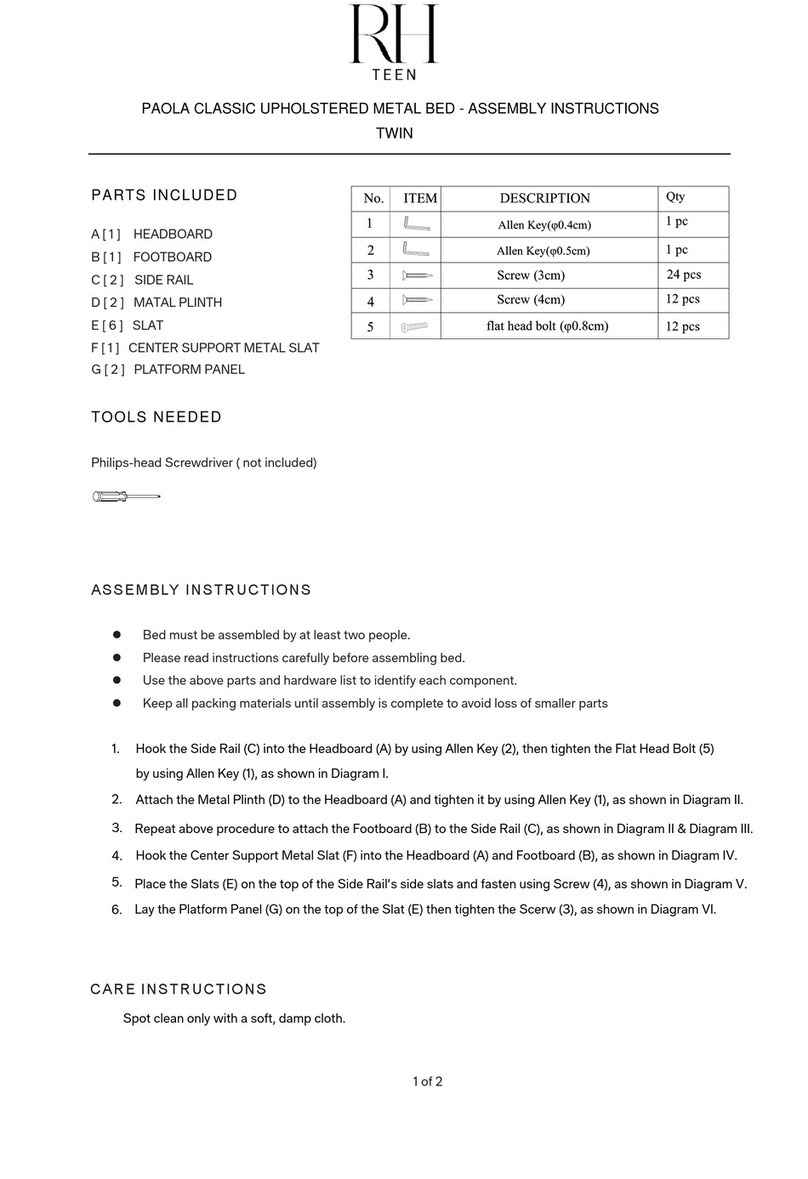
RH Teen MESA TWIN BED User manual

RH Teen

RH Teen MESA TWIN BED User manual

RH Teen LAGUNA FULL QUEEN PLATFORM BED User manual

RH Teen

RH Teen LAGUNA FULL QUEEN PLATFORM BED User manual

RH Teen VALENTINA User manual

RH Teen

RH Teen VALENTINA User manual

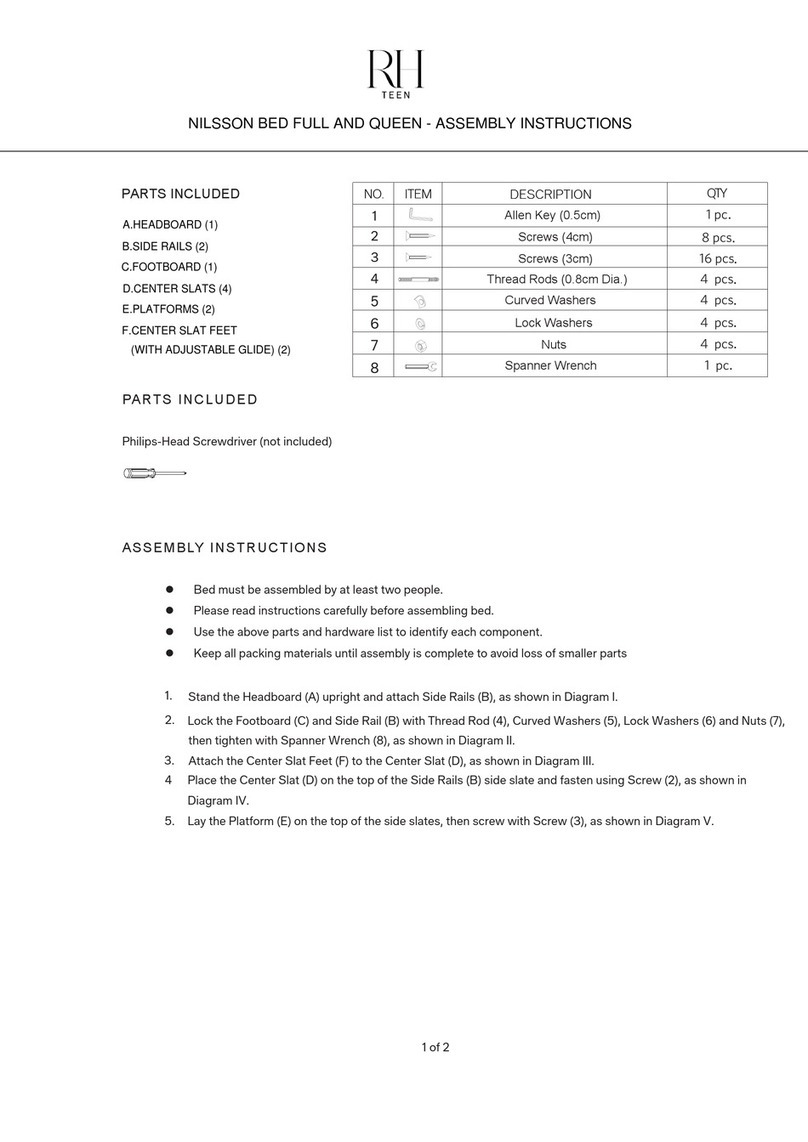
RH Teen NILSSON BED FULL AND QUEEN User manual

RH Teen

RH Teen NILSSON BED FULL AND QUEEN User manual

RH Teen TEXTURED METAL SWING-ARM SCONCE User manual

RH Teen

RH Teen TEXTURED METAL SWING-ARM SCONCE User manual

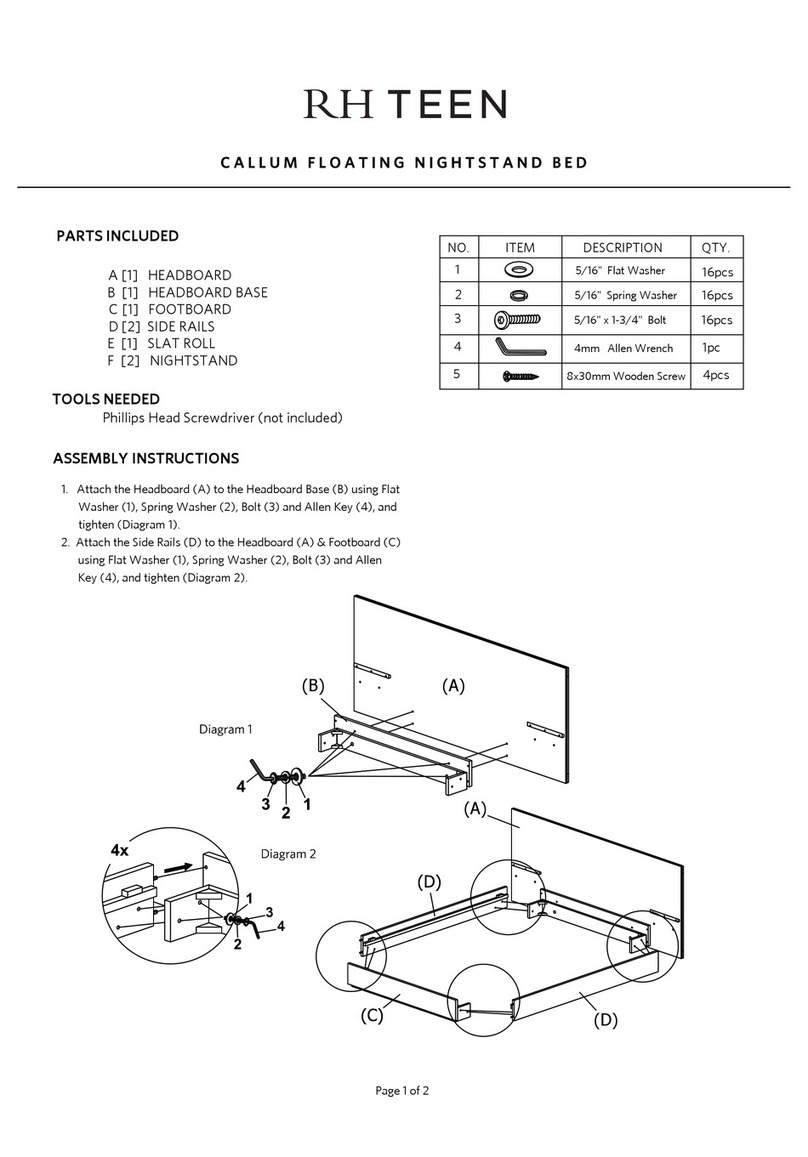
RH Teen JULIET DAYBED TWIN BED User manual

RH Teen

RH Teen JULIET DAYBED TWIN BED User manual

RH Teen PAOLA CLASSIC User manual

RH Teen

RH Teen PAOLA CLASSIC User manual

RH Teen THALIA FULL DAYBED WITH TRUNDLE User manual
RH Teen

RH Teen THALIA FULL DAYBED WITH TRUNDLE User manual

RH Teen 355-80 User manual

RH Teen

RH Teen 355-80 User manual

RH Teen Thalia Trundle Daybed Twin User manual

RH Teen

RH Teen Thalia Trundle Daybed Twin User manual

RH Teen ZOE WRITING DESK User manual

RH Teen

RH Teen ZOE WRITING DESK User manual

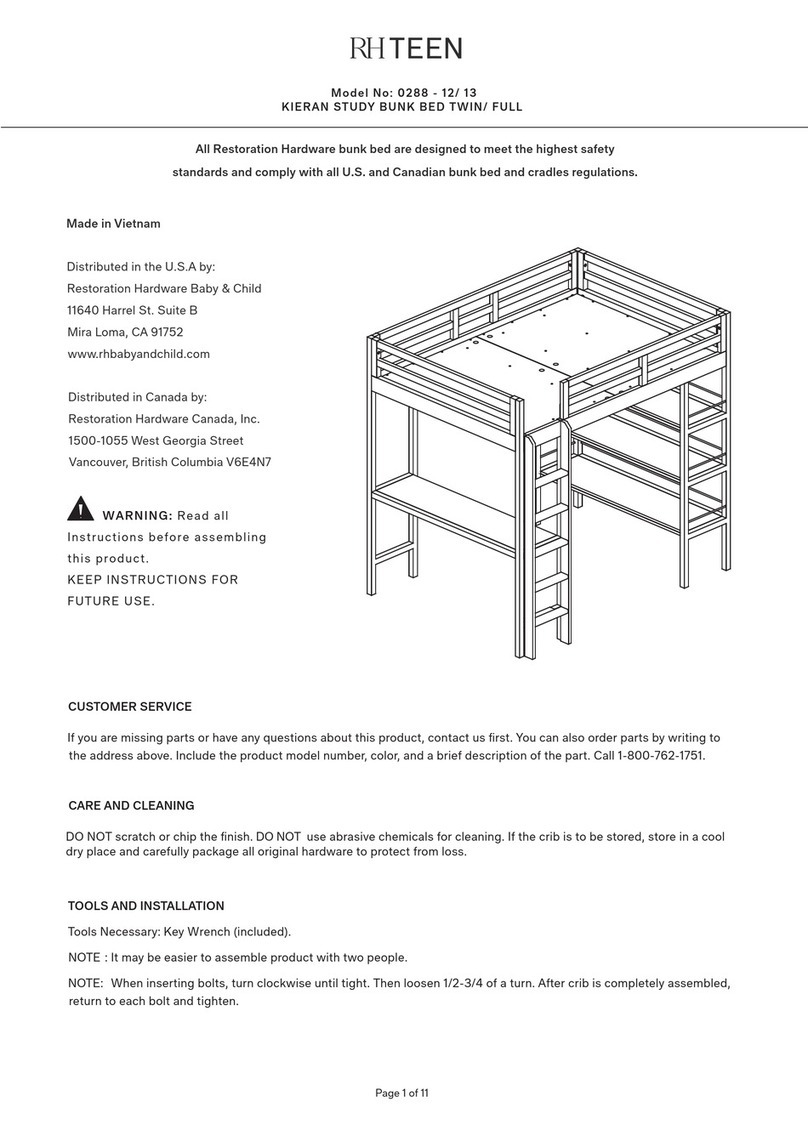
RH Teen KIERAN User manual

RH Teen

RH Teen KIERAN User manual

RH Teen LANDIS QUILTED TWIN BED User manual

RH Teen

RH Teen LANDIS QUILTED TWIN BED User manual

RH Teen NILSSON TWIN BED User manual

RH Teen

RH Teen NILSSON TWIN BED User manual

RH Teen SELBY TUFTED DAYBED User manual

RH Teen

RH Teen SELBY TUFTED DAYBED User manual

RH Teen COLBIN BUNK BED - TWIN OVER TWIN User manual

RH Teen

RH Teen COLBIN BUNK BED - TWIN OVER TWIN User manual

RH Teen NILSSON FULL User manual

RH Teen

RH Teen NILSSON FULL User manual

RH Teen CALLUM LOUNGE OTTOMAN BASE User manual

RH Teen

RH Teen CALLUM LOUNGE OTTOMAN BASE User manual

RH Teen RIDLEY TASK SCONCE User manual

RH Teen

RH Teen RIDLEY TASK SCONCE User manual

RH Teen KENLIE UPHOLSTERED BED FULL User manual

RH Teen

RH Teen KENLIE UPHOLSTERED BED FULL User manual

RH Teen AVALON BUNK BED TWIN OVER TWIN WITH TRUNDLE User manual

RH Teen

RH Teen AVALON BUNK BED TWIN OVER TWIN WITH TRUNDLE User manual

RH Teen FRENCH LIBRARY SINGLE STORAGE DESK User manual

RH Teen

RH Teen FRENCH LIBRARY SINGLE STORAGE DESK User manual

RH Teen CALLUM PLOATING NIGHTSTAND BED User manual

RH Teen

RH Teen CALLUM PLOATING NIGHTSTAND BED User manual

RH Teen COLBIN WIDE BOOKCASE User manual

RH Teen

RH Teen COLBIN WIDE BOOKCASE User manual

Popular Indoor Furnishing manuals by other brands

Costway HW64411 user manual

Costway

Costway HW64411 user manual

Manfroi SPINE Assembly instructions

Manfroi

Manfroi SPINE Assembly instructions

WAHSON HS-020B-330BK user manual

WAHSON

WAHSON HS-020B-330BK user manual

sweeek. ORLANDO XTP150R6 manual

sweeek.

sweeek. ORLANDO XTP150R6 manual

SAFAVIEH COUTURE Lucca KNT4084A manual

SAFAVIEH COUTURE

SAFAVIEH COUTURE Lucca KNT4084A manual

Home Decorators Collection Oxford BF-20429 Assembly instructions

Home Decorators Collection

Home Decorators Collection Oxford BF-20429 Assembly instructions

Blackfire BLOCKSHUTTER EW120 Installation - use - maintenance

Blackfire

Blackfire BLOCKSHUTTER EW120 Installation - use - maintenance

Ameriwood HOME Franklin 5062811COM manual

Ameriwood HOME

Ameriwood HOME Franklin 5062811COM manual

VIPACK Pino PISB1610 Instructions for use

VIPACK

VIPACK Pino PISB1610 Instructions for use

tempo kondela ITALIA IT-79 Assembly instructions

tempo kondela

tempo kondela ITALIA IT-79 Assembly instructions

Blanco BLANCOMILANO 157-011 Specifications

Blanco

Blanco BLANCOMILANO 157-011 Specifications

Argos Venice Sideboard Assembly instructions

Argos

Argos Venice Sideboard Assembly instructions

Cooper Lighting LINEA LV114 Specification sheet

Cooper Lighting

Cooper Lighting LINEA LV114 Specification sheet

VIPACK jaxx RKST0514 Assembly instructions

VIPACK

VIPACK jaxx RKST0514 Assembly instructions

Rauch 18205.6560 Assembly instructions

Rauch

Rauch 18205.6560 Assembly instructions

Sigel Glas-Magnetboard artverum Mounting and safety instructions

Sigel

Sigel Glas-Magnetboard artverum Mounting and safety instructions

Cibo Vanity Cabinet installation instructions

Cibo

Cibo Vanity Cabinet installation instructions

Urban Barn Gabi 222389002 Assembly instructions

Urban Barn

Urban Barn Gabi 222389002 Assembly instructions

manuals.online logo
manuals.online logoBrands
  • About & Mission
  • Contact us
  • Privacy Policy
  • Terms and Conditions

Copyright 2025 Manuals.Online. All Rights Reserved.