manuals.online logo
Brands
  1. Home
  2. •
  3. Brands
  4. •
  5. RH
  6. •
  7. Outdoor Light
  8. •
  9. RH TALLADO TRAVERTINE Programming manual

RH TALLADO TRAVERTINE Programming manual

TALLADO TRAVERTINE RECTANGULAR TABLE LAMP
ASSEMBLY & INSTALLATION INSTRUCTIONS
ENGLISH
(B)
Fig. 1
Fig. 1
(A)
(B)
(C)
Knurled Ring (pre-installed)
Socket
Knurled Ring (pre-installed)
Spider Fitter
Socket
Plug
Fixture Power Cord
Lamp Base
Table Surface
Dimmer Switch
Lamp Body
Spider Fitter
TALLADO TRAVERTINE RECTANGULAR TABLE LAMP ENGLISH
RH.COM
REVISION 29-06-23
TALLADO TRAVERTINE RECTANGULAR TABLE LAMP
PARTS INCLUDED
(A) Lightbulb (1)
(B) Knurled Ring (1)
(C) Shade (1)
TALLADO TRAVERTINE RECTANGULAR TABLE LAMP ENGLISH
RH.COM
REVISION 29-06-23
IMPORTANT: PLEASE READ
IMPORTANT SAFETY FEATURES
BULBS
This lamp has been rated for one (1) 15-watt maximum LED lightbulb or
100-watt maximum incandescent Type A19 E26 lightbulb. To avoid the risk
of fire, do not exceed the recommended wattage.
DIMMER SWITCH COMPATIBILITY
This lamp is dimmer-switch compatible and may only be used with a
forward-phase dimmer switch.
WARNINGS
All wires are connected. When unpacking, be careful not to pull wires,
as damage may result. Do not connect electricity until the lamp is
fully assembled. To reduce the risk of fire, electrical shock, or personal
injury, always turn off lamp and allow it to cool prior to replacing
the lightbulb. Do not touch or look directly at the bulb when lamp is
illuminated. Keep flammable materials away from lit bulb.
WARNING: STRANGULATION HAZARD
Keep cord at least 3 feet away from cribs, bassinets, and toddler beds.
Keep out of reach of children under 3 years of age.
THIS PRODUCT IS NOT A TOY AND HAS NO PLAY VALUE.
ASSEMBLY AND INSTALLATION
1. Unpack all parts and place them on a protected work surface.
2. Place the table lamp on a clean surface.
3. Carefully place the spider fitter attached to Shade (C) onto the pre-
installed knurled ring attached to the socket, then secure both with
Knurled Ring (B). See Fig. 1
4. Insert Lightbulb (A) into the socket.
5. Insert the plug into a power outlet.
6. Test lamp by turning on the dimmer switch.
7. Assembly is complete.
CARE INSTRUCTIONS
Wipe all surfaces with a soft, dry cloth. Clean glass with a mixture
of mild soap and water. Do not use any harsh cleaners (including
ammonia based products) or abrasives, as they will damage the finish.

Other RH Outdoor Light manuals

RH APOLLO Programming manual

RH

RH APOLLO Programming manual

RH TORCELLO TORCHIERE User manual

RH

RH TORCELLO TORCHIERE User manual

RH NOVAK User manual

RH

RH NOVAK User manual

RH BECKMAN SCONCE 21 User manual

RH

RH BECKMAN SCONCE 21 User manual

RH QUINTON Programming manual

RH

RH QUINTON Programming manual

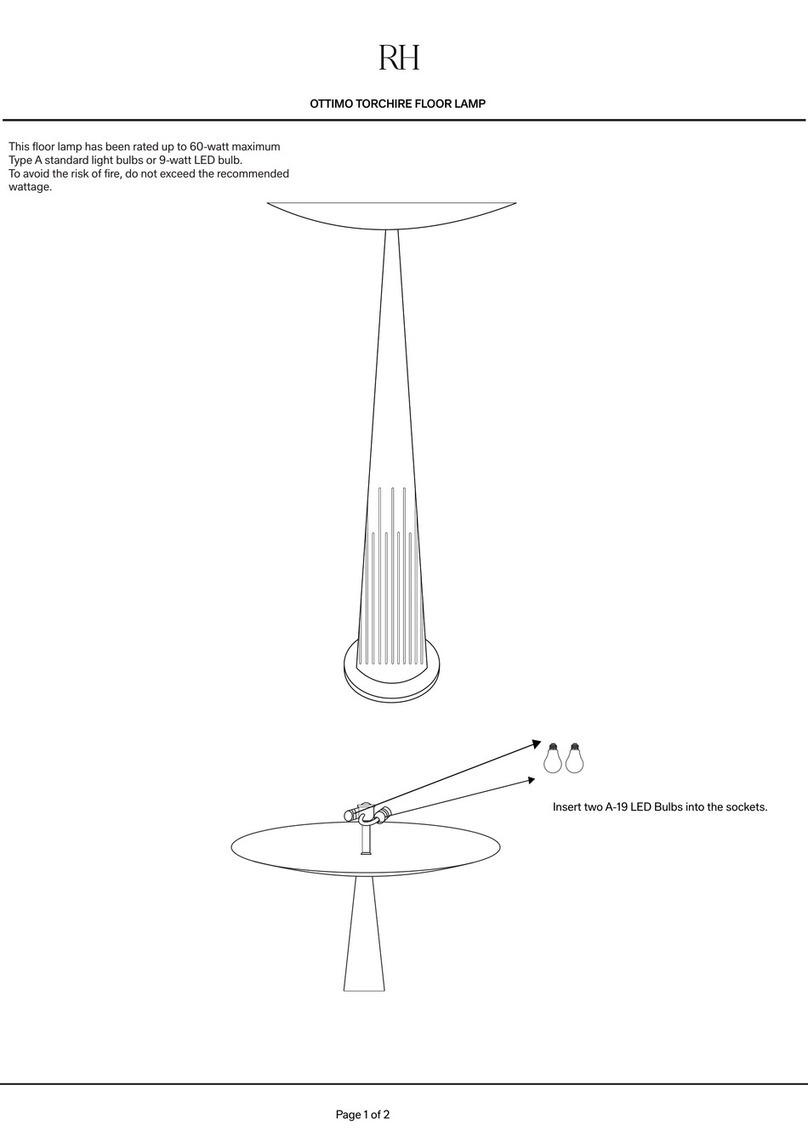
RH OTTIMO User manual

RH

RH OTTIMO User manual

RH OBELISK User manual

RH

RH OBELISK User manual

RH Newman User manual

RH

RH Newman User manual

RH MACHINIST Programming manual

RH

RH MACHINIST Programming manual

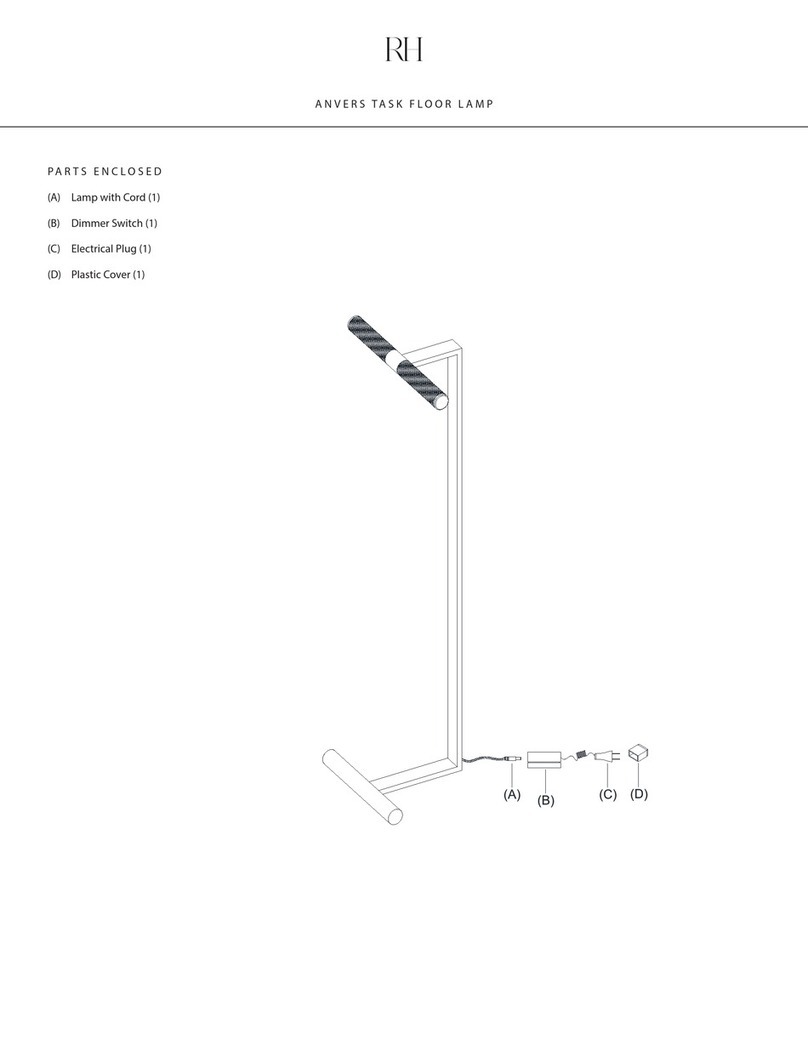
RH ANVERS TASK User manual

RH

RH ANVERS TASK User manual

RH METIER DOME SHADE TASK User manual

RH

RH METIER DOME SHADE TASK User manual

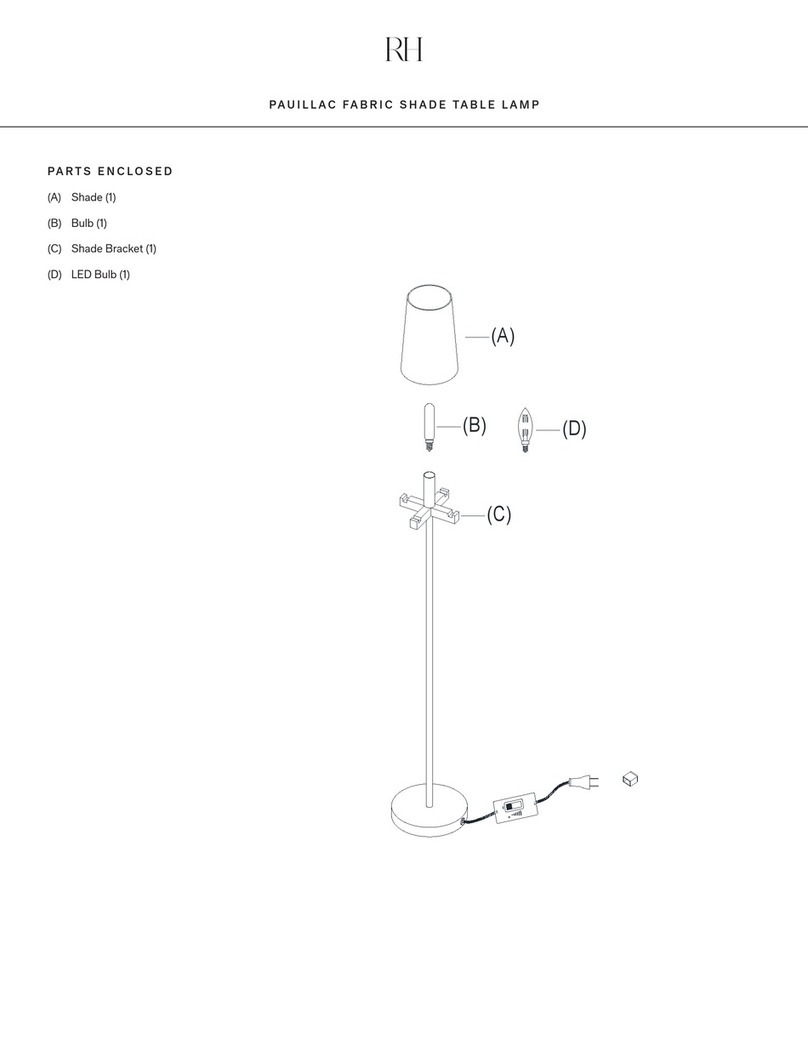
RH PAUILLAC FABRIC SHADE TABLE LAMP User manual

RH

RH PAUILLAC FABRIC SHADE TABLE LAMP User manual

RH SAREZZO Programming manual

RH

RH SAREZZO Programming manual

RH LEVI Programming manual

RH

RH LEVI Programming manual

RH QUENTIN PENDANT User manual

RH

RH QUENTIN PENDANT User manual

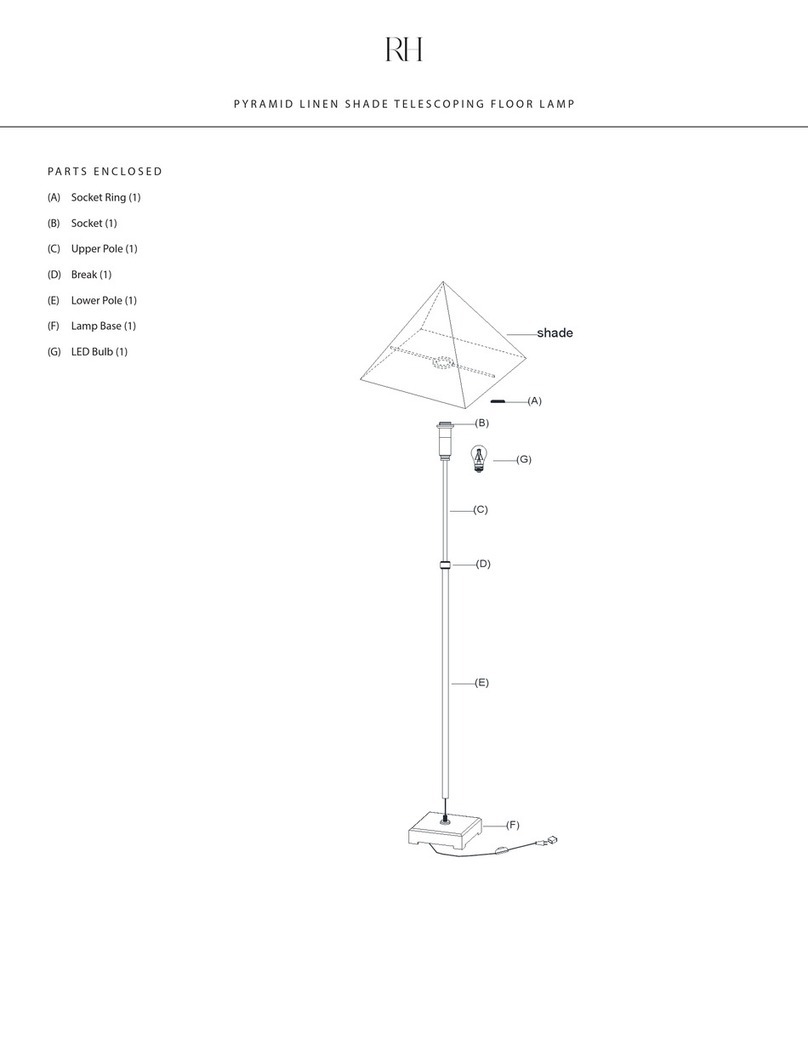
RH PYRAMID LINEN SHADE TELESCOPING FLOOR LAMP User manual

RH

RH PYRAMID LINEN SHADE TELESCOPING FLOOR LAMP User manual

RH CATHEDRAL User manual

RH

RH CATHEDRAL User manual

RH THADDEUS User manual

RH

RH THADDEUS User manual

RH BECKMAN Programming manual

RH

RH BECKMAN Programming manual

RH PETITE User manual

RH

RH PETITE User manual

RH T-BASE User manual

RH

RH T-BASE User manual

RH RECLAIMED RAILROAD TIE User manual

RH

RH RECLAIMED RAILROAD TIE User manual

RH JUNEAU User manual

RH

RH JUNEAU User manual

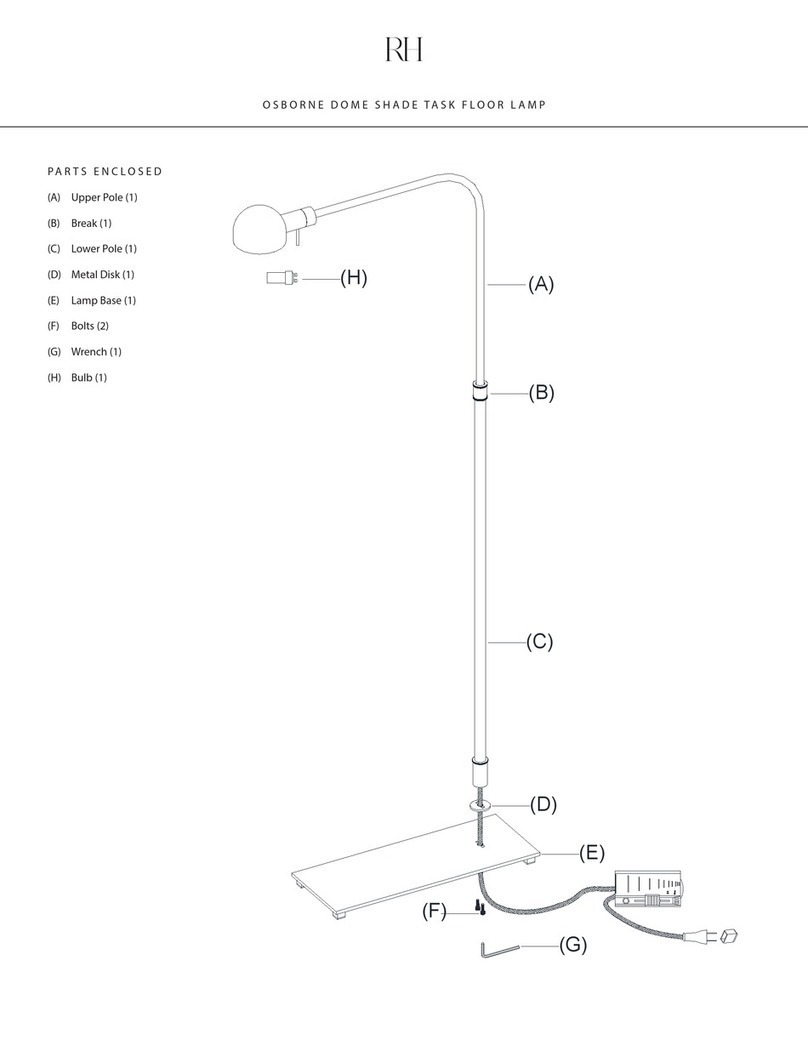
RH OSBORNE DOME SHADE TASK FLOOR LAMP User manual

RH

RH OSBORNE DOME SHADE TASK FLOOR LAMP User manual

Popular Outdoor Light manuals by other brands

iGear iG-1073 instructions

iGear

iGear iG-1073 instructions

SLV 232905 instruction manual

SLV

SLV 232905 instruction manual

IKEA FUBBLA manual

IKEA

IKEA FUBBLA manual

Maretti WOLTERINCK COSTA I WALL quick start guide

Maretti

Maretti WOLTERINCK COSTA I WALL quick start guide

SLV Elektronik ARROCK SAND 40 operating manual

SLV Elektronik

SLV Elektronik ARROCK SAND 40 operating manual

HUBBELL LIGHTING KIM LIGHTING Kim Pavilion installation instructions

HUBBELL LIGHTING

HUBBELL LIGHTING KIM LIGHTING Kim Pavilion installation instructions

Gama Sonic GS-53FPW-PIR instruction manual

Gama Sonic

Gama Sonic GS-53FPW-PIR instruction manual

Qazqa Empoli FL Bronze CCT 2 instruction manual

Qazqa

Qazqa Empoli FL Bronze CCT 2 instruction manual

Cree OSQ HO Series installation instructions

Cree

Cree OSQ HO Series installation instructions

BEGA 84 429 Installation and technical information

BEGA

BEGA 84 429 Installation and technical information

JONATHAN Y JYL5043A quick start guide

JONATHAN Y

JONATHAN Y JYL5043A quick start guide

Philips Ledino 168018716 brochure

Philips

Philips Ledino 168018716 brochure

DVI Chinook DVP19370 Assembly instructions

DVI

DVI Chinook DVP19370 Assembly instructions

LIGMAN MC-20013 installation manual

LIGMAN

LIGMAN MC-20013 installation manual

Philips 163549316 user manual

Philips

Philips 163549316 user manual

iGuzzini STREET manual

iGuzzini

iGuzzini STREET manual

LEDDOO TRIGLOW GL-1 user manual

LEDDOO

LEDDOO TRIGLOW GL-1 user manual

VIBIA Tree 4000 Assembly instructions

VIBIA

VIBIA Tree 4000 Assembly instructions

manuals.online logo
manuals.online logoBrands
  • About & Mission
  • Contact us
  • Privacy Policy
  • Terms and Conditions

Copyright 2025 Manuals.Online. All Rights Reserved.