manuals.online logo
Brands
  1. Home
  2. •
  3. Brands
  4. •
  5. RH
  6. •
  7. Outdoor Light
  8. •
  9. RH CHARLEROI User manual

RH CHARLEROI User manual

Page 1 of 3
PARTS ENCLOSED
(A) Mounting Plate (1)
(B) 1"L Phillips Flat-Head Screws (2)
(C) Backplate (1)
(D) 3/16"L Hex Socket Set Screws (2)
(E) Socket Holder (1)
(F) Knurled Screws (4)
(G) Glass Shade (1)
(H) Lightbulb (1)
CHARLEROI OUTDOOR SINGLE LONG SCONCE
(A)
(B)
(C)
(D)
(E)
Socket
(F)
Socket
Outer Cap
(G)
(H)
Outer Cap
Inner Cap
Fixture Wires
Bare Ground Wire
PLEASE FOLLOW THE ASSEMBLY INSTRUCTIONS
CLOSELY. IMPROPER ASSEMBLY CAN RESULT
IN PERSONAL OR PROPERTY DAMAGE. IF YOU
ARE UNSURE ABOUT YOUR CEILING TYPE OR
WHAT MOUNTING METHOD TO USE,
CONSULT A QUALIFIED PROFESSIONAL OR
YOUR LOCAL HARDWARE STORE.
Page 2 of 3
PREVENTING WATER SEEPAGE
A1 A2
A3
Siliconed
all around Backplate
Siliconed
all around Backplate
Not inclued
Backplate
Backplate
Not inclued
Siliconed
3/16"L Hex Socket
Set Screws (2)
CHARLEROI OUTDOOR SINGLE LONG SCONCE
Page 3 of 3
ASSEMBLY & INSTALLATION:
1. Carefully remove all parts from the box and remove all plastic
coverings.
2. Attach Mounting Plate (A) to wall’s outlet box and secured with
1"L Phillips Flat-Head Screws (B).
3. Carefully inspect the sconce’s fixture wires. White wire is the
NEUTRAL WIRE. Black wire is the HOT WIRE. Bare wire is the
GROUND WIRE.
4. Carefully lift up the Backplate (C) with the light fixture and place it
close to outlet box to wiring.
5.
Connect the GROUND WIRE from the fixture with the ground wire
(usually bare) from your outlet box using a wire nut. If your house
does not have a ground wire, attach the GROUND WIRE from the
fixture to the green grounding screw inside of the outlet box.
IT IS IMPERATIVE THAT THE OUTLET BOX IN YOUR HOME BE
PROPERLY GROUNDED.
6. Connect the NEUTRAL WIRE from your fixture with the neutral
wire (usually white) from your outlet box using a wire nut.
7. Connect the HOT WIRE from your fixture with the hot wire
(usually black) from your outlet box using a wire nut. DO NOT
REVERSE THE HOT AND NEUTRAL CONNECTIONS OR
SAFETY WILL BE COMPROMISED.
8. Tuck the wire connection neatly into the wall’s outlet box.
9.
Attach Backplate (C) with light fixture to affixed Mounting Plate (A)
and secured with 3/16"L Hex Socket Set Screws (D).
10.
VERY IMPORTANT - PREVENTING WATER SEEPAGE. SILICONED ALL
AROUND THE SEAM BETWEEN BACKPLATE (C) AND WALL SURFACE.
SILICONED THE 3/16
"
L HEX SOCKET SET SCREWS (B) (see Page 2).
11. Secured Glass Shade (G) to the Socket Holder (E) with Knurled
Screws (F).
12. Insert the Lightbulb (H) into socket.
13. Assembly is complete.
IMPORTANT PLEASE READ
SAFETY INSTRUCTIONS
(1) Must use an authorized and certified electrician for consultation
and installation. Electrician must be familiar with commercial-type
installation of very heavy wall fixture and the hazards involved.
Electrician should install fixture as per applicable local installation code.
(2) FOR NONCOMBUSTIBLE SURFACE ONLY.
(3) This fixture has been rated for one (1) 40-Watt maximum Type T8
standard lightbulb (included). To avoid the risk of fire, do not exceed
the recommended wattage.
(4) The manufacturer and distributor accept no liability for incorrect
installation.
(5) Keep away from children.
WARNINGS
All wires are connected. When unpacking, be careful not to pull
wires, as a bad connection may result. Do not connect electricity
until your fixture is fully assembled. To reduce the risk of fire,
electrical shock, or personal injury, always turn off fixture and allow
it to cool prior to replacing the lightbulb. Do not touch the bulb
when fixture is turned on or look directly at lit bulb. Keep flammable
materials away from lit bulb.
THIS PRODUCT IS NOT A TOY AND HAS NO PLAY VALUE
CARE INSTRUCTIONS
Wipe all surfaces with a soft, dry cloth. Clean glass with a mild
soap and water mixture. Do not use any harsh cleaners (including
ammonia-based products) or abrasives, as they will damage
the finish.
WARNING: STRANGULATION HAZARD
Keep cord at least 3 feet away from cribs, bassinets, and toddler beds.
Keep out of reach of children under 3 years of age.
CHARLEROI OUTDOOR SINGLE LONG SCONCE

Other RH Outdoor Light manuals

RH SAREZZO Programming manual

RH

RH SAREZZO Programming manual

RH CATHEDRAL User manual

RH

RH CATHEDRAL User manual

RH LEVI Programming manual

RH

RH LEVI Programming manual

RH QUINTON Programming manual

RH

RH QUINTON Programming manual

RH APOLLO Programming manual

RH

RH APOLLO Programming manual

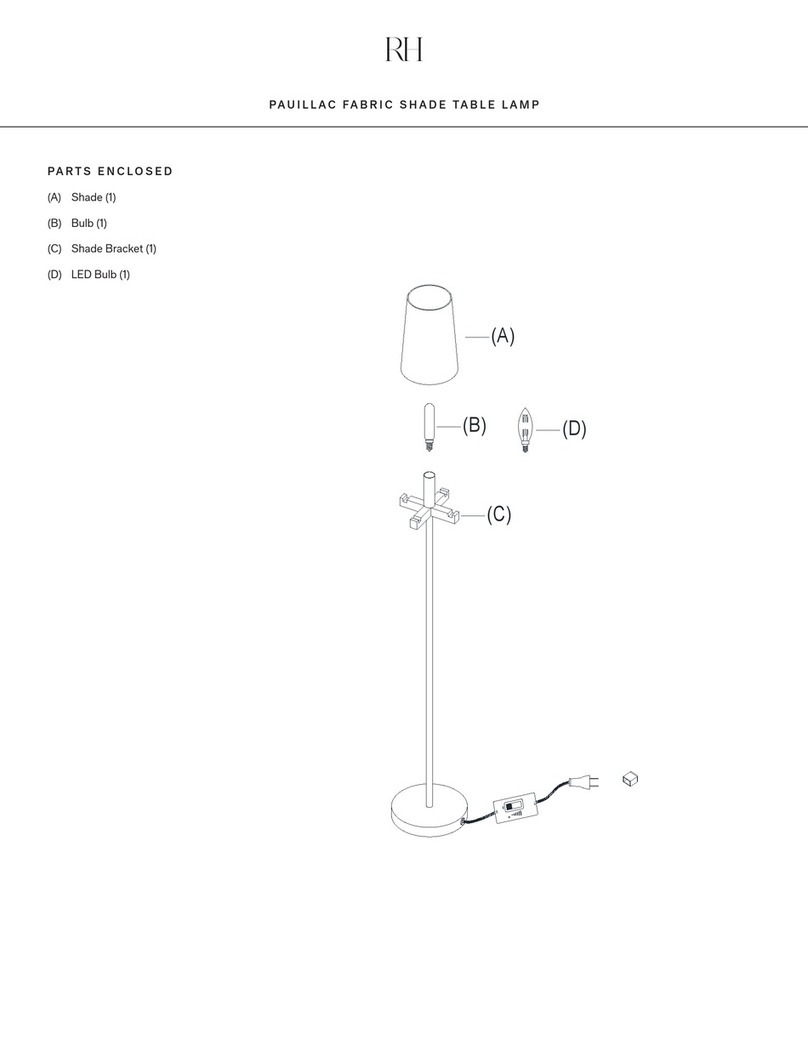
RH PAUILLAC FABRIC SHADE TABLE LAMP User manual

RH

RH PAUILLAC FABRIC SHADE TABLE LAMP User manual

RH MACHINIST Programming manual

RH

RH MACHINIST Programming manual

RH QUENTIN PENDANT User manual

RH

RH QUENTIN PENDANT User manual

RH RECLAIMED RAILROAD TIE User manual

RH

RH RECLAIMED RAILROAD TIE User manual

RH TORCELLO TORCHIERE User manual

RH

RH TORCELLO TORCHIERE User manual

RH PAXTON Programming manual

RH

RH PAXTON Programming manual

RH BECKMAN Programming manual

RH

RH BECKMAN Programming manual

RH NATURAL ANTLER User manual

RH

RH NATURAL ANTLER User manual

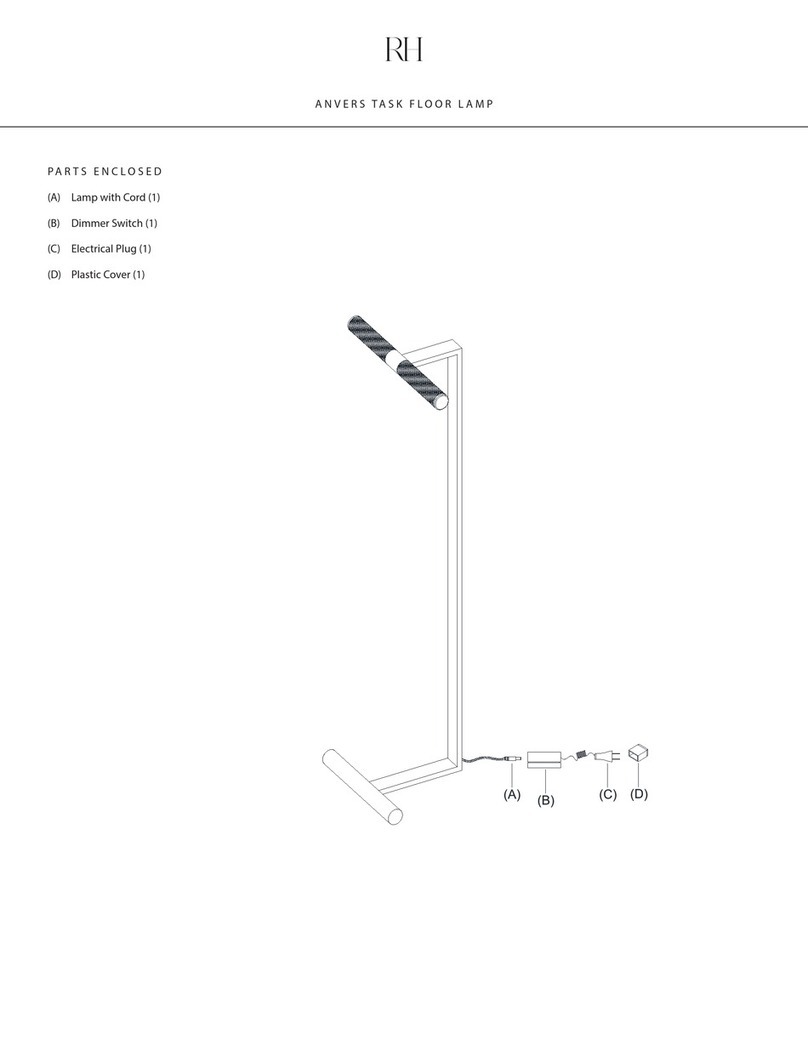
RH ANVERS TASK User manual

RH

RH ANVERS TASK User manual

RH METIER DOME SHADE TASK User manual

RH

RH METIER DOME SHADE TASK User manual

RH ARMAGNAC User manual

RH

RH ARMAGNAC User manual

RH SONORA Programming manual

RH

RH SONORA Programming manual

RH Newman User manual

RH

RH Newman User manual

RH OTTIMO User manual

RH

RH OTTIMO User manual

RH UTILITAIRE User manual

RH

RH UTILITAIRE User manual

RH NOVAK User manual

RH

RH NOVAK User manual

RH OSBORNE DOME SHADE TASK FLOOR LAMP User manual

RH

RH OSBORNE DOME SHADE TASK FLOOR LAMP User manual

RH BECKMAN SCONCE 21 User manual

RH

RH BECKMAN SCONCE 21 User manual

RH PETITE User manual

RH

RH PETITE User manual

Popular Outdoor Light manuals by other brands

Kichler Lighting HELEN 37536 instructions

Kichler Lighting

Kichler Lighting HELEN 37536 instructions

Thorn OXANE L installation instructions

Thorn

Thorn OXANE L installation instructions

esotec Solar Globe Light multicolor 20 operating instructions

esotec

esotec Solar Globe Light multicolor 20 operating instructions

mitzi HL200201 ELLIS Assembly and mounting instructions

mitzi

mitzi HL200201 ELLIS Assembly and mounting instructions

HEPER TILA S AFX 3 Module Installation & maintenance instructions

HEPER

HEPER TILA S AFX 3 Module Installation & maintenance instructions

Designplan TRON 180 installation instructions

Designplan

Designplan TRON 180 installation instructions

Sealey LED37 instructions

Sealey

Sealey LED37 instructions

nordlux VEJERS Mounting instruction

nordlux

nordlux VEJERS Mounting instruction

SImx ELITE LED LHTC637 installation instructions

SImx

SImx ELITE LED LHTC637 installation instructions

GEV CAROLINE 10833 manual

GEV

GEV CAROLINE 10833 manual

WE-EF PFL540 LED Installation and maintenance instructions

WE-EF

WE-EF PFL540 LED Installation and maintenance instructions

HEPER DOGO Side LW6048.585-US Installation & maintenance instructions

HEPER

HEPER DOGO Side LW6048.585-US Installation & maintenance instructions

BEGA 84 253 Installation and technical information

BEGA

BEGA 84 253 Installation and technical information

HEPER LW8034.003-US Installation & maintenance instructions

HEPER

HEPER LW8034.003-US Installation & maintenance instructions

HEPER MINIMO Installation & maintenance instructions

HEPER

HEPER MINIMO Installation & maintenance instructions

LIGMAN BAMBOO 3 installation manual

LIGMAN

LIGMAN BAMBOO 3 installation manual

Maretti TUBE CUBE WALL 14.4998.04 quick start guide

Maretti

Maretti TUBE CUBE WALL 14.4998.04 quick start guide

Maxim Lighting Carriage House VX 40428WGOB installation instructions

Maxim Lighting

Maxim Lighting Carriage House VX 40428WGOB installation instructions

manuals.online logo
manuals.online logoBrands
  • About & Mission
  • Contact us
  • Privacy Policy
  • Terms and Conditions

Copyright 2025 Manuals.Online. All Rights Reserved.