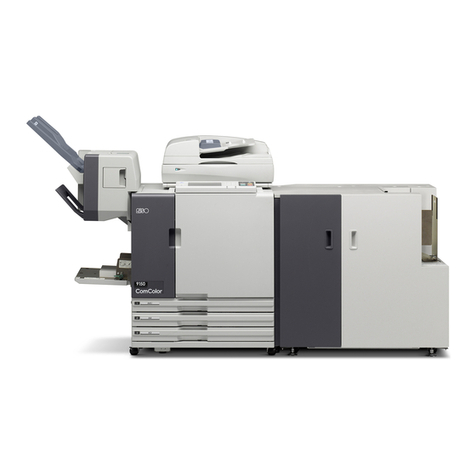
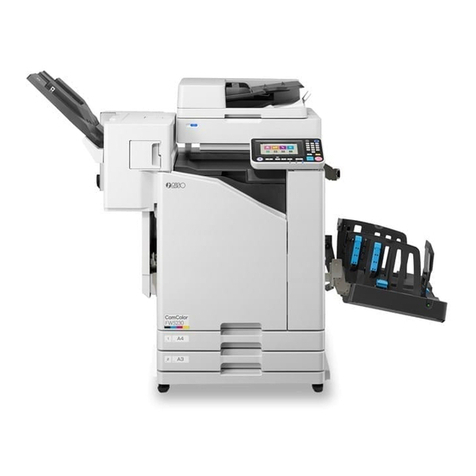
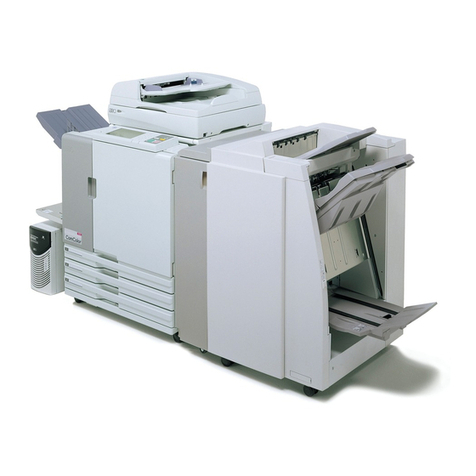
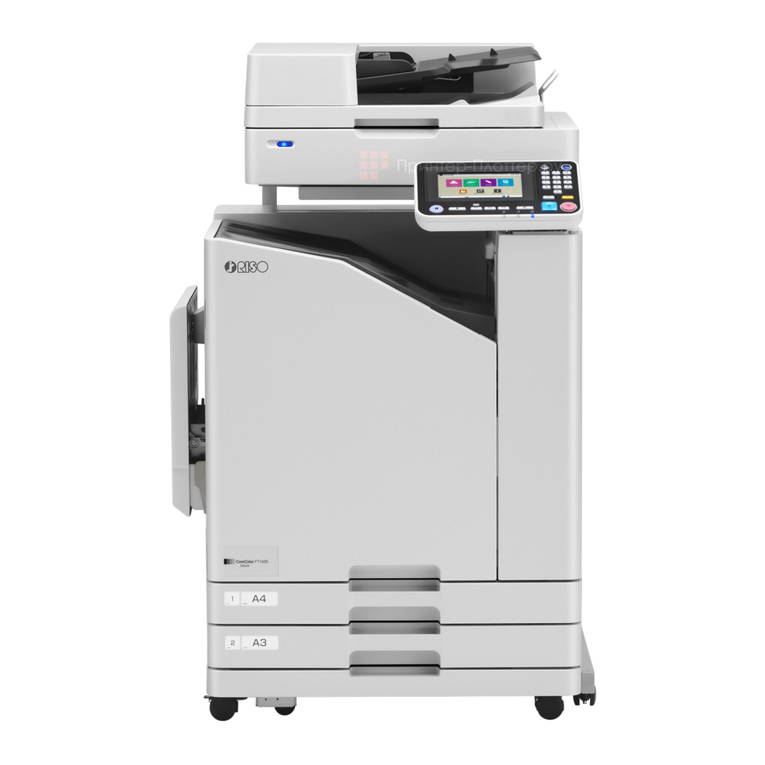
Riso MH9 Series User manual

RISO Printer Driver
MH9/MF9/SF9x9/SF9EII/SF5EIISeries
USER’S GUIDE
MH_SF_PD-EN_04


1
1
Preface
Welcome to the eld of high-speed computer printing presented by RISO printers through RISO Printer Drivers. The
RISO printers, which are designed to operate as high-speed GDI printers, enable you to print various documents that
you create on dierent computer platforms very speedily, only if an appropriate RISO Printer Driver is installed in your
computer.
GDI printers use bit-mapped image data developed on your computer monitor as a print data source, enabling you to
print the exact same image as what you see on your computer monitor in most cases. In addition, printer fonts are not
required to print documents, thus relieving you of the restrictions on the use of fonts when you create documents on your
computer.
The RISO printers can also operate as network printers in various LAN environments, with an additional network interface
card embedded inside.
¢Descriptive contents in this guide
• The reproduction of this guide in whole or in part is strictly prohibited without the permission of RISO KAGAKU
CORPORATION.
• The contents of this guide are subject to change in the future without prior notice for improvement of the product.
• Please note that we do not assume any responsibility for the eect of outcomes resulting from the use of this guide and
the operation of this machine.
¢Trademarks
• and are trademarks or registered trademarks of RISO KAGAKU CORPORATION in the United States and
other countries.
• Microsoft and Windows are either registered trademarks or trademarks of Microsoft Corporation in the United States
and/or other countries.
• Other corporate names and/or trademarks are either registered trademarks or trademarks of their respective
companies.
¢About symbols
BImportant matters that require special attention. Read carefully and follow the instructions.
BSupplemental explanation that provides useful information.
ABIndicates reference pages.
¢About screens
• The screens and content in this manual may dier from the actual product.
• The screens and messages in procedures may dier depending on the type of computer and application.
© Copyright 2022 RISO KAGAKU CORPORATION

22
Procedure before printing
Before you use the printer for the rst time, perform the installation procedure below.
After installation, follow the basic operation procedure. Then, you can print out documents.
Installation (when using the
printer for the rst time)
Install the Printer Driver
Install the RISO Printer Driver into your
computer. A10
● Depending on the connection method, your
computer must be connected to the printer in
advance.
● If you cannot connect to a computer, you can print
in high quality by using a USB ash drive or [Paper
Memory Print].
1. Prepare the printer
Prepare the printer and load print paper
suitable for the original data to be printed
out onto the standard tray.
● To prepare the printer, read the user’s guide of the
RISO printer.
¢OS Support
This Printer Driver supports the following OS:
Windows® 7 SP1 or later (32-bit/64-bit)1/Windows® 8.1 (32-bit/64-bit)2/Windows® 10 (32-bit/64-bit)2/Windows® 11 (64-bit)2
1 Does not support the MH9 Series.
2 Only compatible with Windows Desktop App

33
Basic operation
USB ash drive
Printing
OK
USB ash drive
Paper Memory
Original
USB cable or Ethernet cable
Laser printer*
2. Set
Open the data you want to print
with your computer, select your
Printer Driver (or the USB ash-
via-Printer Driver) and congure
settings for printing.
● To print from a USB ash drive, connect
the USB ash drive to your computer.
● To use [Paper Memory Print], select [Paper
Memory Print].
3. Print
Open the [Print] dialog on your
computer and click [OK]. The
data is transmitted to the laser
printer or stored in the USB ash
drive.
If [Paper Memory Print] is
selected, the [Preview and
Edit] tool starts. Print the Paper
Memory Original with a laser
printer*. (A 49)
4. Printing complete
The printer receives the data, makes
a master, and prints.
● To print from a USB ash drive, connect it to
the printer.
● When using [Paper Memory Print], the printer
reads the Paper Memory Original, makes a
master, and prints.
* A laser printer of 600 dpi or more is required to create a Paper Memory Original.
However, the RISO printer may not be able to scan it properly depending on the model and print quality of the laser
printer.
¢About the notation of supported printers
In this document, the models (Series) below are categorized as follows.
Category Model (Series)
Dual-color printers MH9/MF9 Series
Mono-color printers SF9x9/SF9EII/SF5EII Series

4
4
Table of Contents
Procedure before printing ………………………………………………………………………………………… 2
Table of Contents …………………………………………………………………………………………………… 4
Chapter 1 Connecting Methods and Printer Driver types
Connection methods and Printer Driver types ………………………………………………………………… 7
■Environment connected via cable ………………………………………………………………………………………… 7
■Environment not connected via cable …………………………………………………………………………………… 8
Chapter 2 Installing the Printer Driver
USB Connection……………………………………………………………………………………………………… 11
■Installing the Printer Driver………………………………………………………………………………………………… 11
Network Connection …………………………………………………………………………………………………15
■Connecting to computers ………………………………………………………………………………………………… 15
■Installing the Printer Driver………………………………………………………………………………………………… 16
USB Flash Drive Output ……………………………………………………………………………………………23
■About USB ash drive……………………………………………………………………………………………………… 23
■Installing the USB ash-via-Printer Driver ……………………………………………………………………………… 23
■Creating a Folder …………………………………………………………………………………………………………… 27
■Printing a test page ………………………………………………………………………………………………………… 29
When using Paper Memory Print …………………………………………………………………………………31
■Installing the Printer Driver………………………………………………………………………………………………… 31
Changing the Printer Driver Conguration………………………………………………………………………35
Chapter 3 Working with the Printer Driver
Sending and Printing Data …………………………………………………………………………………………40
Setting the Print Conditions ………………………………………………………………………………………44
■[Basic] Tab ………………………………………………………………………………………………………………… 45
■[Layout] Tab ………………………………………………………………………………………………………………… 51
■[Coloring] Tab ……………………………………………………………………………………………………………… 54
■[Image] Tab ………………………………………………………………………………………………………………… 58
■[Advanced] Tab …………………………………………………………………………………………………………… 61
■[Option] Tab ………………………………………………………………………………………………………………… 65
■[About] Tab ………………………………………………………………………………………………………………… 66
Creating a RISORINC-format le …………………………………………………………………………………67
■Adding a Local Port for RISORINC Files ………………………………………………………………………………… 67
■Selecting a Local Port for RISORINC Files ……………………………………………………………………………… 69
■Outputting RISORINC Files ……………………………………………………………………………………………… 70
Chapter 4 Using the [Preview and Edit] Tool
Preview and Edit………………………………………………………………………………………………………72
■Preview and Edit Window ………………………………………………………………………………………………… 74
Procedure for Paper Memory Print ………………………………………………………………………………79
■Converting from the Printer Driver automatically ……………………………………………………………………… 79
■Converting manually ……………………………………………………………………………………………………… 82
■Opening an rcs or rcsb le ………………………………………………………………………………………………… 86

5
5
Chapter 5 Uninstalling the Printer Driver
Uninstalling the Printer Driver ……………………………………………………………………………………90
Chapter 6 Manually installing / uninstalling the Printer Driver
Windows 7: Manual installation/uninstallation …………………………………………………………………93
■Manual installation with a USB Cable Connection ……………………………………………………………………… 93
■Manual Installation with a Network Connection/USB Flash Drive Output …………………………………………… 97
■Manual uninstallation …………………………………………………………………………………………………… 100
Windows 8.1: Manual installation/uninstallation …………………………………………………………… 102
■Manual installation with a USB Cable Connection …………………………………………………………………… 102
■Manual Installation with a Network Connection/USB Flash Drive Output ………………………………………… 106
■Manual uninstallation …………………………………………………………………………………………………… 109
Windows 10/Windows 11: Manual installation/uninstallation …………………………………………… 111
■Manual installation with a USB Cable Connection ………………………………………………………………………111
■Manual Installation with a Network Connection/USB Flash Drive Output ………………………………………… 115
■Manual uninstallation …………………………………………………………………………………………………… 118
Chapter 7 Appendix
Error Message on computer’s Display………………………………………………………………………… 121
Operation Problems ……………………………………………………………………………………………… 122
■No Printout ……………………………………………………………………………………………………………… 122
■Unexpected Print Result………………………………………………………………………………………………… 123
■Unexpected Action ……………………………………………………………………………………………………… 124
■Unable to Specify Settings ……………………………………………………………………………………………… 125

Chapter 1 Connecting Methods and Printer Driver types 7
Connection methods and Printer Driver types
The types of Printer Drivers are as follows:
- Printer Driver
- USB ash-via-Printer Driver
Choose the Printer Driver to install according to your environment.
Environment connected via cable
In the following environment, the Printer Driver should be used.
¢When connected via USB cable (A11)
USB cable
BUse a commercially available USB A-B type cable (USB 2.0, Hi-speed USB, 3 m or less).
B[Paper Memory Print] is available even when the printer is connected via USB cable. In this case, you do not need to install
the printer driver for [Paper Memory Print] (A 31).
¢When connected via network (A 15)
Network cable
Hub
BUse a commercially available Ethernet STP cable (10BASE-T or 100BASE-TX, category 5 or higher) appropriate for
your network environment. (You can use either a straight cable or crossover cable.)
B You cannot directly connect the machine to a communication line oered by a telecommunication carrier (such as a
mobile communications company, xed-line telecoms company, or Internet provider). When connecting the machine
to a network, make sure it is connected via router.
B[Paper Memory Print] is available even when the printer is connected via network cable. In this case, you do not need to install
the printer driver for [Paper Memory Print] (A 31).

8Chapter 1 Connecting Methods and Printer Driver types
Environment not connected via cable
¢ When printing using a USB ash drive
Save the data to the USB ash drive by using the USB ash-via-Printer Driver (A 23). Connect the USB ash drive to
the printer to print the data.
Original Data
Computer
Printer Print
USB ash drive
USB ash-via-
Printer Driver
B Use a USB ash drive compatible with Mass Storage Class. Depending on the type of USB ash drive, the Printer
Driver may not work properly.
B Use a FAT-formatted USB ash drive.
B USB ash drives with security features are not supported.
B When connecting or removing a USB ash drive, insert it or pull it out slowly by using the correct method.
B If USB ash drive data becomes corrupted by natural disaster or accident, the data saved in the USB ash drive
cannot be guaranteed to work. Backing up important data to the computer used to create them is recommended.
B When printing by using a USB ash drive, always create a dedicated folder in the USB ash drive. For details on how
to create a folder, refer to "Create a Folder (A 27)".
BEven in an environment where the printer and your computer are connected via cable, data can be printed by using a USB
ash drive.

Chapter 1 Connecting Methods and Printer Driver types 9
¢When printing by using [Paper Memory Print]
Install the Printer Driver, and use it as the printer driver for [Paper Memory Print]. (A 10)
You can convert original data created on a computer to a digital pattern using the printer driver function, and print it on a
laser printer*. The printed paper is referred to as a "Paper Memory Original".
Using the [Paper Memory Print] function of this machine allows you to reproduce original data from a Paper Memory
Original and print it.
BTo use Paper Memory Print, a separate laser printer* is required.
Install the printer driver of the laser printer on your computer, and connect to the printer.
For details on installation and connection methods, refer to the user's guide of the laser printer.
Original Data
Computer
Printer Print
Laser printer
Printer Driver
Select [Paper Memory
Print], and print the
digital pattern (Paper
Memory Original)
converted from original
data from a laser
printer*.
The RISO printer reads the Paper Memory
Original, makes a master, and prints.
Paper Memory
Original
[Preview and Edit] Tool
* A laser printer of 600 dpi or more is required to create a Paper Memory Original.
However, the RISO printer may not be able to scan it properly depending on the model and print quality of the laser printer.
BA Paper Memory Original may not be scanned appropriately on the printer if it is dirty, creased, or folded.
B When writing notes on a Paper Memory Original, use the margin indicated in the gure below. If you write on any
other place, the printer may not be able to read the original properly.
Margin
B[Paper Memory Print] is available even when the printer is connected to a computer via cable.

10
The method of installing the Printer Driver using the installer is described here.
Installing the Printer Driver
Chapter 2
USB Connection……………………………………………………………………………………………………… 11
■Installing the Printer Driver………………………………………………………………………………………………… 11
Network Connection …………………………………………………………………………………………………15
■Connecting to computers ………………………………………………………………………………………………… 15
■Installing the Printer Driver………………………………………………………………………………………………… 16
USB Flash Drive Output ……………………………………………………………………………………………23
■About USB ash drive……………………………………………………………………………………………………… 23
■Installing the USB ash-via-Printer Driver ……………………………………………………………………………… 23
■Creating a Folder …………………………………………………………………………………………………………… 27
■Printing a test page ………………………………………………………………………………………………………… 29
When using Paper Memory Print …………………………………………………………………………………31
■Installing the Printer Driver………………………………………………………………………………………………… 31
Changing the Printer Driver Conguration………………………………………………………………………35

Chapter 2 Installing the Printer Driver 11
USB Connection
Installing the Printer Driver
This section describes how to install the Printer Driver for Windows supporting Plug&Play installation when your computer
and the RISO printer are connected via USB cable.
BYou must have administrator rights to install the Printer Driver on your computer.
BThis Printer Driver does not support server OS or printer sharing.
BFor details about manual installation, see A 92.
To update the Printer Driver, change cable connections, or reinstall a Printer Driver of the same series, you must delete
of the driver package. Uninstall the installed Printer Driver manually before new installation. “Manual uninstallation” (A
92)
0BUse a commercially available USB A-B type cable (USB 2.0, Hi-speed USB, 3 m or less).
BDo not connect the USB cable until you are instructed to do so.
1Insert the [RISO Printer Driver] DVD-ROM into your computer’s DVD-ROM drive.
The installer starts. If the installer does not start, double-click the [Setup(.exe)] le in the folder below.
For a 32-bit OS:
(DVD-ROM):[Windows 32-bit] folder
For a 64-bit OS:
(DVD-ROM):[Windows 64-bit] folder
B If the [User Account Control] dialog appears, click [Yes].
2Select your language from the drop-down list, then click [OK].
3Click [Next].

12 Chapter 2 Installing the Printer Driver
4Select [Connect via a USB cable] and click [Next].
5Select the printer name you want to connect to, and click [Next].
6Click [Install].
If you deselect [Install also the User’s Guide (PDF)], the User's Guide (this guide) will not be installed.
H
When the [Windows Security] dialog appears, continue with installation.
The [USB port setting] dialog appears.

Chapter 2 Installing the Printer Driver 13
7
Connect the computer to the RISO printer with a USB cable (USB 2.0 Hi-Speed USB, 3 m
or less, A-B Type).
1
To the printer’s
USB port
USB
port
2
To the computer’s
USB port
8Turn on the RISO printer.
9Click [OK].
10 Click [Show “ReadMe” text.].
The ReadMe le is displayed. Be sure to read all the instructions and notes.

14 Chapter 2 Installing the Printer Driver
11 Click [Finish].
Be sure to restart the computer before using the Printer Driver. If you selected [Reboot the PC now.], the computer
will shut down and restart when you click [Finish].
12 Open the print folder.
For Windows 7:
Click on the [Start] icon - [Control Panel] - [Hardware and Sound] - [Devices and Printers] and open the [Devices
and Printers] folder.
For Windows 8.1:
Open the “Apps” screen and click [Control Panel] - [Hardware and Sound] - [Devices and Printers] and open the
[Devices and Printers] folder.
For Windows 10:
Click on the [Start] icon - [Windows System] - [Control Panel] - [Hardware and Sound] - [Devices and Printers] and
open the [Devices and Printers] folder.
For Windows 11:
Click on the [Start] icon - [All Apps] - [Windows Tools] - [Control Panel] - [Hardware and Sound] - [Devices and
Printers] and open the [Devices and Printers] folder.
13 Open the properties of the printer to which the Printer Driver is installed.
Right-click the icon of the printer, and select [Printer Properties] in the displayed menu.
14 Click [Print Test Page].
15 When a message appears, wait for a few seconds and click [Close].
16 Remove the [RISO Printer Driver] DVD-ROM from the DVD-ROM drive of your
computer.
BKeep the removed DVD-ROM in a safe place.
Printer driver installation is now completed.
B To change the printer driver conguration, see A 35.
B To send and print data, see A 40.

Chapter 2 Installing the Printer Driver 15
Network Connection
Connecting to computers
¢When using the SF5x30EII Series
The optional network interface card, “RISO NETWORK KIT” is required when connecting the computer to the RISO
printer through a network to use as a network printer.
Connect the RISO printer to the network and congure printer network settings (such as the IP address) in advance.
BUse a commercially available Ethernet STP cable (10BASE-T or 100BASE-TX, category 5 or higher) appropriate for
your network environment. (You can use either a straight cable or crossover cable.)
B You cannot directly connect the machine to a communication line oered by a telecommunication carrier (such as a
mobile communications company, xed-line telecoms company, or Internet provider). When connecting the machine
to a network, make sure it is connected via router.
¢When your RISO printer is connected with one computer
LAN port of your RISO printer
Ethernet cable
¢When your RISO printer is connected on network
Ethernet cable
LAN port of your RISO printer
Hub

16 Chapter 2 Installing the Printer Driver
Installing the Printer Driver
BYou must have administrator rights to install the Printer Driver on your computer.
BThis Printer Driver does not support server OS or printer sharing.
BFor details about manual installation, see A 92.
B When connecting to a commercial print server on the network, refer to the instruction manual provided by the manufacturer.
1Insert the [RISO Printer Driver] DVD-ROM into your computer’s DVD-ROM drive.
The installer starts. If the installer does not start, double-click the [Setup(.exe)] le in the folder below.
For a 32-bit OS:
(DVD-ROM):[Windows 32-bit] folder
For a 64-bit OS:
(DVD-ROM):[Windows 64-bit] folder
B If the [User Account Control] dialog appears, click [Yes].
2Select your language from the drop-down list, then click [OK].
3Click [Next].
4Select [Use another connection method] and click [Next].

Chapter 2 Installing the Printer Driver 17
5Select the printer and click [Next].
B You can also enter the IP address manually.
B To set the transmission method or port, click [Custom installation] and select an existing port or create a new port.
The following procedure shows how to create a Standard TCP/IP Port.
1 Select [Create a new port], and then [Standard TCP/IP Port].
2 Click [Create].
The [Add Standard TCP/IP Printer Port Wizard] dialog appears.

18 Chapter 2 Installing the Printer Driver
3 Click [Next].
4 Input the IP address of the printer and click [Next].
The port name will be entered automatically.
5 Select [Custom] and click [Settings].
This manual suits for next models
4
Table of contents
Other Riso Printer manuals

Riso
Riso CV1200W User manual

Riso
Riso RN SERIES User manual

Riso
Riso ComColor FT Series User manual

Riso
Riso ComColor GD9630 User manual

Riso
Riso SF Series User manual

Riso
Riso MZ 10 Series User manual

Riso
Riso ComColor GL Series User manual

Riso
Riso RISOGRAPH RN2000 User manual

Riso
Riso Comcolor X1 Series User manual

Riso
Riso MZ870 User manual

Riso
Riso 9450 User manual

Riso
Riso GOCCOPRO QS200 User manual

Riso
Riso 9050 User guide

Riso
Riso ComColor GL Series User manual

Riso
Riso HC5500 User manual

Riso
Riso 9050 User manual

Riso
Riso ComColor FT Series User manual

Riso
Riso HC5500 User manual

Riso
Riso HC5500T User manual

Riso
Riso GOCCOPRO QS2536 User manual