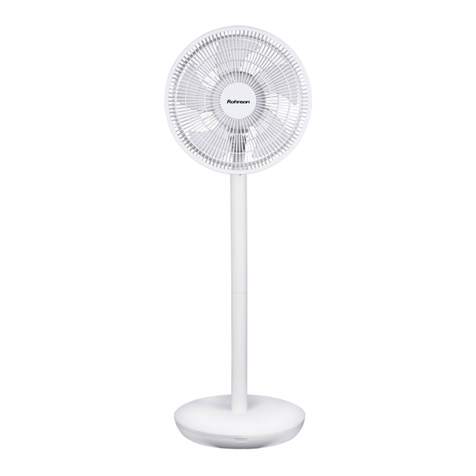
Rohnson R-810 User manual
Other Rohnson Fan manuals

Rohnson
Rohnson R-8361 User manual

Rohnson
Rohnson R-868 User manual

Rohnson
Rohnson R-859 User manual
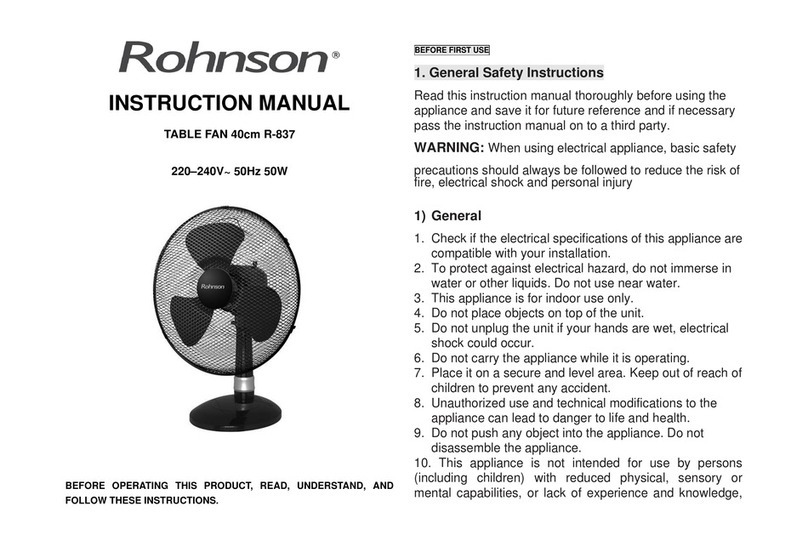
Rohnson
Rohnson R-837 User manual

Rohnson
Rohnson R-8600 User manual
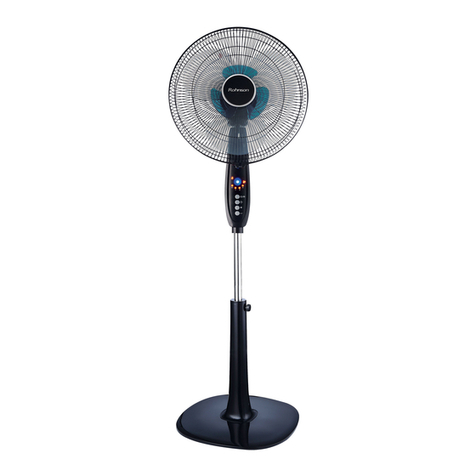
Rohnson
Rohnson R-838 User manual

Rohnson
Rohnson R-8200 User manual
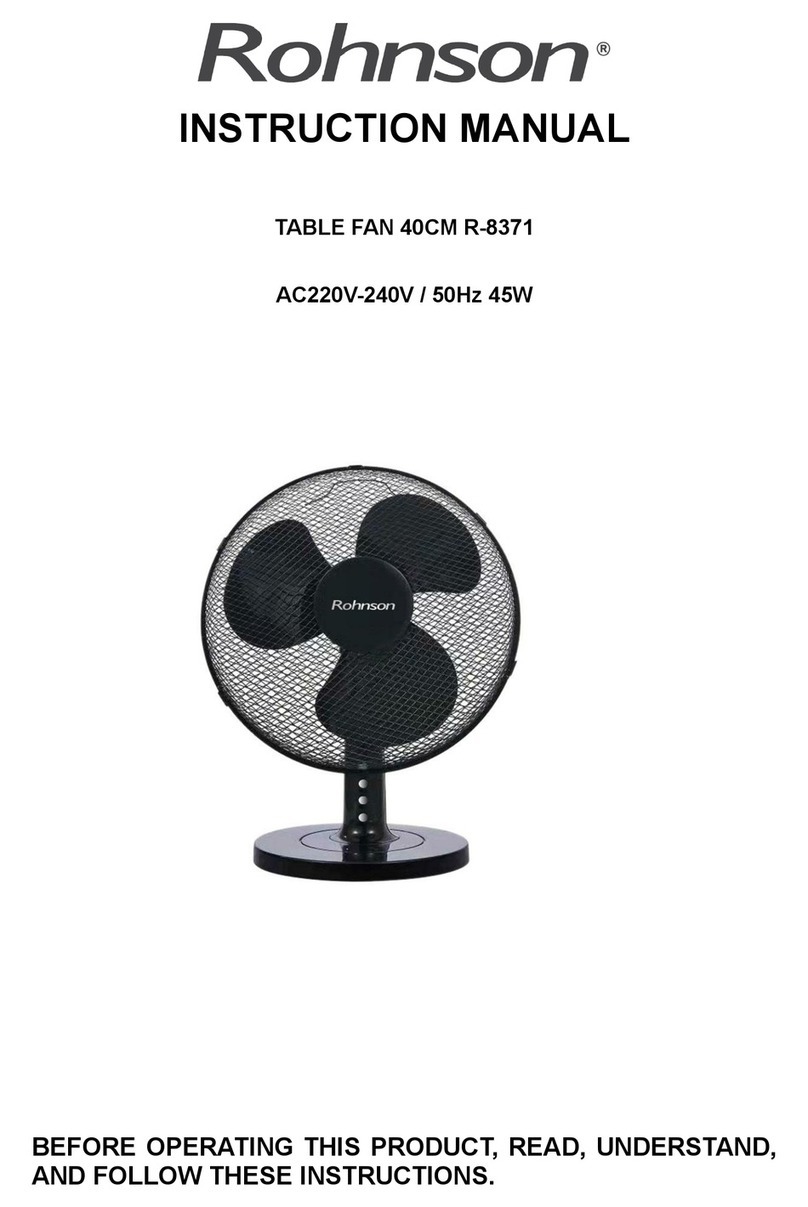
Rohnson
Rohnson R-8371 User manual
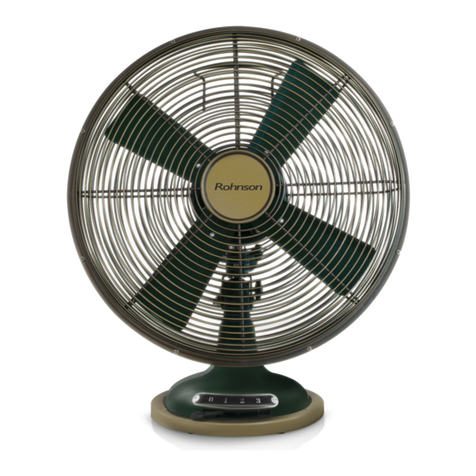
Rohnson
Rohnson R-865 User manual
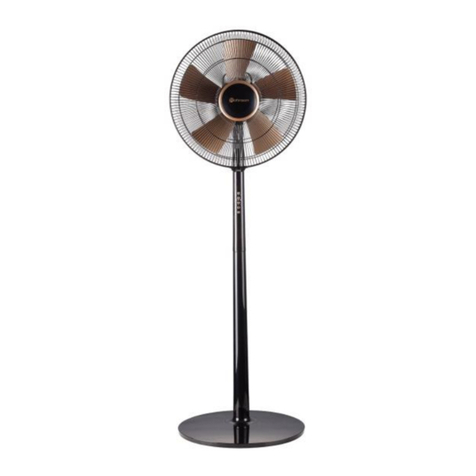
Rohnson
Rohnson R-849 User manual

Rohnson
Rohnson R-818 User manual

Rohnson
Rohnson R-839 User manual
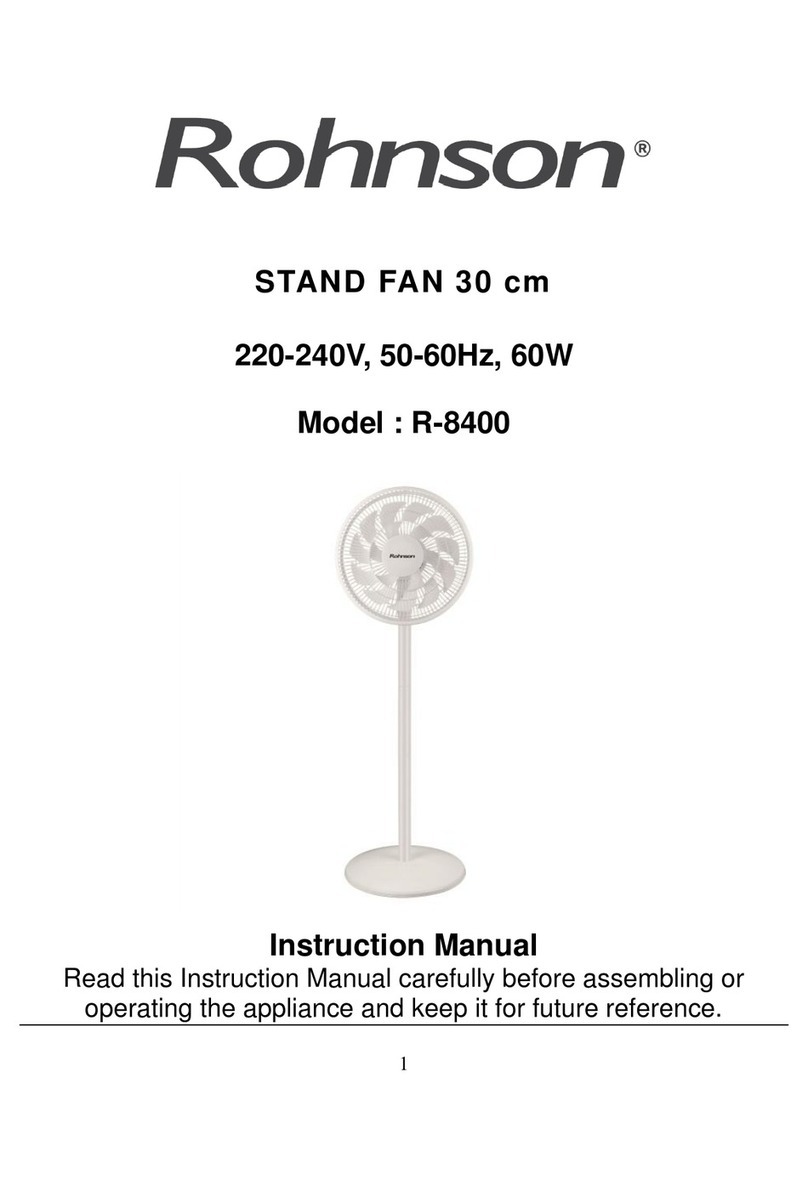
Rohnson
Rohnson R-8400 User manual

Rohnson
Rohnson R-8500 User manual
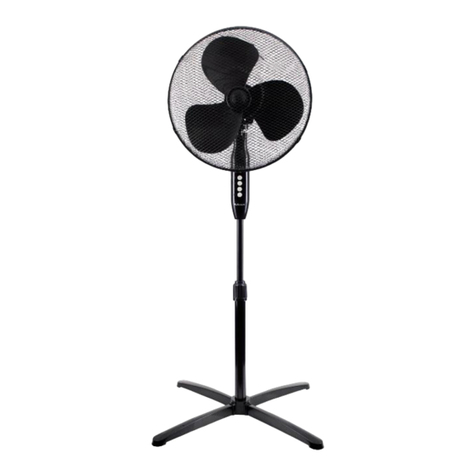
Rohnson
Rohnson R-854 User manual
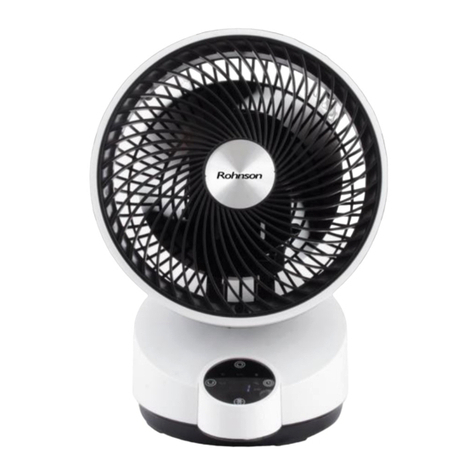
Rohnson
Rohnson R-8510 User manual
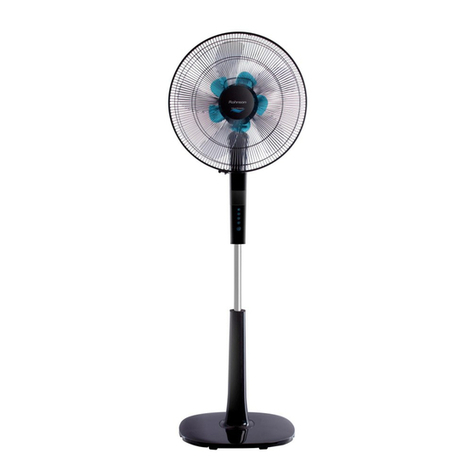
Rohnson
Rohnson R-860 User manual
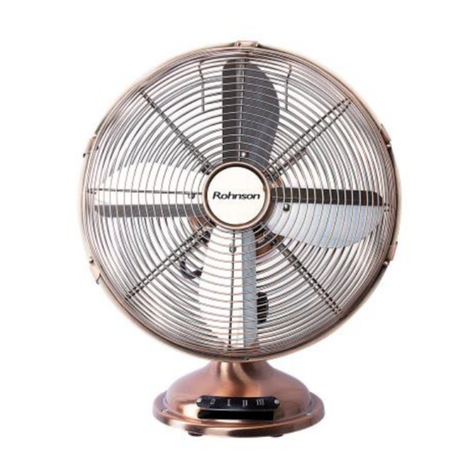
Rohnson
Rohnson R-863 User manual

Rohnson
Rohnson R-836 User manual
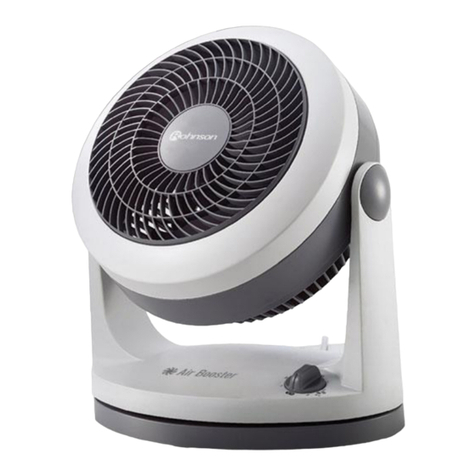
Rohnson
Rohnson R-858 User manual
Popular Fan manuals by other brands

ELTA FANS
ELTA FANS H03VV-F installation guide

Hunter
Hunter 20714 Owner's guide and installation manual

Emerson
Emerson CARRERA VERANDA CF542ORB00 owner's manual

Hunter
Hunter Caraway Owner's guide and installation manual

Panasonic
Panasonic FV-15NLFS1 Service manual

Kompernass
Kompernass KH 1150 operating instructions
