manuals.online logo
Brands
  1. Home
  2. •
  3. Brands
  4. •
  5. Rutland County
  6. •
  7. Outdoor Furnishing
  8. •
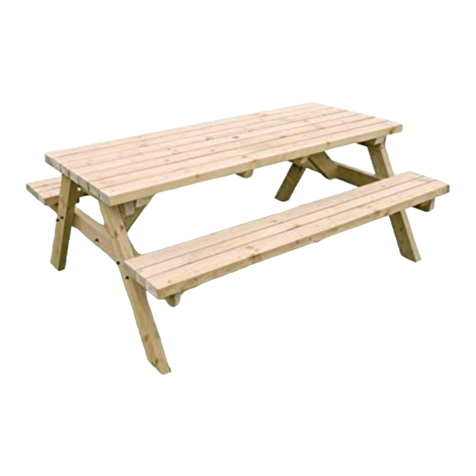
  9. Rutland County Tinwell picnic bench User manual

Rutland County Tinwell picnic bench User manual

Assembly Instructions
T
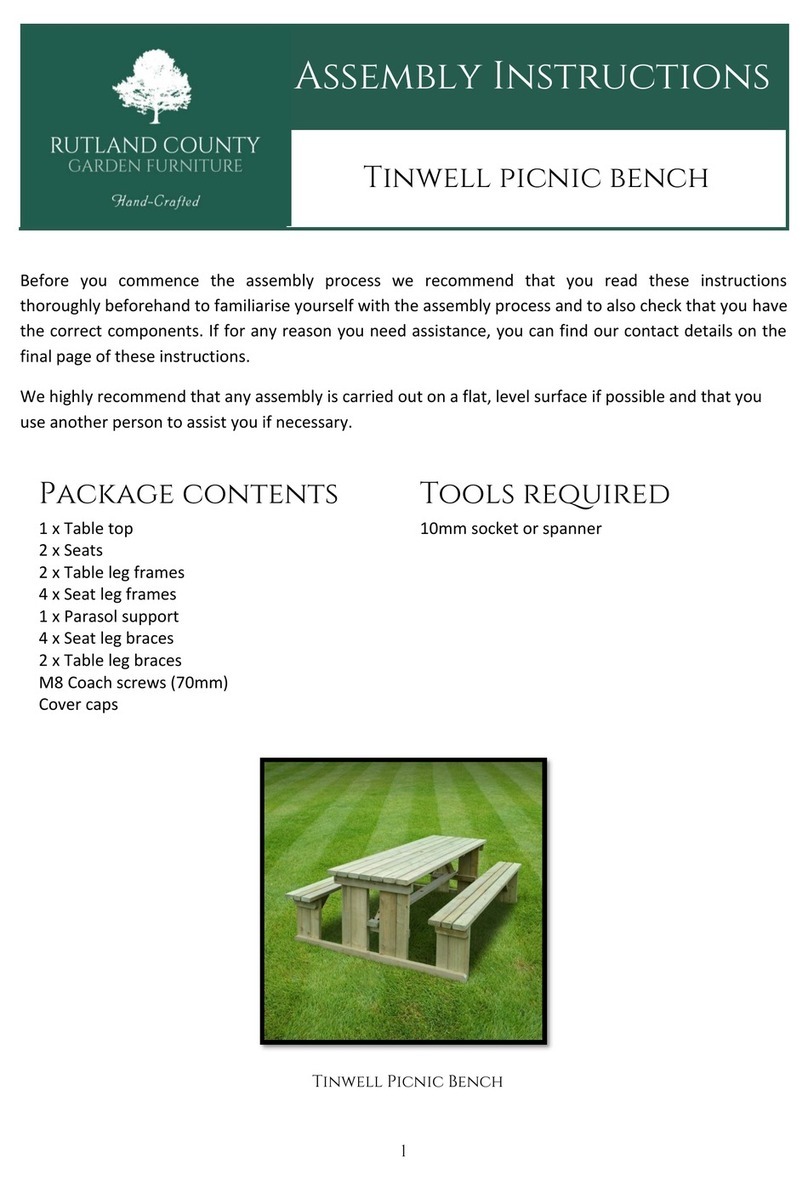
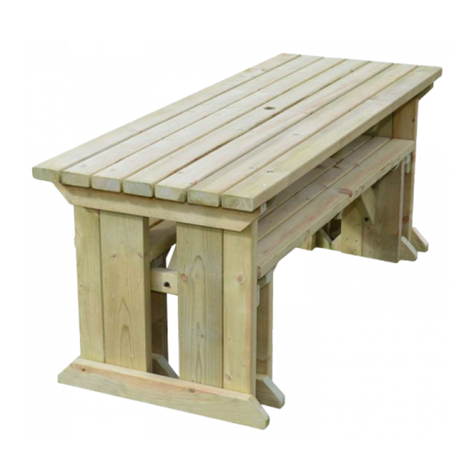
Tinwell picnic bench
1
Before you commence the assembly process we recommend that you read these instructions
thoroughly beforehand to familiarise yourself with the assembly process and to also check that you have
the correct components. If for any reason you need assistance, you can find our contact details on the
final page of these instructions.
We highly recommend that any assembly is carried out on a flat, level surface if possible and that you
use another person to assist you if necessary.
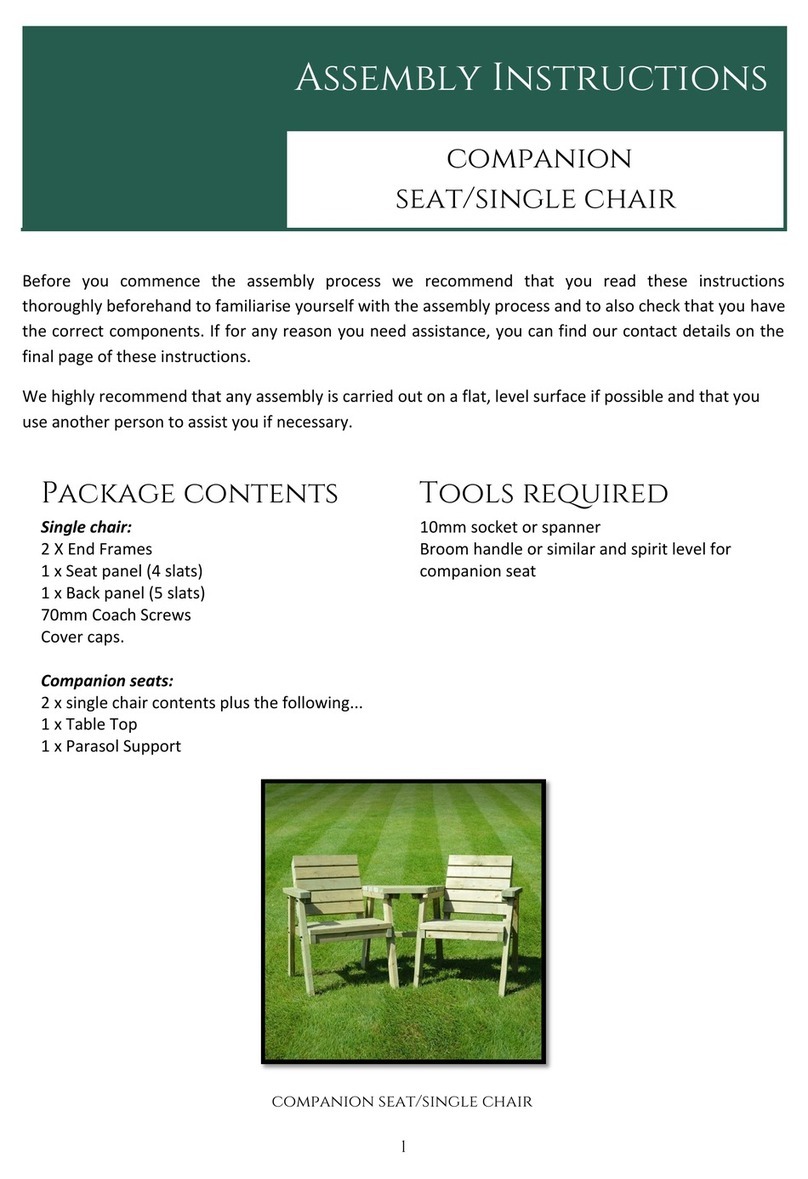
Package contents
Tools required
1 x Table top
2 x Seats
2 x Table leg frames 2 x Seats
4 x Seat leg frames
1 x Parasol support 2 x A frames
4 x Seat leg braces (not junior version)
2 x Table leg braces (not junior version)
M8 Coach screws (60 & 70mm)
Cover caps
* 8ft version additionally includes - 2 x seat supports and braces, 8 x
60mm Coach screws and 8 x cover caps.
10mm socket or spanner
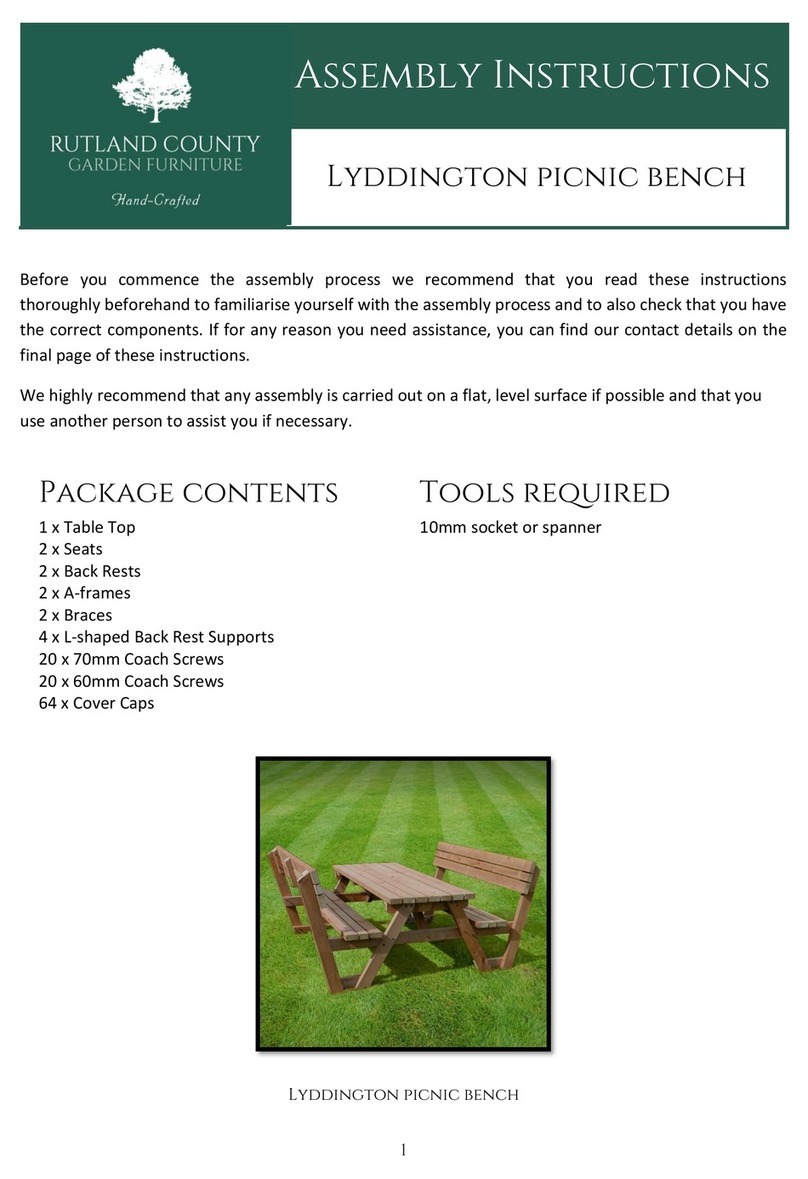
Tinwell Picnic Bench
Tinwell picnic bench
Rutland County Garden Furniture Ltd, Ashbourne House, 2 Dovecote Meadows,
Aslackby, Sleaford, Lincs, NG34 0HZ.
Company No: 7670072 VAT No: 151744027
2
Step 1
Step 2
Ensure that you have all of the correct parts as listed
on the front page of these instructions, including any
fixings.
Lay the table top upside down on a clean, flat surface
taking care not to damage it. Now line up one of the
table leg frames centrally on the table top as shown
in step 3.
Step 3
Step 4
Place one of the table leg frames centrally against the
fixing batten ensuring that the gap at the table edge
is the same on both sides. Now, using 2 of the
supplied 70mm coach screws and the pre drilled
holes, secure the table leg frame to the fixing batten
on the table top.
Using one of the supplied 70mm coach screws and
the pre drilled holes, secure the table leg frame to the
fixing batten on the table top...
Tinwell picnic bench
Rutland County Garden Furniture Ltd, Ashbourne House, 2 Dovecote Meadows,
Aslackby, Sleaford, Lincs, NG34 0HZ.
Company No: 7670072 VAT No: 151744027
3
Step 5
Step 6
...and secure the other side in the same fashion.
Repeat steps 2-5 for the other table leg frame.
Now both ends are attached....
Step 7
Step 8
...turn the table right side up.
Place one of the leg braces centrally against table leg
frame as shown and proceed to step 9.
Tinwell picnic bench
Rutland County Garden Furniture Ltd, Ashbourne House, 2 Dovecote Meadows,
Aslackby, Sleaford, Lincs, NG34 0HZ.
Company No: 7670072 VAT No: 151744027
4
Step 9
Step 10
Using the pencil lines on the leg brace as a guide, line
up the brace in the correct position and attach it to
the bottom of the table leg frame...
...using a 60mm coach screw. Then secure the other
end of the brace in the same manner.
Step 11
Step 12
Now repeat steps 8 - 10 for the other end of the table
until your table is as shown above.
Insert the parasol brace into the gap between the
table legs until each end is resting on the table leg
frame cross brace, as shown above.
Tinwell picnic bench
Rutland County Garden Furniture Ltd, Ashbourne House, 2 Dovecote Meadows,
Aslackby, Sleaford, Lincs, NG34 0HZ.
Company No: 7670072 VAT No: 151744027
5
Step 13
Step 14
Ensure the end of the parasol brace is flush with the
end frame.
Then secure in place using 2 x 60mm coach screws in
each end of the parasol brace. (For the
junior/children's version proceed to Step 18)
Step 15
Step 16
Position one of the table leg braces so that it is
positioned as shown and also central across the
parasol brace then hold it in place. (Omit this step
and the next two for the junior version).
Now look under the table and adjust the position so
that this is also aligned centrally across the table
centre slat.
Tinwell picnic bench
Rutland County Garden Furniture Ltd, Ashbourne House, 2 Dovecote Meadows,
Aslackby, Sleaford, Lincs, NG34 0HZ.
Company No: 7670072 VAT No: 151744027
6
Step 17
Step 18
Continue to hold the table leg brace firmly in place
and attach it to both the parasol brace and table top
using 60mm coach screws. Repeat the process for the
other angle brace.
For an 8ft model, follow Steps 18 to 21. Place one of
the seat panels upside on a flat surface and place the
seat support adjacent to the centre batten...
Step 19
Step 20
...and aligned centrally on the seat panel before fixing
into place with 2 x 60mm coach screws as shown.
Now place the brace set support brace as shown so
that it is also aligned centrally...
Tinwell picnic bench
Rutland County Garden Furniture Ltd, Ashbourne House, 2 Dovecote Meadows,
Aslackby, Sleaford, Lincs, NG34 0HZ.
Company No: 7670072 VAT No: 151744027
7
Step 21
Step 22
...before fixing into place with a 60mm coach through
the brace into both the support and the underside of
the seat panel.
Now lay one of the seat panels upside down on a flat
surface as shown.
Step 23
Step 24
Align one of the seat leg frames centrally across the
seat panel.
Attach the leg frame using 2 x 70mm coach screws as
shown. Repeat for the other end of the seat panel
then for the remaining seat panel and leg frames.
(For the junior/children's version proceed to Step 28)
Tinwell picnic bench
Rutland County Garden Furniture Ltd, Ashbourne House, 2 Dovecote Meadows,
Aslackby, Sleaford, Lincs, NG34 0HZ.
Company No: 7670072 VAT No: 151744027
8
Step 25
Step 26
Place a seat leg brace in position and, as you did for
the table, ensure it is centrally aligned. (Omit this
step and the next two for the junior version).
Now attach it to the seat panel and seat end frame
using 60mm coach screws.
Step 27
Step 28
Attach one of the seat leg braces to the other end of
the seat unit and then repeat steps 21-23 for the
other seat.
Place the completed seat units in position, ready to
be secured to the main table assembly as shown.
Tinwell picnic bench
Rutland County Garden Furniture Ltd, Ashbourne House, 2 Dovecote Meadows,
Aslackby, Sleaford, Lincs, NG34 0HZ.
Company No: 7670072 VAT No: 151744027
9
Step 29
Step 30
Ensure that the edge of the seat frame is flush with
the end of the leg brace...
... and fix into place using 2 x 60mm coach screws.
Repeat this for the remaining 3 seat frame ends.
Step 31
Place the black cover caps supplied over any exposed
screw heads. Your Tinwell bench is now complete.
We hope that you found your product quick and easy to assemble but if not and you require any
further assistance or have any questions you can contact us by telephone on: 01778 440803
Email: [email protected]
www.rutlandcountygardenfurniture.co.uk

Other Rutland County Outdoor Furnishing manuals
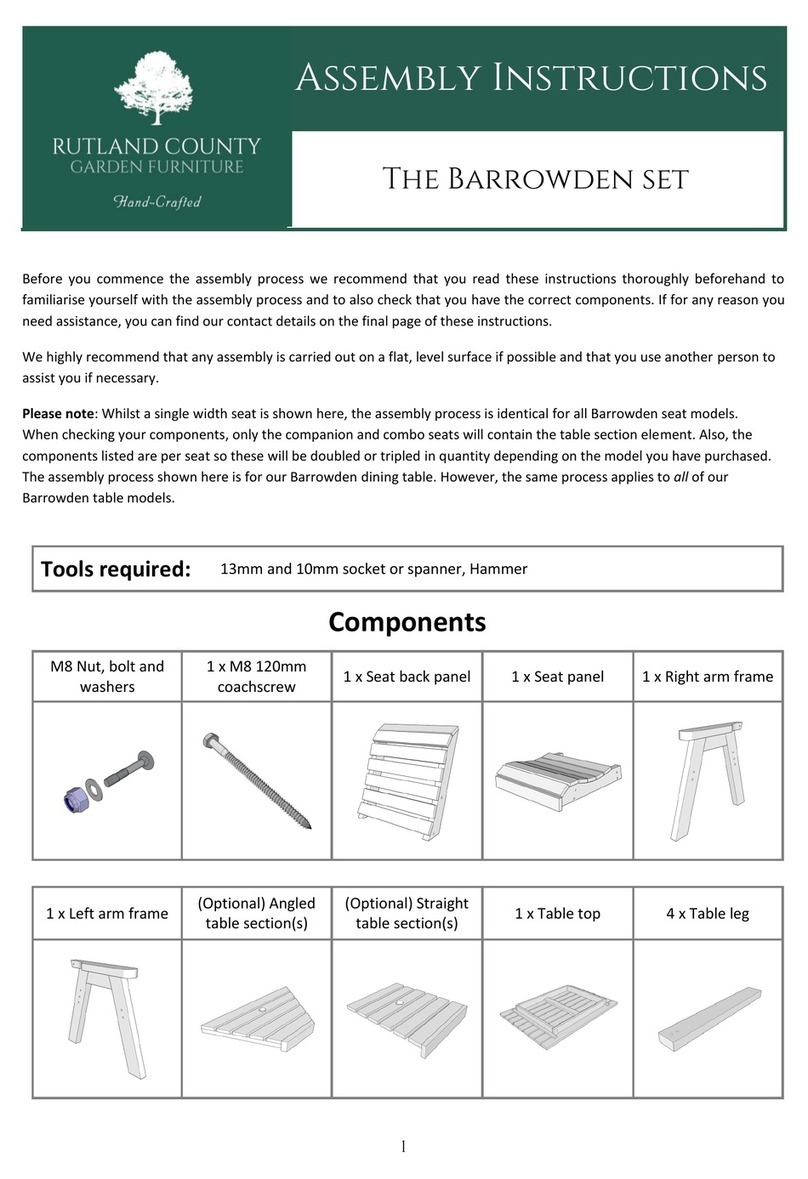
Rutland County The Barrowden set User manual

Rutland County

Rutland County The Barrowden set User manual

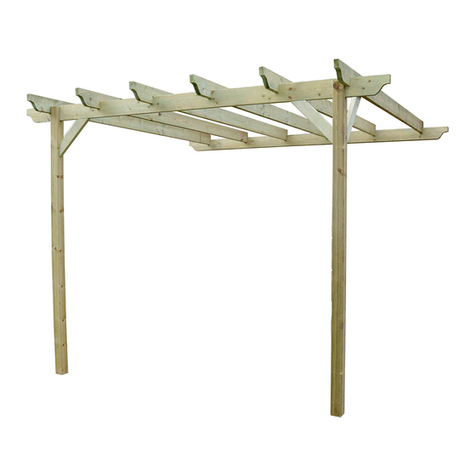
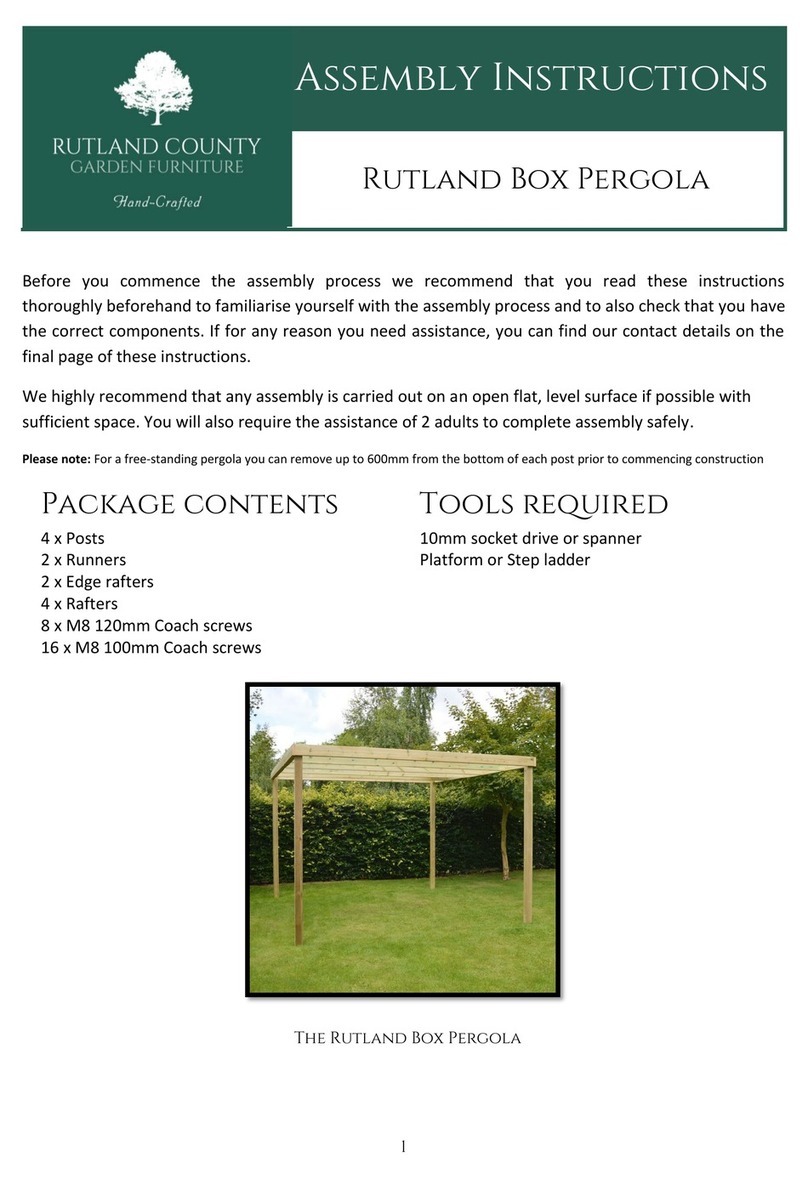
Rutland County Box Pergola User manual

Rutland County

Rutland County Box Pergola User manual

Rutland County WMDPP18 User manual

Rutland County

Rutland County WMDPP18 User manual

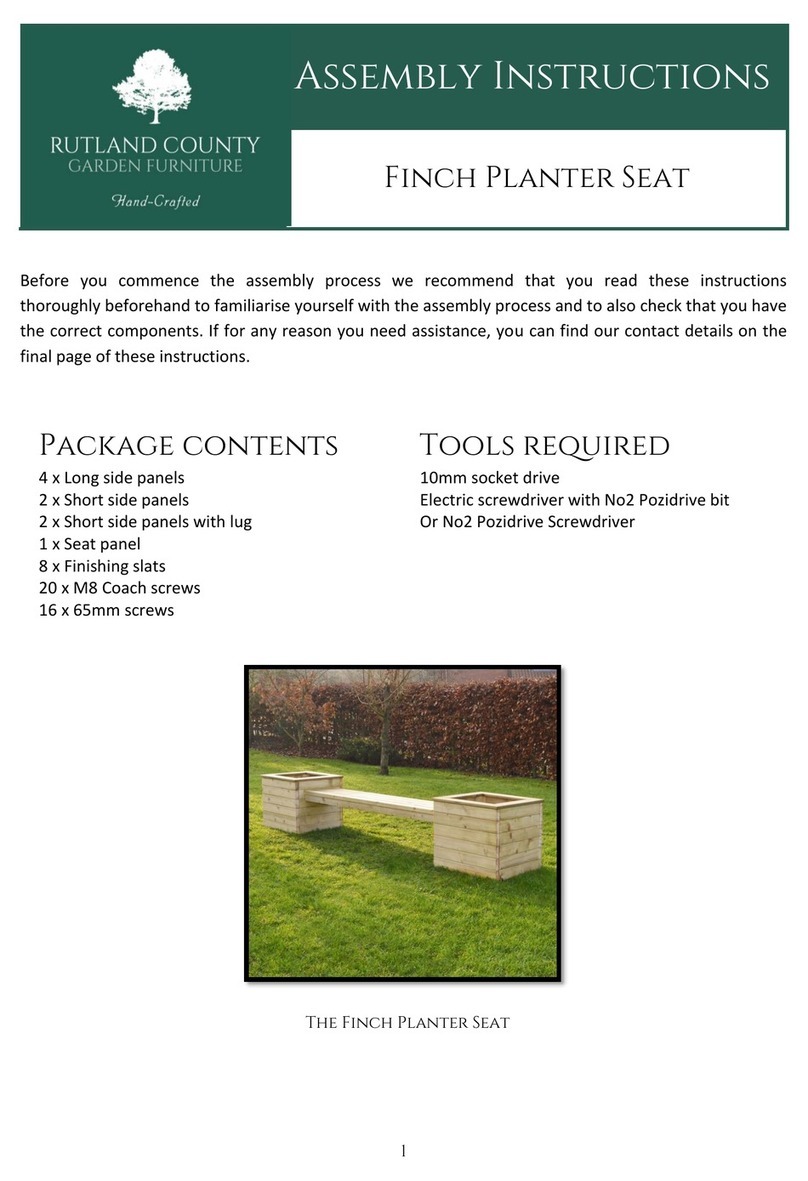
Rutland County Tinwell Picnic Bench User manual

Rutland County

Rutland County Tinwell Picnic Bench User manual

Rutland County Tinwell User manual

Rutland County

Rutland County Tinwell User manual

Rutland County Lyddington picnic bench User manual

Rutland County

Rutland County Lyddington picnic bench User manual

Rutland County Oakham Picnic Bench User manual

Rutland County

Rutland County Oakham Picnic Bench User manual

Rutland County Tinwell User manual

Rutland County

Rutland County Tinwell User manual

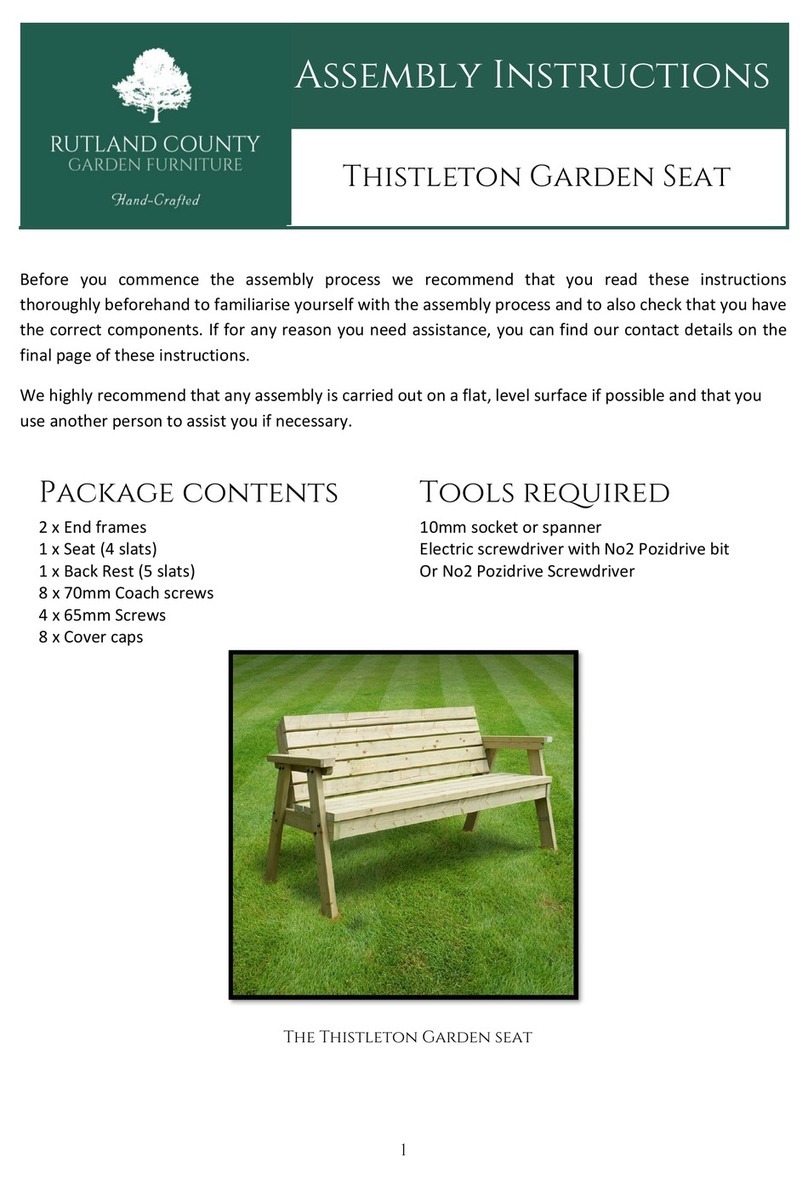
Rutland County Thistleton Garden Seat User manual

Rutland County

Rutland County Thistleton Garden Seat User manual

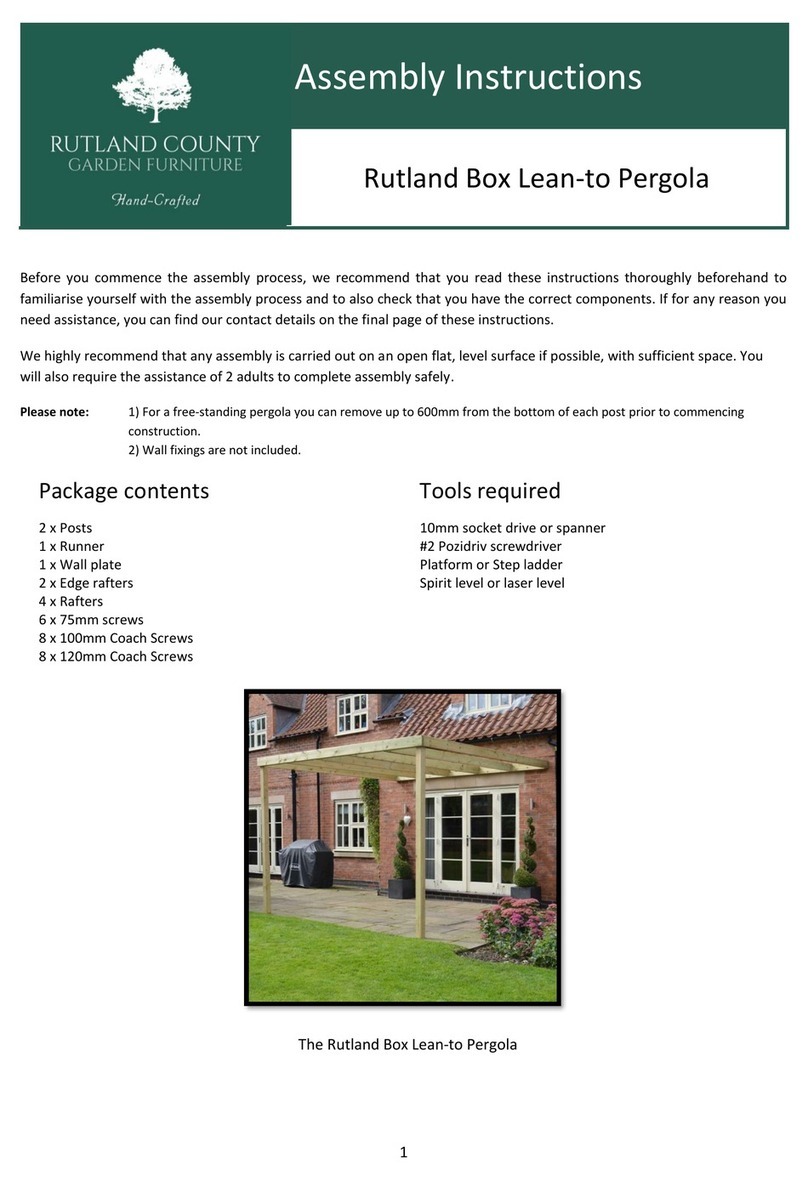
Rutland County Rutland Box Lean-to Pergola User manual
Rutland County

Rutland County Rutland Box Lean-to Pergola User manual

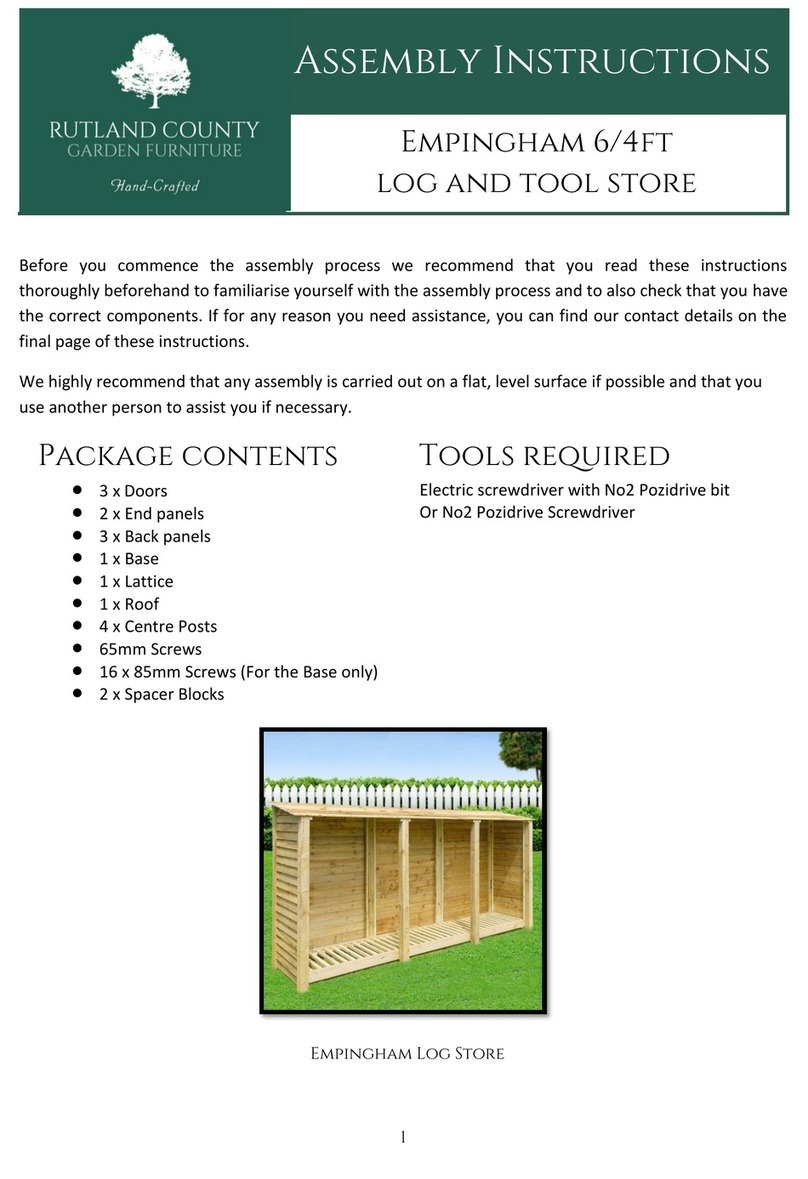
Rutland County Empingham 6/4ft log and tool store User manual

Rutland County

Rutland County Empingham 6/4ft log and tool store User manual

Rutland County Premium Lean-to Pergola User manual

Rutland County

Rutland County Premium Lean-to Pergola User manual

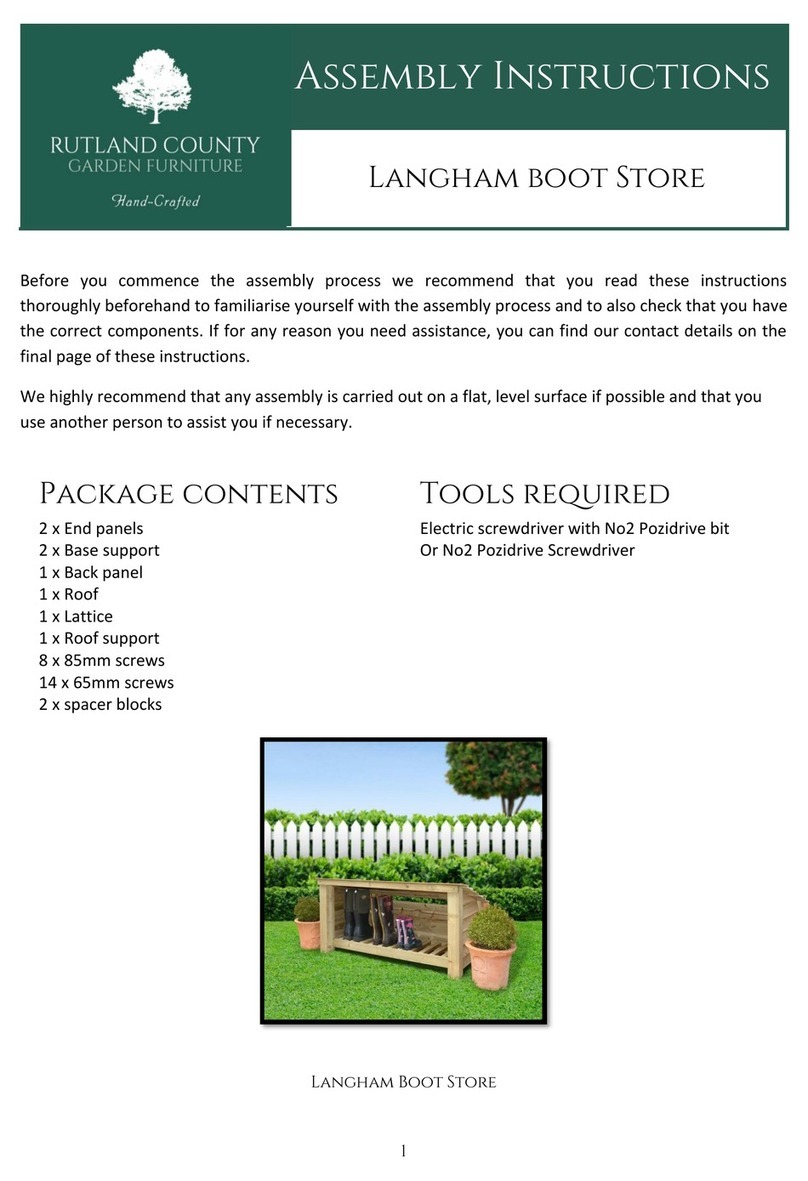
Rutland County Langham Boot Store User manual

Rutland County

Rutland County Langham Boot Store User manual

Rutland County FINCH User manual

Rutland County

Rutland County FINCH User manual

Rutland County Thistleton Companion Seat User manual
Rutland County

Rutland County Thistleton Companion Seat User manual

Popular Outdoor Furnishing manuals by other brands

Blue Sky Outdoor Living OKCSST26 owner's manual

Blue Sky Outdoor Living

Blue Sky Outdoor Living OKCSST26 owner's manual

Kettler BOULEVARD 0307020-0000 Assembly & operating instructions

Kettler

Kettler BOULEVARD 0307020-0000 Assembly & operating instructions

Forever Redwood MODERN LOUVERED GARDEN PERGOLA Assembly instructions

Forever Redwood

Forever Redwood MODERN LOUVERED GARDEN PERGOLA Assembly instructions

leco Melanie instructions

leco

leco Melanie instructions

modway EEI-3371 Assembly instructions

modway

modway EEI-3371 Assembly instructions

Safavieh PAT7044 manual

Safavieh

Safavieh PAT7044 manual

Safavieh Outdoor Evert PAT6750 Assembly instructions

Safavieh Outdoor

Safavieh Outdoor Evert PAT6750 Assembly instructions

AuthenTeak Kingsley-Bate Assembly instructions

AuthenTeak

AuthenTeak Kingsley-Bate Assembly instructions

Vivere JUNIPER WOOD 15ARCJW Assembly instructions

Vivere

Vivere JUNIPER WOOD 15ARCJW Assembly instructions

Arcane T18 manual

Arcane

Arcane T18 manual

Broyhill Legacy SC-K-454PGS1 Assembly instruction

Broyhill

Broyhill Legacy SC-K-454PGS1 Assembly instruction

Paragon GZ3DXL Assembly instructions

Paragon

Paragon GZ3DXL Assembly instructions

Hanover ORL4PCCFPSW2-TAN Assembly instructions

Hanover

Hanover ORL4PCCFPSW2-TAN Assembly instructions

Deuba 101966 instructions

Deuba

Deuba 101966 instructions

Palmako PA90-3131 installation manual

Palmako

Palmako PA90-3131 installation manual

Hanover Manor MANDN9PCSWSQ-8 Assembly instructions

Hanover

Hanover Manor MANDN9PCSWSQ-8 Assembly instructions

Allen + Roth FHTA80081C-2 manual

Allen + Roth

Allen + Roth FHTA80081C-2 manual

Carefree of Colorado SUNDAY II PATIO AWNING Installation and operation manual

Carefree of Colorado

Carefree of Colorado SUNDAY II PATIO AWNING Installation and operation manual

manuals.online logo
manuals.online logoBrands
  • About & Mission
  • Contact us
  • Privacy Policy
  • Terms and Conditions

Copyright 2025 Manuals.Online. All Rights Reserved.