Rutland County WMDPP18 User manual
Other Rutland County Outdoor Furnishing manuals

Rutland County
Rutland County Lyddington picnic bench User manual

Rutland County
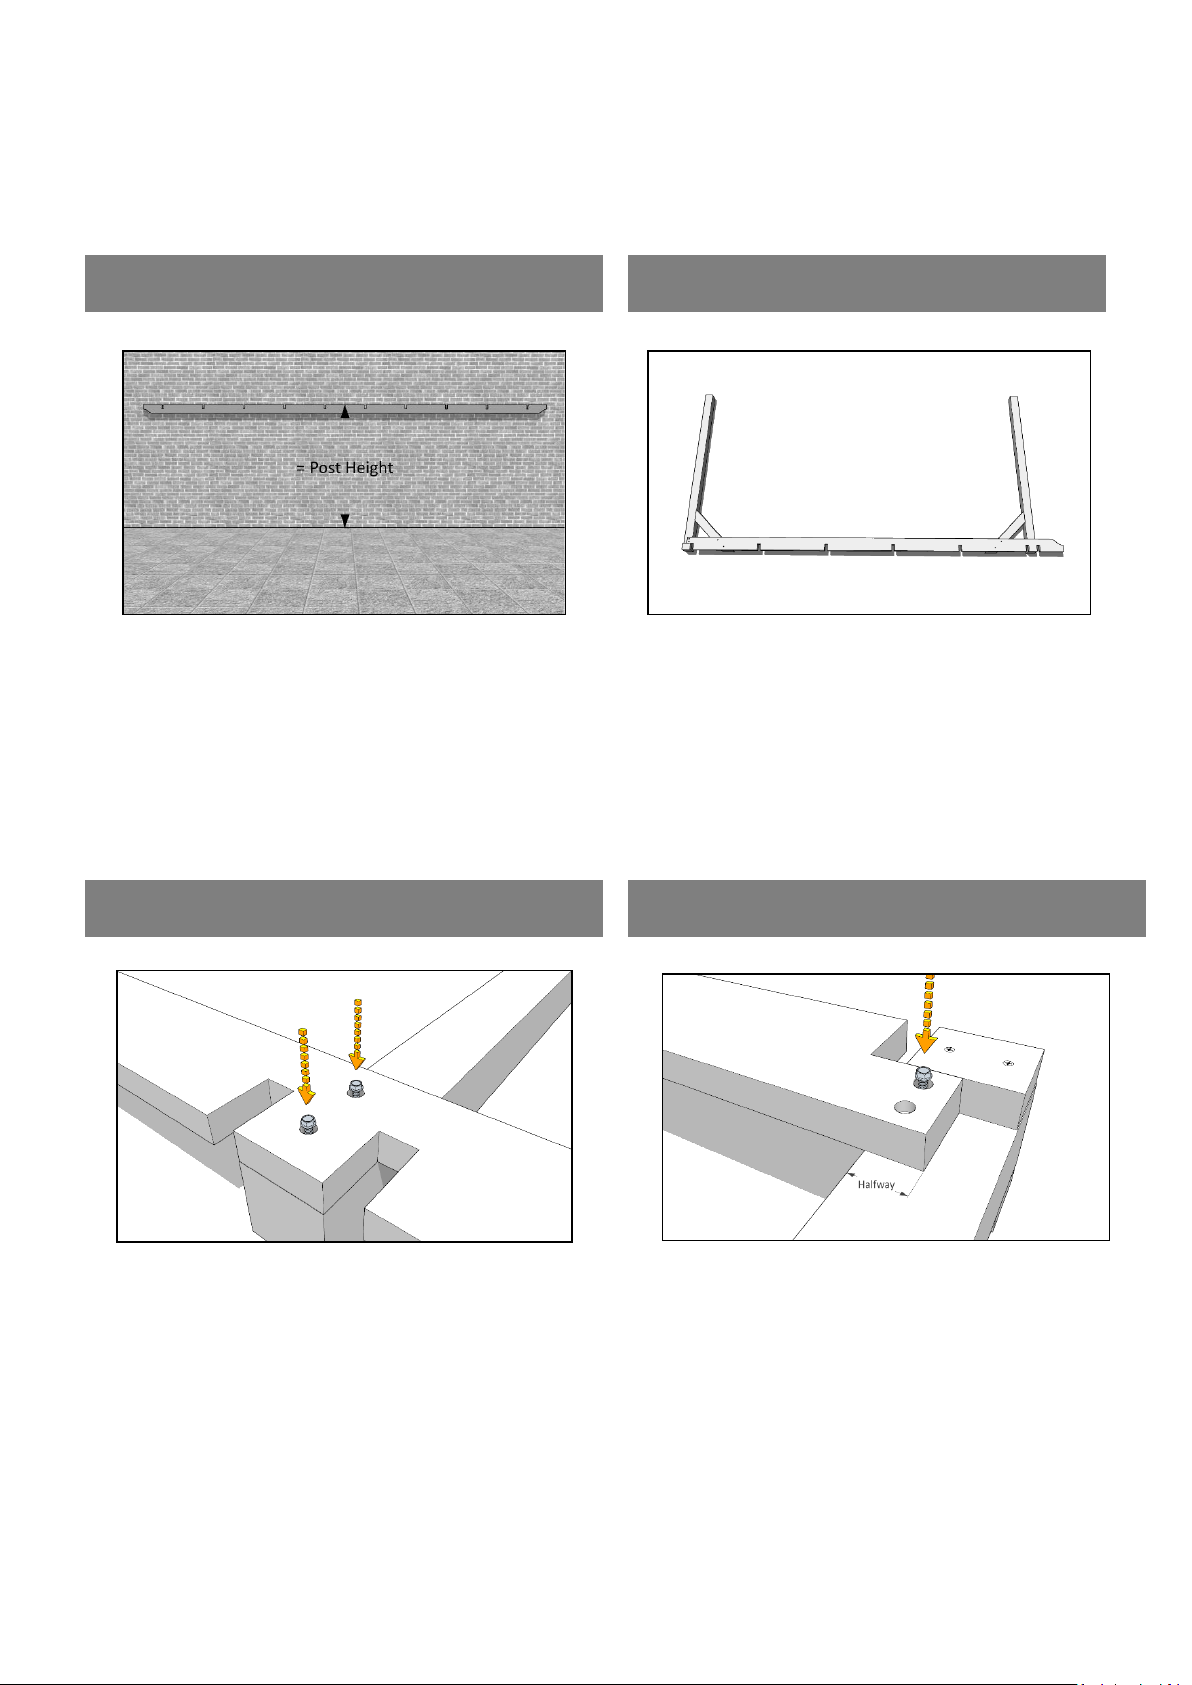
Rutland County Rutland Box Lean-to Pergola User manual

Rutland County
Rutland County Tinwell User manual

Rutland County
Rutland County Tinwell Picnic Bench User manual

Rutland County
Rutland County Tinwell User manual

Rutland County
Rutland County Thistleton Companion Seat User manual

Rutland County
Rutland County The Barrowden set User manual

Rutland County
Rutland County Empingham 6/4ft log and tool store User manual

Rutland County
Rutland County Box Pergola User manual

Rutland County
Rutland County Oakham Picnic Bench User manual


Popular Outdoor Furnishing manuals by other brands

Belleze
Belleze 014-HG-20074 manual

Hatteras Hammocks
Hatteras Hammocks DCA1-K-HH instructions

Kozyard
Kozyard Morgan Aluminum Pergola Assembly manual

Lemeks
Lemeks Palmako PA120-5959 Assembly, installation and maintenance manual

OLT
OLT 24 Assembly manual

forest-style
forest-style HACIENDA 2354 Building instructions

Courtyard Creations
Courtyard Creations RUS0188-WM Assembly instructions

RPR
RPR OLLIE CHAIR manual

kingsley-bate
kingsley-bate MC-55 Assembly instructions

Weltevree
Weltevree Carrier product manual

Grange Fencing
Grange Fencing Elite Arch Assembly instructions

Grosfillex
Grosfillex AUVENT YR14 Assembly instructions