manuals.online logo
Brands
  1. Home
  2. •
  3. Brands
  4. •
  5. Ryobi
  6. •
  7. Measuring Instrument
  8. •
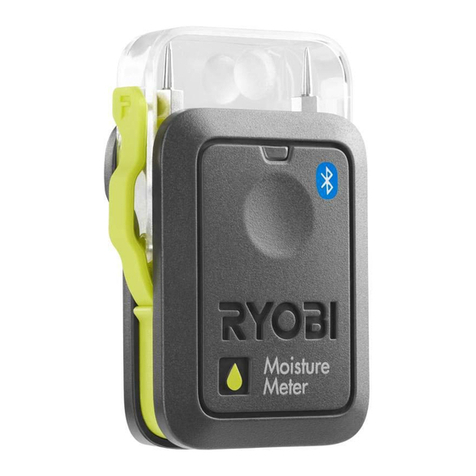
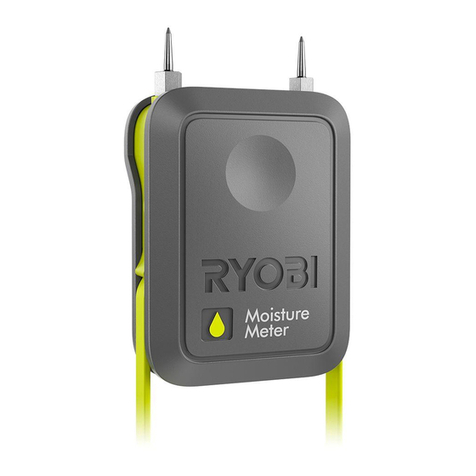
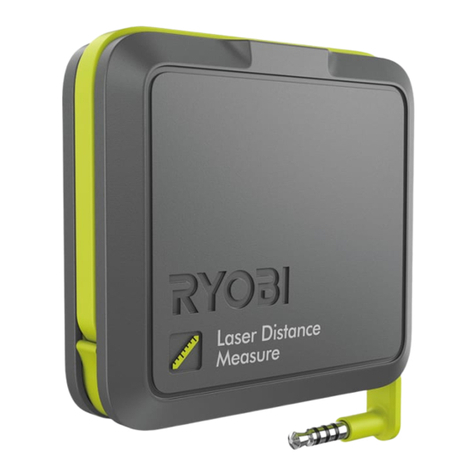
  9. Ryobi Phone Works ES3001 User manual

Ryobi Phone Works ES3001 User manual

Other manuals for Phone Works ES3001

1

This manual suits for next models

1

Other Ryobi Measuring Instrument manuals

Ryobi E49CM01 User manual

Ryobi

Ryobi E49CM01 User manual

Ryobi ES5000 User manual

Ryobi

Ryobi ES5000 User manual

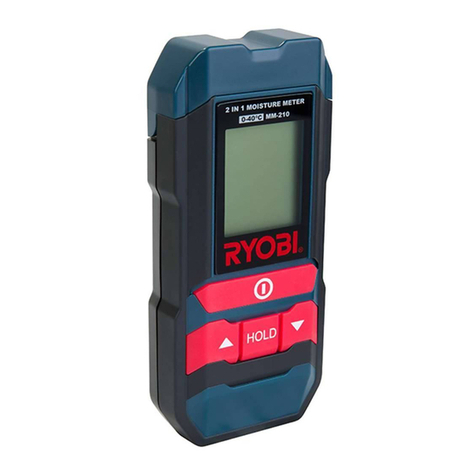
Ryobi MM-210 Operation manual

Ryobi

Ryobi MM-210 Operation manual

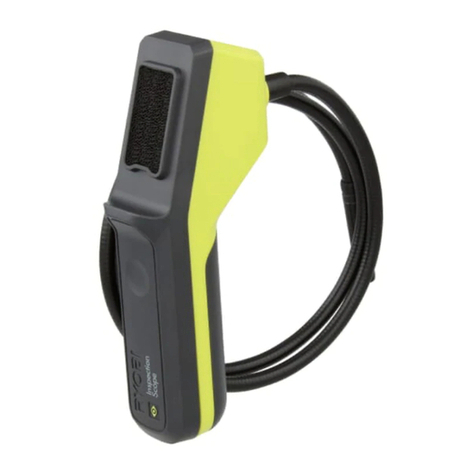
Ryobi RBPINMM1 User manual

Ryobi

Ryobi RBPINMM1 User manual

Ryobi LDM-20 Operation manual

Ryobi

Ryobi LDM-20 Operation manual

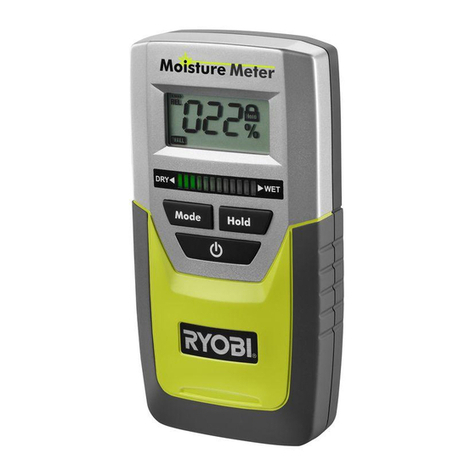
Ryobi E49MM01 User manual

Ryobi

Ryobi E49MM01 User manual

Ryobi RLL25GN User manual

Ryobi

Ryobi RLL25GN User manual

Ryobi RP4000 User manual

Ryobi

Ryobi RP4000 User manual

Ryobi RBLDM20 User manual

Ryobi

Ryobi RBLDM20 User manual

Ryobi EWT0003 WallTech User manual

Ryobi

Ryobi EWT0003 WallTech User manual

Ryobi LDM-22 Operation manual

Ryobi

Ryobi LDM-22 Operation manual

Ryobi ELDM65 User manual

Ryobi

Ryobi ELDM65 User manual

Ryobi Phone Works ES1000 User manual

Ryobi

Ryobi Phone Works ES1000 User manual

Ryobi E49CM01 User manual

Ryobi

Ryobi E49CM01 User manual

Ryobi E49MM01 User manual

Ryobi

Ryobi E49MM01 User manual

Ryobi E49IR01 User manual

Ryobi

Ryobi E49IR01 User manual

Ryobi RPW-1000 User manual

Ryobi

Ryobi RPW-1000 User manual

Ryobi RLM30 User manual

Ryobi

Ryobi RLM30 User manual

Ryobi Phone Works ES3001 User manual

Ryobi

Ryobi Phone Works ES3001 User manual

Ryobi RP4011 User manual

Ryobi

Ryobi RP4011 User manual

Ryobi P737D User manual

Ryobi

Ryobi P737D User manual

Ryobi RP4000 User manual

Ryobi

Ryobi RP4000 User manual

Ryobi RP4011 Quick setup guide

Ryobi

Ryobi RP4011 Quick setup guide

Ryobi Phone Works ES3000 User manual

Ryobi

Ryobi Phone Works ES3000 User manual

Popular Measuring Instrument manuals by other brands

Powerfix Profi 278296 Operation and safety notes

Powerfix Profi

Powerfix Profi 278296 Operation and safety notes

Test Equipment Depot GVT-427B user manual

Test Equipment Depot

Test Equipment Depot GVT-427B user manual

Fieldpiece ACH Operator's manual

Fieldpiece

Fieldpiece ACH Operator's manual

FLYSURFER VIRON3 user manual

FLYSURFER

FLYSURFER VIRON3 user manual

GMW TG uni 1 operating manual

GMW

GMW TG uni 1 operating manual

Downeaster Wind & Weather Medallion Series instruction manual

Downeaster

Downeaster Wind & Weather Medallion Series instruction manual

Hanna Instruments HI96725C instruction manual

Hanna Instruments

Hanna Instruments HI96725C instruction manual

Nokeval KMR260 quick guide

Nokeval

Nokeval KMR260 quick guide

HOKUYO AUTOMATIC UBG-05LN instruction manual

HOKUYO AUTOMATIC

HOKUYO AUTOMATIC UBG-05LN instruction manual

Fluke 96000 Series Operator's manual

Fluke

Fluke 96000 Series Operator's manual

Test Products International SP565 user manual

Test Products International

Test Products International SP565 user manual

General Sleep Zmachine Insight+ DT-200 Service manual

General Sleep

General Sleep Zmachine Insight+ DT-200 Service manual

Sensa Core Lacto Spark user manual

Sensa Core

Sensa Core Lacto Spark user manual

VOLTCRAFT UTS-1980 operating instructions

VOLTCRAFT

VOLTCRAFT UTS-1980 operating instructions

EBCHQ 94915 Operation manual

EBCHQ

EBCHQ 94915 Operation manual

Balluff BIP LD2-T017-01-EP-S4 Series user guide

Balluff

Balluff BIP LD2-T017-01-EP-S4 Series user guide

Pulsar IMP Lite Series instruction manual

Pulsar

Pulsar IMP Lite Series instruction manual

ETCR 6800 user manual

ETCR

ETCR 6800 user manual

manuals.online logo
manuals.online logoBrands
  • About & Mission
  • Contact us
  • Privacy Policy
  • Terms and Conditions

Copyright 2025 Manuals.Online. All Rights Reserved.

ES5001 Inspection Scope
ACTIVATING DEVICE
1. Select the Inspection Scope device icon and choose Activate Device.
2. Select your current Ryobi Nation login credentials, or if new user, Create
Account.
3. Enter the 14-digit serial number and purchase date.
GETTING STARTED
1. Remove red tab in the battery compartment to activate the batteries.
2. Press and hold the power button on top of the scope until it starts flashing
green.
3. On your phone, go into your wireless settings and ensure that wireless is turned
on.
4. When the light on the top of the scope turns solid green, the wireless network
PhoneWorksScope should appear on your phone.
5. Select PhoneWorksScope wireless network.
6. Line up the notches of the clip and the device. With your thumbs, firmly push in
the center of the clip until you hear a click.
7. Make sure the clip is securely attached to the device before proceeding.
8. Attach the clip to your phone or use up to 10 feet away.
9. Select the Inspection Scope icon on the app’s home screen.
NOTE: In order for the app to work properly, select Ok when asked for access
to the microphone, camera and location. These settings can be changed in
your phone’s dedicated settings.
10. The full Operator’s Manual is available in Settings.
995000209
2-10-17 (REV:01)
WARNING:
This Quick Start Guide is not a substitute for reading the operator’s manual included
with the app. To reduce the risk of injury, user must read and understand operator’s
manual before using this product.
Thank you for purchasing Ryobi™Phone Works™
If you need assistance DO NOT RETURN TO THE STORE
Please contact us at 1-877-578-6736
TM
TM
Before getting started, please visit
www.ryobitools.com/phoneworks
There you can find How-To Videos, Operator’s Manuals and
the most current list of compatible phones.
Download Ryobi™Phone Works™App from the App Store or Google Play Store
Merci d’avoir acheté un dispositif Ryobi™Phone Works™
Si vous avez besoin d’aide NE RETOURNEZ PAS AU MAGASIN. Appelez au numéro 1 877 578-6736.
Gracias por comprar Ryobi™Phone Works™
Si necesita ayuda, NO LO DEVUELVA A LA TIENDA. Por favor contáctenos al 1-877-578-6736
AVERTISSEMENT :
Ce guide de démarrage rapide est incomplet et le manuel d’utilisation fourni avec l’application
doit être lu. Pour réduire le risque de blessure, l’utilisateur doit lire et comprendre le manuel
d’utilisation avant d’utiliser ce produit.
ADVERTENCIA:
Esta guía de inicio rápido no sustituye el manual del operador incluido con la aplicación. Para
reducir el riesgo de lesiones, el usuario debe leer y comprender el manual del operador de este
producto antes de utilizarlo.
Avant de commencer, veuillez visiter le site www.ryobitools.com/phoneworks
Vous y trouverez des vidéos explicatifs, des manuels d’utilisation et la liste récente des téléphones compatibles.
Téléchargez l’application Ryobi™Phone Works™sur le site App Store ou Google Play Store.
Antes de comenzar, visite www.ryobitools.com/phoneworks.
Allí puede encontrar videos prácticos, manuales del operador y la lista más actualizada de teléfonos compatibles.
Descargue la aplicación Ryobi™Phone Works™de App Store o la tienda de Google Play.
ES5001 Inspection Scope (microscope d’inspection)
ACTIVATION DU DISPOSITIF
1. Sélectionnez l’icône du dispositif Inspection Scope (microscope d’inspection) et sélectionnez
Activate Device (activer le dispositif).
2. Sélectionnez votre authentifiant Ryobi Nation pour ouvrir votre session ou sur Create Account
(créer un compte).
3. Saisissez le numéro de série à 14 chiffres et la date d’achat.
POUR COMMENCER
1. Retirez la languette rouge située dans le logement de piles pour établir le contact des piles.
2. Appuyez et maintenez enfoncé le bouton de mise sous tension situé au haut du microscope
jusqu’à ce qu’il commence à clignoter en vert.
3. Depuis votre téléphone, allez aux réglages sans fil et assurez-vous que la fonction sans fil est
activée.
4. Lorsque le témoin vert situé au haut du microscope est vert et fixe, le réseau sans fil
PhoneWorksScope devrait apparaître sur votre téléphone.
5. Sélectionnez le réseau sans fil PhoneWorksScope (microscope d’inspection PhoneWorks).
6. Alignez les encoches de la pince avec le dispositif. Avec les pouces, poussez fermement le centre
de la pince jusqu’à ce qu’elle s’enclenche.
7. Assurez-vous que la pince est enclenchée fermement au dispositif avant de continuer.
8. Fixez la pince à votre téléphone ou l’utiliser jusqu’à une distance de 3,0 m (10 pi).
9. Lorsque l’application est ouverte depuis l’écran d’accueil, sélectionnez l’icône Inspection Scope
(microscope d’inspection).
NOTE : Pour que l’application fonctionne correctement, veuillez sélectionner « Ok » lors de l’invite
d’accès au microphone, à la caméra et de l’emplacement. Ces réglages peuvent être modifiés à
partir du menu de réglages de votre téléphone.
10. Le manuel d’utilisation complet se trouve dans le menu Settings (réglages).
ES5001 Inspection Scope (lente de inspección)
ACTIVACIÓN DEL DISPOSITIVO
1. Seleccione el ícono del dispositivo Inspection Scope (lente de inspección) y elija Activate
Device (Activar dispositivo).
2. Seleccione sus credenciales de inicio de sesión actuales de Ryobi Nation, o si es un usuario
nuevo, Create Account (Crear cuenta).
3. Ingrese el número de serie de 14 dígitos y la fecha de compra.
PASOS INICIALES
1. Extraiga la pestaña roja del compartimiento de la batería para conectar las baterías.
2. Presione y mantenga presionado el botón de alimentación en la parte superior del lente hasta
que comience a parpadear en verde.
3. En su teléfono, vaya a la configuración de redes inalámbricas y asegúrese de que la conexión
inalámbrica esté encendida.
4. Cuando la luz verde de la parte superior del lente deje de parpadear, debería aparecer la red
inalámbrica PhoneWorksScope en su teléfono.
5. Seleccione la red inalámbrica PhoneWorksScope.
6. Alinee las muescas del clip y del dispositivo. Con los pulgares, presione firmemente el centro del
clip hasta escuchar un “clic”.
7. Asegúrese de que el clip esté correctamente fijado al dispositivo antes de continuar.
8. Conecte el clip a su teléfono o utilice el lente a hasta 3 metros (10 pies) de distancia.
9. Seleccione el ícono del Inspection Scope (lente de inspección) en la pantalla de inicio de la
aplicación.
NOTA: Para que la aplicación funcione correctamente, seleccione Ok cuando se le solicite
acceso al micrófono, a la cámara y a la ubicación. Estos ajustes pueden cambiarse en la
configuración específica de su teléfono.
10. El manual del operador completo está disponible en Settings (Ajustes).