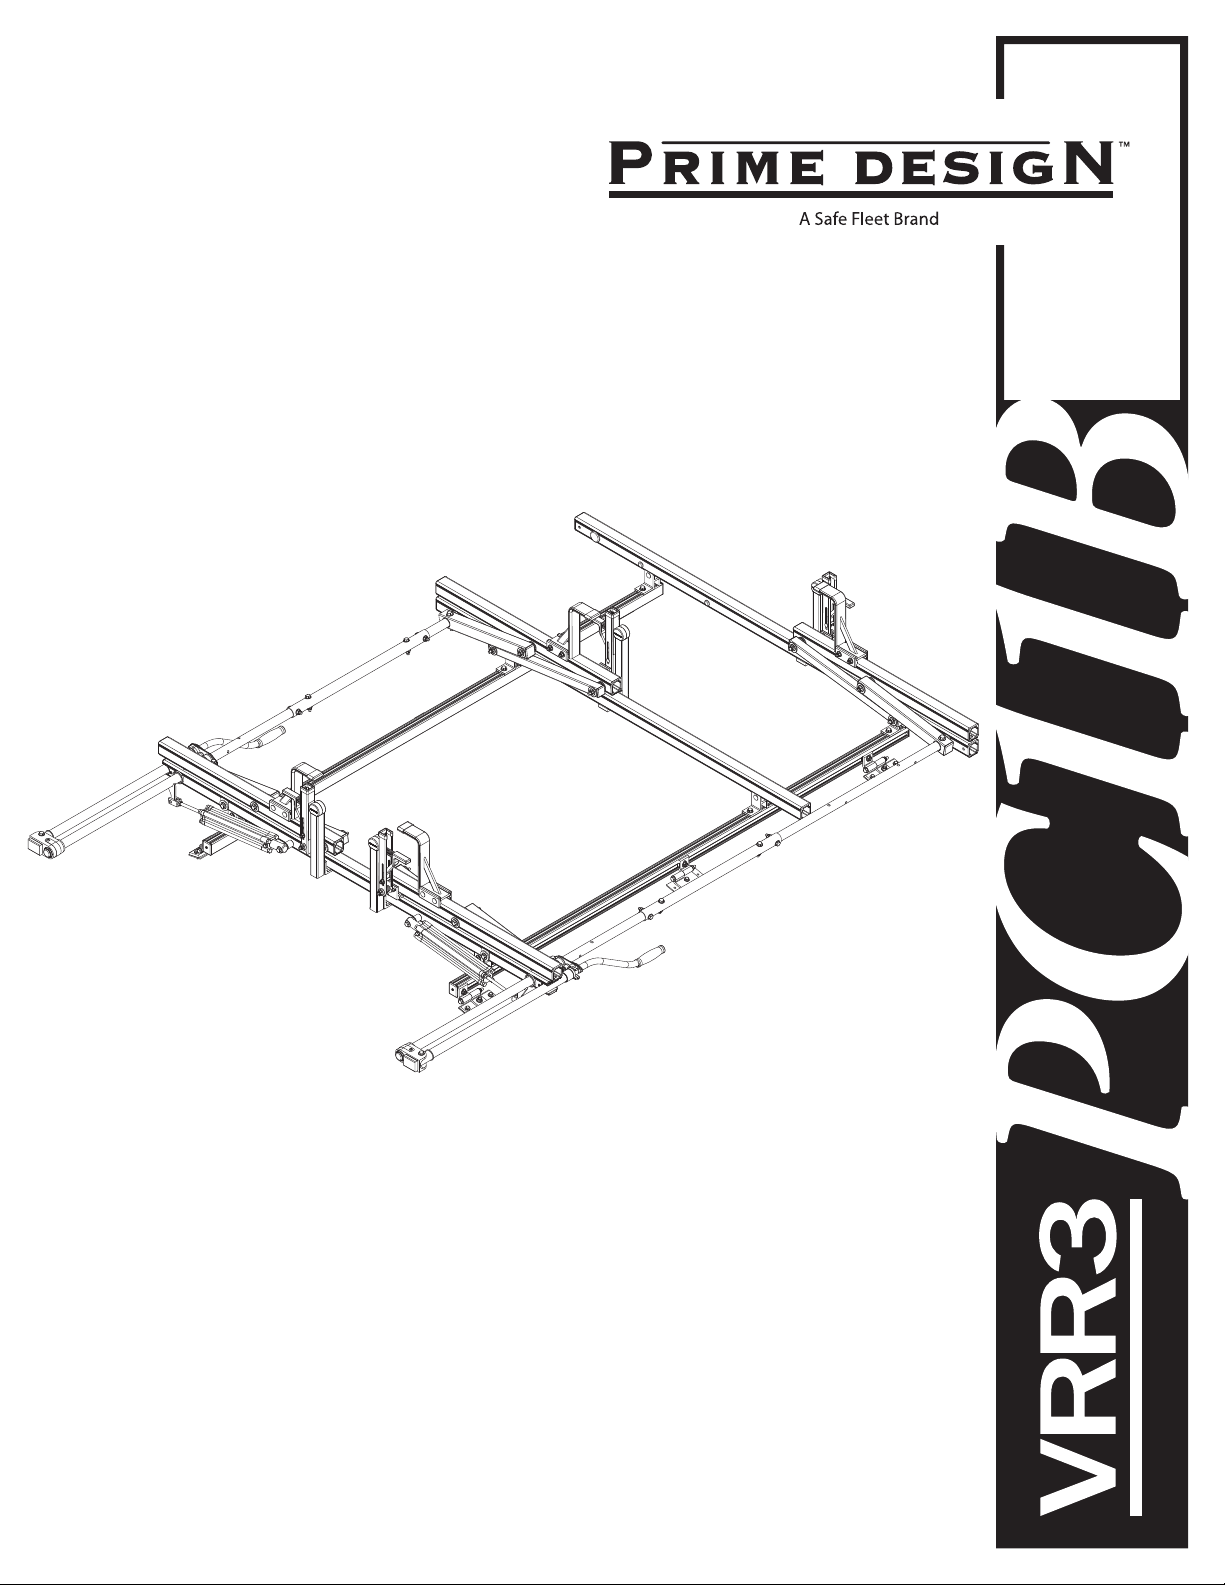
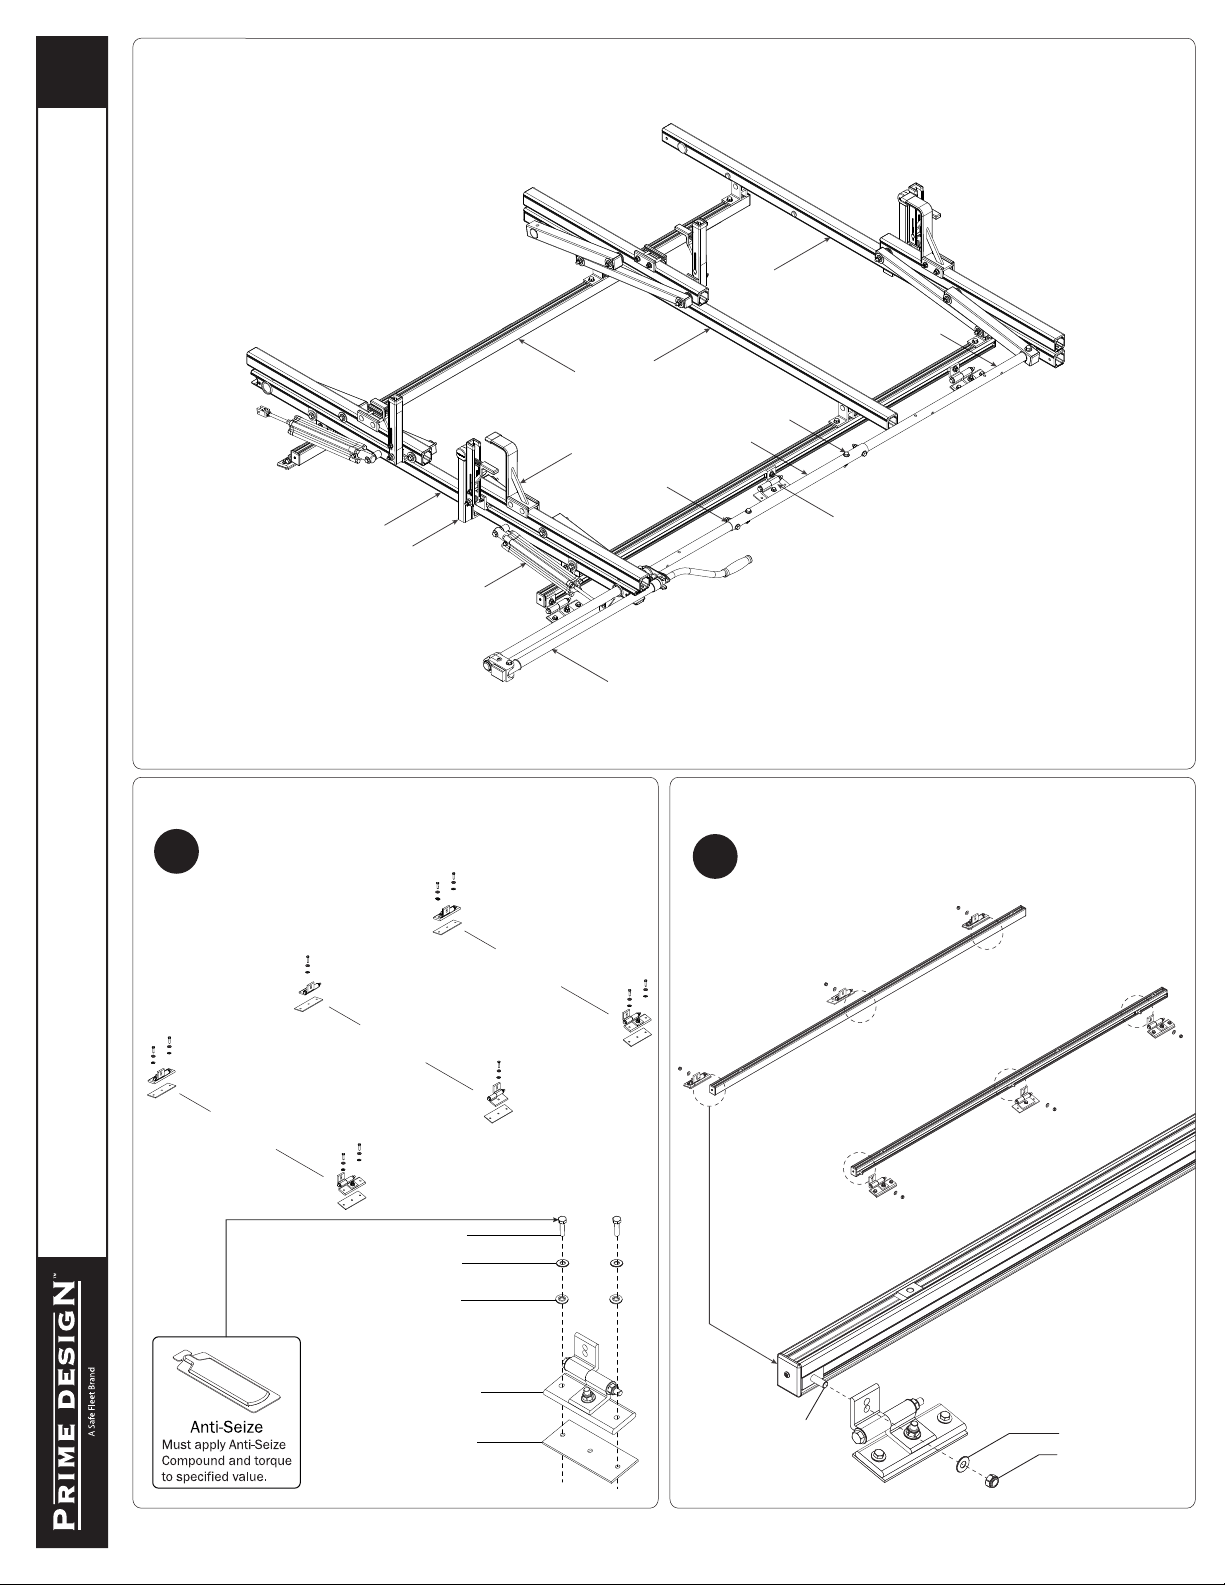
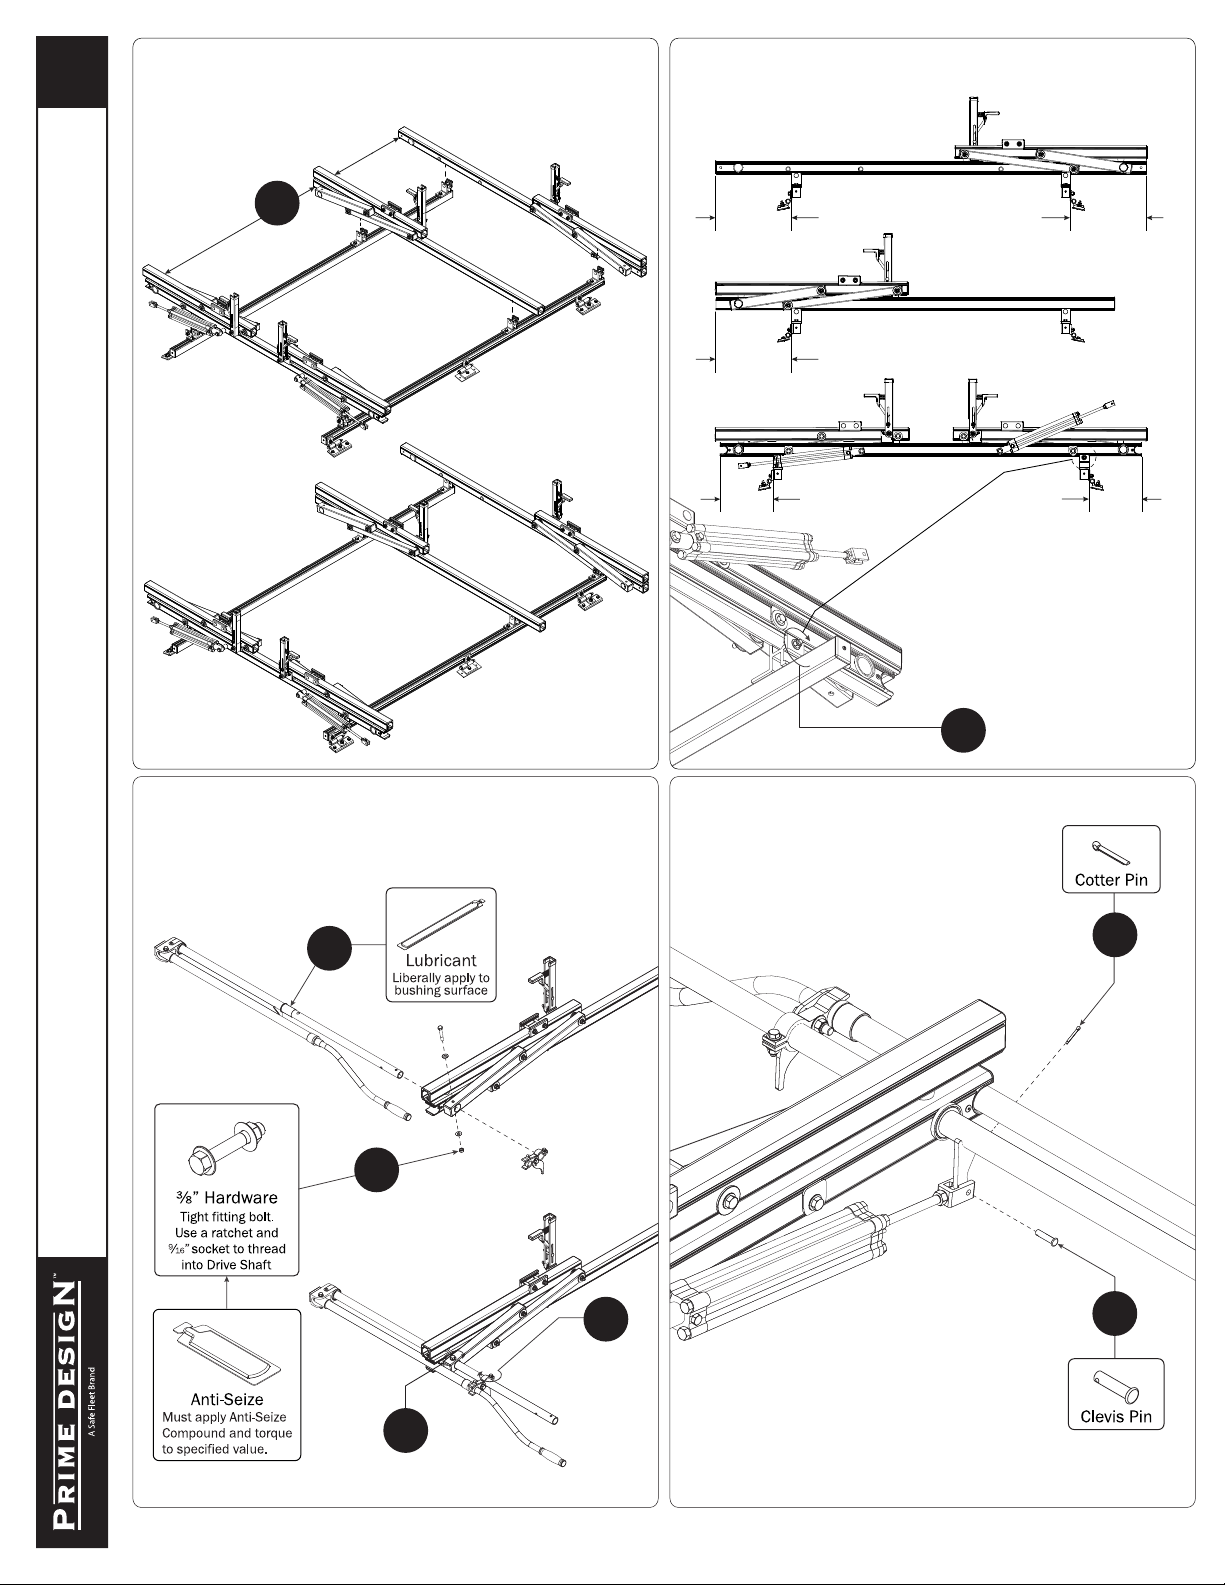
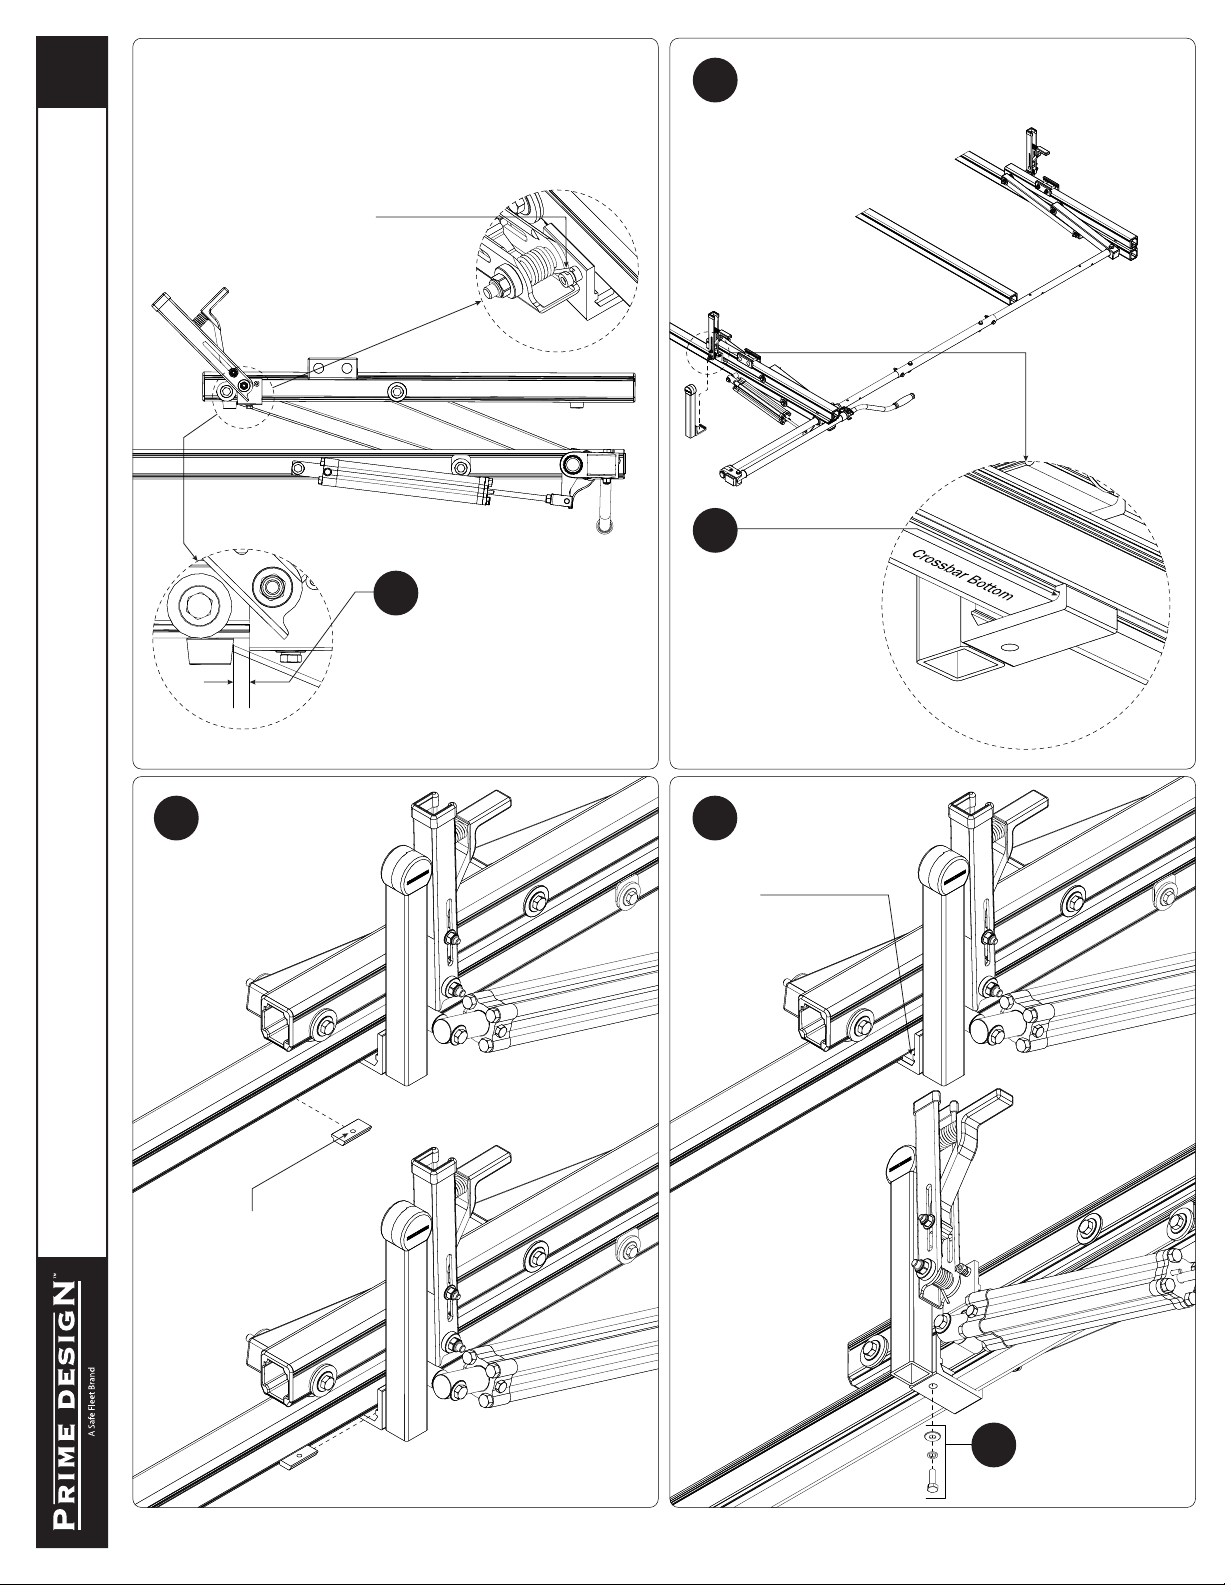
Safe Fleet PRIME DESIGN VRR3-PC11B User manual
Other Safe Fleet Automobile Accessories manuals

Safe Fleet
Safe Fleet PRIME DESIGN VBR3-FT31B User manual

Safe Fleet
Safe Fleet Prime Design DPS-8000 User manual

Safe Fleet
Safe Fleet Rear View Safety G Series User manual

Safe Fleet
Safe Fleet PRIME DESIGN HBR-E-6000 User manual

Safe Fleet
Safe Fleet Prime Design HRR-369-E-UM3-80 User manual

Safe Fleet
Safe Fleet Prime Design UXV-201 User manual

Safe Fleet
Safe Fleet Prime Design ASH-8035 User manual

Safe Fleet
Safe Fleet Prime Design AR1928 User manual

Safe Fleet
Safe Fleet PRIME DESIGN HRR-369-E-UM3 User manual

Safe Fleet
Safe Fleet PRIME DESIGN VBR-NV200 User manual

Safe Fleet
Safe Fleet PRIME DESIGN AR1900 User manual

Safe Fleet
Safe Fleet Prime Design VBI-FT31B User manual

Safe Fleet
Safe Fleet Prime Design FBM-1024 User manual

Safe Fleet
Safe Fleet Prime Design PCR-6000 User manual

Safe Fleet
Safe Fleet PRIME DESIGN DPS-8001 User manual

Safe Fleet
Safe Fleet Prime Design VCR-226 User manual

Safe Fleet
Safe Fleet Bustin Slide & Go Platform User guide

Safe Fleet
Safe Fleet PRIME DESIGN masterack VRR CE User manual

Safe Fleet
Safe Fleet PRIME DESIGN PBB 6001 User manual

Safe Fleet
Safe Fleet PRIME DESIGN HRI3-E-FT43B User manual