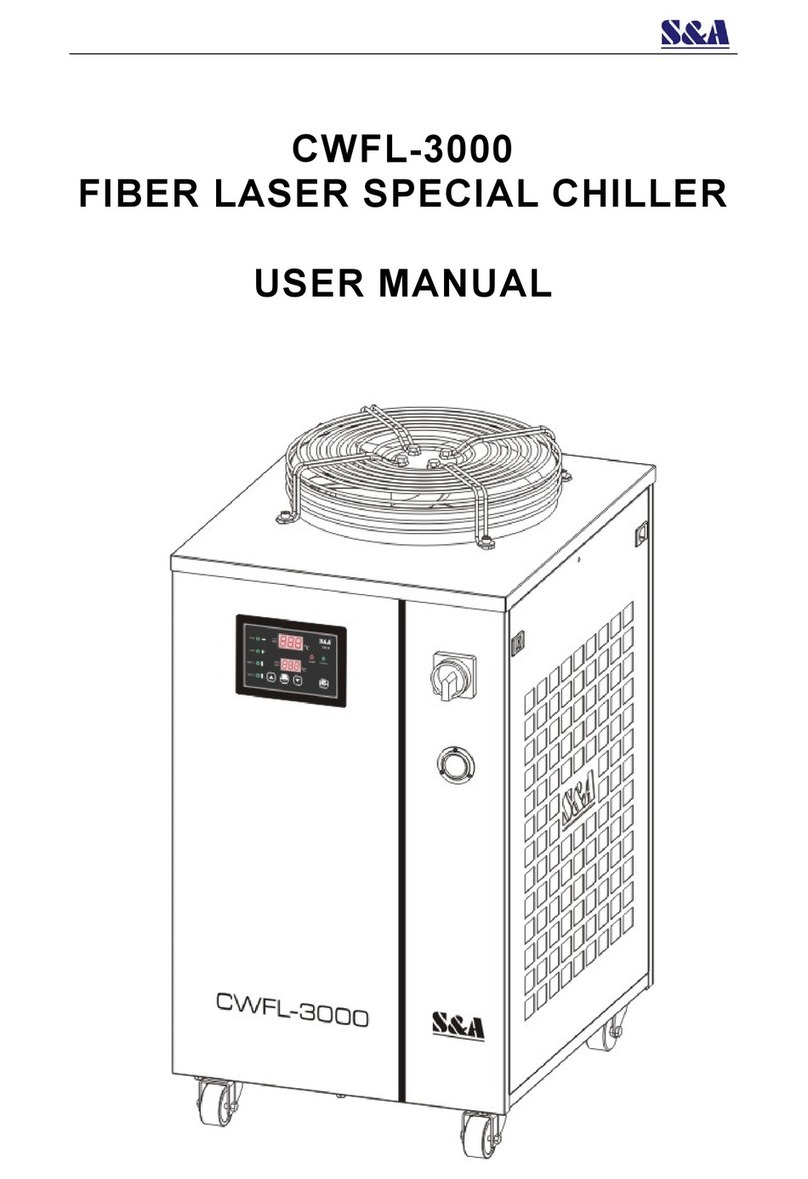
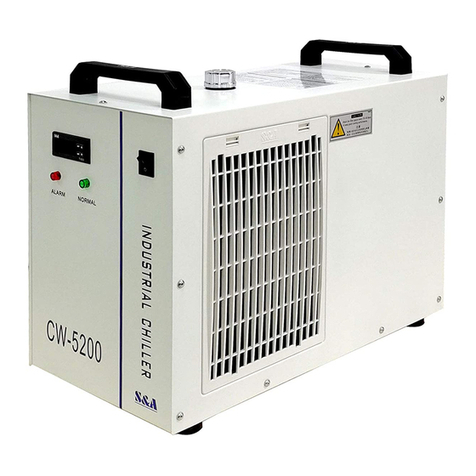
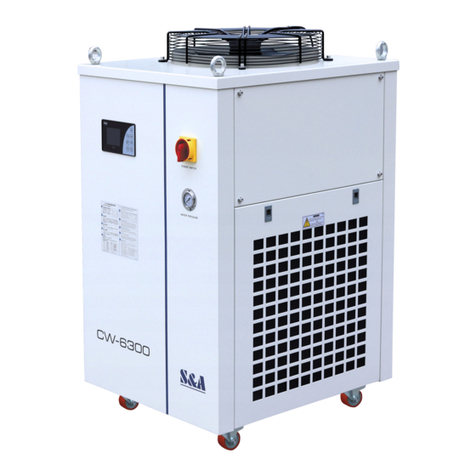
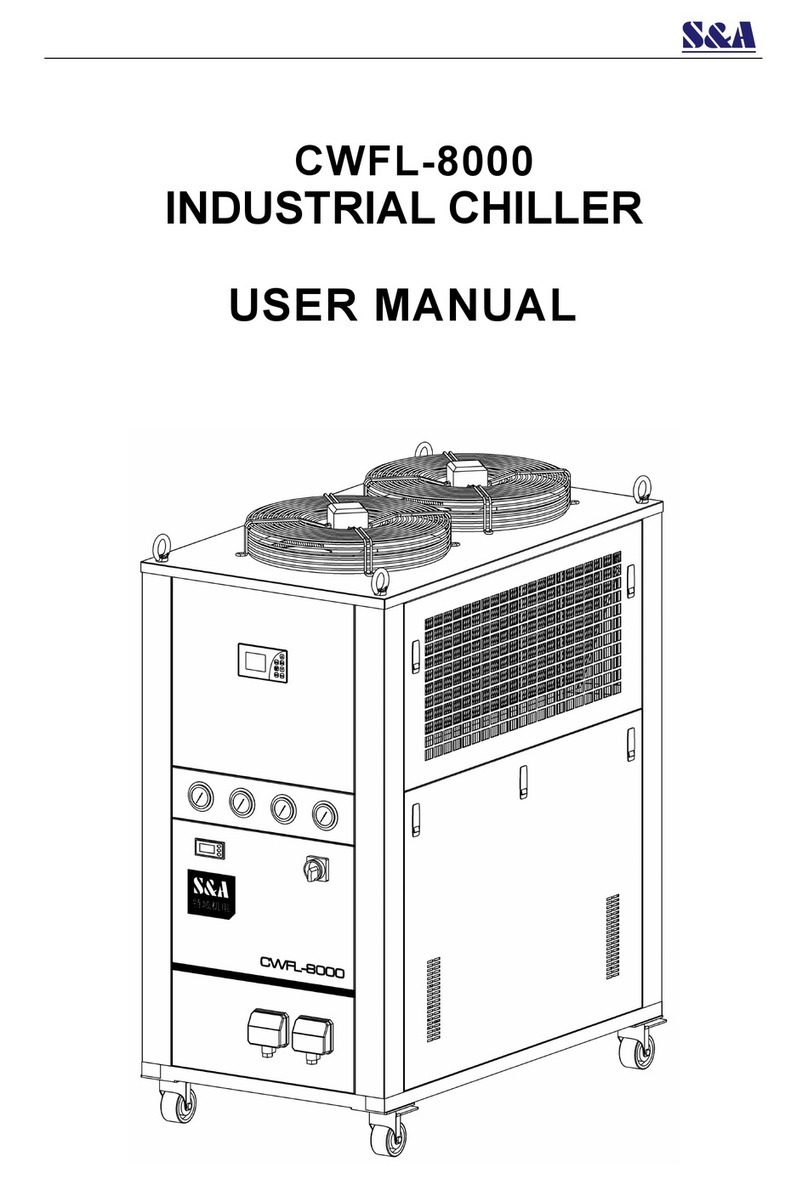
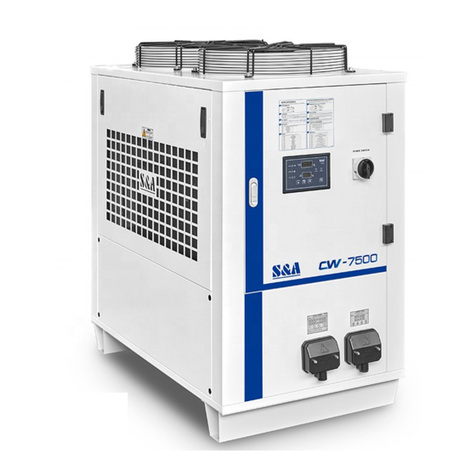
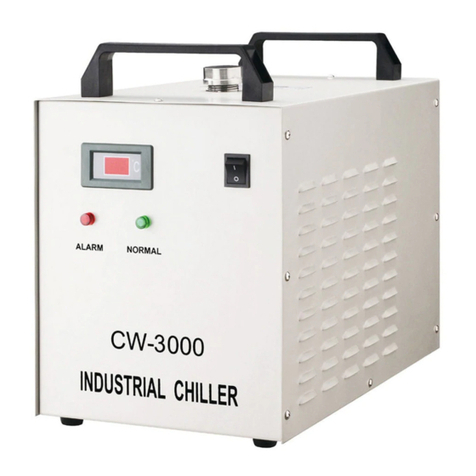
S&A CWUL-05 User manual

No. 1.1
CWUL-05/10/20
Ultraviolet Laser Exclusive
Chiller
User Manual

CWUL-05/10/20 Series
2
Catalog
<1> Cautions --------------------------------------------------------------------- 3
<2> Contour and parts induction ------------------------------------------ 4
<3> Installation ------------------------------------------------------------------ 5
<4> Operation and parameters adjustment ---------------------------- 6
<5> Alarm and output ports ------------------------------------------------- 10
<6> Technical parameters ---------------------------------------------------- 11
<7> Water pump performance curve ------------------------------------- 14
<8> Troubleshooting ----------------------------------------------------------- 15

CWUL-05/10/20 Series
3
Thank you for using the machine from GUANGZHOU TEYU
ELECTROMECHANICAL CO., LTD. Please read the User Manual carefully before use
and keep it properly.
This User Manual is not a quality warranty book. GUANGZHOU TEYU
ELECTROMECHANICAL CO., LTD reserves the rights to the interpretation of any
correction of typographical errors, improper mentioned information and product
improvement. The amended content will be printed in reprint edition of User Manual
without notice in advance.
<1> Cautions
1. Please ensure that the power supply and electrical outlet are in good contact
and the earth wire must be firmly grounded!
Although the average operating current of the chiller is small, but the
instantaneous operating current could be up to 6 ~ 10amps sometimes (The
instantaneous operating current of models of AC110V power supply are
possible to be up to 10 ~ 15amps).
2. Please make sure the chiller’s working voltage is stable and standard.
As the refrigerate compressor is more sensitive to voltage of power supply, the
standard working voltage of our standard machines is 210~240V (110V model is
100~120V).
3. Unmatched frequency of power supplies can leading to chiller damage !
Choose 50Hz or 60Hz model according to actual circumstance.
4. In order to protect the water pump, it is strictly forbidden to run the chiller
without water in water tank
The new machine will empty all water in water tank before packing in the box,
so make sure the water tank is filled with water before starts the machine or the
water pump will damage easily. When water gauge of water tank below green
NORMAL area, the refrigeration volume will drops a little, please make sure the
water gauge is around the green NORMAL area. To drain through circulating
pump is strictly prohibited.
5. Please be sure that the air inlet and air outlet are in good ventilation!
The air outlet that is at the back of the chiller at least 30cm away from
obstructions, and 8cm for the side air inlet.
6. The filter of air inlet requires cleaning regularly.
It is important to wash the anti-dust gauze regularly by removed it from chiller,
because if anti-dust gauze heavy accumulated dust will lead to chiller failure.
7. Please pay attention to condensate water.
When water temperature lower than ambient temperature, and ambient
humidity is higher, the condensate water will generate on the surface of circular
water pipes and surface of devices which being cooled. If it happens, setting
higher water temperature or keep warm for water pipes and devices will be
recommended.
8. The machine is industrial equipment, only professional people allowed to use.

CWUL-05/10/20 Series
4
<2> Outlook and Components
WATER INJECTION PORT
COOLING WATER OUTLET
COOLING WATER INLET
AIR OUTLET
DRAIN
WATER LEVEL GAUGE
ALARM OUTPUT TERMINAL
POWER SOCKET(WITH FUSE)
(WITH FUSE)
POWER SWITCH
TEMPERATURE
CONTROLLER
AIRINLET
(FILTER GAUZE)

CWUL-05/10/20 Series
5
<3> Installation
The chiller is designed for Ultraviolet Laser, it is easy to install and use. Please
follow below steps for the first time use of new chiller.
1. Open the package to check if the machine is intact and all the necessary
accessories are completed.
2. Open the injection port and pour cooling water.Observing the water level gauge
while pouring water, please do it slowly do not overflow. For cold area at north
China, should add noncorrosive antifreeze fluid.
3. Well connect the water inlet and outlet pipes according to apply equipments.
4. Plug in power, turn on the power switch. (Do not turn on the machine without
water in the water tank!)
(1)The circulation pump is starting work after the power switch turned on. The
first time of operating may cause more bubbles in the pipe leading to flow
alarming occasionally, but keep it running for a few minutes later, it will back
to normal later.
(2)For the first boot, will required immediate attention to check whether the water
pipe leaks.
(3)It is normal the fan and other components of machine not works if water
temperature lower than set water after started the machine. The temperature
controller will automatically control the working status of compressor,
magnetic valve and fan etc components upon the set parameters.
(4)As it takes time for the compressor etc components to start, the waiting period
could range from tens second to few minutes according to different working
condition before the machine start, so do not turn on and off the chiller
frequently.
5. Check the water level of water tank
The water level in water tank will drop slightly as the air in water pipe was
empty after new machine turned on. It is ok to refill certain amount of water in
order to keep the water level around green area. Observe and record current
water level, check the water level again after chiller running for a period of time,
if water level drops obviously, will require to check whether the water pipeline
leaks.
6. Parameters of temperature controller adjustment
Default setting of CWUL-05/10/20 series UV laser chiller temperature controller
is 25℃water temperature cooling UV parameter, usually do not need to adjust
the control parameter ,but if special require for specific temperature ,please
refer P6 of 《Operation and Parameters adjustment》

CWUL-05/10/20 Series
6
<4> Operation status and parameters
adjustment
Default setting of T-506B new model intelligent temperature controller is Intelligent
temperature mode ,water temperature is setting 25℃, customer could adjust the
temperature according to requirement.1.Temperature controller panel introduction
(1). Indicators of temperature controller working status:
COMP ON, compressor working
SV ON, solenoid valve working
Heating ON, heating rod working
INT Ctrl ON, controller working in intelligent control mode
CT Ctrl ON, controller working in constant temperature control mode
PARAM Set ON, controller working in parameters setting mode
ALM OUT ON, alarm output status
Room Temp ON, displaying room temperature
ST DLA ON, starting up delay status
(2). Press key to show the room temperature, 6 seconds later default
display restored. (Meanwhile, Room Temp light is on, displaying room
temperature.)
(3). keys are for modifying parameters values and keys
are for switching parameter items.
(4). RST key: confirm
(5). SET key: setting function

CWUL-05/10/20 Series
7
2. Restore to default setting
Press “ ” buttons at the same time and hold still while turn on the
machine, until the controller display “rE”. Release the buttons the controller will
enter working status after 6 seconds. And then all parameter value settings
restored to default setting.
3. Temperature controller parameters list
Order
Code
Item
Range
T-506B Temperature
controller Factory
Setting
Note
1
F0
Temperature setting
-20~ 40
25.0
Cooled water temperature ,constant
temperature working available
2
F1
Temperature
difference values
-15~+5
-2.0
Intelligent temperature control mode
parameter, control temperature difference
between water and ambient. Constant
temperature mode not available
3
F2
Cooling hysteresis
0.1~3.0
0.1
This parameter control water temperature
precise, the value more small, the precious
more high but energy efficiency ratio will
worse.
4
F3
Control methods
0~1
0
“1”Intelligent temperature mode,
“0”Constant temperature mode. UV laser
recommend use constant temperature
mode.
5
F4
Ultrahigh water
temperature alarm
1~20
10.0
When water temperature up to F0+F4 the
chiller will alarm , the alarm code display
“E2”.
6
F5
Ultralow water
temperature alarm
1~20
15.0
When water temperature low to F0+F4 the
chiller will alarm , the alarm code display
“E3”.
7
F6
Ultrahigh ambient
temperature alarm
40~50
45.0
When temperature of inlet air of chiller
higher than F6, the chiller will alarm the
alarm code display “E1”.,
8
F7
Password
00~99
8
User menu password can change
9
F8
Maximum water
temperature setting
(F9+1)
~40
30.0
Intelligent temperature mode parameter,
constant temperature mode not available.
10
F9
Minimum water
temperature setting
1 ~(F8-1)
20.0
Intelligent temperature mode parameter,
constant temperature mode not available.
11
F10
Alarm of sensor
pulse frequency
0~99
8
Eliminate the alarm by setting to 0
4. General settings adjustment
Press SET key to enter into the user-defined status. Meanwhile, PARAM SET is
on, indicates controller in parameters setting status.
Constant temperature mode displays setting water temperature value (Default
setting value is 25℃).
Press buttons can change setting value. Press confirm button
“RST” to save and exit after modified the values, then new values is working.
(Means F0 modified to new values, the chiller is running under new values).
If there is no more action within 20 seconds, it will automatically exit modifying
status without saving parameters.

CWUL-05/10/20 Series
8
5、Advanced settings adjustment
(1)Press and hold the ”button while press SET button for 5 seconds until 00
displayed in upper window and PAS in lower window. Then press keys to
select the password (default setting is 8), and then press the SET button, if
the password is correct, F0 displays, entering into setting status, means the
temperature controller is under parameter setting status. If the password is
incorrect, it returns to temperature display. To avoid operation mistake,
passwords could change by equipment user or equipment keeper.
(2)Enter setting status, press buttons to modify parameter content
follow by recycle,then press “ ”buttons to modify the parameter
values. Press confirm button RST at any time to exit parameters setting with
saving modified parameters and return to temperature display, then chiller
runs under the new parameters. If there is no any action within 20 seconds,
the controller will automatically exit parameters setting without saving the
modified parameters (under parameters setting status, system running in
original parameters). Under parameters setting status, SET key does not
work.
Note:
1. During parameters setting status, system runs under original parameters.
2.Under constant temperature control mode, the water temperature is
controlled by parameter F0.
3. Under intelligent control mode, the water temperature will be automatically
adjusted according
to ambient temperature changes. The temperature difference is controlled
by F1.
6. Advanced parameters adjustment cases:
(1)Case 1:26.8 ℃cooling UV laser settings
Chiller under constant temperature control mode, press SET button will
display setting water temperature value(F0),then press or
buttons to modify setting temperature value, set the temperature to
26.8 ℃,press RST button save parameter and exist then back to the
temperature display (If there is no any action within 20 seconds, the
controller will automatically exit parameters setting return to temperature
display without saving the modified parameters)
(2)Case 2:16℃cooling UV laser settings
Chiller under constant temperature control mode, press SET button will
display setting water temperature value(F0),then press or
buttons to modify setting temperature value, set the temperature to
16.0 ℃,press RST button save parameter and exist then back to the
temperature display (If there is no any action within 20 seconds, the
controller will automatically exit parameters setting return to temperature
display without saving the modified parameters)
(3)Case 3:Change alarm temperature of water temperature ,water temperature
higher 5 ℃than set value will alarm ,lower 10 ℃than set value will alarm.
Press and hold button while press SET button lasts 5 seconds the
temperature controller will display 0, then press button modifies 0 to
8(default setting password),and then press SET button will enter setting
content code display turns to F0 if password corrects (Will restore to actual
water temperature if password incorrect). Press or button
CWUL-05/10/20 Series
9
change the content code to F4, and press SET button enter setting
parameter values, press or button set the parameter to 5,return
to content code after compete setting ,and then press or button
modifies the content code to F5,press or button set up the
parameter to 10,then press RST button save and save parameter and exist
then back to the temperature display (If there is no any action within 20
seconds, the controller will automatically exit parameters setting return to
temperature display without saving the modified parameters)
Order
Code
Content
Case 1
Set value
Case 2
Set value
Case 3
Set value
T-506B Temperature
controller default
setting
1
F0
Temperature setting
26.8
16.0
25.0
25.0
2
F1
Temperature
difference value
-2.0
-2.0
-2.0
-2.0
3
F2
Cooling hysteresis
0.1
0.1
0.1
0.1
4
F3
Control methods
0
0
0
0
5
F4
Ultrahigh water
temperature alarm
10.0
10.0
5.0
10.0
6
F5
Ultralow water
temperature
alarm
15.0
15.0
10.0
15.0
7
F6
Ultrahigh ambient
temperature alarm
45.0
45.0
45.0
45.0
8
F7
Password
8
8
8
8
9
F8
Maximum water
temperature
setting
30.0
30.0
30.0
30.0
10
F9
Minimum water
temperature
setting
20.0
20.0
20.0
20.0
11
F10
Alarm of sensor
pulse frequency
8
8
8
8

CWUL-05/10/20 Series
10
<5> Alarm and output terminal
In order to guarantee the equipment will not be effected while abnormal situation
happens on the chiller, CWUL-05/10/20 series chillers possess alarm protection
function.
1. Alarm output terminals and wiring diagram.
2. Alarm causes and working status table.
Note: The flow alarm is connected to the normally open relay and normally closed
relay contacts, requiring operating current less than 3A, working voltage less than
300V.
Display
Condition
Alarm
code
Buzzer
OUT
H1、H2
OUT
H1、H3
Circulating pump works
properly
DISCONNECTION
BREAKOVER
Ultrahigh room temp
E1
Sounds
BREAKOVER
DISCONNECTION
Ultrahigh water temp
E2
Sounds
BREAKOVER
DISCONNECTION
Ultralow water temp
E3
Sounds
BREAKOVER
DISCONNECTION
Faulted room temp sensor
(constant temp invalid)
E4
Sounds
BREAKOVER
DISCONNECTION
Faulted water temp sensor
E5
Sounds
BREAKOVER
DISCONNECTION
Alarm of water shortage
E6
Sounds
BREAKOVER
DISCONNECTION
low flow rate /
water flow alarm
E6/E7
Sounds
BREAKOVER
DISCONNECTION
Faulted circulating pump
E7
Sounds
BREAKOVER
DISCONNECTION
Chiller power failure
BREAKOVER
DISCONNECTION

CWUL-05/10/20 Series
11
<6> Specifications
CWUL-05
Mode
CWUL-05AH
CWUL-05BH
CWUL-05DH
Voltage
AC 1P 220V
AC 1P 220V
AC 1P 110V
Frequency
50Hz
60Hz
60Hz
Current
0.25~2.1A
0.25~2.1A
0.38~2.45A
Nominal cooling
capacity
0.37KW
0.56KW
0.54KW
Refrigerant
R-134a
Precision
±0.2℃
Reducer
Capillary
Protection
Overcurrent protection for compressor, flow alarm, over temperature
alarm
Pump power
50 W
Inlet and outlet
External Ø10mm barbed connector
Max. lift
12M
Max. flow
13L/min
Tank capacity
6 L
N.W
23Kgs
G.W
26Kgs
Dimension
58X29X47 cm (L X W X H)
Package
dimension
70 X43X58 cm (L X W X H)
Note: The current and nominal cooling capacity could be different under different working
conditions and configurations. The above information is for reference only. Please subject to the
nameplate of the actual delivered product.The max. pump flow is obtained by testing the pump
individually on test criteria GB/T 3216-2005.

CWUL-05/10/20 Series
12
CWUL-10
Mode
CWUL-10AH
CWUL-10BH
CWUL-10DH
CWUL-10AI
CWUL-10BI
CWUL-10DI
Voltage
AC 1P 220V
AC 1P 220V
AC 1P 110V
AC 1P 220V
AC 1P 220V
AC 1P 110V
Frequency
50Hz
60Hz
60Hz
50Hz
60Hz
60Hz
Current
0.25~2.3A
0.25~2.4A
0.45~4.15A
0.7~2.75A
0.7~2.75A
1~4.7A
Nominal cooling
capacity
0.81KW
0.85KW
0.85KW
0.81KW
0.85KW
0.85KW
Refrigerant
R-134a
Precision
±0.3℃
Reducer
Capillary
Protection
Overcurrent protection for compressor, flow alarm, over temperature alarm
Pump power
50 W
100 W
Max. lift
12M
25M
Max. flow
13L/min
16L/min
Tank capacity
6 L
N.W
24Kgs
G.W
27Kgs
Dimension
58X29X47 cm (L X W X H)
Package
dimension
70 X43X58 cm (L X W X H)
Note: The current and nominal cooling capacity could be different under different working
conditions and configurations. The above information is for reference only. Please subject to the
nameplate of the actual delivered product.The max. pump flow is obtained by testing the pump
individually on test criteria GB/T 3216-2005.

CWUL-05/10/20 Series
13
CWUL-20
Mode
CWUL-20AH
CWUL-20BH
CWUL-20DH
CWUL-20AI
CWUL-20BI
CWUL-20DI
Voltage
AC 1P 220V
AC 1P 220V
AC 1P 110V
AC 1P 220V
AC 1P 220V
AC 1P 110V
Frequency
50Hz
60Hz
60Hz
50Hz
60Hz
60Hz
Current
0.25~3.9A
0.25~4.1A
0.45~5.7A
0.7~4.35A
0.7~4.55A
1~8.2A
Nominal cooling
capacity
1.70KW
2.05KW
1.64KW
1.70KW
2.05KW
1.64KW
Refrigerant
R-410a/R-407C
Precision
±0.3℃
Reducer
Capillary
Protection
Overcurrent protection for compressor, flow alarm, over temperature alarm
Pump power
50 W
100 W
Max. lift
12M
25M
Max. flow
13L/min
16L/min
Tank capacity
6 L
N.W
26Kgs
G.W
29Kgs
Dimension
58X29X47 cm (L X W X H)
Package
dimension
70 X43X58 cm (L X W X H)
Note: The current and nominal cooling capacity could be different under different working
conditions and configurations. The above information is for reference only. Please subject to the
nameplate of the actual delivered product.The max. pump flow is obtained by testing the pump
individually on test criteria GB/T 3216-2005.

CWUL-05/10/20 Series
14
<7> Refrigeration performance curve
Performance curve of chiller under ambient temperature 20℃, 30℃and 40℃:

CWUL-05/10/20 Series
15
<8> Troubleshooting
Failure
Failure Cause
Approach
Machine turned on but
unelectrified
Power cord is not plugged in place
Check and ensure the power interface
and the power plug is plugged in place
and in good contact.
Fuse burnt-out
Open the electric box cover, check the
protective tube, replace with spare one
if necessary and check whether the
power supply voltage is stable; Check
and ensure the power interface and
the power plug are in good contact.
Flow Alarm,use a water pipe
directly connect to the water
outlet and inlet but still
without water flowing
Water level in the storage water tank is too
low
Check the water level gauge display,
add water until the level shown in the
green area; And check whether water
circulation pipe leaks.
Flow alarm occurs while
running with other
equipment, but there is water
flowing and no alarm when
use a water pipe directly
connected to the chiller
water outlet and inlet.
Water circulation pipes are blocked or a
pipe bending deformation.
Check water circulation pipe
Ultrahigh water temperature
alarm
(controller displays E2)
Blocked dust gauze, bad thermolysis
Unpick and wash the dust gauze
regularly
Poor ventilation for air outlet and inlet
To ensure a smooth ventilation
for air outlet and inlet
Voltage is extremely low or astable
To improve the power supply circuit or
use a voltage regulator
Improper parameter settings on thermostat
To reset controlling parameters or
restore factory settings
Switch the power frequently
To ensure there is sufficient time
for refrigeration
(more than 5 minutes)
Excessive heat load
Reduce the heat load or use other
model with larger cooling capacity
Ultrahigh room temperature
alarm
(controller displays E1)
The working ambient
temperature is too high for the chiller
To improve the ventilation to
guarantee that the machine is running
under 40℃.
Serious problem of
condensate water
Water temperature is much lower than
ambient temperature, high humidity
Increase water temperature or
to preserve heat for pipeline
Water drains slowly from
outfall during water changing
Injection port is not open
Open the injection port
This manual suits for next models
2
Table of contents
Other S&A Chiller manuals
Popular Chiller manuals by other brands

Unitrol
Unitrol PROCESS 8500 manual

Blue Marine
Blue Marine Chiller 200 instruction manual

System air
System air WQL Series Installation and maintenance manual

Hydro Tek
Hydro Tek Active Aqua Chiller, 1/10 HP instructions

Crysalli
Crysalli CR-1 install guide

Kaysun
Kaysun KHP-MO 4 DVP Installation and owner's manual