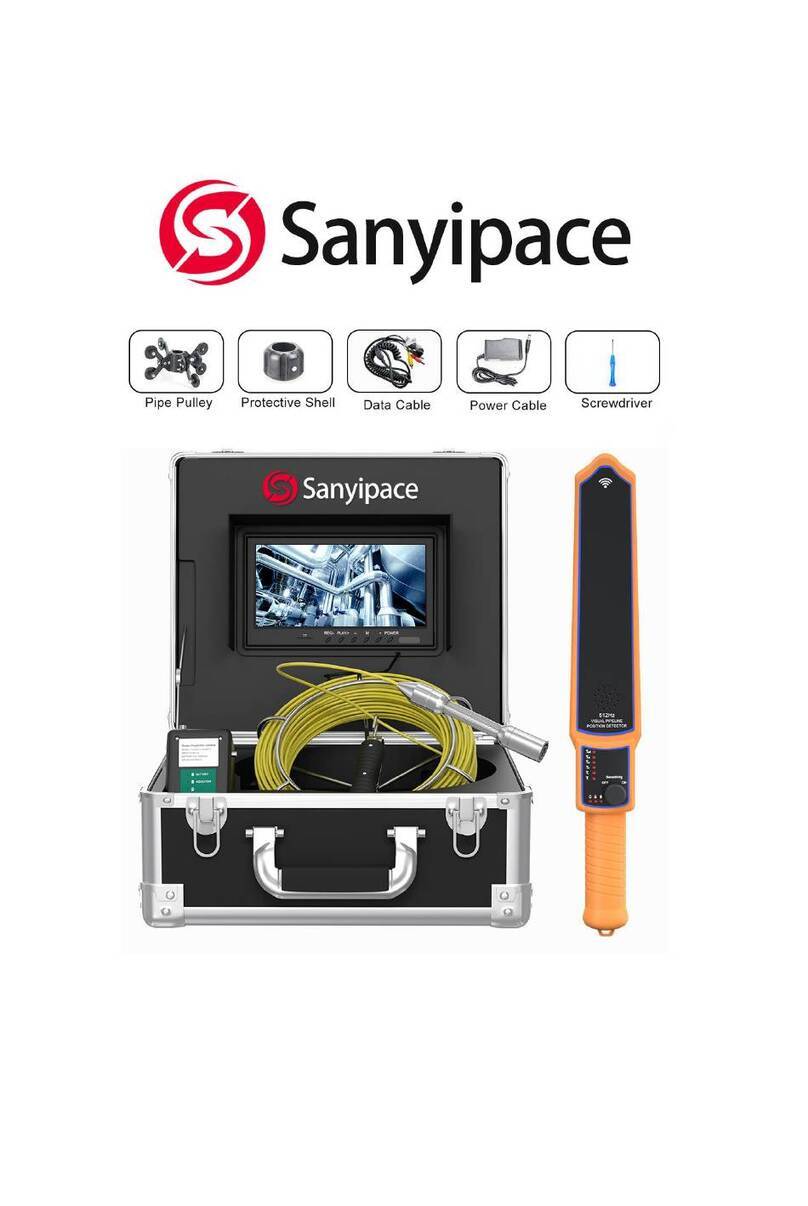
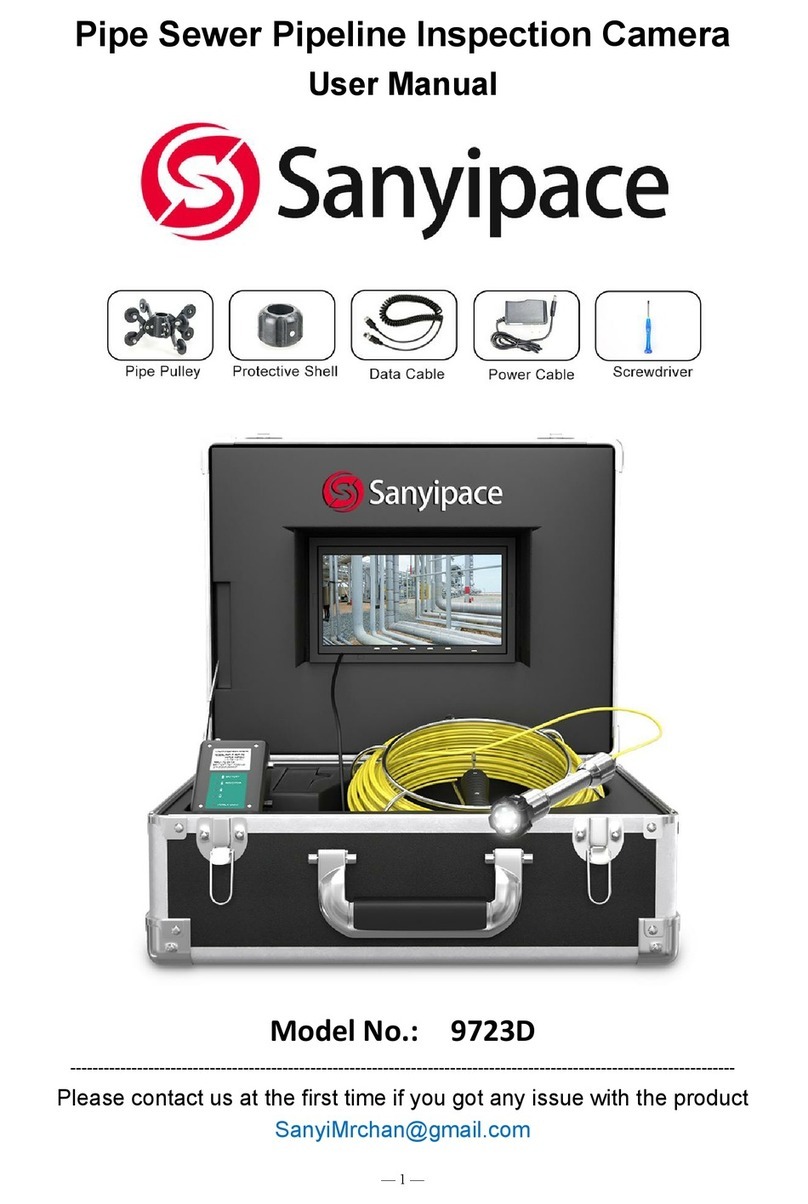
Sanyipace F929ADFBAB8R User manual

HD Sewer Inspection Camera with 512hz
Locator and Receiver Set
User Manual
-------------------------------------------------------------------------------
Please contact us at first time when you got issue with product

Catalog
1. Notice........................................................................page 1
2. Application..................................................................page 1
3. Product Specification..................................................page 1
4. LCD Monitor Operation ..............................................page 2
5. Battery.........................................................................page 3
6. Charger........................................................................page 3
7. Cable Operation..........................................................page 4
8. Remote Control...........................................................page 4
9. Camera Lens................................................................page 6
10. 512hz Receiver/Detector...........................................page 7
11. Wire Diagram.............................................................page 8
12. Warranty.....................................................................page 9
Attention:The illustrations and screens which in this manual are to explain the operation of
this product. Due to the difference in version upgrades and production batches, they might a
little different from the machine you actually use. If the content in this manual does not
match your machine, please refer to the machine!

—1—
1. Note
1:Please read this user manual carefully before using this product .
2:Do not throwing or pressure with strength .
3:Do not dismantle the machine without permission.
4:Please copy the information of the memory card before connecting it to
device
5:Do not suddenly cut off the power during recording and playing, which
may cause damage to product and video files.
2. Range of Product Use
1:Home pipe blocking, HVAC system inspection .
2:City sewer and drain system inspection .
3:Underground water pipe, oil and gas pipeline.
4:Rescue operations in a small space .
5:For underground expedition.
6:Underwater river bed scientific research.
7:Other position which is hard to reach
3. Product Specification
---Camera and cable---
Sensor: 1/3 CMOS
Camera resolution: 1000TVL
Video resolution: 1080P
Camera diameter: 22MM .
Camera line source: 12pcs 1W high white LED(adjustable ).
Camera angle: 145 degree.
Camera material: stainless steel /IP68 waterproof camera .
Camera protective cover size : 38mm*28mm/90MM*28MM.
Cable length/material: 20M 30M 50M (optional) high elastic cable
---Display---
Size:9 inch color TFT LCD Monitor
SD card: max support 32GB,factory standard 16GB .
Display resolution:16:9, 1024*600.
Menu Language:English/Germany/French optional .
Display port: power input /Video.
Display video format: AVI with Year,Month,Date,Time and Seconds
Display operate: button and remote controller .
Working temperature: -20-60 ℃.
Storage temperature: -30-80 ℃.
---Charger---
Charger : 100VAC-240VAC DC 12.6V 1A.
Charging time: about 5 hours
Battery continuous working time: about 6-8 hours.

—2—
4. 9’’ LCD Monitor Operation
(Built-in microphone and speaker)
Display Operation :
-Turn on
Connect each component, turn on the switch button on battery and press the power
button on screen, the system starts working
-Menu setting (need to exit the REC mode)
Press MENU to enter, Press "<" ">" to select, press “Rec/- ” to confirm your selection,
Press EXIT to back. you can set display setting/playback/video setting/storage/system
setting.
-How to zoom in image when recording:
Press "<" to zoom in and 5 gears in total, press it 5 times to zoom in to the limit, and at the
6th time pressing to return to normal
-How to record a video:
Press “Rec/- ” to start recording , press “Rec/- ” again to stop.
-How to take a snapshot:
Press “>” to take photo quickly
-Video Browsing:
press “PLAY/+” first time to enter photo viewing, press it second time to enter video
playback, press it again to exit.
Press “>” “<” to select, press “REC/-” to play.
-How to delete the picture or video:
press “PLAY/+” to enter photo/video viewing, press “>” to choose one of the pictures or
videos, press “MENU” and “>” to enter selection of delete or delete all, press “REC” to
confirm the selection, press “PLAY/+” again to exit.

—3—
-How to revise the video duration:
The recorded video will be divided into fixed-duration video packages and stored on the
memory card, the default duration is 3 mins, you can revise to up to10 mins. press "Menu"
and ">" to choose "Video Menu" and press "REC/-" to revise it to 5mins, 10mins, 1mins or
3mins, at last press "Menu" to exit
-How to turn off the audio record function:
Press Menu "Menu" and ">" to choose "system setting", press "REC/-" go to the
sub-option, press ">" to find "sound settings", press "REC/-" to turn on or off, press
Menu to exit
5. Battery 4500mah
6. Device Charger
Note: Charging time: about 5-6 hours
It can’t work when the battery is less than 20%

—4—
7. Cable Operation
put the cable on the hook, pull to release or push back to coil the cable.
8. Remote Controller
*Please be noted that the clear insulating card protects battery, need to remove it before
use
VIDEO SELECT: function same with the screen button “REC/-”
MODE SELECT: function same with the screen button “PLAY/+”
◀: function same with the screen button “<”
▶: function same with the screen button “>”

—5—
9. Self Leveling Camera Built-in 512hz Locator
Waterproof level: IP68
It transmit a special frequency signal through the built-in chip
Transmit frequency∶512HZ
Output wave∶Sine wave
Transmit Distance: about 5 Meter
*The camera lens inside adjusts itself to the horizontal direction under the
action of gravity, no matter how the camera shell rotates, the picture always
keep upright

—6—
10. 512HZ Receiver
The 512hz detector has a
built-in induction coil to
receive the magnetic signal
from the camera
transmitter. the induction
coil generates an current to
calculate the direction and
position of the transmitter.
device has two detection
modes: Far (note: about
5M) and Near (note: about
1 meter). Adjust the
sensitivity knob, according
to pointer pointing peak
(maximum) or null
(minimum) to locate the
transmitter
Receiver Technical Parameters:
Receiver Frequency: 512HZ
Detect Distance: about 5m
Battery: 3.7V 3000MAH built-in lithium battery
Charger: 5V 0.5A
Charger time: about 6 hours
Battery Indicator: 4 gear, it is flashing when battery is low
Battery working time: about 10 hours
Signal strength:6 gear
Speaker:Support
Detect Mode : Far/ Near
How to Use Receiver to Detect Camera Position:
1.Turn on the detector, set the sensitivity knob to the strongest gear
2. Set it to "far" mode to detect first. move forward according to the antenna
direction when pointer points peak. adjust the sensitivity knob to weaker gear,
keep detecting until the pointer stay in peak.
3. After that, press the button switch the detection mode to "near", and set the
sensitivity knob to the strongest gear to continue detect, keep moving and
finding the signal source. when it reach out the peak, the receiver has entered
into the 512hz locator position within 1 meter.

—7—
11. Wire Diagram
12. Warranty
We provide one year warranty for the product, and free replacement within 7
days for any quality problems. From the day you purchased, we provide free
maintenance for the normal breakdown, but for the damage caused by
operation against the manual, we will charge for the cost fee for the spare parts
to maintain even if product is under the warranty.
Common problems / faults
solutions

—8—
-----Contact Us-----
Go to our website to download use manual or check more Products:
https://www.sanyipace.com/
We support spare parts replacing, please contact us at the first time when you
got issues with our product.
indicator light on
No image
1, Check whether each connector is connected and the camera needs to
be tightened.
2, Check if the battery is fully charged and try again after it is fully
charged .
No power
1, Check whether each connector are connected correct .
2 Battery is exhausted ? check the battery display
Can't record
1, Is the memory card inserted correctly
2, Memory card is out of memory
3, Whether the recording process is powered off
Can not be charged
1, check the charger indicator light is on ?
2, Is the DC plug inserted good ?
No signal
1, check if the connection is well connected and make sure all cable is
correct connected.
2, check the camera head. and slowly rotate the connection adjust its
tightness
record video shows black white
color, not color record
Adjust the LED light button, adjust it to proper brightness, then the screen
display can be more clear and shows color
screen display turn blue
1, check the video cable if wrong connected, and reconnected it to battery;
2, The video cable is broken, need to replace the new video cable. contact
seller or our customer service email for help;
Video works Ok but LED doesn't
work
1. check if you turn on the led or not, try to rotate the knob on the battery
to adjust the brightness
2. Rotate the camera connector a little tighter or looser, check if it works or
not
3. Use voltage tester pen to test all the connector, find out the broken part
and contact seller for free replace
Other manuals for F929ADFBAB8R
1
Table of contents
Other Sanyipace Analytical Instrument manuals
Sanyipace
Sanyipace F9C13 User manual
Sanyipace
Sanyipace F929ADFBAB8R User manual

Sanyipace
Sanyipace 9300D User manual

Sanyipace
Sanyipace 9723D User manual

Sanyipace
Sanyipace 9723D User manual

Sanyipace
Sanyipace F927ADFB User manual

Sanyipace
Sanyipace F929DJTX User manual

Sanyipace
Sanyipace WP9603 User manual

Sanyipace
Sanyipace F9723WF User manual
Popular Analytical Instrument manuals by other brands

RADWAG
RADWAG AS R2 PLUS Startup guide

Far Tools
Far Tools TL 30 Original manual

EGAmaster
EGAmaster MASTERVISION MINI operating instructions

Delta-T Devices
Delta-T Devices SunScan SS1 user manual

OEM Tools
OEM Tools 24385 Operating instructions and parts manual

Agilent Technologies
Agilent Technologies N9340A user guide