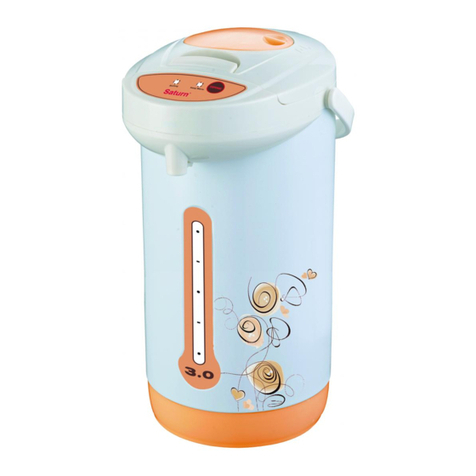
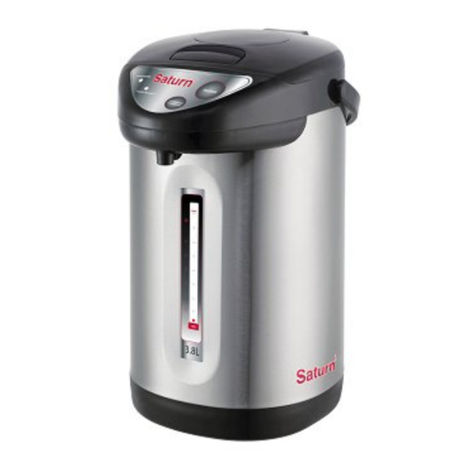
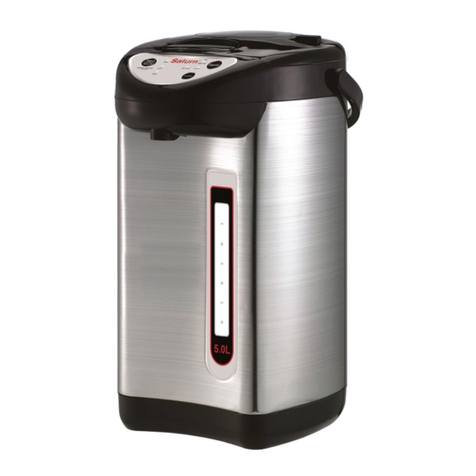
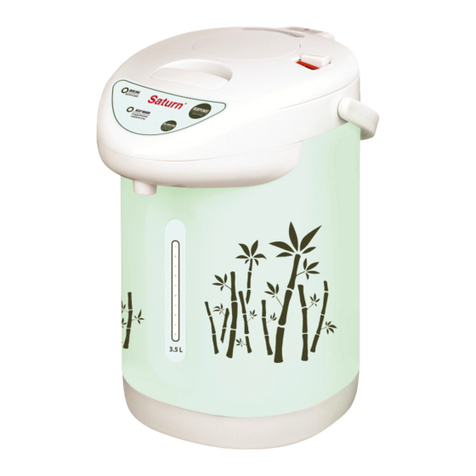
Saturn ST- EK8034 User manual

ST- EK8034
THERMOS POT
ТЕРМОПОТ
ТЕРМОПОТ

GB
Thermos Pot
Dear Buyer!
We congratulate you on having bought
the device under trade name «Saturn».
We are sure that our devices will become
safe and reliable assistance in your
housekeeping.
Avoid extreme temperature changes. Rapid
temperature change (e.g. when the unit is
moved from freezing temperature to a
warm room) may cause condensation in-
side the unit and a malfunction when it is
switched on. In this case leave the unit at
room temperature for at least 1.5 hours
before switching it on.
If the unit has been in transit, leave it in-
doors for at least 1.5 hours before starting
operation.
The manufacturer has the right to introduce
modifications to design, complete set, as
well as technical data of the device in the
course of continuous improvement of the
products without additional notifying such
modifications.
DEVICE DESCRIPTION
1. Water level
scale 9. Power cord
10. Nest connection of a
cord
2. Aperture for a
fence of water
from the tank
3. Nose for dis-
pensing water
11. Burton flood of water
a cup present
4. Button for
opening the
lid cover
12. Rotating base on 360°
5. Cover 13. “Keep warm” func-
tion indicator
6. Mechanical
button of
flood water
14. “Reboil” function
button
7. Apertures for
steam release 15. Indicator of boiling
8. Handle 16. "DISPENSE" button
for having
poured waters
I. BEFORE THE FIRST TURN-ON
SAFETY RULES
IN OPERATING THE APPLIANCE,
FOLLOW THE INSTRUCTIONS GIVEN
BELOW, IF PROPERLY USED IT WILL
SERVE YOU FOR MANY YEARS.
Prior to connecting to socket,
check whether mains voltage cor-
responds to appliance feeding
voltage. This can be found in
technical data or upon factory
plate of the appliance.
If you want to use extension cord,
make sure that it is designed for
consumed power of the appliance.
Different voltage can result in
short circuit or inflaming of ca-
ble.
23

4
If you want to disconnect appli-
ance from socket (in case of pro-
longed non-using), then the power
cord is disconnected with dry
hands directly by plug itself, and
not the wire. Otherwise it can re-
sult in rupture of cable or elec-
tric shock. Disconnect appli-
ances from socket after use, as
well as during cleaning or
movement.
Do not lay the power cord near
sharp corners and edges, close to
sources of heat (stoves, gas or
electric fryers). Do not immerse
into water appliance itself,
power cord or plug. This can
lead to malfunctions, which are
not covered by guarantee.
It is prohibited to use the appli-
ance and packing materials for
children games. Do not leave
small children unattended near
the appliance during its opera-
tion. Keep appliance in place in-
accessible for children.
Do not allow to use appliance to
people with limited physical or
mental capabilities (including
children) before instructions for
safe use of the appliance is ex-
plained to them and is understood
by them. The appliance may be
used 12 only under supervision
of adults. Do not leave the ap-
pliance connected to the mains
without attendance.
It is prohibited to use appliance
outdoors. There is a danger of
fault due to rain or other
weather conditions.
To provide safety during connect-
ing to the mains, the appliance
should be grounded. The appli-
ance should be connected only to
grounded sockets. Otherwise the
appliance will not correspond to
the requirements of protection
against electric shock.
Watch that the cord will not twist
and bend over the edge of table,
children contact it or stumble over
it. Place appliance only upon dry
even surface. Also observe gen-
erally accepted safety rules dur-
ing work with appliance.
It is prohibited to use appliance in
case of any malfunctions. If it is
faulty or functions incorrectly,
disconnect it from mains, taking
plug out of the socket, and ad-
dress the authorized service cen-
ter.
Unassisted repair or modification
of appliance is prohibited. All
works related to maintenance and
repair should be carried out by au-
thorized service center. The work
carried out unprofessionally can
lead to fail, injuries and prop-
erty damage.
Use the appliance for intended
purpose; it is prohibited to use it
for goals, not described in the pre-
sent manual. Do not use the ap-
pliance in reservoirs that are
subjected to direct heating; and
it is prohibited to pour boiling
liquid into bowls.
The appliance may be used only
when it is completely assembled.
The appliance is to be used in
domestic conditions; the appli-
ance is not designed for indus-
trial use.
Before cleaning the appliance
make sure that it is disconnected
from the mains and the appliance's 5
components rotation has stopped
completely. Always keep the ap-
pliance clean. Keep this Manual,
so you can use it in the course of
consequent operation.
Use soapy water, sponge or soft
fabric Tor cleaning of the appli-
ance. Do not use chemical and
abrasive agents for cleaning.
Do not touch hot details of a tea-
pot during its work or at once at
the work termination. It can lead
to a bum.
Do not use any other network
cords except a cord which is de-
livered complete with the electro
device, and also do not use this
cord for other electric devices.
If the electro device is not used,
take out a plug of a network cord
from the electric socket. Default
of this requirement can lead to
traumas, bums, defeat by an
electric current, or to current
leak, owing to damage of electric
isolation.
BEFORE USE
1. Carefully take the thermo pot out of the
box
2. Remove all packing materials, including
various stickers.
3. Clean the frame and base of the kettle
with wet cloth, then let it dry.
Before the first use fill and boil
the water. Than pour off the wa-
ter and repeat this action two
times.
II. OPERATION OF THE KETTLE
1. Establish the device
on an equal surface
and insert a plug
into the socket. At
installation watch
that hot steam at
thermo pot boiling
did not get on furni-
ture, home appli-
ances, walls etc.
2. Opening, removal
and cover instal-
lation.
1. Lift the handle of
opening of a cover.
2. Open a cover
upwards. Keep the
handle of opening of
a cover in the top
position, press the
button of removal of
a cover and uncover
at an angle upwards.
For cover instal-
lation into place
execute actions for
cover removal in
return sequence. For
cover closing press
it from above before
click.

6
3.
First boiling.
Pour water in a
thermo pot to a
mark "FULL" and
close a cover.
Attention: In order
to avoid a device
overheat it is not
recommended to
pour less than 0.5 I
of water and above
mark FULL. In
avoidance boil regu-
larly add water.
4. Connect a food cord
in the socket. The
thermo pot will join
automatically; the
boiling indicator red
colour thus will
light up.
5. After water has be-
gun to boil also a
teapot has passed in
a "Keep warm"
mode and the indi-
cator of green col-
our has lighted up,
press button
"PRESS" and merge
in such a way half
of water.
6. Then disconnect a
power supplies, hav-
ing taken out a plug
from the socket,
disconnect a cord,
uncover and merge
the remained water
as is shown in draw-
ing.
7. After that the tea-
pot-thermos can use
in a usual mode.
Pour fresh water to
mark FULL and
connect a power
cord in a network.
The teapot-thermos
will join automati-
cally, the boiling
indicator red colour
thus will light up.
7
8. Keep warm.
At boiling of water
the teapot-thermos
will be switched in a
mode of mainte-
nance of tempera-
ture automatically,
the indicator boiling
will go out and the
indicator of mainte-
nance of tempera-
ture of green colour
will light up.
ATTENTION:
Your teapot-thermos
is equipped by sys-
tem “switching-off
at an insufficient
quantity of water”.
If in the device is
not present or not
enough water, it will
automatically shut
off.
9. 3 ways of boiling:
After the indicator
of boiling red colour
will go out and the
indicator of mainte-
nance of tempera-
ture of green colour
will light up can
start to boil hot wa-
ter lips having es-
tablished a cup un-
der a nose.
1. Press and keep
button PRESS until
then while the cup
not to be filled with
water.
2. Bring a cup to a
nose of the device
and press cup edge
the button of flood
of water.
3. Pressing the but-
ton of mechanical
flood of water.
10. Reboil.
Temperature of
automatic heating of
water below boiling
temperature. If nec-
essary if you want,
the teapot-thermos
allows finishing
water to boiling
quickly. For this
purpose push button
«REBOIL».
III. CLEANING
Before device clearing disconnect it from
the electric plug and merge all water. It is

8
forbidden to use for cleaning of the device
of a sponge with an abrasive covering, abra-
sive cleaners or solvents of type of gasoline
or acetone. It is forbidden to immerse tea-
pot-thermos in water, to rinse under a water
stream, and also to wash in the dishwasher
or to dry in the car for ware drying.
SCALE REMOVAL
Remove scale regularly, 2-3 times per
month.
1. Fill the water in the teapot-thermos and
boil.
2. After the teapot-thermos switch off put
into the water 8 % grout of acetic acid.
3. Leave the teapot-thermos with con-
tents for 2 hours. Lift out the water and
wash device.
4. Fill the water into the teapot-thermos and
boil. Lift out the water and wash the teapot
again.
5. If there is the scale in the teapot-thermos
repeat the action twice.
6. Also you can use the special descaling
agents, available at the market, following
given instructions.
Also it is possible to take advantage of spe-
cial means for scum removal. In this case
follow instructions of means on scum re-
moval.
IV. TROUBLESHOOTING
TECHNICAL SPECIFICATION
Power 800 W
Voltage 220-230 V
Frequency 50Hz
Rated current 3,6 A
Capacity material Stainless steel
Capacity 4,2 1
Manual pressure button
for dispenser +
“Keep warm” function +
“Reboil” function +
Automatic shut off when
no water +
Demountable cord and
the convenient handle +
Indication or operating
modes +
Water level scale +
Hidden heating element +
Rotation possibility on
360° +
Touch control panel +
Ways of flood of water 3
Cord length 1,3 m
Trouble
Probable
cause
Remedy
The appli-
ance does
not work
There is no volt-
age in the plug
Turn off the
appliance and
check the volt-
age in your
socket
Smell
There are pro-
tection coating
on the parts
It is normal. The
small will dis-
appear with time
9
Set
Thermos Pot 1
Instruction manual with
Package 1
ENVIRONMENT FRIENDLY
DISPOSAL
You can help protect the
environment!
Please remember to respect
the local regulations: hand
in the non-working
electrical equipments to an
appropriate waste disposal center.
The manufacturer reserves the right to
change the specification and design of
goods.
RU
Термопот
Уважаемый покупатель!
Поздравляем Вас с приобретением из-
делия торговой марки «Saturn». Уве-
рены, что наши изделия будут верны-
ми и надежными помощниками в Ва-
шем домашнем хозяйстве!
Не подвергайте устройство резким
перепадам температур. Резкая смена
температуры (например, внесение
устройства с мороза в теплое помеще-
ние) может вызвать конденсацию вла-
ги внутри устройства и нарушить его
работоспособность при включении.
Устройство должно отстояться в
теплом помещении не менее 1,5 часов.
Ввод устройства в эксплуатацию по-
сле транспортировки производить не
ранее, чем через 1,5 часа после внесения
его в помещение.
Производитель имеет право на внесе-
ние изменений в дизайн,
комплектацию, а также в технические
характеристики изделия в ходе
совершенствования своей продукции
без дополнительного уведомления об
этих изменениях.
Устройство прибора:
1. Шкала уровня воды
2. Отверстие для забора воды
3. Носик для налива воды
4. Ручка открытия крышки
5. Крышка
6. Кнопка механического разлива воды
7. Отверстия для выпуска пара
8. Ручка для переноски
9. Шнур питания
10. Гнездо для подключения шнура пи-
тания
11. Кнопка разлива воды поднесением
чашки
12. Вращающееся на 3600основание
13. Индикатор функции «Поддержания
температуры».
14. Кнопка функции “Повторное кипяче-
ние”
15. Индикатор кипячения
16. Кнопка “Подача воды» для наливания
воды.
Warranty Card 1
Table of contents
Other Saturn Kitchen Appliance manuals

Saturn
Saturn ST-MC9181 User manual

Saturn
Saturn ST-EC1081 User manual

Saturn
Saturn ST- EK0031 User manual

Saturn
Saturn ST-MC9209 User manual

Saturn
Saturn ST-MC9203 User manual

Saturn
Saturn ST-EK8038 User manual

Saturn
Saturn ST-FP0112 Guide

Saturn
Saturn ST-EC7030 User manual

Saturn
Saturn ST-MC9185 User manual

Saturn
Saturn ST-MC9184 User manual

Saturn
Saturn ST-CS0160 User manual

Saturn
Saturn ST-EK8030 User manual

Saturn
Saturn ST-EK8037 User manual

Saturn
Saturn ST-EC1082 User manual

Saturn
Saturn ST-MC9181 User manual

Saturn
Saturn ST-FP9084 User manual

Saturn
Saturn ST-EK8035 User manual

Saturn
Saturn ST-FP8051 User manual

Saturn
Saturn ST-MC9194 User manual

Saturn
Saturn ST-MC9186 User manual