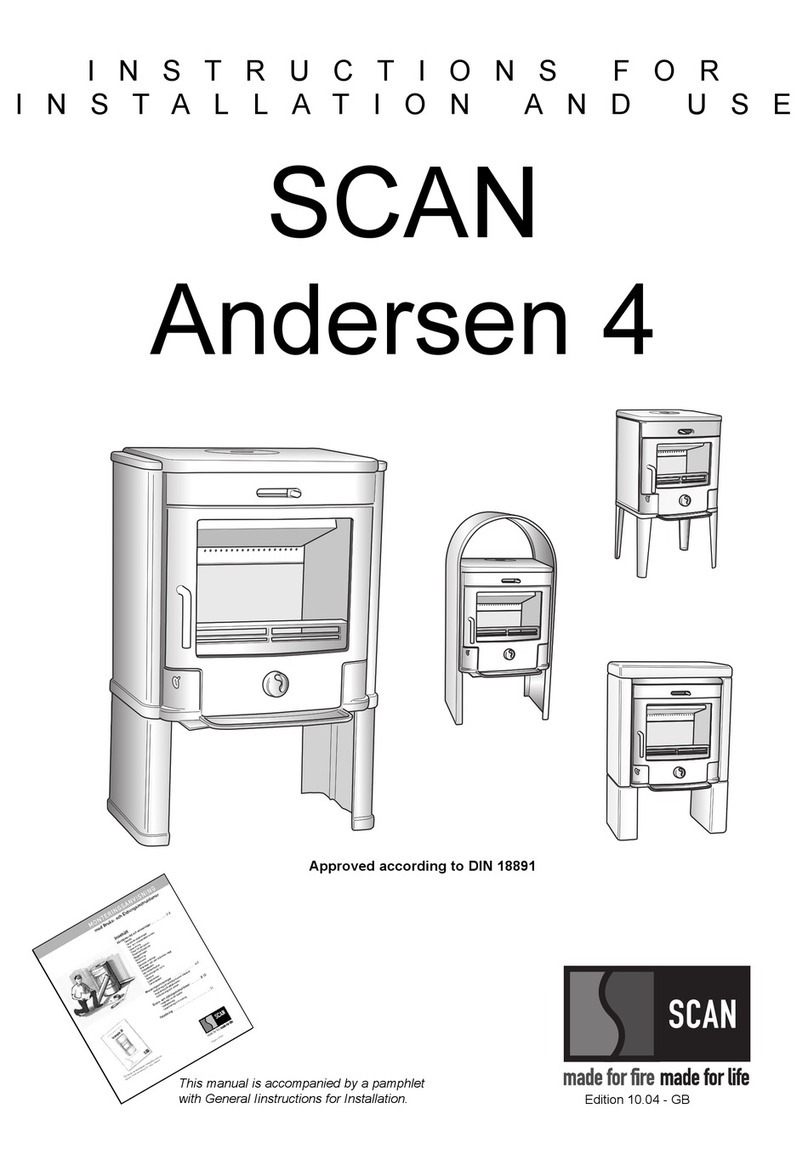
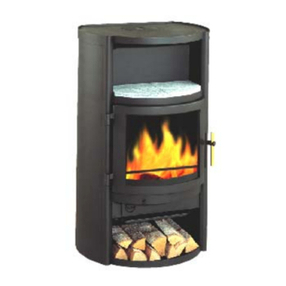
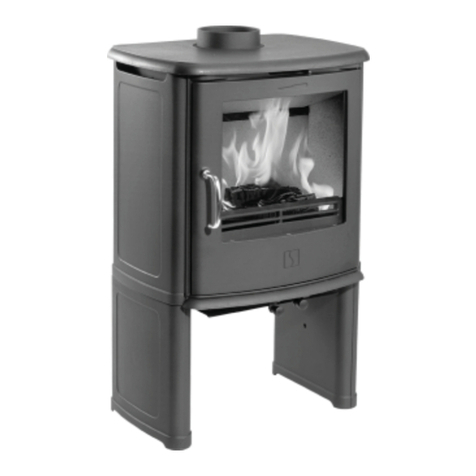
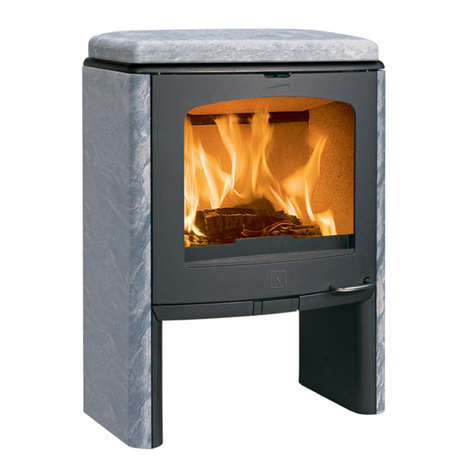
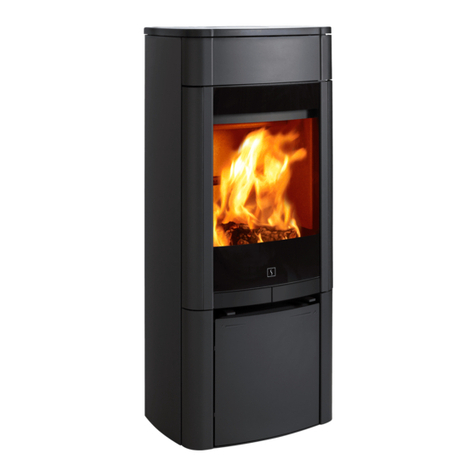
SCAN ANDERSEN 8 User manual

Instructions for Installation and Use
SCAN ANDERSEN Stoves
ENGLISH
April 2003
Krog Iversen & Co. A/S, Glasvænget 3-9, DK-5492 Vissenbjerg

GB
2
INSTRUCTIONS FOR INSTALLATION
Congratulations on your new ANDERSEN wood burning stove. We are confident that you will enjoy your new
stove, especially if you follow the instructions and advice given below.
An original ANDERSEN stove possesses a number plate. The registration number can be attached to the invoice
that is to submit to the dealer in case of later complaints covered by the guarantee.
In the ANDERSEN-stove you will find the following:
1 oven mitten
1 handle to operate the shaking grate
Fitting for the flue collar
1 set of screws and hexagon spanners
Firelighters for the first lighting
Before the Stove is Connected to the Chimney:
Contact your local authorities to obtain the existing fire- and building regulations regarding the installation of
wood burning stoves, or ask your local experts in that field, e.g. the chimney sweep, to install your stove.
Security Distances:
The ANDERSEN convection stove is a double-skinned convection stove with an insulation heat shield at the
rear, resulting in a lower surface temperature. Please consult your local experts regarding the minimum distance
to the wall. However, we recommend that you leave enough space in order to facilitate the cleaning at the rear of
the stove.
The ANDERSEN radiation stoves must be connected in accordance with the regulations in force. Please consult
your local authorities.
Requirements of Flooring:
The stove is to be placed on a non-combustible surface, e.g. an original ANDERSEN base plate, floor tiles, or
the like. We recommend that the base plate extends at least 150 mm from the sides and at least 500 mm from the
front of the stove to prevent any sparks from ruining your carpet or floor.
CONNECTION TO THE CHIMNEY
We recommend that the stove is installed by an authorised dealer. From the factory the stove is prepared for top
mounting of the flue collar, but the ANDERSEN 4 and 8 can also be connected at the rear.
The stove should not be connected to a chimney of which the inside diameter is smaller than that of the flue
collar. The diameters of the smoke pipe and the flue collar should be the same. The gauge of the smoke pipe
should not be less than 1.5 mm.
The stove can be connected in the following ways:
Top Discharge:
Turn the flue collar and tighten the fittings under the top plate by using the delivered hexagon spanner.
Rear Discharge (Andersen 4 and 8):
Press the prestamped plate out of the reflector plate. Remove the cooking ring. Mount the flue collar from the
outside with the delivered fittings and bolts. Put the cooking ring in the hole for top discharge (after having
removed the ceramic joint).

GB
3
MOUNTING POSSIBILITIES
Top Discharge with Elbow Pipe and Wall Sleeve:
The elbow pipe is to be fitted on to the stove's collar, and the clean out door of the elbow pipe is to be positioned
on the vertical section of the elbow pipe. The elbow pipe has to fit completely into the wall sleeve (but not into
the chimney).
Top Discharge with Direct Connection to Steel Chimney:
If the steel chimney is installed directly on top of the stove, we recommend the use of a connection piece/adaptor
fitting into the inside of the stove's smoke collar to lead condensate and rain into the stove, instead on the top
plate.
Rear Discharge with Straight Smoke Pipe and Wall Sleeve (ANDERSEN 4 and 8):
The straight smoke pipe is to be mounted on the outside of the stove's smoke collar and fit completely into the
wall sleeve (but not into the chimney).
ASSEMBLING OF THE STOVE
Andersen Stoves with Legs, Base, or Convection Plates:
Unpack the stove and remove all loose parts (combustion chamber bricks, reflector plate, smoke deflector plate,
and service bag). Place carefully the stove on the rear side. Mount the legs, the base, or the convection plates
according to sketch 1 and 2 on the last page of the manual.
Andersen Stoves with Soap Stone:
Unpack the stove. Mount the soap stones according to sketch 3 on the last page of the manual.
MOUNTING OF THE CERAMIC SMOKE DEFLECTOR
A ceramic smoke deflector is delivered with all ANDERSEN-stoves. Place the smoke deflector plate according
to sketch 4 on the last page of the manual; make sure that it is placed symmetrically in the stove, i.e. with even
amounts of free air/space on each side.
TYPE AND AMOUNT OF FUEL
With closed doors
Birchwood with max. 20% humidity
TYPE Nominal output
kW Amount of fuel
kg/h
Andersen 1 6 1,9
Andersen 4 6 1,5
Andersen 8 7 1,9
COMBUSTION CHARACTERISTICS OF DIFFERENT WOOD TYPES:
Type of Tree Combustion value per m3
(in kWh) Combustion value per kg
(in kWh) Notes
Beech 2.100 4.0 long, continuous fire
Oak 2.100 4.2 long , continuous fire
Birch 1.900 4.3 nice flame image
Pine and Douglas Larch 1.700 4.4 fast, crackling heat
Spruce 1.500 4.5 fast, crackling heat

GB
4
Storage of Wood:
The correct storage of the wood is one of the main conditions of an environment-conscious combustion. Only
hereby are you guaranteed optimal combustion values, and that the nature is not unnecessarily polluted.
* The wood should be stored in an airy, sunny, and dry place (ideal: South side)
* There should be about a hand's breadth distance between each layer
* Poplar and spruce should be stored at least one year before being used as fuel
* Lime, alder, and birch should be stored at least one and a half year before being used as fuel
* Beech, ash, and fruit tree should be stored at least two years before being used as fuel
INSTRUCTIONS FOR USE
Hardening of the Stove Paint:
The paint will harden the first time the stove is used. This will result in a burned smell, which, however,
disappears again when the room is thoroughly aired. It is recommended to open doors and windows to ensure a
good draught.
LIGHTING AND STOKING
Handling of Wood:
To avoid environmental problems and to ensure the best economy, it is recommended only to use wood that has
been stored in the open for at least 1 - 2 years (see Storage of Wood).
The logs must be adapted to the size of the combustion chamber:
Length/ANDERSEN 1 = 400 mm
Length/ANDERSEN 4 = 220 mm
Length/ANDERSEN 8 = 330 mm
The circumference of the logs should be between 20 and 25 cm, and the weight approx. 0.7 kg.
ANDERSEN 1 and 8 may only burn wood.
It is also possible to use lignite briquettes in the model ANDERSEN 4 (1.4 kg/h) or small "energy" briquettes. In
this case you must use a cast iron coal grate (accessory). In ANDERSEN 4 and ANDERSEN 8 it is
recommended to stoke max. 2 logs or 4 lignite briquettes (only ANDERSEN 4) or two shovelfuls of "energy"
briquettes (only ANDERSEN 4, 1.9 kg) at the time.
The burning of waste or other fuels is prohibited. This may damage the stove and the chimney, and it will also
invalidate the guarantee.
LIGHTING AND STOKING
For lighting use pieces of crumbled paper (newspaper) and/or firelighters, which are placed on the grate in the
bottom of the combustion chamber. Never use alcohol, petrol, or other inflammable liquids! The combustion air
should be fully opened and the door should be opened 1-2 cm. Paper and/or fire lighters are lighted are almost
completely closed. When the fire is well alight, after abt. 10-15 min., the stove is ready for the first portion of
wood, and the combustion air and primary air are adjusted according to the following diagrams.

GB
5
Adjustment of the Air:
(see sketch 5 on the last page of the manual).
Wood Briquettes Energy Briquettes
ANDERSEN 1
1) Combustion Air % 100
2) Primary Air % 100
ANDERSEN 4
1) Combustion Air % 100
100
50
2) Primary Air % 75
100
100
ANDERSEN 8
1) Combustion Air % 100
2) Primary Air % 25
Stoking:
Use the amount of fuel previously specified and ensure that the wood has the prescribed size. Do not pack the
wood too closely - this is important in order to obtain an optimal airflow the combustion material. Close the door
after approx. 2 min.
Heating Capacity:
By optimal heating conditions 165 m
3
By less optimal heating conditions 95 m
3
By poor heating conditions 65 m
3
If the heating is interrupted for more than 8 hours, the heating capacity is reduced by 25%.
Output:
The output of the ANDERSEN stoves is 6 kW. This is obtained by a chimney draught of 10 Pa.
Room Ventilation:
During the combustion, oxygen taken from the room air is used. In order to get sufficient air for the combustion,
leave the windows half open in well-insulated rooms or have a fresh-air intake installed.
Soot Free Glasses:
The stove is constructed to keep the glasses clean when the combustion air intake is fully opened. The more you
close the combustion air, the greater the risk of the glass sooting up. Whenever a new piece of wood is placed in
the stove, it is necessary to completely open the combustion air, and the air intake must not be reduced until such
time as the piece of wood is burning without producing any smoke but only a clear flame. Max. humidity 20%.
Fire Bricks:
Little cracks may arise in the firebricks because of a minor content of water, especially if the stove is overheated
during the first firing. These cracks do not influence the efficiency of the stove and are not covered by the
guarantee.
Chimney Draught:
The chimney draught depends on the weather conditions. In stormy weather, you may reduce the chimney
draught by closing the damper in the smoke pipe (if a damper has been installed). If the chimney draught is
strong, the combustion air supply must be reduced additionally.
Ash Grate:
In general, the ash grate of ANDERSEN 4 should be closed when firing with wood and open when firing with
lignite briquettes. ANDERSEN 1 and ANDERSEN 8 are exclusively for wood burning.

GB
6
Stoking During Spring Time and Autumn:
At outdoor temperatures of more than 15°C, the stove may be under fired, and a so-called "cold" combustion
will take place. The result will be an increasing formation of soot in the smoke ducts of the stove, the chimney
connector, and in the chimney. To avoid the soot build-up, we recommend that you clean the smoke ducts more
frequently and increase the supply of combustion air. Small pieces of wood should be used, and fuel should be
added more frequently.
Cleaning:
Be careful when you remove ash from the stove. There may be embers left as long as 24 hours after the stove
was last used. We recommend that you use an original ash bin (accessory). The ash may, when it is cold, be
placed in a garbage bag.
MAINTENANCE INSTRUCTIONS
The stove is cleaned with a moist cloth. Spray lacquer is available for repair of possible damages/scratches. Your
dealer has the right spray in the right colour. As there may be minor colour differences, it is recommended to
repair larger areas with natural borders. You will get the best result if the stove is repaired while it is warm
(remember a good airing during the repair). A possible change of colour to grey is caused by over-firing, i.e. you
have used more wood than recommended.
Soap Stone:
The soapstones are cleaned with fine sandpaper or a dry sponge.
Cleaning of Glass:
By burning wet wood or lighting with closed dampers, the doors may become more or less sooty. The glasses are
however easily cleaned by use of a special cleaning fluid that is available at your dealer.
Or as follows: Dip a moist cloth or old newspaper in the ashes and use this to clean the glass.
Attention! The humid ashes should not get into contact with your skin! Wipe with a dry cloth. The ceramic door
joint must not get wet.
Ceramic Packing Cord:
All ANDERSEN stoves are equipped with ceramic packing cord to ensure the tightness of the doors and the
glasses. This packing cord is a wearing part and must be changed from time to time. Please consult your
authorised dealer in this case.
TROUBLE SHOOTING
Smoke:
•Insufficient chimney draught!
•Check if the chimney has the right dimension.
•Check if the smoke pipe or chimney is blocked.
•Check if the chimney has the right height compared to the surroundings.
•If the above is OK, the chimney draught may be increased by decreasing
the smoke deflector plate (max. 2 cm at a time).
The wood burns too fast:
•Are the air valves adjusted correctly according to the instructions?
•Is the smoke deflector plate placed correctly?

GB
7
Fouled glass:
•Is the combustion air valve adjusted according to the instructions?
•Is the wood dry?
Fouled chimney:
•Incorrect combustion?
•Is the wood dry?
The shaking grate is stuck:
•Check if a piece of wood, a pin or the like is stuck
•Is the bar placed/mounted correctly?
The stove's surface turns grey:
•Over heating – please refer to maintenance instructions "Surface of the
Stove"
The stove does not heat:
•Use of moist wood. The energy is used to dry the wood.

GB
8
Warranty conditions for SCAN wood-burning products
All SCAN wood-burning stoves and inserts are made of first-class material and are subject to a strict
quality control, before they leave the factory. However, an error may occur, wherefore we back all
SCAN wood-burning stoves and inserts with an extensive five years limited warranty.
The warranty covers all parts that may require replacement, from a failure that was caused in the
judgement of Krog Iversen & Co. A/S, to be a defect in material or workmanship.
This warranty is given to the first retail purchaser (other than for the purposes of resale) only and is
not transferable. This warranty does not cover damage resulting from other than defects in material or
workmanship.
Specifically this warranty does not cover:
Wearing parts such as fire bricks, ceramic smoke deflector, shaking grate, glass panes, tiles, and
gaskets (other than damages that are visible at the time of delivery)
Defects caused by outher chemical and physical actions during transport, in stock, during the
installation, or later.
Sooting caused by a bad chimney draught, humid wood, or wrong service.
Costs caused by extra heating costs in connection with repair.
Transport costs
Costs in connection with dismounting and mounting of the unit.
The warranty is invalid:
If the installation or service is performed by someone other than an authorized installer, or if the
installation is not in confirmity with installation instructions and/or local fire and building
regulations.
At wrong use of the stove and use of non-allowed fuel (see Instructions for Installation).
If the serial number has been removed or defaced.
If service for defects covered under this warranty is performed by other than an authorized SCAN
dealer or contrary to Krog Iversen & Co. A/S' instructions.
At any change in the original condition of the SCAN-product or its accessories.
This warranty applies only to SCAN-stoves or inserts sold in the country in which it was originally
delivered and only on presentation of the invoice from an authorized SCAN-dealer. The date of
delivery must appear from the invoice.
Settlement of the complaint
The settlement of the complaint is done by the responsible dealer.

GB
9
Table of contents
Other SCAN Wood Stove manuals
Popular Wood Stove manuals by other brands

Enviro
Enviro EG28 DV NG owner's manual

Dovre
Dovre BOLD 300 Installation instructions and operating manual

Avalon
Avalon Pendleton 745 owner's manual

IKI-Kiuas
IKI-Kiuas Original IKI Instructions for installation and operation

Ravelli
Ravelli RC 120 Touch Steel Use and maintenance manual

Regency
Regency S2400M Owners & installation manual

Stuv
Stuv 16-cube Series Installation, user and servicing instructions

Konigshutte
Konigshutte Auriga Instruction

Century Hearth
Century Hearth FW270007NB manual

ECCO STOVE
ECCO STOVE E580 installation instructions

Dovre
Dovre 2576CBSC Installation instructions and operating manual

RAIS
RAIS GEO Instructions for installation, use and maintenance