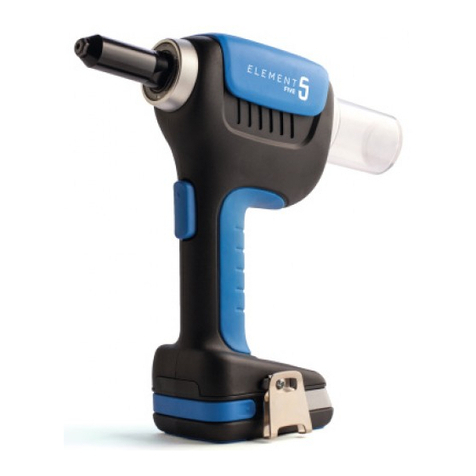
Scell-it ELEMENT 8 User manual

SERTISSEUSE SUR BATTERIE
POUR ÉCROUS À SERTIR M3 À M8
FICHE TECHNIQUE V2 - 19/05/2020
ELEMENT 8
ÉCROUS M3 M4 M5 M6 M8
ALUMINIUM
ACIER
INOX
RÉFÉRENCE
CONTENU
SERTISSEUSE E-8 BATTERIE 18V
Li-Ion -2.0Ah
CHARGEUR
RAPIDE 18V ACCESSOIRES
E-8-2XBAT 1211
E-8-1XBAT 1111
E-8-BODY 1 1
E-BATT 1
E-CHARG 1
CAPACITÉ D’USAGE
AVANTAGES
prise en main
et gâchette
ergonomiques
Stable à l’envers
comme à l’endroit
Batterie 2.0 Ah avec
indicateur de charge
3 LED éclairant
la zone de pose
Accessoires inclus :
• 5 nez de pose et tirants M3-M4-M5-M6-M8 pour écrou aveugle.
• 1 crochet attache ceinture
• 1 coffret rigide
Coffret
rigide
310 mm
290 mm
230 mm
93 mm
74 mm
M4 E-8-TIGEFEM-M4
M5 E-8-TIGEFEM-M5
M6 E-8-TIGEFEM-M6
M8 E-8-TIGEFEM-M8
En option :
• Tirant femelle pour goujon à sertir
CARACTÉRISTIQUES TECHNIQUES RÉFÉRENCES
Capacité :
Pose tous types d’ écrous
aveugles de M3 à M8
Force de traction :
22 500 N
Course :
8 mm
Poids (compris batterie) :
2.37 kg
Batterie :
18 V Li-ion - 2.0 Ah avec
indicateur de charge
Chargeur :
18V - Temps de charge de la
batterie 2.0 Ah = 100 % en
30 minutes
Garantie :
1 an
ÉCROUS MATIÈRE NOMBRE DE PIÈCE/BATTERIE
CYLINDRIQUE M8 Acier 700
HEXAGONAL M8 Acier 500
Autonomie batterie chargée à 100% :

• Enlever la batterie.
• Dévisser et retirer la butée 2.
• Retrousser la bague 5puis dévisser
manuellement le mandrin 1
(sens antihoraire).
• Remplacer par le
mandrin souhaité.
• Huiler le mandrin/tirant
aprés son remplacement
pour éviter une usure
prématurée.
100%
75%
50%
25%
UTILISATION
ENTRETIEN ET MAINTENANCE / RÉSOLUTION DES PROBLÈMES / CONSIGNES DE SÉCURITÉ
● CHANGER LES MANDRINS :
● RÉGLAGE DE L’OUTIL : Voir notice d’utilisation
● RETIRER LA BATTERIE :
La batterie est équipée d’un mécanisme de verrouillage 6.
Tant que la batterie reste xée à la riveteuse, elle est verrouillée
par un ressort.
Pour retirer la batterie, pressez les boutons de
déverrouillage de part et d’autre de la batterie.
Ne forcez pas.
4 voyants lumineux indiquent le taux de charge de la batterie.
Appuyer et maintenir le bouton bleu pour vérier le taux de charge :
Voyant vert sur le chargeur :
la batterie est chargée
Voyant rouge sur le chargeur :
la batterie doit être chargée
Voir notice d’utilisation.
L’outil est équipée de 3 lampes
LED pour éclairer la zone de
travail.
Pour allumer les éclairages LED
uniquement :
Exercer une brève pression sur
la gâchette. Les lumières LED
s’éteignent au bout de 10 secondes.
Rivetage/Sertissage avec les éclairages LED :
Actionner la gâchette pour sertir le rivet/l’écrou. Les lumières LED
sont automatiquement activées et resteront allumées 10 secondes
après la pose.
● POSE DE L’ÉCROU AVEUGLE :
● CHARGE DE LA BATTERIE :
● ECLAIRAGE LED :
SERVICE TECHNIQUE
Mandrin / Tirant
Ecrou et contre écrou de blocage
Bague et axe gradué de réglage
de la course
Trou oblong pour déblocage
manuel de l’outil
Corps
Gâchette
Déverrouillage batterie
Attache ceinture
Bouton test charge batterie
Indicateur charge batterie
1
2
3
4
5
6
7
8
9
10
123
4
5
6
7
8
9
10
Au préalable de la pose, réaliser les étapes « réglage de l’outil ».
• Insérer l’écrou dans le perçage en s’assurant du bon alignement
perçage-écrou-outil.
• Maintenir la gâchette enfoncée pendant toute la durée du cycle de
pose (environ 1 seconde).
IMPORTANT :
Accompagner le dévissage
automatique en effectuant un
mouvement de recul avec l’outil.
1
1 2 3
Le taux de charge peut varier de (+/- 5%)
selon les conditions environnementales.
5
CORDLESS RIVET NUT TOOL
FOR BLIND NUT M3 TO M8
TECHNICAL DATA SHEET
ELEMENT 8
NUTS M3 M4 M5 M6 M8
ALUMINIUM
STEEL
STAINLESS
STEEL
CAPACITY
FEATURES
SPECIFICATIONS REFERENCES
Accessoires inclus :
• 5 nosepieces and mandrels M3-M4-M5-M6-M8 for blind nuts.
• 1 belt hook.
• 1 rigid carrying case.
rigid
carrying case
Capacity:
Blind nuts M3 to M8
Traction power:
22 500 N
Stroke:
8 mm
Weight (incl. battery):
2.37 kg
Battery:
18 V Li-ion - 2.0 Ah with
charger indicator.
Charger:
18V - battery charging time 2.0
Ah = 100 % in 30 minutes
Warranty:
1 year
smooth trigger and
grip
upside-down standBattery with charge
indicator
3 LEDs to illuminate
the work zone
REFERENCE
COMPOSITION
NUT TOOL E-8 BATTERY18V
Li-Ion -2.0Ah
QUICK
CHARGER 18V ACCESSORIES
E-8-2XBAT 1 2 1 1
E-8-1XBAT 1 1 1 1
E-8-BODY 1 1
E-BATT 1
E-CHARG 1
310 mm
230 mm
93 mm
74 mm
NUTS MATERIAL NUMBER OF PART/BATTERY
CYLINDRICAL M8 Steel 700
HEX M8 Steel 500
Battery autonomy with 1 charge:
290 mm
V2 - 19/05/2020
M4 E-8-TIGEFEM-M4
M5 E-8-TIGEFEM-M5
M6 E-8-TIGEFEM-M6
M8 E-8-TIGEFEM-M8
In option :
• Female mandrel for blind rivet studs

• Remove the battery.
• Unscrew and remove the piece 2.
• Roll up the stroke set 5then unscew
the mandrel 1.
• Replace the mandrel.
• It is recommended to oil
or grease the mandrel
before use in order to
prevent premature wear.
100%
75%
50%
25%
OPERATING INSTRUCTIONS
MAINTENANCE / TROUBLESHOOTING / SAFETY INFORMATION
● CHANGE MANDRELS:
● ADJUSTING THE TOOL: See user manual.
● REMOVE THE BATTERY:
Battery is locked to the riveting tool with a spring.
To remove the battery, press the 2 unlock buttons 6and slide the
battery.
4 lights on the battery panel allows you to check the remaining
power. Press and hold the blue button to check the battery level :
Green light on the charger:
the battery is fully charged
Red light on the charger:
the battery has to be charged
See user manual.
The tool is equipped with 3
powerful LED lights to enlight
the work place.
Turn on the light only
Press the trigger half way to
turn on the light. The lights will
shutdown after 10’.
Turn on the tool with the lights on
Press the trigger to set the rivet/blind nut. The lights turn on and
remain on until 10’ after the trigger is released.
● BLIND NUT INSTALLATION:
● BATTERY LEVEL INDICATOR:
● LED LIGHTS:
SERVICE TECHNIQUE
123
4
5
6
7
8
9
10
Before installation rst carry out the ‘tool setting’.
• Insert nut in to the hole and verify that hole/nut/tool are well aligned.
• Press the button during the whole installation cycle (about 1 second).
IMPORTANT :
Accompany the automatic
unscrewing by pulling the tool
back slightly.
1
1 2 3
The information on the battery panel can vary
(+/- 5%) due to environmental conditions.
5
Mandrel
Anvil and locknut
Stroke set with serrations
Hole to release jammed nut
Tool body
Button
Battery switch
Belt clip
Battery level check button
Battery level indication
1
2
3
4
5
6
7
8
9
10

NARZĘDZIE AKUMULATOROWE
DO NITONAKRĘTEK M3 - M8
KARTA TECHNICZNA
ELEMENT 8
SYMBOL
ZAWARTOŚĆ
NARZĘDZIE
E-8
BATERIE 18V
Li-Ion -2.0Ah
ŁADOWARKA
18V AKCESORIA
E-8-2XBAT 1211
E-8-1XBAT 1111
E-8-BODY 1 1
E-BATT 1
E-CHARG 1
Dołączone akcesoria:
• 5 trzpieni M3-M4-M5-M6-M8 do nitonakrętek
• 1 zaczep do paska
• 1 sztywne pudełko
Sztywne
pudełko
310 mm
230 mm
93 mm
74 mm
290 mm
V2 - 19/05/2020
NITONAKRĘTKA M3 M4 M5 M6 M8
ALUMINIUM
STAL
STAL
NIERDZEWNA
MOŻLIWE ZASTOSOWANIE
CHARAKTERYSTYKA TECHNICZNA OPAKOWANIE
ZALETY
ERGONOMICZNY
UCHWYT I SPUST
MOŻE STAĆ DO GÓRY
NOGAMI
BATERIA 2,0 AH
ZE WSKAŹNIKIEM
NAŁADOWANIA
3 DIODY LED
OŚWIETLAJĄ OBSZAR
INSTALACJI
Zdolność:
Instaluje wszystkie typy
nitonakrętek od M3 do M8
Siła trakcji:
22,500 N
Skok:
8 mm
Szybkość instalacji:
20 w przybliżeniu cykle na
minutę
Waga (w zestawie baterią):
2.37 kg
Bateria:
18 V Litowo-jonowa - 2.0 Ah
ze wskaźnikiem ładowania
Ładowarka:
18V - Czas ładowania
akumulatora 2,0 Ah = 100%
w ciągu 30 minut
Gwarancja:
1 rok
NITONAKRĘTKA MATERIAŁ LICZBA SZTUK/BATERIA
CYLINDRYCZNA M8 Stal 700
SZEŚCIOKĄTNA M8 Stal 500
Żywotność baterii załadowanej w 100%:
M4 E-8-TIGEFEM-M4
M5 E-8-TIGEFEM-M5
M6 E-8-TIGEFEM-M6
M8 E-8-TIGEFEM-M8
Opcjonalnie:
• Female mandrel for blind rivet studs

• Wyjmij baterię
• Odkręć i wyjmij blokadę 2.
• Zwiń pierścień 5 i ręcznie odkręć trzpień
1(przeciwnie do ruchu wskazówek zegara).
• Wymień trzpień.
• Zaleca się naoliwić
lub nasmarować
trzpień przed użyciem,
aby zapobiec
przedwczesnemu
zużyciu.
100%
75%
50%
25%
UŻYTKOWANIE
● WYMIANA TRZPIENIA:
● REGULACJA NARZĘDZIA: Patrz w instrukcji użytkowania
● WYMIANA BATERII:
Bateria jest wyposażona w mechanizm blokujący 6.
Dopóki bateria pozostaje przymocowana do nitownicy, jest ona
zablokowana przez sprężynę. Aby wyjąć baterię, naciśnij przyciski
zwalniający po obu stronach baterii. Nie używaj siły.
4 diody LED wskazują poziom naładowania baterii. Naciśnij i
przytrzymaj niebieski przycisk, aby sprawdzić poziom naładowania:
Zielona dioda LED na
ładowarce: bateria jest
naładowana
Czerwona dioda LED na
ładowarce: bateria musi
zostać naładowana
Narzędzie E-SP jest wyposażone
w 3 diody LED, które oświetlają
obszar roboczy.
Aby włączyć tylko diody LED:
Krótko naciśnij spust. Diody LED
zgasną po 10 sekundach.
Nitowanie z oświetleniem LED:
Naciśnij spust, aby zacisnąć nit. Diody LED są aktywowane
automatycznie i pozostaną włączone do 10 sekund od momentu
nitowania.
● MONTAŻ NITONAKRĘTKI:
● ŁADOWANIE BATERII:
● OŚWIETLENIE LED:
SERVICE TECHNIQUE
Trzpień
Nakrętka i nakrętka zabezpieczająca
Skala regulacji skoku
Podłużny otwór do ręcznego
odblokowywania narzędzia
Korpus
Spust
Blokada baterii
Zaczep do paska
Przycisk poziomu naładowania
akumulatora
Wskaźnik naładowania akumulatora
1
2
3
4
5
6
7
8
9
10
123
4
5
6
7
8
9
10
Przed instalacją wykonaj kroki «ustawianie narzędzia».
• Włóż nitonakrętkę do otworu i sprawdź, czy otwór / nitonakrętka /
narzędzie są dobrze dopasowane.
• Naciśnij przycisk podczas całego cyklu instalacji (około 1 sekundy).
WAŻNE:
Automatyczne
odkręcanie - delikatnie
pociągając narzędzie do tyłu.
1
1 2 3
Szybkość ładowania może się różnić (+/- 5%)
w zależności od warunków środowiskowych
5
KONSERWACJA I CZYSZCZENIE / ROZWIĄZYWANIE PROBLEMÓW / INSTRUKCJE BEZPIECZEŃSTWA
Zobacz instrukcje użytkowania.
Ul. Płk. Dąbka 17, 30-732 Kraków - Tel. : +48 12 357 15 22 - [email protected] - www.scellit.com
Table of contents
Languages:
Other Scell-it Power Tools manuals

Scell-it
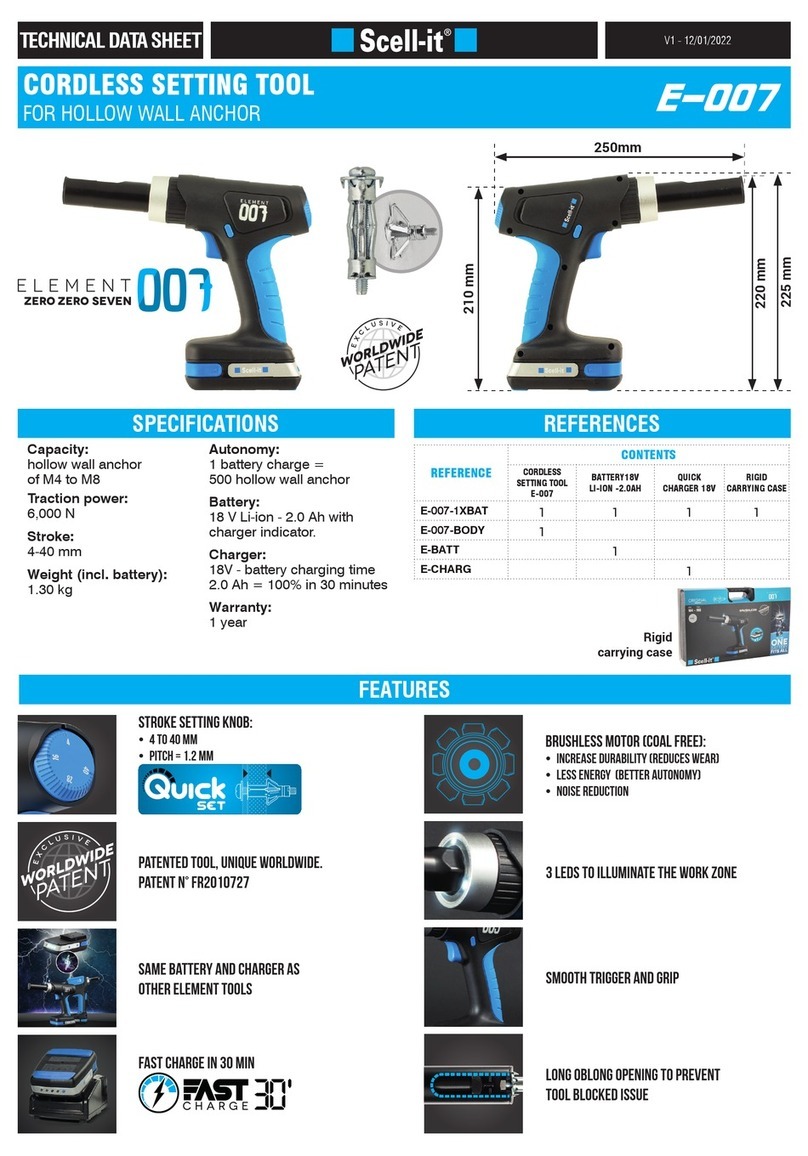
Scell-it ELEMENT 007 User manual

Scell-it
Scell-it PR500 User manual

Scell-it
Scell-it VI-P300B User manual

Scell-it
Scell-it VI-P300B User manual

Scell-it
Scell-it ELEMENT SIX User manual

Scell-it
Scell-it VI-P300 User manual

Scell-it
Scell-it E-308NP User manual

Scell-it
Scell-it ELEMENT FIVE User manual

Scell-it
Scell-it ELEMENT 5 User manual