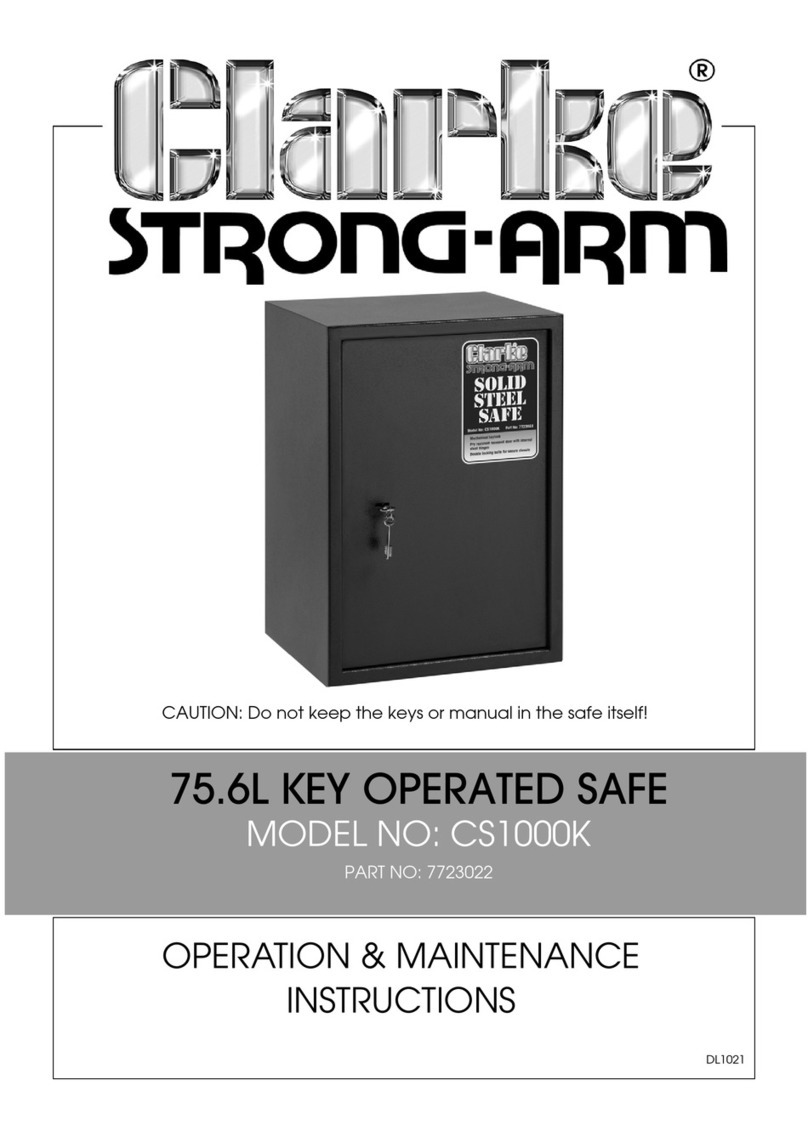
Sealey SBS01 User manual

2. INTRODUCTION
4. OpeRaTION
3. INsTallaTION
1. safeTy
Heavy-duty biometric finger print safe. Double safety lock
requires electronic access code or finger print to open the
locking mechanism. Powder coated finish for added corrosion
resistance.
Original Language Version SBS01, SBS03 Issue: 1 - 31/10/11
INSTRUCTIONS FOR:
BIOMeTRIC seCURITy
safes
MODEL No's: sBs01, sBs03
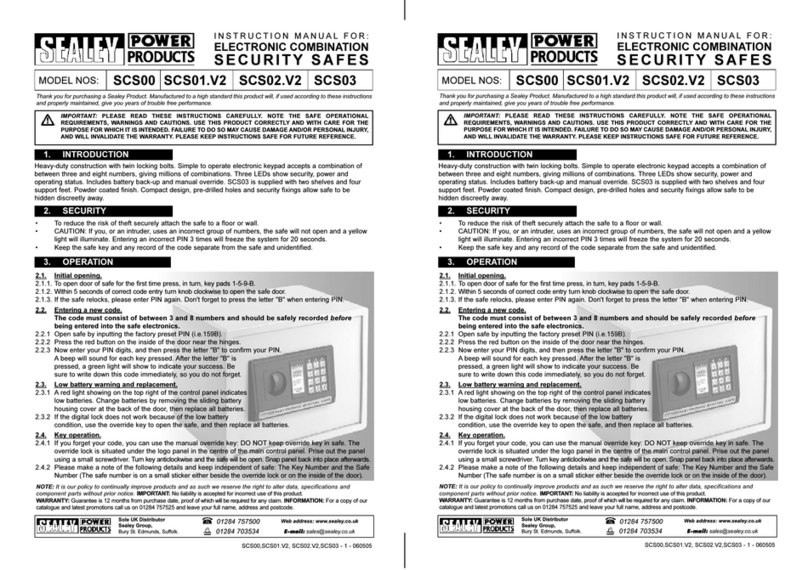
Thank you for purchasing a Sealey product. Manufactured to a high standard this product will, if used according to these instructions and properly
maintained, give you years of trouble free performance.
IMPORTANT: please ReaD THese INsTRUCTIONs CaRefUlly. NOTe THe safe OpeRaTIONal ReQUIReMeNTs, WaRNINGs aND CaUTIONs.
Use THIs pRODUCT CORReCTly aND ONly fOR ITs INTeNDeD pURpOse. faIlURe TO DO sO May CaUse DaMaGe aND/OR peRsONal INJURy
aND WIll INValIDaTe THe WaRRaNTy. ReTaIN THese INsTRUCTIONs fOR fUTURe Use.
WaRNING! These safes are heavy and care should be
exercised in transit and handling to ensure that no one is injured.
For maximum security, these safes must be securely fixed to a
floor and/or wall. At all times, these safes should be positioned on
a level floor/surface.
DO NOT install in areas where damp and condensation are
present.
g.2
3.1 Openthesafedoorusingtheemergencykeyasdescribed
insection4.1.
3.2 Careful consideration should be given to the sighting of the safe
to ensure that it is discreetly placed and not easily found by any
intruders.
3.3 Each safe is supplied with four anchor bolts suitable for fixing to
brick and concrete.
3.4 Fixing to hollow partition walls is not recommended. If fixed to
wood it must be to a solid wooden structure.
3.5 Open the door of the safe and with the help of a second person,
position it where required and mark the mounting positions
through the pre-drilled holes in either the back or the base of the
safe.
3.6 Drill four 12mm holes to a depth of 52mm. (fig.2.A)
3.7 Remove the bolt and washer from each fixing. Ensure the
tapered nut is firmly inserted into the split end of each tube and
insert them into the wall, nut first. (fig.2.B)
3.8 Position the safe over the four holes and support it there whilst
each bolt is inserted and done up finger tight. (fig.2.C)
3.9 Continue to support the safe whilst tightening the fixings using a
12mm spanner or socket. (fig.2.D)
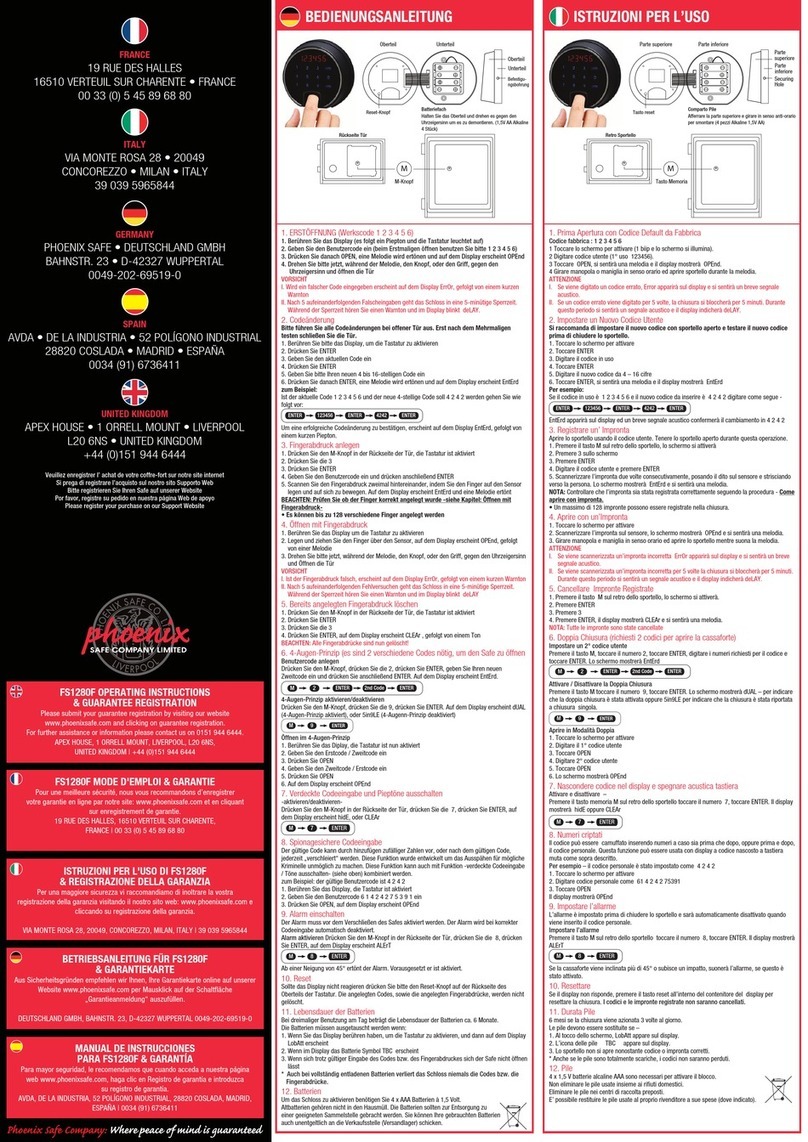
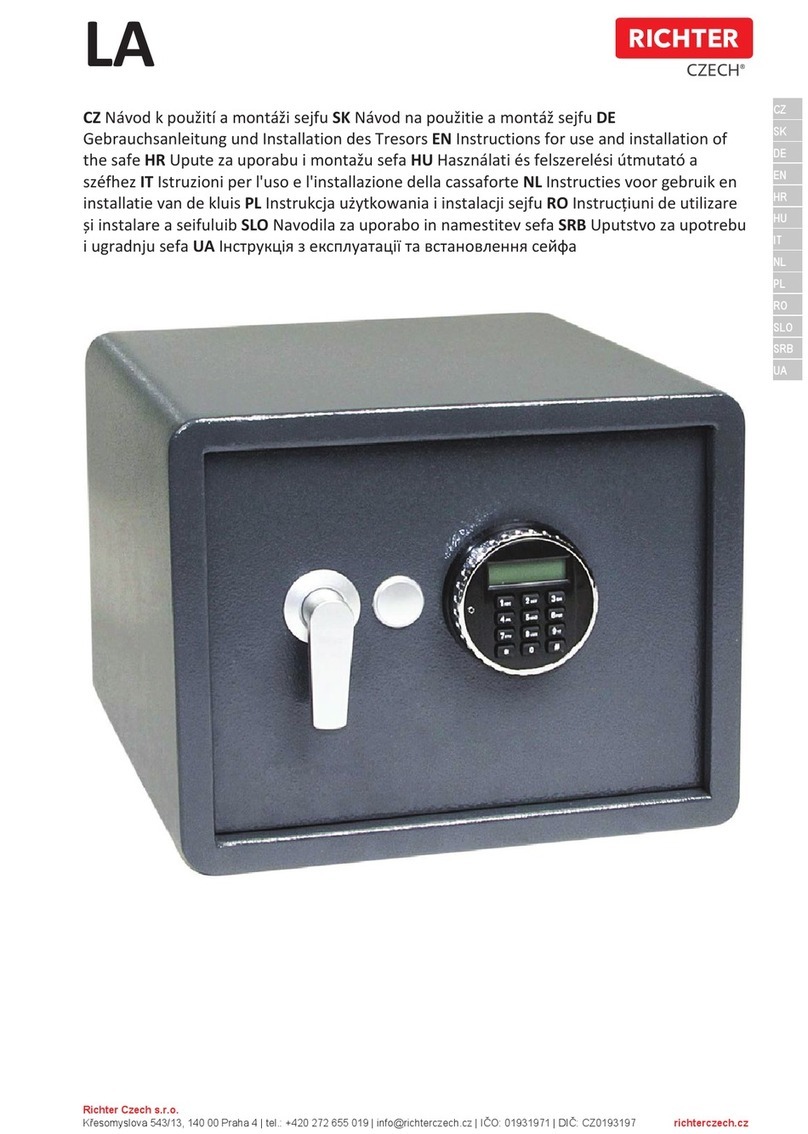
4.1 Firsttimeopeningofsafe. The safe has to be opened the first
time using the emergency key. The key hole is situated beneath
a cover at the bottom of the main panel. See fig.3.
4.1.1 Slide the cover downwards and remove it to reveal the keyhole as
shown in fig.1a.
4.1.2 Insert the emergency key provided as shown in fig.1b and turn it
anti-clockwise. Turn the silver knob clockwise and open the safe.
4.2 Insertingthebatteries. The battery compartment is situated on
the back of the safe door. Slide the cover to the left by 12mm
and lift it off. Insert four high quality alkaline batteries ensuring
that the polarity is correct according to the markings in the back
of the compartment. Replace the cover and slide shut.
4.2.1 If the red LED to the left of button No.1 illuminates, it means
that the batteries are low in power and should be replaced.
4.3 Changingthepresetcode. The preset user code is factory set
to "1234" and for security purposes should be changed to
another code using the following procedure.
4.3.1 Press button No.1 and hold it down for 5 seconds until the green
LED illuminates. Release the button and enter the existing code.
Press the unlock button to confirm. If correct a beep will sound.
g.1a g.1b
4.3.2 Now enter the new code (4 to 8 digits) and press the unlock
button to confirm. No beep will sound.
4.3.3 Enter the new code for a second time and press the unlock
button to confirm. A beep will sound to confirm that the code has
been successfully changed.
g.3
seRIal NUMBeR

4.6 Restoringthefactorysettings. Open the safe to access the
initialization/add button. Press and hold down the button. After
about 5 seconds the green LED will start to flash. Continue to
hold down the button whilst the LED flashes about ten times,
followed by a beep. Allfingerprintrecordsaredeletedand
theusercodeisreturnedto'1234'.
4.7 Maintenance. Do not use liquids or spray cleaners to clean the
safe. Use only a damp cloth.
4.7.1 Do not spill liquids on the control panel.
4.7.2 Do not attempt to dismantle the control panel or any other door
mounted components. If the safe malfunctions return it to your
Sealey dealer.
4.8 ReplacementKeys.
4.8.1 Should you lose your keys we can supply replacements. To
order these please contact our sales office on 01284 757500
and quote the unique serial number relating to your safe, this
can be found on the front of this manual. We will also require a
copy of your purchase invoice for the safe to confirm that you
are the owner. Please note that replacement keys are special
order only (we do not carry these in stock for security reasons)
and as such they can take 14 – 28 days to arrive.
NOTE: It is our policy to continually improve products and as such we reserve the right to alter data, specifications and component parts without prior notice.
IMpORTaNT: No liability is accepted for incorrect use of this product.
WaRRaNTy: Guarantee is 12 months from purchase date, proof of which will be required for any claim.
INfORMaTION: For a copy of our latest catalogue and promotions call us on 01284 757525 and leave your full name and address, including postcode.
01284 757500
01284 703534
sales@sealey.co.uk
SoleUKDistributor,SealeyGroup,
Kempson Way, Suffolk Business Park,
Bury St. Edmunds, Suffolk,
IP32 7AR
www.sealey.co.uk
Web
email
Original Language Version
g.4
g.5
sBs03 350 x 310 x 500
SBS01, SBS03 Issue: 1 - 31/10/11
4.4 Fingerprintregistration. Press the finger print initialization/add
button which is situated on the back edge of the open door. See
fig.4. Two beeps will be heard and a red light will illuminate in the
finger registration window.
4.4.1 Immediately position a suitable finger on the window and hold it
steady with medium pressure. Refer to fig.5 for information on
correct finger placement. Two beeps registers the presence of
your finger. Continue to hold your finger in place. A long beep will
signal successful finger print registration. Each user should
register 2 to 3 fingerprints.
4.4.2 If 3 short beeps are heard accompanied by flashing LEDs the
registration has failed. Refer to fig.5 for information on incorrect
finger placement which may account for non-registration.
4.4.3 Tips to further improve finger print recognition are as follows:-
●Do not attempt registration or recognition in bright light.
●Do not press too hard or too lightly on the window.
●Females and children should register with their thumb or middle
finger.
●In very dry weather, registration or recognition may be
improved by creating a little moisture on the finger tip by
breathing on it prior to placement.
4.5 Openingthesafe.
4.5.1 FINGERPRINT OPENING. Press the unlock button to turn on the
red light in the finger print recognition window. Place your finger
onto the window as instructed in section 4.4 and leave it in
position until a beep is heard and the green LED illuminates. You
can now open the door.
4.5.2 USER CODE OPENING. Input your user code and then press
the unlock button. If it is the correct code a beep is heard and the
green LED illuminates. You can now open the door.
4.5.3 EMERGENCY KEY OPENING. The safe can be opened with the
emergency key by following the instructions in section 4.1. Do
notkeeptheemergencykeysinthesafe.
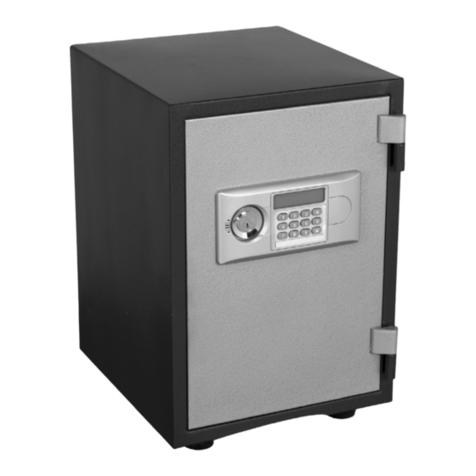
This manual suits for next models
1
Other Sealey Safe manuals

Sealey
Sealey SCFS04 User manual

Sealey
Sealey SECS01 User manual

Sealey
Sealey SCFS01.V2 User manual

Sealey
Sealey SEKC25 User manual

Sealey
Sealey SCFS01 User manual

Sealey
Sealey SECS00 User manual

Sealey
Sealey SECK50 User manual

Sealey
Sealey SKS01 User manual

Sealey
Sealey SEKC25 User manual

Sealey
Sealey SKL1 User manual