manuals.online logo
Brands
  1. Home
  2. •
  3. Brands
  4. •
  5. Sealey
  6. •
  7. Safe
  8. •
  9. Sealey SCFS04 User manual

Sealey SCFS04 User manual

Other Sealey Safe manuals

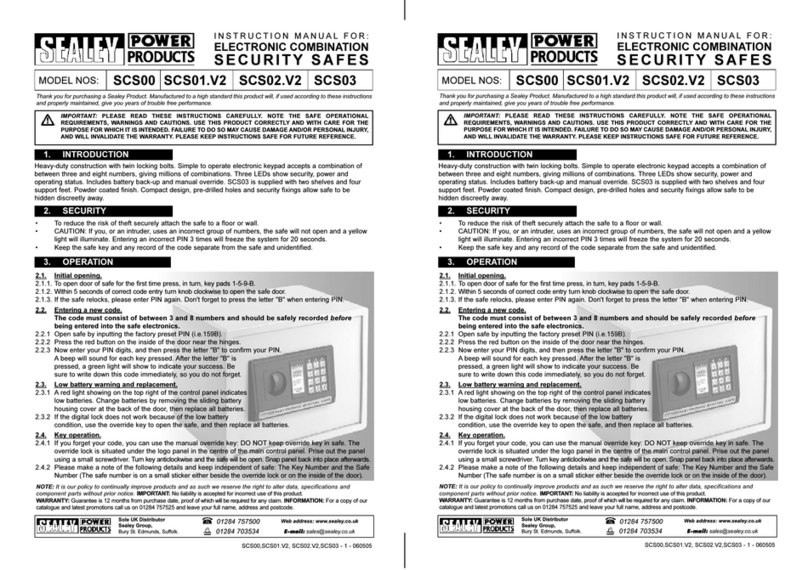
Sealey SCS00 User manual

Sealey

Sealey SCS00 User manual

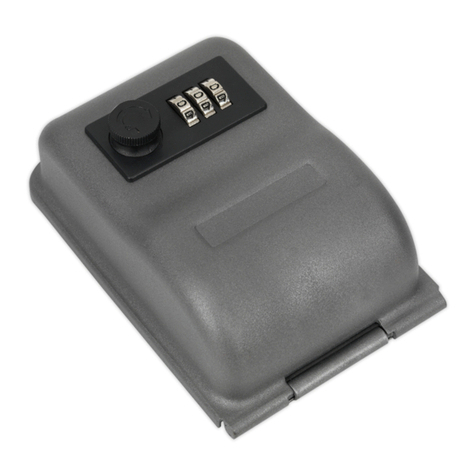
Sealey SKL1 User manual

Sealey

Sealey SKL1 User manual

Sealey SCFS04 User manual

Sealey

Sealey SCFS04 User manual

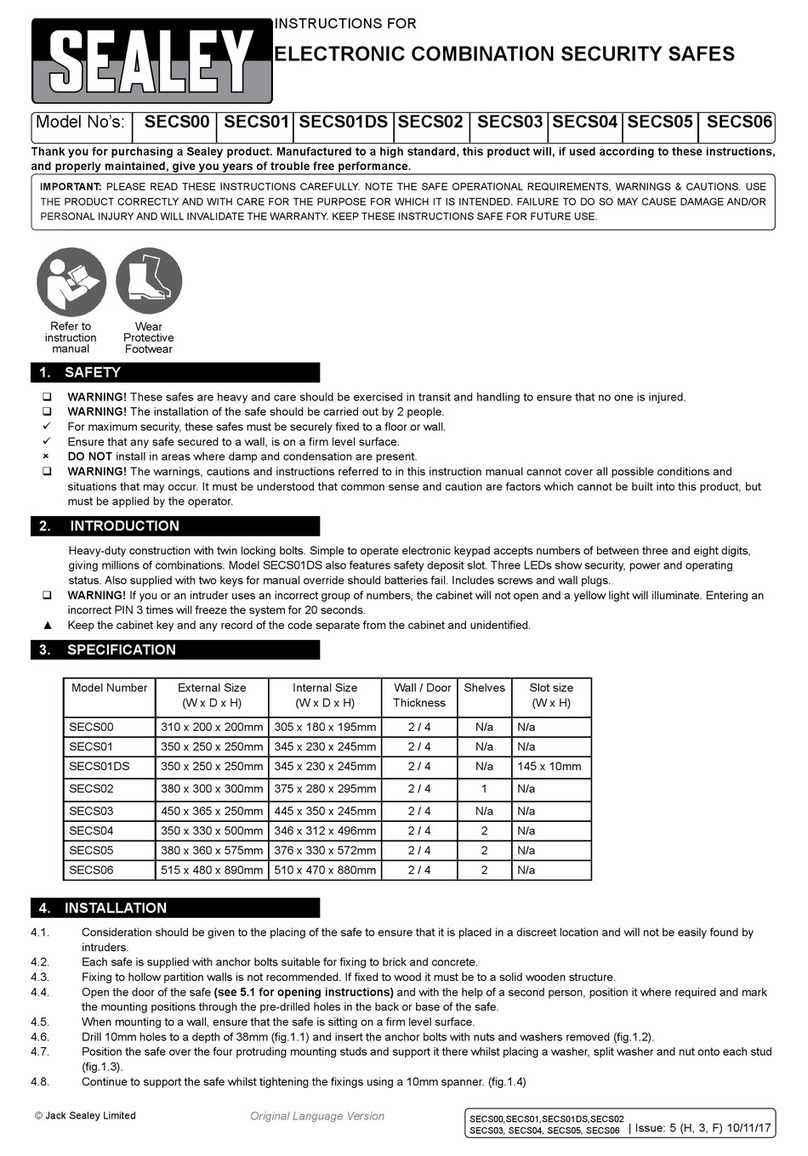
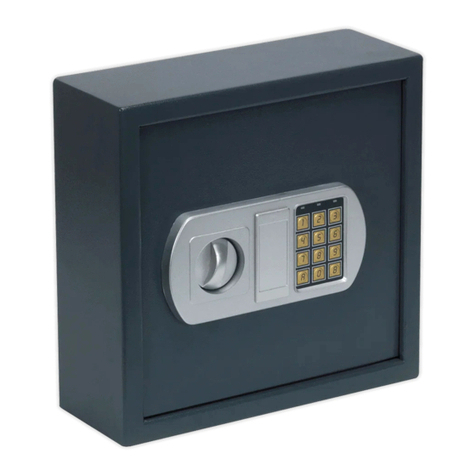
Sealey SECS01 User manual

Sealey

Sealey SECS01 User manual

Sealey SKFS01 User manual

Sealey

Sealey SKFS01 User manual

Sealey SKS01 User manual

Sealey

Sealey SKS01 User manual

Sealey SEKC25 User manual

Sealey

Sealey SEKC25 User manual

Sealey SECS00 User manual

Sealey

Sealey SECS00 User manual

Sealey SCFS01 User manual

Sealey

Sealey SCFS01 User manual

Sealey SEKC25 User manual

Sealey

Sealey SEKC25 User manual

Sealey SCFS01.V2 User manual

Sealey

Sealey SCFS01.V2 User manual

Sealey SECK50 User manual

Sealey

Sealey SECK50 User manual

Sealey SBS01 User manual

Sealey

Sealey SBS01 User manual

Popular Safe manuals by other brands

Euromate 406210 Original instructions

Euromate

Euromate 406210 Original instructions

SPORTS AFIELD PRESERVE SA72-60WD instruction manual

SPORTS AFIELD

SPORTS AFIELD PRESERVE SA72-60WD instruction manual

Squire Stronghold Keysafe Fitting instructions

Squire

Squire Stronghold Keysafe Fitting instructions

Phoenix FS0352C Instructions & Guarantee Registration

Phoenix

Phoenix FS0352C Instructions & Guarantee Registration

Hornady SnapSafe Trunk Safe II owner's manual

Hornady

Hornady SnapSafe Trunk Safe II owner's manual

Phoenix KS0030E Series operating instructions

Phoenix

Phoenix KS0030E Series operating instructions

Vaultek 10 Series Quick setup

Vaultek

Vaultek 10 Series Quick setup

Arregui CLASS operating instructions

Arregui

Arregui CLASS operating instructions

Technomax Trony Series Instruction handbook

Technomax

Technomax Trony Series Instruction handbook

SPORTS AFIELD INSTINCT BIOMETRIC Series instruction manual

SPORTS AFIELD

SPORTS AFIELD INSTINCT BIOMETRIC Series instruction manual

SPORTS AFIELD SA-HD5-BIO instruction manual

SPORTS AFIELD

SPORTS AFIELD SA-HD5-BIO instruction manual

Olymp GOsafe 110 operating instructions

Olymp

Olymp GOsafe 110 operating instructions

Phoenix SS0100E Operating Instructions & Guarantee Registration

Phoenix

Phoenix SS0100E Operating Instructions & Guarantee Registration

Ankaro ANK EZ I quick start guide

Ankaro

Ankaro ANK EZ I quick start guide

Honeywell 2077D - 1.21 Cubic Foot Anti-Theft Safe user guide

Honeywell

Honeywell 2077D - 1.21 Cubic Foot Anti-Theft Safe user guide

Beaumont SMART KEYBOX user guide

Beaumont

Beaumont SMART KEYBOX user guide

Phoenix FS1270E Series operating instructions

Phoenix

Phoenix FS1270E Series operating instructions

Shure T-Wall Series Assembly instructions

Shure

Shure T-Wall Series Assembly instructions

manuals.online logo
manuals.online logoBrands
  • About & Mission
  • Contact us
  • Privacy Policy
  • Terms and Conditions

Copyright 2025 Manuals.Online. All Rights Reserved.

4. INSTALLATION
1. SAFETY
4.1 Consideration should be given to the placing of the safe to ensure that it is placed in a discreet location and will not be easily found by
intruders.
WARNING! This safe is heavy (33.5kg) and care should be exercised in transit and handling to ensure that no one is injured.
 DO NOT drill holes in the casing for fixing purposes, this could undermine fire resistance. This is a free standing safe.
 DO NOT install in areas where damp and condensation may be present, underground or cellars for example.
WARNING! The warnings, cautions and instructions referred to in this instruction manual cannot cover all possible conditions and situations
that may occur. It must be understood that common sense and caution are factors which cannot be built into this product, but must be applied
by the operator.
Thank you for purchasing a Sealey Product. Manufactured to a high standard this product will, if used according to these instructions and properly
maintained, give you years of trouble free performance.
IMPORTANT: PLEASE READ THESE INSTRUCTIONS CAREFULLY. NOTE THE SAFE OPERATIONAL REQUIREMENTS, WARNINGS AND
CAUTIONS. USE THIS PRODUCT CORRECTLY AND WITH CARE FOR THE PURPOSE FOR WHICH IT IS INTENDED. FAILURE TO DO SO MAY
CAUSE DAMAGE AND/OR PERSONAL INJURY, AND WILL INVALIDATE THE WARRANTY. PLEASE KEEP INSTRUCTIONS FOR FUTURE
REFERENCE.
Original Language Version
2. INTRODUCTION
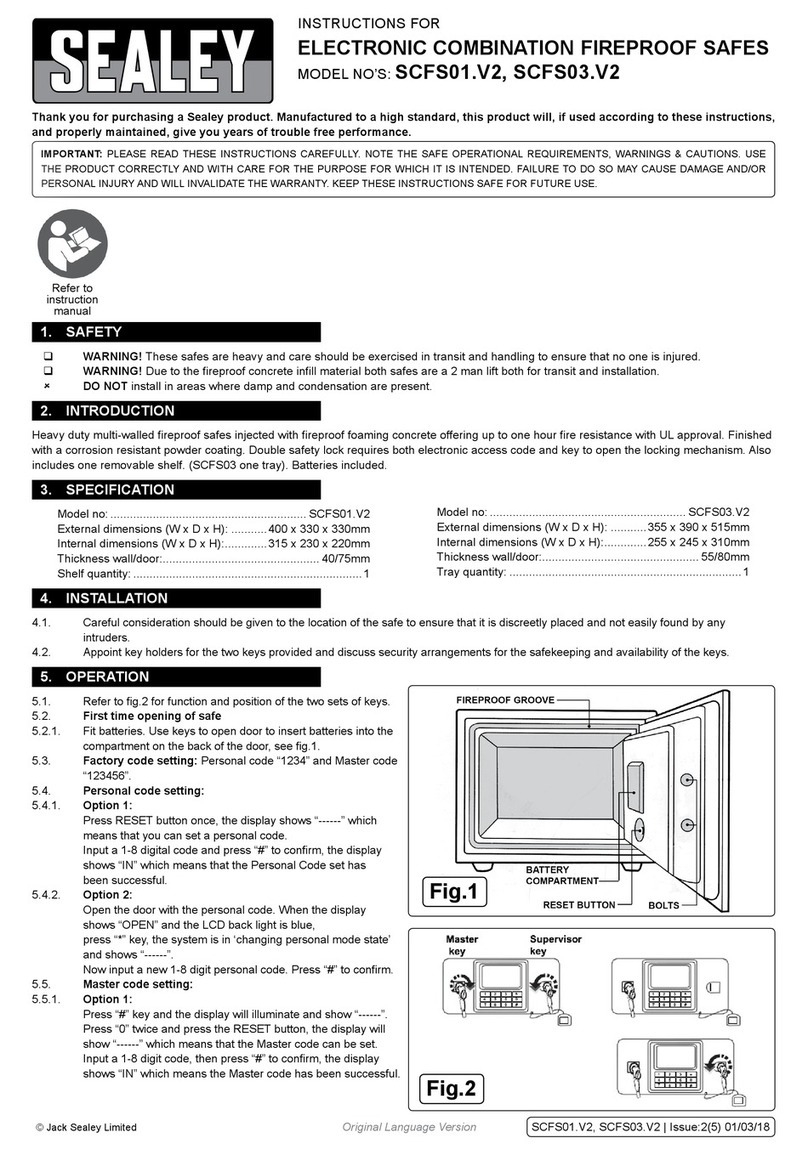
Heavy-duty *ABS shell with four bolt door locking mechanism. Dual wall filled with **cellular concrete for fire resistance and thermal
 insulation.ElectronicpanelwithLCDscreen,acceptsthousandsof6digitcodes.•Alsosuppliedwithtwoemergencyoverridekeys.Offers
up to one hour fire resistance with UL approval.
• Keepthecabinetkeyandanyrecordofthecodeseparatefromthecabinetandunidentified.
* ABSFlameRetardantwithUL94VOHighClassificationforstrengthandimpactresistance.
** Cellularconcreteisanon-ammablesolidbuildingmaterialwhichbelongstobuildingmaterialcategoryA1,offeringashieldagainstheatin
 theeventofare.
©JackSealeyLtd2013
INSTRUCTIONSFOR:
ELECTRONIC FIRE PROOF SAFE
450 X 380 X 305mm
MODELNo:SCFS04
Red button
Battery compartment
depress tab and lift
off cover.
Yellow * button
Keyholeplug LCD display
Coding buttons
Lever handle
Green # button
To open
SCFS04ISSUE-2(I)-20/08/13
Separate battery
module jack plug
socket beneath
g.1 g.2
g.3
3. SPECIFICATIONS
ModelNo: SCFSO4
External Size (W x D x H) 450 x 380 x 305mm Wall/Door Thickness 55/82mm
InternalSize(WxDxH) 340x245x190mm  Weight    33.5kg
NOTE: It is our policy to continually improve products and as such we reserve the right to alter data, specifications and component parts without prior notice.
IMPORTANT: No liability is accepted for incorrect use of this product.
WARRANTY: Guaranteeis12monthsfrompurchasedate,proofofwhichwillberequiredforanyclaim.
INFORMATION:Foracopyofourlatestcatalogueandpromotionscalluson01284757525andleaveyourfullnameandaddress,includingpostcode.
01284 757500
01284 703534
sales@sealey.co.uk
Sole UK Distributor, Sealey Group,
KempsonWay,SuffolkBusinessPark,
Bury St. Edmunds, Suffolk,
IP327AR
www.sealey.co.uk
Web
email
UndertheWasteBatteriesandAccumulatorsRegulations2009,JackSealeyLtdarerequiredtoinformpotentialpurchasersofproducts
containing batteries (as defined within these regulations), that they are registered with Valpak’s registered compliance scheme.
JackSealeyLtd’sBatteriesProducerRegistrationNumber(BPRN)isBPRN00705.See5.5.1forreplacement.
5.1 Initial opening. (Supplied override key required or external battery module)
5.1.1 Locatethetwosuppliedkeysorthebatterymodule(fig.4).
5.1.2Theoverridelockissituatedinthehandlerecessofthemaincontrolpanel.Priseouttheplugusingasmallscrewdriverandretaintheplug.
5.1.3 Inserttheoverridekey,notfulldepth,leavingapproximately6mmofkeyshankoutofthekeyhole(fig.5).Withthelefthandonthedoorlever,
pressure the lever in an anti clockwise direction. At the same time twist the key clockwise and anti clockwise (jiggle) until the handle lever
sweeps freely anti clockwise releasing the four door dead locks, the door will now be unlocked.
5.1.4 Snaptheplugbackintoplaceafterwards.DO NOT keep the override key or battery module (fig.4) in the safe.
5.1.5 Alternativelyreferto5.7.2a),thenkeyinthefactorypresetpasswordcombinationasin5.3.2.
5.2 Battery compartments
5.2.1 Removethesafebatterycoverfromtherearofthesafedoor(fig.2)bydepressingtabandlifting.Observingpolarityinsert4new“AA”
 batteries.Replacethecoverbylocatingandsnappingbackinthetab.Thesafeisnow“primed”forcombinationprogramming.
5.2.2 Inside the packaging is a separate battery housing module (fig.4) with a wired in jack plug. Depress and slide off the cover as indicated.
 Observingpolarityinsert4new“AA”batteriesintothemodule.Thismodulewillenableopeningofthesafeshouldtheinternallyhoused
batteries fail.
5.3 Factory preset passcode combination
5.3.1 Withthesafedoorclosed,pressthegreenbutton“#”tostartandtheLCDwilldisplay8dashes“--------”.
5.3.2 Input“123456”andpressthegreenbutton“#”toconfirm.TheLCDscreenwilldisplaythecharacters“OPEN”;rotatetheleverhandle
anticlockwise within 5 seconds to open the safe.
5.3.3 If the factory combination or your personal combination is forgotten at any time refer to 5.1 Initial opening.
5.4 Entering a new combination.
The combination consists of 1 group of 6 digits, these numbers should be safely recorded before being entered into the safe’s
electronics. In our example “111111” has been chosen.
5.4.1 Theprogramrequiresagroupofpersonalidentificationnumbers.Withthedooropen,pressthegreen“#”buttontostartandtheLCDwill
 display8dashes“--------”.Nowinputthefactoryoriginalpassword“123456”andpressthegreenbutton“#”toconfirm.Thecharacters
 “OPEN”willbedisplayedontheLCDscreen.Within5seconds,presstheyellowbutton“*”andtheLCDscreenwilldisplay8dashes“--------”.
5.4.2 Inputyourpersonalgroupof6digits,“111111”forexampleandpressthegreenbutton“#”toconfirm.TheLCDscreenwilldisplay8dashes
 “--------”,thenrepeatthepreviouslyinput6digits“111111”inourexample,andpressthegreenbutton“#”toconfirm.Thecharacters 
 “Into”willbedisplayedintheLCDscreenindicatingthesuccessofyoursetting.
5.4.3 At any time, with the safe door open, pressing the red button on the inside of the door near the hinges (fig.2) will restore the factory original
 passwordcombination“123456”.Thiswillalsobeindicatedbyanaudiblebeep.
5.5 Using your own password combination to open the door.
5.5.1Withthedoorclosed,pressthegreenbutton“#”tostartandtheLCDwilldisplay8dashes“--------”.
5.5.2 Inputyourpersonalpasswordgroupof6numbersandpressthegreenbutton“#”toconfirm.TheLCDscreenwilldisplaythecharacters
 “OPEN”;rotatetheleverhandleanti-clockwisewithin5secondstoopenthesafe.
5.6 Closing and locking the door.
5.6.1 Closethedoor,rotatethehandleclockwiseandthedoorwilllockautomatically.
5.7 Low internal batteries.
5.7.1 Totestforlowbatteries,pressthegreenbutton“#”andiftheLCDscreendisplaysthecharacters“LO-BAT”.Removeallthebatteries 
 immediatelyandreplacewithnewequivalent(fig.3).
5.7.2 If the keypad does not work because the batteries in the safe are exhausted, two options exist to open the safe.
a) A separate battery compartment module exists (fig.4) and can be plugged into the safe jack plug socket (fig.3).
b) A manual override key exists and is explained in 5.1 Initial opening.
5.8. Lost keys
5.8.1 Pleasenote,forsecurityreasons,wearenotabletoofferreplacementkeys.Pleasekeepthekeysinasecureplace.
5. OPERATION
Original Language Version
©JackSealeyLtd2013 SCFS04ISSUE-2(I)-20/08/13
Recycle unwanted materials instead of disposing of them as waste. All tools, accessories and packaging should be sorted, taken to a
recycle centre and disposed of in a manner which is compatible with the environment.
Environmental Protection.
g.4
Battery module
(4x“AA”batteries
not supplied)
g.5
6mm approx. key shank
projection at engagement
with locking mechanism