1. SAFETY
WARNING! Wear approved eye protection. Wear appropriate Personal Protective Equipment. A full range of Personal Protective
Equipment is available from your Sealey stockist.
WARNING! Ensure that Health & Safety, LocalAuthority Regulations and general workshop practice Regulations are adhered to when
using tools.
8DO NOT use tools if damaged.
9Maintain tools to ensure that they are in an adequate condition for safe use and optimum performance.
9Ensure that a vehicle that has been raised by a jack is adequately supported. Use axle stands.
9Wear suitable clothing to avoid snagging. DO NOT wear jewellery. Tie back long hair.
9Account for all tools, parts and components being used. DO NOT leave these in or near the engine. Return tools to suitable storage
after use.
WARNING! The warnings, cautions and instructions in this manual cannot cover all possible conditions and situations. The Operator /
user must apply caution and common sense (good practical sense).
IMPORTANT: These Instructions are provided as a guide only. Always refer to the vehicle manufactures’ service instructions or a
proprietary manual to establish the correct procedure and data.
2. INTRODUCTION
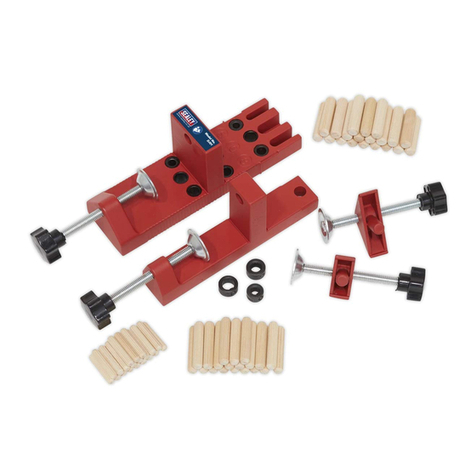
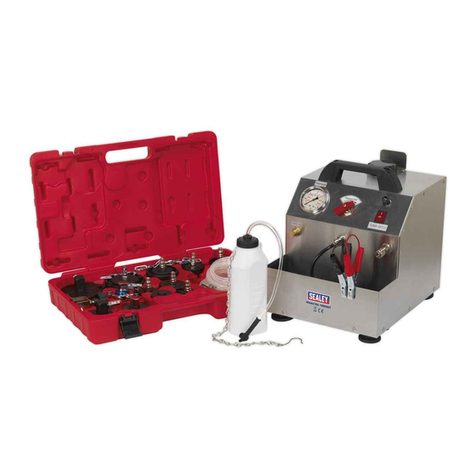
Time and money saving kit for replacing damaged brake caliper threads with a new threaded insert. Features three alignment plates for
correct alignment of the insert. Kit includes 7mm Hex key, stepped drill, M9 tap and ten inserts in storage case.
3. SPECIFICATION
MODEL NO: VS0462.V2
Consumable Parts: VS0462R - Threaded Inserts (Pack of 10)
Thread Size: M9 x 1.25mm
NO. DESCRIPTION PART NO.
1 Alignment Plate - VAG (Volkwagon Audi Group) VS0462.01
2 Alignment Plate - Vauxhall / Opel VS0462.02
3 Alignment Plate - Ford VS0462.03
4 Drill Bit VS0462.07
5 7mm Hex Key VS0462.04
6 Tap M9 x 1.25mm VS0462.06
7Threaded Inserts (Replacement Inserts - pack
of 10) VS0462R
4. OPERATION
4.1. Remove the road wheel, brake disc and brake calliper from the car. Next remove the calliper mounting bracket, in some vehicles the
calliper mounting bracket is a cast part of the hub.
4.2. Clean up the calliper mounting bracket and insert it in a vice.
4.3. One Thread Stripped
4.3.1. Clean the thread that is still intact using the M9 tap. Grease the tap for lubrication.
4.3.2. Re-t a pin into the good thread then slide the correct alignment plate for your vehicle over the pin.
4.3.3. Use the other hole on the alignment plate as a guide, drill out the damaged thread using the stepped drill bit. Continue drilling all the
way through, using the larger diameter on the drill bit to enlarge the pin hole so a threaded insert can be used.
4.3.4. Take a threaded insert with copper washer and insert into drilled out hole. Ensure it is pushed in the opposite end that the pin is
inserted.
Wear eye
protection
BRAKE CALIPER THREAD REPAIR KIT
MODEL NO: VS0462.V2
Thank you for purchasing a Sealey product. Manufactured to a high standard, this product will, if used according to these instructions,
and properly maintained, give you years of trouble free performance.
IMPORTANT: PLEASE READ THESE INSTRUCTIONS CAREFULLY. NOTE THE SAFE OPERATIONAL REQUIREMENTS, WARNINGS &
CAUTIONS. USE THE PRODUCT CORRECTLY AND WITH CARE FOR THE PURPOSE FOR WHICH IT IS INTENDED. FAILURE TO DO
SO MAY CAUSE DAMAGE AND/OR PERSONAL INJURY AND WILL INVALIDATE THE WARRANTY. KEEP THESE INSTRUCTIONS SAFE
FOR FUTURE USE.
Refer to
instructions
VS0462.V2 Issue 2 (H,F) 13/10/23
Original Language Version
© Jack Sealey Limited
