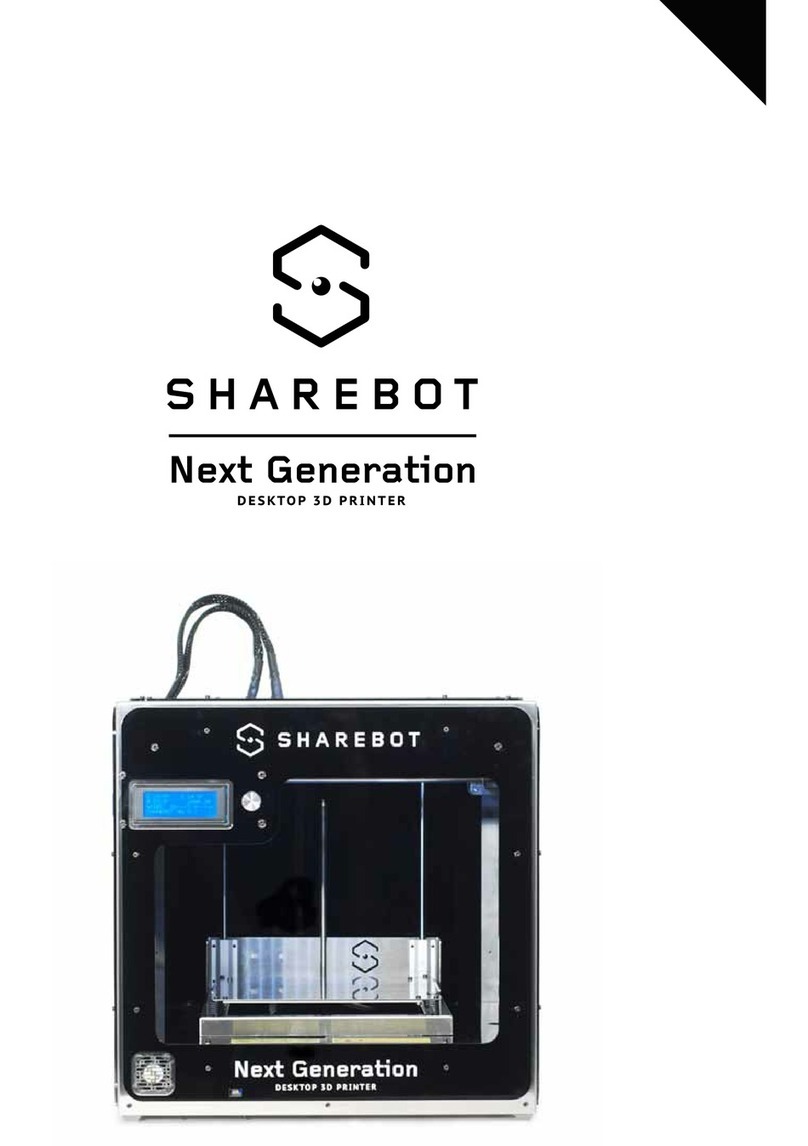
SHAREBOT Kiwi-3D User manual


USER’S MANUAL
SHAREBOT Kiwi-3D

4
ATTENTION – EXTRUDER
The fusion and extrusion system of the thermoplastic lament requires a heated end up to tempera-
tures of 250 degrees and more. The contact, even for a very limited time, with the heated part causes
burns. You must avoid to put your hands or other body parts in the printing area when printing and
for minutes aer the printing process is over. The current temperature of the extruder is indicated on
the LCD screen.

5
Summary 5
Chapter 1 – Preliminar operations 11
Open the package
Positioning the printer
Assembling the reel-carrier
Unlocking the extruder
Chapter 2 – Process of 3D Printing 17
Model
Downloading from internet
From a 3D model to a printing le
A good STL, a good slicing, a good print
Printing le
Storing the les
Chapter 3 – LCD Panel 22
Informative mode
The control knob
Access to principal menu
“Prepare” menu
“Adapt” menu

6
Chapter 4 – Setting the printer 26
Loading the lament
Preparing the printing plate
Learning to set up the plate
- Calibration
- Regulating nal leg of axis Z
Calibrating axes X and Y
- Recovering of scraps and usage of M99
- Squaring o axes X and Y
Putting in tension the extruder’s rubber bands
Chapter 5 – Our first print from a SD Card 31
SD Card
Printing proles
Starting the print
Stopping the print
Modifying printing parameters
Detaching the 3D printed object
Capitolo 6 - Creiamo i nostri gcode 35
Slic3r
Conguring Slic3r
Loading the model to print
Basic parameters of Slic3r
Slicing

7
Chapter 7 – Material and printing plate 40
How ABS entails
How PLA entails
How other materials entai
Capitolo 8 – Considerations about the model orientation 40
Orientation
Just one object?
Supports
Printing details
Capitolo 9 – Ordinary manutention 44
Cleaning the printer
- Printing bed
- Stretcher
- Nozzle
Lubrication
Putting in tension the belts
A correct ventilation
Updating the rmware
Chapter 10 – General information about security 46

8
Support Policies
If you have any problems in using our printers, the procedure to be followed is as fol-
lows:
Check the manual and guides available on the web site;
Contact the dealer from which you purchased the machine
Contact technical support by lling out the form beside remember to ll in all elds. Our
techni- cians will ricontatteranno within 3 working days.
In case your printer should re-enter in the factory to be repaired, our technical support
will give as- sign a le number to return and we will provide all the additional informa-
tion required.
Attention: the package should be the original one, penalty forfeiture of the guarantee
Upon receiving your printer, our technicians will assess whether the problem stems from
a failure, in this case the repair under warranty will be carried out for free, or by improp-
er use of the printer or by an improper use of material not approved by Sharebot: in the
latter case we will provide
you with a quote to request your consent to repair. For out-of-warranty printers may be
required a quote for the inspection.
Troubleshooting is a very important task for us and we think is necessary to share ex-
periences, problems and solutions. Because of that please give priority to the use of the
forum that will also allow others to take advantage of our and your eorts. Each month
we will evaluate who gave the best suggestions or reporting an issue with its solution,
we will reward with a surprise! Visit our website for more information.

9

10
Technical characteristics
Printing technology: Fused Filament Fabrication
Mono extruder printing volume: 140 x 100 x 100 mm +/- 5mm
Theorical positioning resolution axes X and Y: 0,06 mm
Positioning resolution axis Z: 0,0025 mm
Extruder hole diameter: 0, 35 mm
Filament to be extruded diameter: 1,75 mm
PLA best extruding temperatures: 200-230°
Tested and supported printing lament: PLA
Experimented printing laments: Cristal Flex, PLA Thermosense, Thermoplastic
Polyurethane, PLA Sand, PLA Flex, PET
External Dimensions: 310 x 330 x 350 mm
Weight: 10kg
Consumption: 65 watt
Electronical card compatible with Arduino Mega 2560 with Firmware Open Source
Marlin https://github.com/Sharebot3D/Marlin
LCD Screen of 20 x 4 with an encoder menu of navigation
Presetted printing values for PLA
Extruder block with regulation pressure upon lament

11
Chapter 1
Preliminar Operation
Anatomy of a Sharebot NG
Your professional 3D printer Sharebot Kiwi-3D is a tool of precision, ideated, developed and assem-
bled in Italy by qualied sta. Before leaving the factory it was submitted to a quality control and to a
quality test that guarantees its operation. It’s very imporant, before you can use the printer, knowing
all the technical terms used in this handbook and identify all the specical components that form a
Sharebot Kiwi-3D.
1. Carriage of axis Z
2. Glass printing bed
3. Printing bed rubber bands
4. Printing bed regulation screws
5.LCD Panel
6. Interruttore “On / O”
7. Extruder’s cables
1
2
3
7
3
4
56

12
1. Extruder
2. Extruder’s cables
3. Printing strand’s power hole
4. Material fan of cooling
5. Printing bed regulation screws
1
2
3
4
5 5
5

13
1. SD Card entry
1

14
1. Power cable socket
2. Label with Identication Code
12

15
Opening the package
Your Sharebot Kiwi-3D is equipped with a series of accessories that allow you to make it immediately
operative; there is no soware because it is open source and constantly updated. Soware must be
downloaded from the website of Sharebot to always have the latest version.
With care and without damaging the packaging remove the various parts and elements that x the
printer inside the cardboard and then, by the internal metal frame, pull it out.
Do NOT pull the so black lead from the le side and comes to the extruder: it is a power cord and NOT
handle. Proceed with the recovery from the packaging of all the parts and check that the material listed
below are all in the package:
WARNING: Do not throw away the original package. You could use it if you have to send it or move it.
In the package you’ll nd:
1. Reel-carrier in assembly kit
2. Power cable
3. SD Card with a few object that we loaded for you
4. USB cable
5. Spay
6. Glass printing bed
Positioning the printer
For proper operation, the printer must work in a clean and dust-free, with an ambient temperature
between 5° C and 35° c. It is also preferable to a position away from dras or air conditioning.
In front is the power switch, while at the bottom, in the center of the printer is the electronic part’s aera-
tion nozzle from which depends the correct circuit cooling: this must be le unobstructed.
Remember that the wire is usually in a spool and that this should be positioned on the reel-carrier in-
cluded in the packaging. The recommended position is behind the printer, on the same oor, but there
are alternative positions that depend on the presence of any walls or shelves near the machine. The
important thing is that the wire is easily accessible and you can even put multiple spools on the reel-
carrier without any hindrances or preventing the entrainment of the wire by the extruder.
For this reason, the printer may not be placed on a shelf that is at least 35 cm free space around the rear
or side.

16
Assembling the reel-carrier
For assembling the reel-carrier please see chapter 3, gures 9, 10 and 11 of the manual Assembly,
recalling that the wire must carry out unhindered and in the direction of the extruder.
Unlocking the extruder
To avoid damage during transport, the blocking of the extruder is secured with clamps. The clamps
must be carefully cut and removed to allow the extruder to move freely. DO NOT feed the printer until
you have done this step otherwise you will damage the motors and mechanics.
Remove all packaging inside the machine.

17
Chapter 2
Process of 3D Printing
Before you start printing with your Sharebot NG it is important to understand how you arrive at a
nished object. This allows you not only to know what you need to do to give form and substance to
your ideas, but it helps you to identify any constraints and limitations of the technology used by this
printer.
In the table we summarized the steps required to obtain a 3D printing:
Model
It all starts with creating or downloading a three-dimensional model of the object that you want
to print in 3D. The creation is done through one of the many modeling programs available over the
internet as freeware, shareware or soware for a fee. There are many and each of them has specic
characteristics. In this respect it is worth noting that you can have dierent modeling requirements
and this is reected in the variety of applications. Some are more suited to mechanical design, other
artistic modeling, other than architecture.
Remember that 3D modeling was primarily used to create projects or for rendering. In the rst case
the model was thought to be accomplished physically and therefore is subject to a series of specica-
tions and constraints that allow the project to be turned into something real. In the latter, the aim is
to create an image for certain requirements: the model might then be awless as display but physi-
cally impossible.
When you choose the program that you want to use for your models you must then ensure that it is
able to create a le suitable for the production (especially 3D printing) so those programs that oer
features of rendering or animation driven.
Working enviroment
Common used CAD soware
Common used CAD soware
Soware: Slic3r
3D printer: Sharebot Kiwi-3D
Operation
Design the object
Import/save file in .stl format
(or .obj)
Generate command file for
3D printer
Select file and preloaded
filament profile
Output
Common used format for your file
File .stl
File .gcode
Printed object

18
Downloading from internet
The net oers many ready-made 3D models, but also in this case there are dierences between the
models that you “see ne” and those who “print well”. A good indicator of the ability to print the
pattern is of the form: the most popular 3D printing is STL (sites that intend to oer printable objects
use this format). If there is no STL it is likely that the intended use is dierent and the result on a 3D
printer is not guaranteed.

19
From a 3D model to a printing le
The real “secret” of three-dimensional printing is the transformation of three-dimensional object
into a sequence of two-dimensional slices that overlaping, reconstruct the object. Imagine a series
of slices of bread: If the stack rebuilt the loaf from which they were cut.
In the case of 3D printing every slice may consist of two-dimensional shapes not connected together
as it is their sum to create the nished object.
Thanks to this breakdown, the object can be complex as desired because the printer will draw with
the plastic one layer aer another without overlap; a square or a doodle for the printer have the
same diicult
The most important work the soware makes is starting from the 3D model – usually a mesh of
triangles in space called mesh – and transforms it into a sequence of slices according to a number
of parameters (slicing). Because the process is completed correctly the mesh should be closed and
not have triangles that are oriented incorrectly confusing the “inside” and “outside”. It happens that
some model is made to art: at this point or the soware that does the slicing manages to repair the
mesh or the result of errors that will prevent the correct reproduction of the object.
A good STL, a good slicing, a good print
The STL le is the starting point for the entire procedure, so from the le should be removed anything
you don’t want to print (hidden objects, etc.).
The 3D drawing must be a solid and not a solid sum interpenetrate or match. Similarly, the design
must be as clean and precise as possible: articles must have an inside and an outside well dened
so that the surfaces perfectly match each other without leaving holes. most 3D design soware gives
you the possibility to carry out an analysis of borders to check for holes.
The 3D drawing must be oriented in such a way as to have a face adjacent to the XY plane of your
drawing soware: in other words, the design should not “oat in a vacuum”, otherwise the machine
will not print.
If you’re working on a STL downloaded from internet or given to you by a client, there are free so-
ware for checking and correction of STL as Netfabb.
The “slices” are printed in a specic format (called G-Code); This format is nothing more than a set of
instructions for moving the instrument (cutter, laser or extruder head) along a path X, Y, and Z axes.
Each slice contains the movements on two axes, moving the press plane and motor commands that
extrudes the molten plastic to create one aer another the layers that make up the object. At the end
of each layer le commands move the Z-axis by lowering the print of that plan just enough to add
the new layer.
Every 3D object can be transformed with the process of slicing in a variety of G-Code les, each dier-
ent from the others because slicing parameters generated using dierent: for example the slices have
the inside full, empty or partially empty, or the walls are made with one, two, three or more passes.

20
Even the thickness of each layer is one of the parameters. The same object can be printed full, empty,
with 100 or 200 slices and more or less robust and sti despite having all versions a similar appear-
ance.
Printing le
The G-Code les, containing instructions for navigating the various mechanical parts of the printer
according to specic parameters and settings has a limited compatibility between dierent print-
ers. While the STL le of the template can be used by anyone with a 3D printer to create a printing
G-Code, a G-Code les is denitely running for the printer for which it was created but could be unus-
able with other printers. If it is not clearly compatible with NG Sharebot there try to print les that
you nd on the net because they may have malicious entries to your printer.
The le also contains the heated printing bed temperatures and those of the extruder, tying the le
not only to the printer but also to the material to be used. As we shall see in the following pages,
with the LCD Panel it is possible to modify some parameters when printing: Sharebot NG oers you
the possibility to edit the G-Code in order to adapt it to dierent materials without having to redo the
process of slicing.
Other manuals for Kiwi-3D
1
Table of contents
Other SHAREBOT 3D Printer manuals
