Disconnect the device from the power supply.
1
2Remove the retaining screws on the back
cover of the device.
Lift up the device's rear panel.
3
4Slide the battery out 45 degrees from the
upper left, pull the battery out gently and
insert a new battery.
Note:
The positive electrode (+) of the battery
should be positioned toward the outside
of the device.
4
2
3
07/2022
A5E51116649-AB
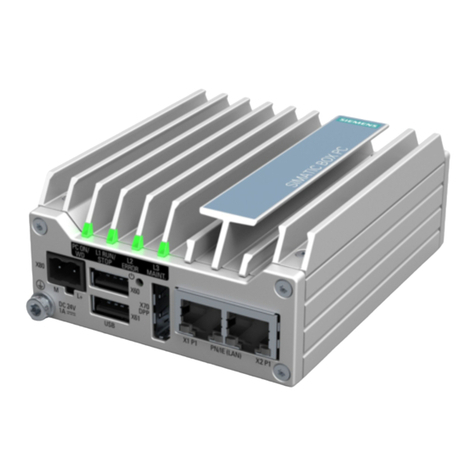
SIMATIC
Industrial PC
SIMATIC IPC520A
Quick Install Guide
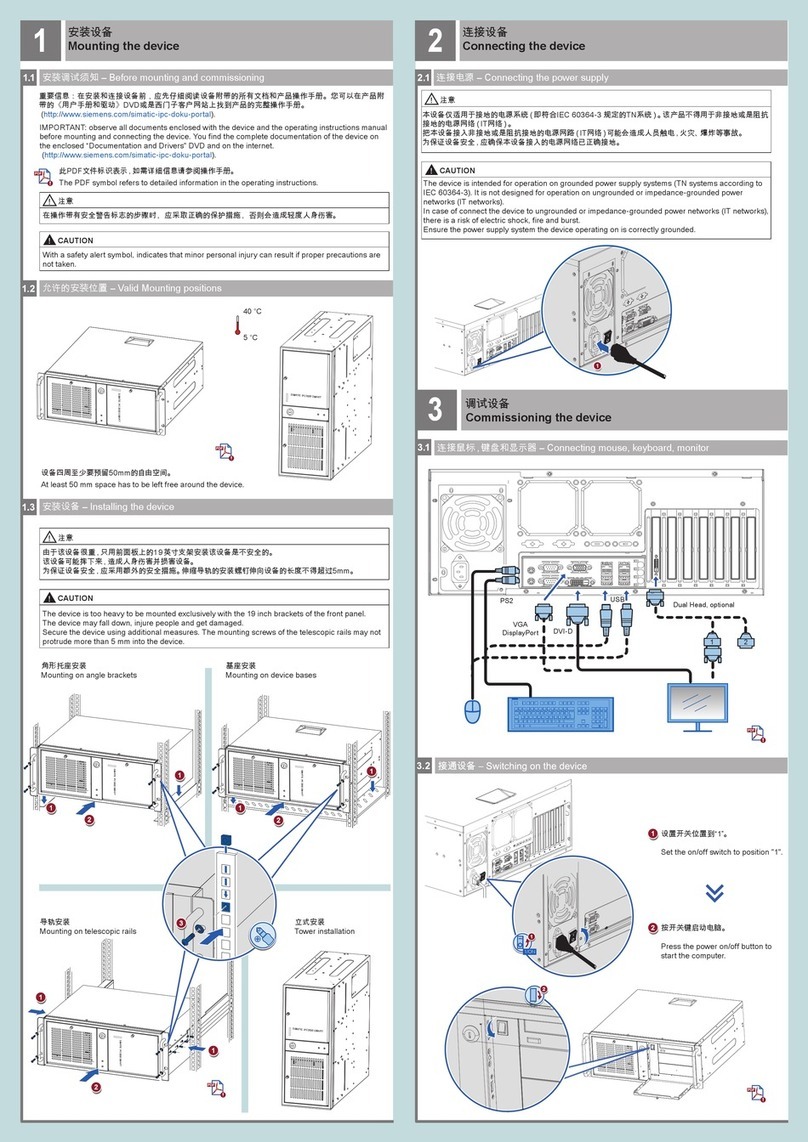
Mounting the device
Connecting the device
Expanding the device
1
2
3
Installing OS and SDK components
4
Illustrations
This document contains illustrations of the described devices and accessories.
The illustrations may deviate from the particularities of the delivered device and accessories.
Disclaimer of Liability
We have reviewed the contents of this publication to ensure consistency with the hardware and
software described. Since variance cannot be precluded entirely, we cannot guarantee full
consistency. However, the information in this publication is reviewed regularly and any necessary
corrections are included in subsequent editions.
Siemens AG
Division Digital Factory
Postfach 48 48
90026 NÜRNBERG
GERMANY
Product Delivery: Feedback on Quality Control
http://www.siemens.com/asis
Technical Support
https://support.industry.siemens
.com/cs/ww/en/sc/4868
Spare Parts Services
https://support.industry.siemens
.com/cs/ww/en/sc/2110
3
Flashing the Jetson SDK components
4.1
3.2
Inserting the Micro SD/ Nano SIM card4.2
Installing the M.2 module
4
Installing OS and SDK components
Installing the "Siemens IPC520A support package"3.3
Replacing the backup battery4.3
Expanding the device
Expanding the device
4
Reboot IPC520A.
Search the "Siemens IPC520A support package" in the Siemens Industry Online Support website
(https://support.industry.siemens.com/cs/ww/en/view/109783704) and download it to the USB stick
whose file format is FAT/FAT32.
Copy the "Siemens IPC520A support package" from the USB stick to the IPC520A and enter the
following command:
$ sudo dpkg --force-overwrite -i ipc520a-jp${VERSION}-${DEB_VERSION}-${CREATED_TIME}_arm64.deb
For example:
Note:
• jp${VERSION} is the version of supported JetPack;
• ${DEB_VERSION} is version of "Siemens IPC520A support package";
• ${CREATED_TIME} is the time when support package is created.
1
2
3
5
4
X100
X101
7
6
Disconnect the device from the power supply.
1
2Remove the retaining screws on the back cover of
the device.
Lift up the device's rear panel.
3
4Align the golden finger of the M.2 module
on your motherboard, and then press firmly
until it is completely seated on the slot.
5
Connect the cables of M.2 module installation
accessory to the M.2 module.
Get the cable of M.2 module installation
accessory out of the housing through
reserved antenna holes.
7
6
Secure the M.2 module with screw.
If the M.2 module have some installation accessories
such as antenna, you can do the following steps:
Note:
• Interface slot X100:
• Supports M.2 key E modules, such as Wi-Fi or Bluetooth device classes
• Size: 2230
• Interface slot X101:
• Supports M.2 key B modules, such as wireless WAN (WWAN) or solid-state drives (SSD) device classes
• Size: 2242, 3042, 2250
2
3
2
Follow the below four steps to flash the Jetson SDK components.
• STEP 01 DEVELOPMENT ENVIRONMENT:
Make sure that Target Hardware is “Jetson Xavier NX (P3668-0001 module)" and the Linux version
is the same one as you selected in flashing the Ubuntu Operating System, and then click "CONTINUE
TO STEP 02" button.
• STEP 02 DETAIL AND LICENSE:
Click the checkbox before “Jetson SDK components” under the “TARGET COMPONENTS”; enable the
checkbox to accept the terms and conditions of the license agreements, and then click the
"CONTINUE TO STEP 03" button.
Note:
Ignore the warnings such as "There is not enough space" or "There is not enough disk space to install
the selected SDK", and click the "Continue" button in the prompt window to go to the next step.
• STEP 03 SETUP PROCESS:
Enter the Username and Password for your Jetson Xavier NX module which is installed IPC520A and
then click the “Install” button to continue.
• STEP 04 SUMMARY FINALIZATION:
Check the flash result. If you see the “INSTALLATION COMPLETED SUCCESSFULLY”, the flashing is
successful. Then click the "FINISH AND EXIT" button to exit.
Start up NVIDIA SDK Manager on the local PC, and log in to NVIDIA SDK Manager.
1
3
4
Note:
Ubuntu Operating System is installed in IPC520A device.
Connect the IPC520A to a local PC through a micro USB cable.
Switch on the IPC520A.
2
3
1
Open the card cover on the bottom.
1
2Push the Micro SD card/Nano SIM card correctly into the
supporting frame. The contacts of the Micro SD card/Nano
SIM card must face to the motherboard.
Push the card cover back.
3
$ sudo dpkg --force-overwrite -i ipc520a-jp4.6-1.0-20220601122040_arm64.deb
