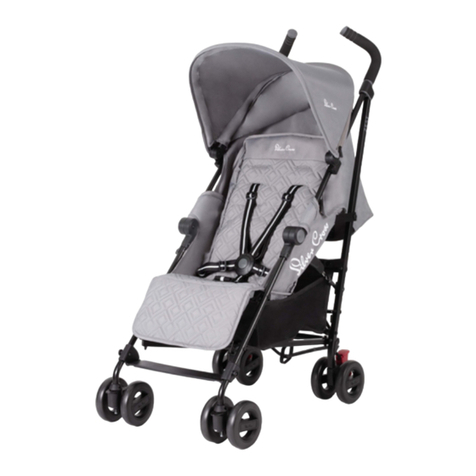
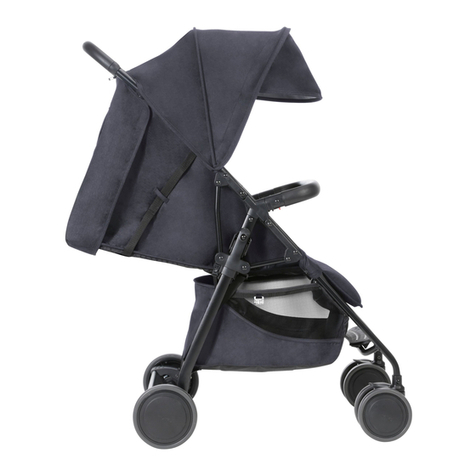
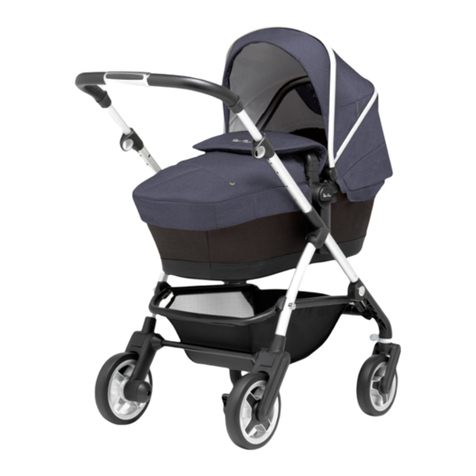
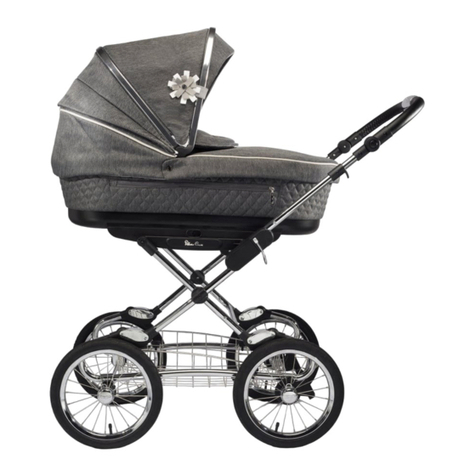
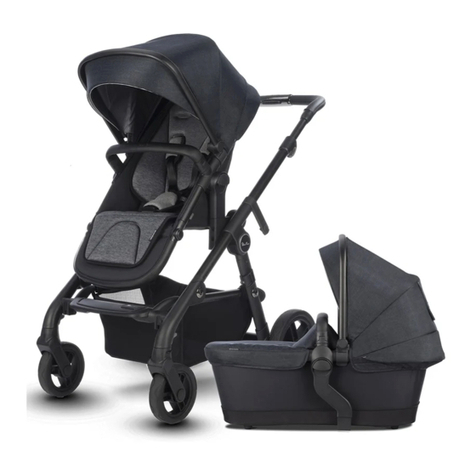
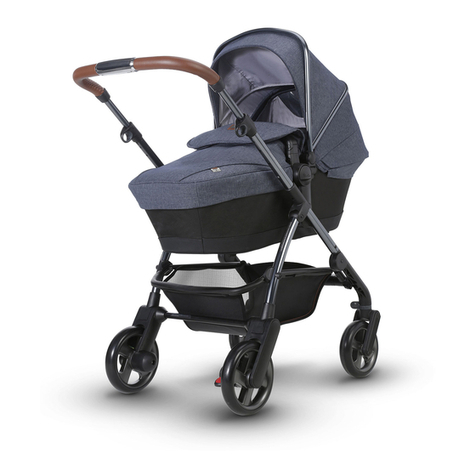
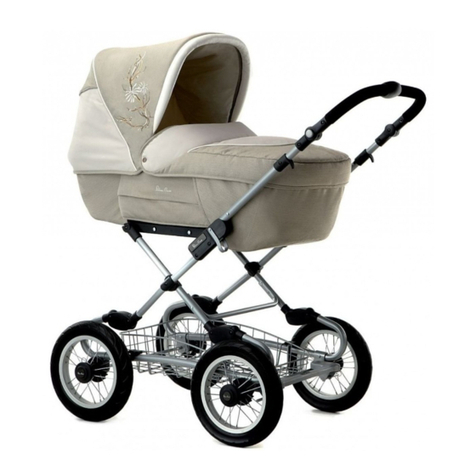
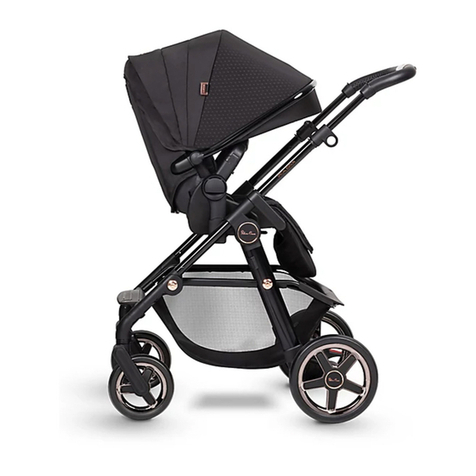
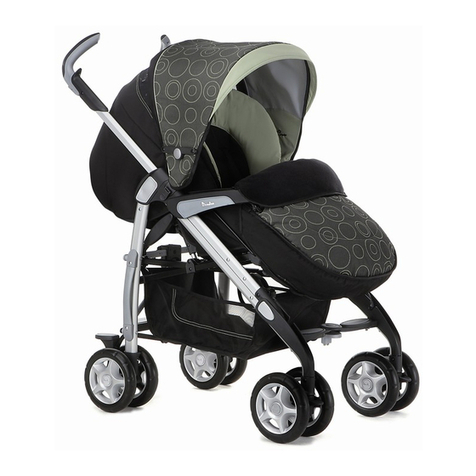
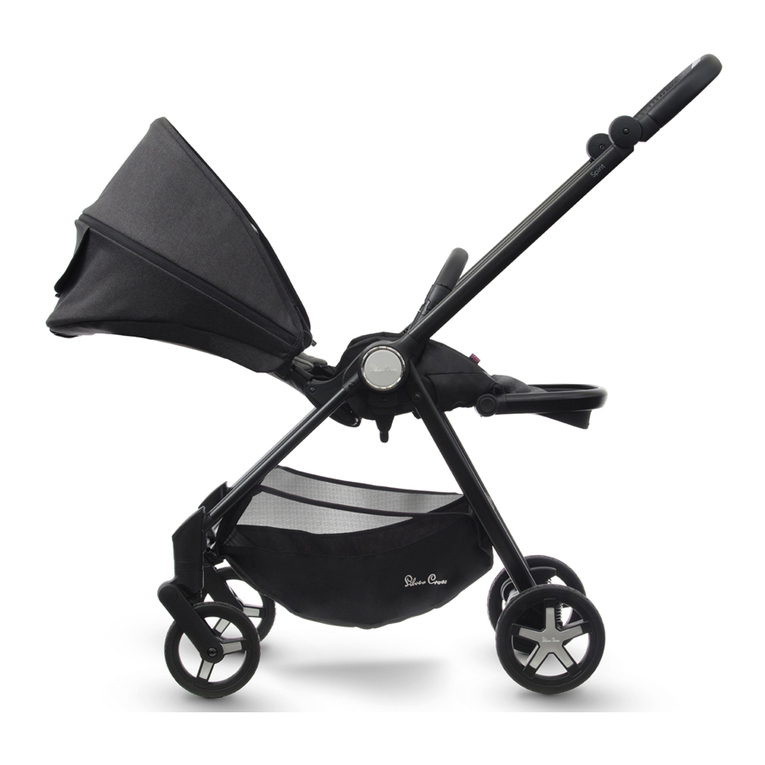
Kit Contents
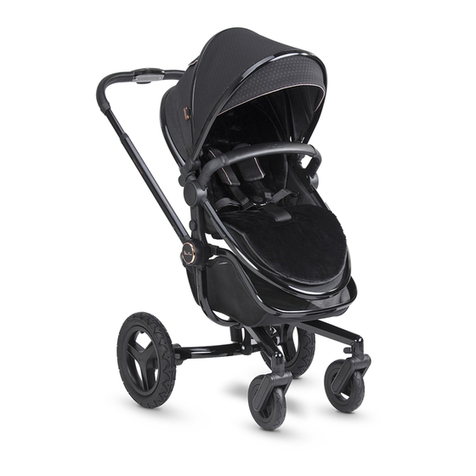
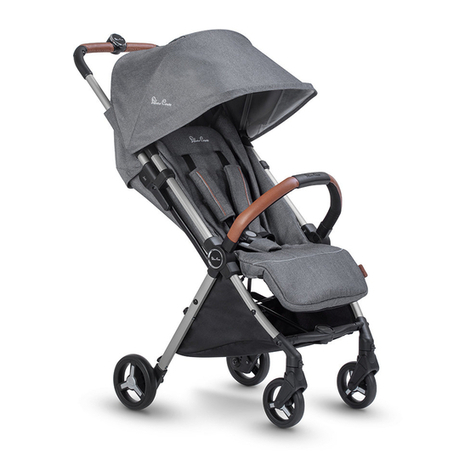
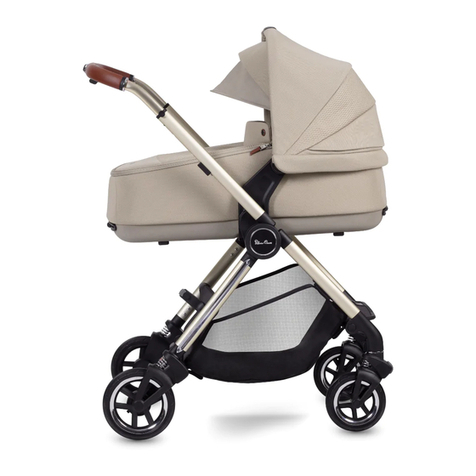
Your Dazzle pushchair and soft cot includes the following components, please check that you have all the items
before proceeding;
2.1 Dazzle soft cot (with construction boards removed)
2.2 Dazzle soft cot construction boards
2.3 Dazzle raincover
2.4 Dazzle apron and blanket
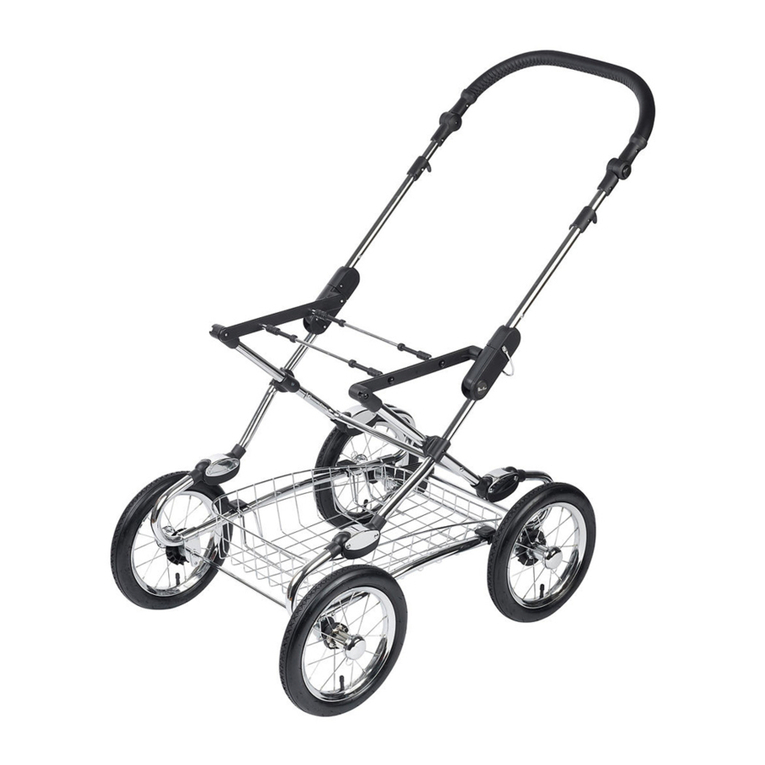
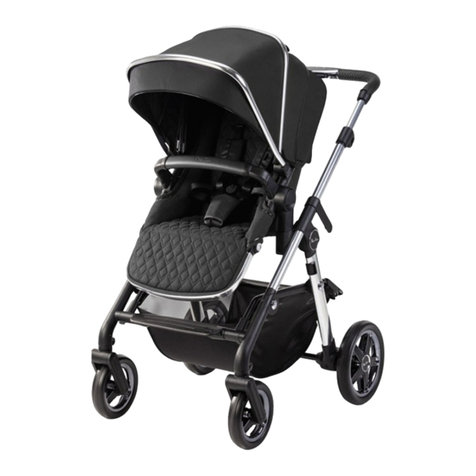
2.5 Dazzle pushchair (with front swivel wheels and hood attached)
Assembling the Dazzle
3.1 Attach the swivel wheels by locating the wheel under the steel attachment pin. Slide the wheel upwards
and press until the wheel clicks into position. WARNING: Check the wheel is secure by pulling
gently downwards. Repeat on both sides. Your Dazzle pushchair is now ready to be unfolded.
3.2 Locate the locking catch on the side of the pushchair and lift to release from the locking stud.
3.3 Repeat on both sides and allow the pushchair to open by lifting the handles upwards
and the wheels will naturally fall to the floor.
3.4 Finally, press down gently upon the rear locking catch (positioned between the rear wheels) at the rear to
lock your pushchair. WARNING: Failure to do this will cause damage to your pushchair.
Place the pushchair on a flat surface and ensure that the pushchair moves freely.
4.1. To attach your hood locate the locking catches on the hood frame. Now, locate the button
holes in the fabric which are in line with the hood attachment points. Simply feed the locking
catches through the button holes and ensure firm location and attachment.
Repeat on both sides.
4.2 Your Dazzle pushchair is now ready for use.
4.3 Your Dazzle stroller has a multi position calf support. Locate the adjustment catch under the
calf support. These are located on both sides of the calf support on the underside.
Depress both catches simultaneously and either lift or lower to the desired position.
NOTE: The calf support upper locking position is for use with the soft cot only.
4.4 Your Dazzle stroller is supplied with a protective apron with detachable blanket. To attach your
apron locate the locking catches on the apron. Now, locate the button holes in the fabric
which are in line with the apron / soft cot attachment points. Simply feed the locking catches
through the button holes and ensure firm location and attachment. Repeat on both sides.
WARNING: The apron MUST be removed before folding.
Reclining the Dazzle
5.1 Your Dazzle stroller has a multi position recline.
5.2 First, locate the backrest adjustment mechanism at the rear of the seat. Place your thumb or forefinger
on the top of the adjuster and squeeze the release catch. The back rest will gently lower to the
desired angle.
5.3 To raise the backrest locate the recline strap and pull gently. The backrest will rise to the desired
height. NOTE: It is recommended that the backrest is in the upright position before folding
the pushchair.
Using the harness
6.1 WARNING: always use the crotch strap in combination with the waist belt. To fasten the
harness insert both buckle clips into each side of the buckle. Listen for the ‘click’.
6.2 WARNING: use a harness as soon as your child can sit unaided. To release the harness press
the centre (F) and pull apart. The shoulder straps can be unhooked from the buckle if required.
6.3 Your harness is fully adjustable by moving the slides (G), to make fitting easy. ‘D’ rings are
provided for fitting a separate harness if required (H), complying with BS 6684. Your child should
always be harnessed in and should never be left unattended, even for short periods of time.
Using the brakes
7.1 Your Dazzle pushchair has a parking device / brake. To apply the brake simply press on either
brake catch located on each rear wheel. The brake will automatically locate on both
wheels simultaneously.
7.2 To release the parking device / brake simply lift either brake catch and both catches will
release simultaneously.
7.3 Your Dazzle pushchair has swivel wheels. To Lock your swivel wheels locate the catch between
the front wheels. Press down in any position. The wheels will automatically lock when the wheels
are rotated. Repeat on both front wheels. To use the wheels in swivel mode release the locking
catch and the wheels should swivel freely. Repeat on both wheels.
Dazzle carrycot
8.1 Your Dazzle soft cot must be constructed before use. This is very simple. Slide the construction
boards into the pockets located in the sides and ends of the soft cot. NOTE: Open the Velcro
fastening first, one on either side and one at each end, four in total. Secure by closing the
Velcro fastening. Manipulate the fabric to ensure perfect position is achieved.
8.2 To attach your soft cot onto the pushchair, locate the locking catches on the soft cot. Now,
locate the button holes in the fabric which are in line with the soft cot / apron attachment
points. Simply feed the locking catches through the button holes and ensure firm location and
attachment. Repeat on both sides. Finally, raise the calf support to the upright position and
lock. To remove the soft cot simply reverse this procedure.
8.3 The soft cot has a protective baby wrap. Open the wrap by releasing the Velcro. Gently attach
around your baby and secure the Velcro. Your soft cot has ‘D’ rings to attach a secondary
harness if required.
8.4 Your soft cot has carry handles which are stored in pockets on the side. Simply remove from
the pockets and lift upwards. NOTE: Your carry handles should be stored in the side pockets
after attachment to the pushchair.
NOTE: Your soft cot can also be used as a day cot. WARNING: Always place on a flat surface.
Folding the Dazzle
WARNING: The apron MUST be removed before folding.
NOTE: We recommend the backrest is in the upright position for folding
9.1 To commence the folding locate the rear locking catch (positioned between the rear wheels) and lift
upwards with the toe of your shoe.
9.2 Now locate the secondary safety catch located above the right hand rear wheel.
Gently press down until the lock has released.
9.3 Now push the handles over and the pushchair will naturally close in two dimensions to a compact size.
9.4 Finally, ensure the two locking catches (located either side of the pushchair) have engaged.
9.5 Your pushchair has a soft grip carry handle within the rear locking catch. WARNING: This is the only
position from which you should lift your pushchair to avoid possible damage
Attaching the raincover
The raincover simply drapes over your pushchair with the hood extended.
Fasten the velcro straps around the front legs to secure.
