manuals.online logo
Brands
  1. Home
  2. •
  3. Brands
  4. •
  5. Simu
  6. •
  7. Engine
  8. •
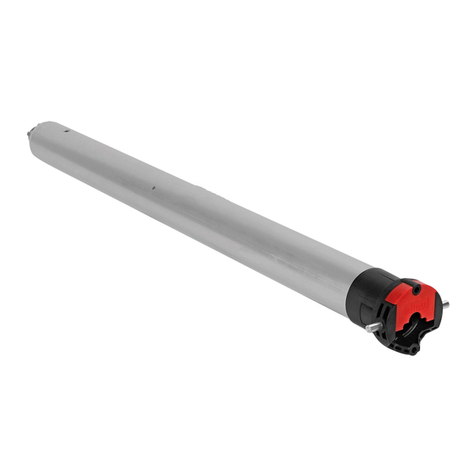
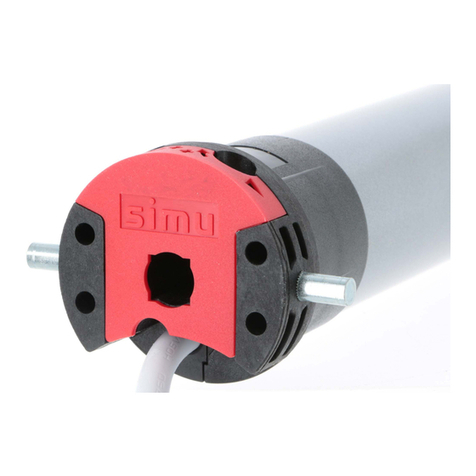
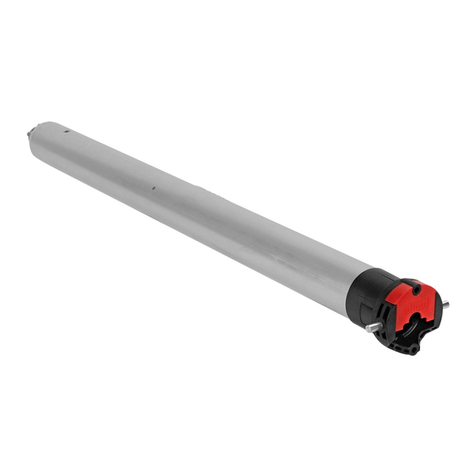
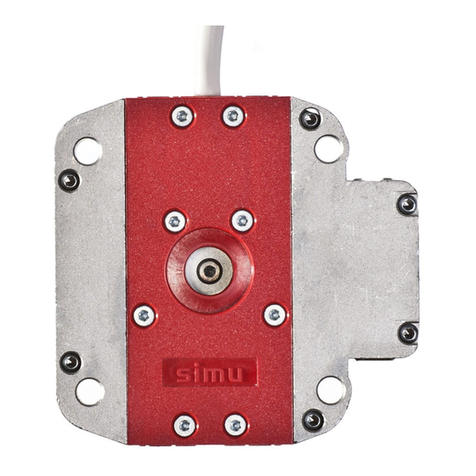
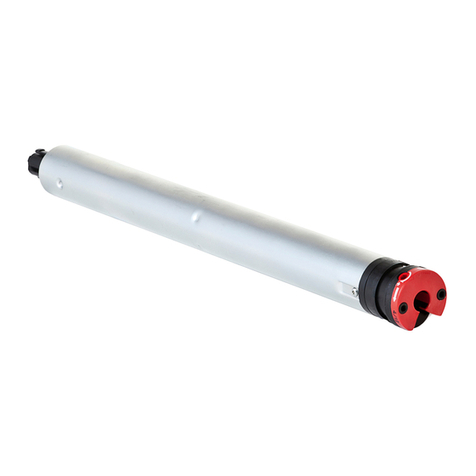
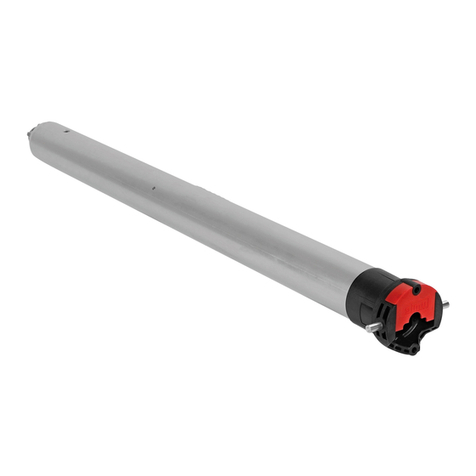
  9. Simu T5 Hz.02 User manual

Simu T5 Hz.02 User manual

Compatible transmitters
3
47
47
47
47
660
590
660
5
5
5
673
603
673
693
623
693
47
47
47
590 5 603 623 47 590
660
590
660
5
5
5
26
26
26
4,2
4,2
4,2
673
603
673
693
623
693
5 26 4,2 603 623
T
min.
A
(mm) ØB
(mm) L1
(mm) L2
(mm) Ø
min.
A
(mm) ØB
(mm) C
(mm) D
(mm) L1
(mm) L2
(mm)
L1
L2
4
20
55
48*
*:35Nm max.
A4xØB /90°
T5Hz.02
230V-50Hz
508-17
510-17 515-17 520-17
525-17 535-17 550-12
T5Hz.02
120V-60Hz
505-35
510-35 515-18 525-18
530-12 535-18 550-12
A
C
D
4xØB /90°
T5 Hz.02
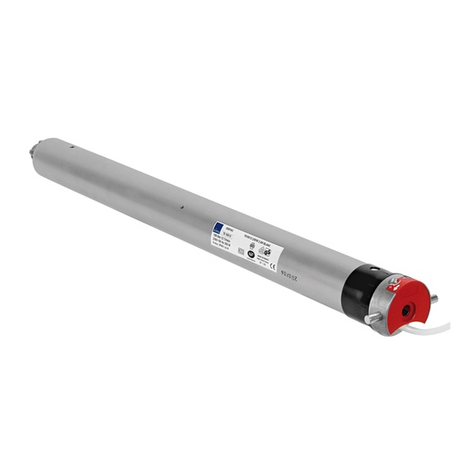
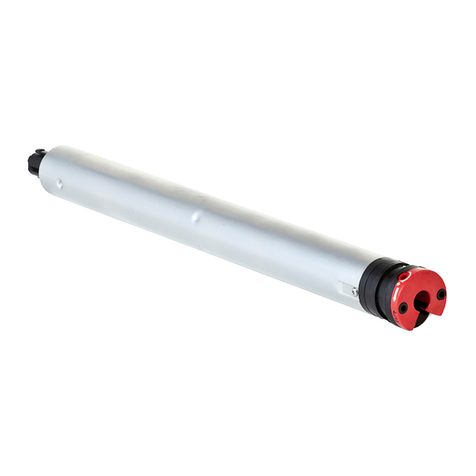
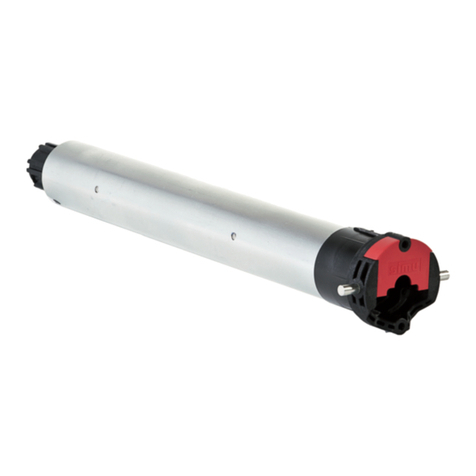
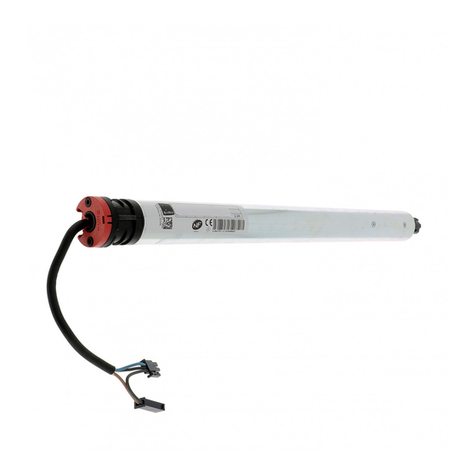
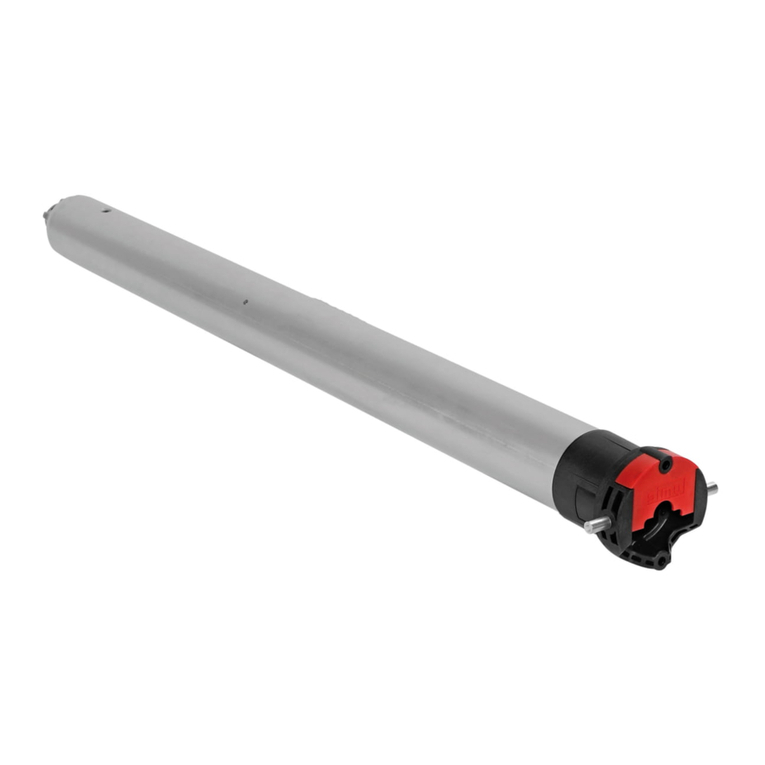
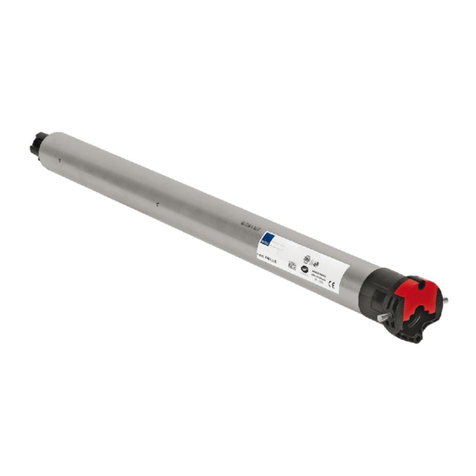
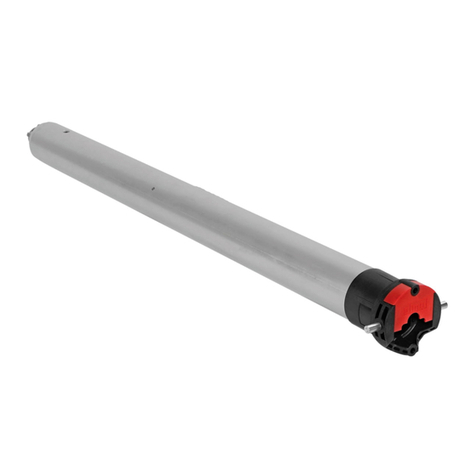
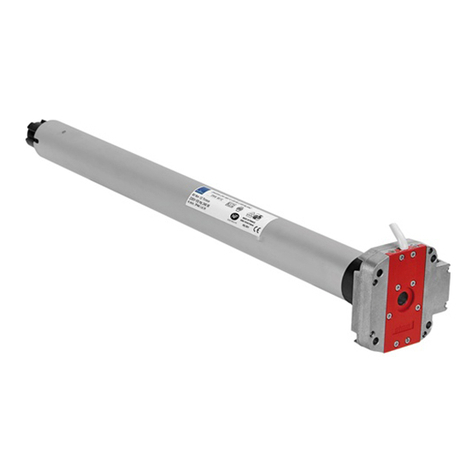
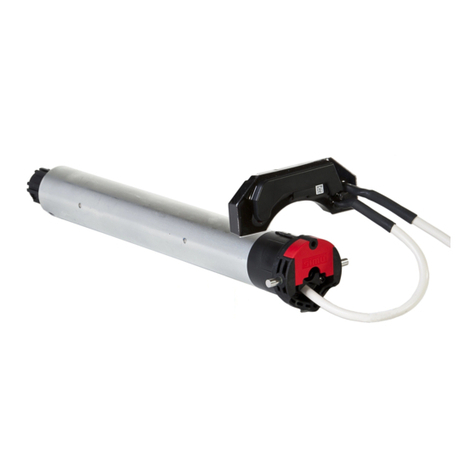
Tubular operators with integrated radio for blinds & roller shutters.
S.A.S. au capital de 5 000 000 €- Z.I. Les Giranaux - BP71 - 70103 Arc-Les-Gray CEDEX - RCS GRAY B 425 650 090 - SIRET 425 650 090 00011 - n° T.V.A CEE FR 87 425 650 090
®
Read carefully these instructions
before any use.
5010945D
GB
m
- We recommend that the power supply of each motor offers the possibility of being switched off individually.
- Drilling of the tube :
- Assembly :
- Do not position the transmitter near metal in order to avoid range losses.
230V-50Hz
Blue Brown Green / yellow
120V-60Hz
White Black Green
T5Hz.02
NL PE
25Nm max.
9910013
9910014
1
3
2
2
2
1
1
23
5
4
Ø4,8 x 10

Ø5 x 10

ACIER-STEEL-STAHL-ACERO-ACCIAIO
1324
1: Wall Hz ND transmitter
2: Long-range Hz transmitter
3: 1/5 channels Hz transmitter
4: Hz timer
Transmitters range :
- 1, 3 and 4 : 20 m through 2 concrete walls .
- 2 : 40 m m through 2 concrete walls.
Location of the “PROG” key on Hz transmitters :
PROG PROG PROG
213
4
1/4
Wiring
2
m
- If the installation includes several motors, only one motor is to be powered during this
programming procedure. It will eliminate interferences with the other motor during the procedure.
mThe end-limit adjustement can be done in two ways:
- First you can memorize the DOWN position and then the UP position (stage 4.3.a).
-First you can memorize the UP position and then the DOWN position (stage 4.3.b).
2/4
>>>
ON
ON
4.1
- Switch ON the motor.
- Simultaneously press the UP and DOWN keys of a
Hz transmitter. The motor will run for half a
second in one direction, then the other.
The transmitter now controls the Hz.02
motor in unstable mode, move to stage 4.2.
>>
>>
3s
aOK
>> >>
>> 4.3
>> OK >> 4.3
b
4.2 - Checking the rotation direction
Press the UP key of the transmitter:
a- If the motorized tube runs in the UP direction , move to next stage (4.3).
b- If the motorized tube runs in the DOWN direction, reverse the rotation direction by pressing the STOP key for at
least 3 seconds. The motor will confirm the reversal of the rotation direction by running for half a second in one
direction, then in the other direction. Move to the stage 4.3.
1- Position the motor on the DOWN end limit by using the keys DOWN or UP.
2- To memorize the DOWN end limit position, press simultaneoulsy the keys STOP and UP. The motor will run
automatically in the UP direction.
3- When the motor arrives on the UP End limit, press the key STOP.
4- If necessary adjust the position with the keys UP or DOWN.
5- To memorize the UP end limit position, press simultaneoulsy the keys STOP and DOWN. The motor will run
automatically in the DOWN direction.
6- Press 2 seconds the STOP key to validate the setting. The motor will stop, and will run for half a second in
one direction, then in the other direction.
12 345 6
2s
4.3 - Adjustement of the end-limits : memorizing the end points
4.3.a
End limits adjustment
4
m- Recommendations :
- Keep a minimum distance of 20 cm between two T5 Hz.02 motors. Keep a minimum distance of 30 cm between T5Hz.02 motors and Hz transmitters.
- A radio appliance using the same frequency (433,42MHz) may deteriorate our product’s performance (ex. : hi-fi radio headphones).
- The cable may only be connected to the motor by qualified personnel.
- The connector is to be assembled without damaging the contacts.
- The continuity of the earth connection must be ensured.
Installation
1
m
- After these operations, if you do not wish to programm this transmitter as the first point of individual
control of the motor,, switch off the power to the receiver. If you want to programm a new transmitter (e.g
after the shutter is installed) with this receiver, go to the procedure 4.1. and then move on to operation 5.
mIf you switch off the power to several receivers, they will all be in cancelling mode. That is why,
you must “eject” out of this mode all the receivers that are not to be deprogrammed by sending
a command from their individual control transmitter (UP or Down).
m- This operation can only be performed from the transmitter that was used for operation 4.1.
>>
PROG ≤1s
- Press the transmitter “PROG” Key for
approximately one second. The motor will run
for a half a second in one direction and then in
the other.
Your transmitter is now programmed
to control the Hz.02 motor in stable mode.
OFF
2s
OFF
2s
7s
5s
5s
ON ON
9.1
- Switch off the power supply to the motor for 2 seconds.
- Switch on the power supply to the motor for 7 seconds.
- Switch off the power supply to the motor for 2 seconds.
- Switch the power to the motor back on. The
motor will run for 5 seconds in random direction
and is now in the “cancelling” mode.
1- Position the motor on the UP end limit by using the keys UP or DOWN.
2- To memorize the UP end limit position, press simultaneoulsy the keys STOP and DOWN. The motor will run
automatically in the DOWN direction.
3- When the motor arrives on the DOWN End limit, press the key STOP.
4- If necessary adjust the position with the keys UP or DOWN.
5- To memorize the DOWN end limit position, press simultaneoulsy the keys STOP and UP. The motor will run
automatically in the UP direction.
6- Press 2 seconds the STOP key to validate the setting. The motor will stop, and will run for half a second in
one direction, then in the other direction.
2 31 4 56
2s
4.3.b
>>
PROG ≥3s
7.1 : Open the memory of the receiver from
the control transmitter:
- Press the “PROG” key of the transmitter for
about three seconds. The motor will run for a
half a second in one direction, then in the other.
>>
PROG ≤1s
7.2 : Validate the operation from the new
transmitter you want to programm:
- Press the “PROG” key of the transmitter for
about one second. The motor will run for a half
a second in one direction, then in the other.
PROG ≥7s
>> >>
2s 7s
- Press the “PROG” key of the transmitter more
than 7 seconds. Maintain the pressureuntil the
motor will first run for a half a second in one
direction and then the other, and a few second
later, it will run again in both direction.
9.2 - Then, validate the cancelling of the affected motor from the individual control:
- For group controls, repeat operations 7.1 and 7.2 for each motor in the group.
- For main controls, repeat operations 7.1 and 7.2 for each motor in the installation.
- To delete an transmitter from the memory of a motor, perform operations 7.1 with a
programmed transmitter, then perform the operation 7.2 with the transmitter to be
deleted.
Hereby, SIMU, declares that this equipment “T5Hz.02” is in compliance with the essential
requirements and other relevant provision of Directive 1999/5/EC. A declaration of Conformity is
available at the web address: www.simu.fr, heading “Normes”. Usable in EU,
The Hz.02 motor is now as it was originally configured, and no transmitter and no settings is saved
in its memory and is ready for a new programming.
3/4 4/4
Recording and controling intermediate position
6
Programming a new (individual, group or main) control point:
7
Programming the first individual point of control
5
Cancelling programming and settings
9
5s
0,5s
Recording :
- Position the motor on the
wanted position.
- Press 5 seconds on the “stop”
key. The motor will run for
1/2 second in one direction
and then in the other.
Controling :
- Press on the “stop” key for
0,5s. the motor goes to the
intermediate position.
Re-adjustement of end limits
8
8.1 : Re-adjustement of UP end limits
321 4
2s5s
8.2 : Re-adjustement of DOWN end limits
2s
5s
3214
1- Position the motor on the UP end limit previously
set in §4.3 with the UP key.
2- Press simultaneously for 5 seconds the UP and
DOWN keys, The motor will run for a half a second
in one direction and then in the other direction.
3- Adjust the new position with the UP and DOWN
keys.
4- Validate the new position by pressing 2 seconds
the STOP key. The motor will run for a half a
second in one direction and then in the other
direction. The new end limits setting is memorized.
1- Position the motor on the DOWN end limit
previously set in §4.3 with the DOWN key.
2- Press simultaneously for 5 secondes the UP and
DOWN keys, The motor will run for a half a second
in one direction and then in the other direction.
3- Adjust the new position with the UP and DOWN
keys.
4- Validate the new position by pressing 2 seconds
the STOP key. The motor will run for a half a
second in one direction and then in the other
direction. The new end limits setting is memorized.

Other manuals for T5 Hz.02

3

Other Simu Engine manuals

Simu T3.5 DC E Hz User manual

Simu

Simu T3.5 DC E Hz User manual

Simu T5E SP User manual

Simu

Simu T5E SP User manual

Simu T3.5 E Hz.02 DC User manual

Simu

Simu T3.5 E Hz.02 DC User manual

Simu T3.5DC ESP HZ User manual

Simu

Simu T3.5DC ESP HZ User manual

Simu T5 AUTO SHORT User manual

Simu

Simu T5 AUTO SHORT User manual

Simu T5 CC Series User manual

Simu

Simu T5 CC Series User manual

Simu CENTRIS User manual

Simu

Simu CENTRIS User manual

Simu T3.5 HZ.02 User manual

Simu

Simu T3.5 HZ.02 User manual

Simu 5008030D User manual

Simu

Simu 5008030D User manual

Simu DMI5 Hz User manual

Simu

Simu DMI5 Hz User manual

Simu T5E SP User manual

Simu

Simu T5E SP User manual

Simu SIMUBOX 200/12 Repair manual

Simu

Simu SIMUBOX 200/12 Repair manual

Simu T3.5 AUTO User manual

Simu

Simu T3.5 AUTO User manual

Simu DMI 5 Hz User manual

Simu

Simu DMI 5 Hz User manual

Simu T8 User manual

Simu

Simu T8 User manual

Simu T5 AUTOSHORT BHz Series User manual

Simu

Simu T5 AUTOSHORT BHz Series User manual

Simu CENTRIS User manual

Simu

Simu CENTRIS User manual

Simu T5EHz User manual

Simu

Simu T5EHz User manual

Simu T3.5 DC E Hz User manual

Simu

Simu T3.5 DC E Hz User manual

Simu T5 Hz.02 User manual

Simu

Simu T5 Hz.02 User manual

Simu T3.5 AUTO User manual

Simu

Simu T3.5 AUTO User manual

Simu DMI6 Hz User manual

Simu

Simu DMI6 Hz User manual

Simu T3.5DC User manual

Simu

Simu T3.5DC User manual

Simu T5 E Hz User manual

Simu

Simu T5 E Hz User manual

Popular Engine manuals by other brands

Nakanishi AM-2526 Operation manual

Nakanishi

Nakanishi AM-2526 Operation manual

Logosol 0458-395-0841 user manual

Logosol

Logosol 0458-395-0841 user manual

Accessmatic Hulk 450 user manual

Accessmatic

Accessmatic Hulk 450 user manual

CAME AXI Series Installation, operation and maintenance manual

CAME

CAME AXI Series Installation, operation and maintenance manual

FTI M3 Operation and parts manual

FTI

FTI M3 Operation and parts manual

Beckhoff AM8000 Series Operation instructions

Beckhoff

Beckhoff AM8000 Series Operation instructions

Kohler KD 500 Workshop manual

Kohler

Kohler KD 500 Workshop manual

RuggedMade MHP9-20 Owner's manual & parts list

RuggedMade

RuggedMade MHP9-20 Owner's manual & parts list

Robin America EH025 Service manual

Robin America

Robin America EH025 Service manual

injen SP3016 quick start guide

injen

injen SP3016 quick start guide

Nakanishi EM-3060J Operation manual

Nakanishi

Nakanishi EM-3060J Operation manual

Hatz 2W35 instruction manual

Hatz

Hatz 2W35 instruction manual

MTU 8V2000Mx4x operating instructions

MTU

MTU 8V2000Mx4x operating instructions

YS YS FZ110S Operator's manual

YS

YS YS FZ110S Operator's manual

bora PM-P254 Operator's manual

bora

bora PM-P254 Operator's manual

LinMot PS01-37x120F-HP-SSC-R/ FC installation guide

LinMot

LinMot PS01-37x120F-HP-SSC-R/ FC installation guide

Hacker A60 quick start guide

Hacker

Hacker A60 quick start guide

Kohler KT715 Service manual

Kohler

Kohler KT715 Service manual

manuals.online logo
manuals.online logoBrands
  • About & Mission
  • Contact us
  • Privacy Policy
  • Terms and Conditions

Copyright 2025 Manuals.Online. All Rights Reserved.