Singer Grill 3 in 1 User manual

Sandwich maker with 3 sets of plates
Grill pour sandwich avec 3 sets de plaques
Aparat de gatit sandvisuri cu 3 seturi de placi
Berës sanduiçi me 3 sete pllakash
INSTRUCTION MANUAL
MODE D’ EMPLOI
MANUAL DE UTILIZARE
UPUTSTVO ZA UPOTREBU
MANUAL PËRDORIMI
GB
FR
GR
RO
BG
SER
AL
GB
FR
GR
RO
BG
SER
AL

2
ENGLISH
Important safety instructions
• Read all instructions carefully, even if you are familiar with the appliance.
• This appliance is intended for domestic and internal use only.
• Close supervision is necessary when the appliance is used by or near children.
• Check if the voltage indicated on the base of the appliance corresponds to the local voltage
before you connect the appliance.
• Disconnect from the mains supply when not in use and before cleaning.
• Never pull off the cable to disconnect it from the socket. Instead, unplug by pulling the plug
from the socket.
• Do not let the cord hang over the edge of the worktop or touch hot surfaces.
• Never immerse the appliance or its plug in water or any other liquid.
• If the cord or any other part is damaged, you must immediately stop the use of the appliance
and contact any SINGER Service Center or SINGER Client Service for repair.
• Do not use the appliance near or below curtains and any other combustible material.
• Always use your glove to remove any breadcrumbs when necessary.
KEEP THIS MANUAL FOR FUTURE REFERENCE
Description of the appliance
Disposal of old Electrical & Electronic Equipment (Applicable in the European
Union and other European countries with separate collection systems).
This symbol on the product or on its packaging indicates that this product shall not be
treated as household waste. Instead it shall be handed over to the applicable collection
point for the recycling of electrical and electronic equipment. By ensuring this product
is disposed of correctly, you will help prevent potential negative consequences for
the environment and human health, which could otherwise be caused by inappropriate waste
handling of this product. The recycling of materials will help to conserve natural resources. For
more detailed information about recycling of this product, please contact your local city office,
your household waste disposal service or the shop where you purchased the product.
Indicator light
Fastening clip
Handles Removable non-stick plates

3
ENGLISH
How to use the sandwich maker
Note! Before using the appliance for the first time peel off any adhesive labels, pour a tea-
spoon of vegetable oil onto the non-stick plates, spread over with an absorbent kitchen towel
and wipe off any excess oil.
1. Connecting to the Mains/Preheating
• Plug into the socket. The indicator light turns on. As soon as the light turns off (after about
4-5 minutes) the preheating time is complete and you can start grilling.
• Grill for all 3 in 1, has three different sets of removable non-stick cooking plates, to choose
between sandwiches, waffles and grilling. To unfasten the cooking plates, simply press the
red buttons located next to the upper and lower plates. Remove and place a different set
of plates, according to what you want to prepare. Press the plates until a “click” sound is
heard, to ensure that they are fastened to the main body of the appliance.
• During the first use, the appliance may produce a slight odour and smoky haze, which is normal.
2. Use
Prepare the sandwiches, food or waffles and place them on the lower plate. Lower the lid to
gradually squeeze the handles and then fasten the clip.
• Adjust grilling time to suit your own taste.
• During use it is normal for the indicator light to turn on and off.
• The upper plate can open 180°, to offer a wide grilling area. Simply open at 90° and then lift
the upper plate to open at 180°.
• With vertical placement possibility for easy storage.
3. Hints for better results
• Use medium sliced bread with or without crusts. Remember to increase the grilling time
slightly for thick sliced bread and to reduce slightly for thin sliced bread.
• Brown bread can also be used but the cooking time may be slightly different.
• Use only butter or ordinary margarine. Synthetic or low fat spreads are unsuitable as they over-
heat at a lower temperature, forming dark brown deposits which cause the bread to stick to the
cooking plate. Unlike conventional sandwiches, the bread should be buttered on the outside.
Take care not to use too much filling otherwise it will leak from the toasted sandwiches.
• Avoid using delicate salad fillings which wilt when cooked such as lettuce and cucumber.
Salad items such as tomatoes and onions give good results.
Care and cleaning
Note! Never immerse the appliance in water or any other liquid.
• Unplug the appliance from the socket.
• Leave to cool with the lid open.
• Wipe the plates with a cloth rinsed in hot water and dish-washing liquid. Never use hard
abrasive cleaners and wire sponges. Sponges sold for use on non-stick pans, can safely
be used.
• Wipe dry with a clean cloth or absorbent kitchen towel.

4
FRANçAIS
Instructions de sécurité
•Lire attentivement toutes les indications de sécurité, même si l’appareil vous est familier.
•Cet appareil est destiné à un usage domestique à l’intérieur exclusivement.
•Etre vigilant lors de l’utilisation de cet appareil par ou à proximité d’enfants.
•-
•
•
•Ne pas laisser le cordon d’alimentation pendre ou entrer en contact avec des surfaces chaudes.
•Ne jamais immerger l’appareil ou sa prise d’alimentation dans de l’eau ou tout autre liquide.
•-
tement le service après-vente SINGER le plus proche.
•
•Toujours utiliser votre gant pour retirer des miettes ou autres résidus alimentaires si cela est
nécessaire.
GARDER CE MODE D’EMPLOI POUR UN USAGE ULTERIEUR
Description de l’appareil
Traitement des appareils électriques et électroniques en n de vie (Applicable
dans le pays de l’Union Européenne et aux autres pays européens disposant de
systèmes de collecte sélective)
doit pas être traité avec les déchets ménagers. Il doit être remis à un point de collecte
pour le recyclage des équipements électriques et électroniques. En s’assurant que ce
-
séquences négatives potentielles pour l’environnement et la santé humaine. Le recyclage des
matériaux aidera à conserver les ressources naturelles. Pour toute information supplémentaire
au sujet du recyclage de ce produit, vous pouvez contacter votre municipalité, votre déchetterie
ou le magasin où vous avez acheté le produit.
Témoin de chauffe
Clip de fermeture
Poignées
anti-adhésives

5
FRANçAIS
Comment utiliser votre appareil à sandwich
Note! Avant d’utiliser l’appareil pour la première fois, retirer tous les autocollants, verser une
cuillère à café d’huile végétale sur les plaques anti-adhésives, étaler à l’aide d’un papier de
1. Brancher / Préchauffer
•
de 4-5 minutes) le temps de préchauffage est terminé, vous pouvez commencer à griller.
•
entre les plaques sandwich, gaufres ou grill. Pour retirer les plaques, appuyer simplement sur les
différent en fonction de ce que vous souhaitez préparer. Les plaques sont en place lorsque vous
•Lors de la première utilisation, l’appareil peut dégager une légère odeur et un peu de fumée.
Cela est normal.
2. Utilisation
Préparez vos sandwichs ou vos gaufres, puis placez-les sur la plaque inférieure. Descendre la
•Ajuster le temps de cuisson à votre goût.
•Lors de l’utilisation il est normal que le témoin lumineux s’allume et s’éteigne.
•
•
3. Conseils pour de meilleurs résultats.
•Utiliser du pain d’épaisseur moyenne ou sans croûte. Rappelez -vous d’augmenter légère-
•Le pain complet peut aussi être grillé mais le temps de cuisson peut être différent.
• -
en disposer car il pourrait couler et se répandre à l’extérieur du toaster.
•
Entretien et Nettoyage
Note! Ne jamais immerger l’appareil dans de l’eau ou tout autre liquide.
•
•Laisser l’appareil refroidir en position ouverte
•Essuyer les plaques à l’aide d’un chiffon légèrement humide et si nécessaire utiliser également un
contre vous pouvez utiliser les éponges spécialement conçues pour les poêles anti-adhésives.
•Sécher à l’aide d’une serviette de cuisine sèche et propre.

6
ΕΛΛΗΝΙΚΑ
Σημαντικές Οδηγίες Ασφάλειας
• Διαβάστε όλες τις οδηγίες προσεκτικά, ακόμα και εάν είστε εξοικειωμένοι με τη συσκευή.
• Αυτή η συσκευή προορίζεται μόνο για οικιακή χρήση σε εσωτερικούς χώρους.
• Χρειάζεται στενή παρακολούθηση όταν η συσκευή χρησιμοποιείται κοντά σε ή από παιδιά.
• Ελέγξτε εάν η ισχύς που εμφανίζεται στη βάση της συσκευής αντιστοιχεί με την τοπική ισχύ πριν
συνδέσετε τη συσκευή στο ρεύμα.
• Αποσυνδέστε από το ρεύμα όταν δε χρησιμοποιείτε τη συσκευή και πριν τον καθαρισμό.
• Ποτέ μην τραβάτε το καλώδιο για να αποσυνδέσετε από την πρίζα. Αντίθετα, πιάστε το φις και
τραβήξτε το για να αποσυνδέσετε.
• Μην αφήνετε το καλώδιο να κρέμεται από τις γωνίες του πάγκου ή να αγγίζει ζεστές επιφάνειες.
• Ποτέ μη βυθίζετε τη συσκευή ή το φις σε νερό ή οποιοδήποτε άλλο υγρό.
• Εάν το καλώδιο ή κάποιο άλλο εξάρτημα παρουσιάζουν βλάβη, θα πρέπει να σταματήσετε αμέ-
σως τη χρήση της συσκευής και να επικοινωνήσετε με κάποιο Εξουσιοδοτημένο κατάστημα
SINGER SERVICE για την επισκευή.
• Μη χρησιμοποιείτε τη συσκευή κοντά ή κάτω από κουρτίνες και οποιοδήποτε άλλο εύφλεκτο
υλικό.
• Πάντοτε να χρησιμοποιείτε τα γάντια σας για να αφαιρείτε τυχόν ψίχουλα.
ΦΥΛΑΞΤΕ ΑΥΤΟ ΤΟ ΕΓΧΕΙΡΙΔΙΟ ΓΙΑ ΜΕΛΛΟΝΤΙΚΗ ΧΡΗΣΗ
Περιγραφή της συσκευής
Αποκομιδή Παλαιού Ηλεκτρικού & Ηλεκτρονικού Εξοπλισμού (Ισχύει στην Ευρωπαϊκή Ένω-
ση και άλλες Ευρωπαϊκές χώρες με συστήματα επιλεκτικής συλλογής απορριμμάτων).
Το σύμβολο αυτό επάνω στο προϊόν ή στη συσκευασία του σημαίνει ότι το προϊόν δεν
πρέπει να πεταχτεί μαζί με τα οικιακά απορρίμματα αλλά πρέπει να παραδοθεί σε ένα
κατάλληλο σημείο συλλογής ηλεκτρικού και ηλεκτρονικού υλικού προς ανακύκλωση.
Εξασφαλίζοντας τη σωστή αποκομιδή του προϊόντος βοηθάτε στην πρόληψη πιθανών
αρνητικών επιπτώσεων στο περιβάλλον και την υγεία. Η ανακύκλωση των υλικών θα βοηθήσει στην
εξοικονόμηση φυσικών πόρων. Για περισσότερες πληροφορίες σχετικά με την ανακύκλωση αυτού
του προϊόντος, παρακαλούμε επικοινωνήστε με τις υπηρεσίες καθαριότητας του δήμου σας ή το
κατάστημα όπου αγοράσατε το προϊόν.
Φωτεινή ένδειξη
Συνδετικό
κλιπ
Χερούλια

7
ΕΛΛΗΝΙΚΑ
Πώς να χρησιμοποιήσετε τη σαντουιτσιέρα
Σημείωση! Πριν χρησιμοποιήσετε τη συσκευή για πρώτη φορά, αφαιρέστε τυχών ετικέτες, ρίξτε
ένα κουταλάκι του γλυκού ελαιόλαδο πάνω στις αντικολλητικές πλάκες, κάνετε επάλειψη σε όλη την
επιφάνεια με απορροφητικό χαρτί κουζίνας και σκουπίστε το επιπλέον λάδι.
1. Σύνδεση στο ρεύμα / Προθέρμανση
• Συνδέστε τη συσκευή στην πρίζα. Η φωτεινή ένδειξη θα ανάψει, υποδηλώνοντας ότι η συσκευή
προθερμαίνεται. Μόλις η ένδειξη σβήσει (μετά από 5-6 λεπτά περίπου) ο χρόνος προθέρμανσης
έχει ολοκληρωθεί και μπορείτε να ξεκινήσετε το ψήσιμο.
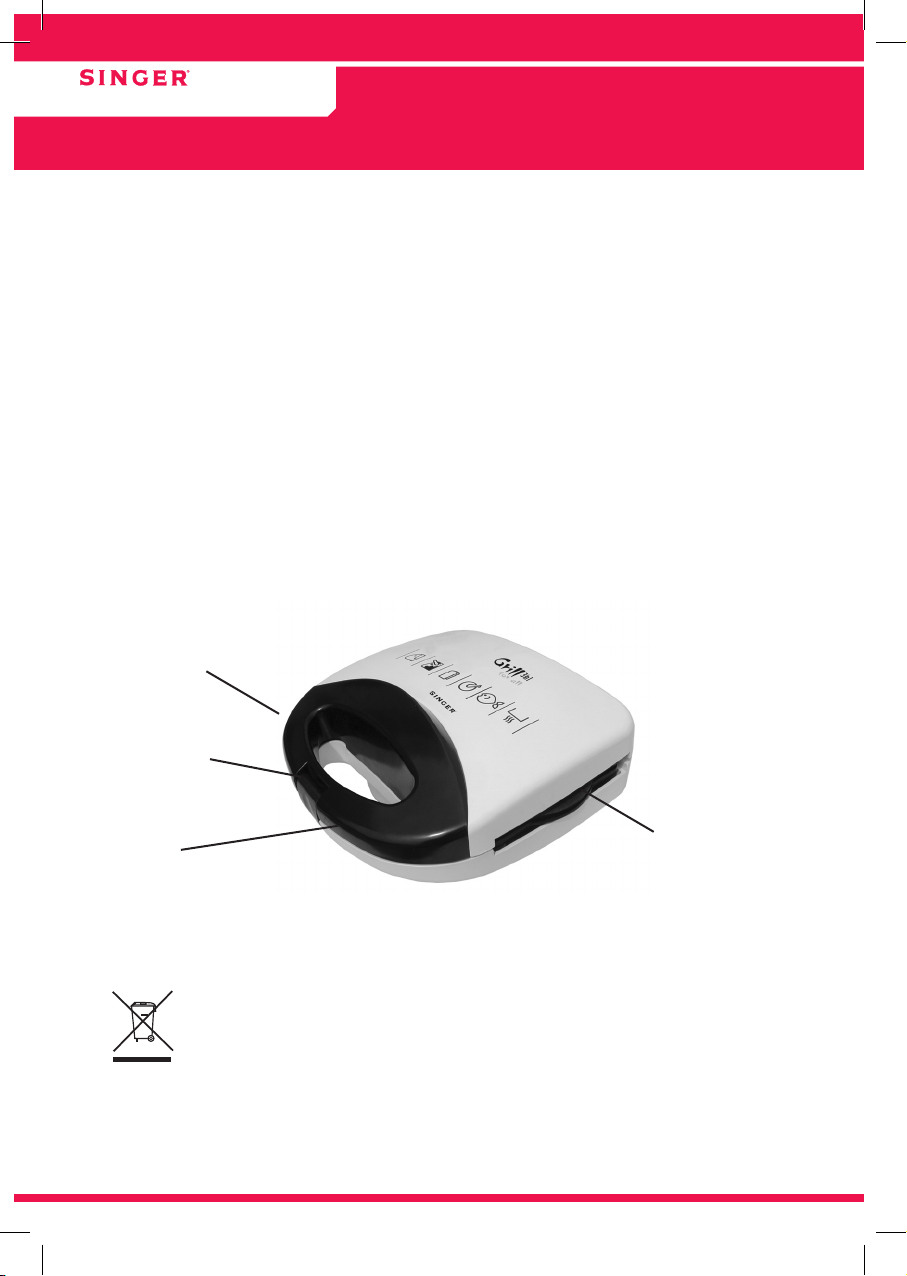
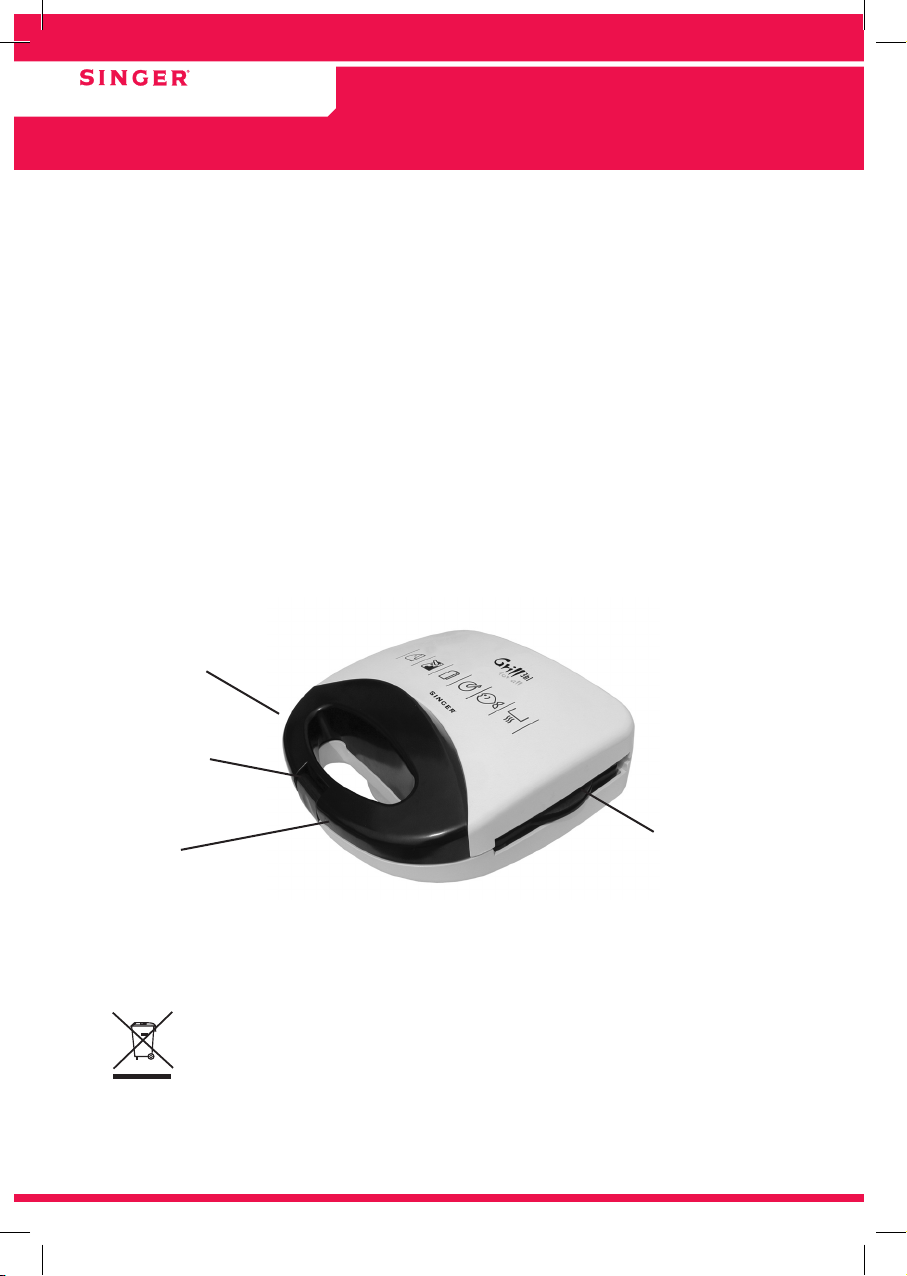
• Το Grill for all 3 in 1, διαθέτει τρία διαφορετικά σετ αποσπώμενων αντικολλητικών πλακών, για να επιλέ-
ξετε ανάμεσα σε γκριλ, ετοιμασία σάντουιτς και βάφλας. Προκειμένου να αποδεσμεύσετε τις πλάκες,
απλά πιέστε τα κόκκινα κουμπιά δίπλα από την πάνω και κάτω πλάκα. Απομακρύνετε και κατόπιν τοπο-
θετήστε ένα διαφορετικό σετ ανάλογα με το τι επιθυμείτε να ετοιμάσετε. Πιέστε τις πλάκες ώσπου να
ακούσετε ένα “κλικ”, για να βεβαιωθείτε ότι έχουν ασφαλίσει στο κυρίως μέρος της συσκευής.
• Κατά τη διάρκεια της πρώτης χρήσης, η συσκευή μπορεί να παράγει μια ελαφριά μυρωδιά και
καπνό, γεγονός που είναι φυσιολογικό.
2. Χρήση
Ετοιμάστε τα σάντουιτς, το φαγητό ή τις βάφλες και τοποθετήστε τα στην κάτω πλάκα. Κατεβάστε
την πάνω πλάκα, σταδιακά πιέστε τα δύο χερούλια και ασφαλίστε το κλιπ.
• Υπολογίστε το χρόνο ψησίματος, ανάλογα με το επιθυμητό αποτέλεσμα.
• Κατά τη διάρκεια της χρήσης είναι φυσιολογικό η φωτεινή ένδειξη να αναβοσβήνει.
• Η πάνω πλάκα μπορεί να ανοίξει 180, για μεγάλη επιφάνεια ψησίματος. Απλώς ανοίξτε στις 90
και ανασηκώστε την πάνω πλάκα προκειμένου να ανοίξετε στις 180.
• Με δυνατότητα κάθετης τοποθέτησης για εύκολη αποθήκευση.
3. Συμβουλές για καλύτερα αποτελέσματα
• Χρησιμοποιήστε μεσαίου πάχους φέτες ψωμιού με ή χωρίς κρούστα. Θυμηθείτε να αυξήσετε
ελαφρώς το χρόνο ψησίματος για τις χοντρές φέτες ψωμιού και να τον μειώσετε ελαφρώς για
τις λεπτές φέτες ψωμιού.
• Μπορείτε επίσης να χρησιμοποιήσετε μαύρο ψωμί αλλά ο χρόνος μαγειρέματος ενδέχεται να διαφέρει.
• Χρησιμοποιήστε μόνο βούτυρο ή μαργαρίνη. Συνθετικά ή υποκατάστατα με χαμηλά λιπαρά δε θεω-
ρούνται κατάλληλα καθώς υπερθερμαίνονται σε χαμηλές θερμοκρασίες δημιουργώντας υπολείμματα
από καφέ κηλίδες, με αποτέλεσμα το ψωμί να κολλάει στην επιφάνεια ψησίματος. Εν αντιθέσει με τα
κοινά σάντουιτς, το ψωμί θα πρέπει να αλείφεται με βούτυρο στην εξωτερική του πλευρά. Βεβαιωθείτε
ότι δε χρησιμοποιείτε υπερβολική γέμιση καθώς θα τρέχει από τα ψημένα σάντουιτς.
• Αποφύγετε να χρησιμοποιείτε γέμιση σαλάτας, όπως μαρούλι ή αγγούρι, καθώς μαραίνεται με το
ψήσιμο. Τα σαλατικά όπως οι τομάτες και τα κρεμμύδια δίνουν πολύ καλά αποτελέσματα.
Φροντίδα και Καθαρισμός
Σημείωση! Ποτέ μη βυθίζετε τη συσκευή σε νερό ή οποιοδήποτε άλλο υλικό.
• Αποσυνδέστε τη συσκευή από την πρίζα.
• Αφήστε τη να κρυώσει με την πάνω επιφάνεια ανοικτή.
• Σκουπίστε τις πλάκες με ένα πανάκι που έχετε βρέξει με ζεστό νερό και λίγο υγρό πιάτων. Ποτέ
μη χρησιμοποιείτε σκληρά καθαριστικά και συρμάτινα σφουγγαράκια. Σφουγγαράκια που πω-
λούνται για αντικολλητικά τηγάνια, μπορούν να χρησιμοποιηθούν.
• Στεγνώστε με ένα καθαρό πανάκι ή με ένα απορροφητικό χαρτί κουζίνας.

8
ROMANA
Instructiuni importante de sigurantã
•Cititi cu atentie toate instructiunile, chiar daca sunteti familiarizat cu aparatul.
•
•Supravegheati aparatul cu atentie atunci cand este utilizat de catre copii sau in apropierea lor.
•
voltajul dispozitivului.
•
•
pentru a-l deconecta.
•
•
•
•
•
PASTRATI ACEST MANUAL PENTRU UTILIZAREA ULTERIOARA
Descrierea aparatului
Tratarea aparatelor electrice si electronice scoase din uz(dispozitii aplicabile in tarile
Uniunii Europene si alte tari europene care dispun de sisteme de colectare selectiva)
echipamentelor electrice si electronice. Asigurandu-va ca acest produs a fost scos din
circuit de o maniera corecta, veti ajuta la prevenirea potentialelor consecinte negative
-
surselor naturale. Pentru orice informatie suplimentara in legatura cu reciclarea acestui produs,
puteti contacta primaria, punctele de colectare deseuri, sau magazinul de la care ati cumparat
produsul.
Indicator luminos
Buton de inchidere
Manere

9
ROMANA
Cum se utilizeaza Aparatul de gatit sandvisuri
Nota! Inainte de utilizarea aparatului pentru prima oara, dezlipiti orice eticheta adeziva, turnati o
lingurita de ulei vegetal pe placile non-adezive, imprastiati uleiul pe toata suprafata cu o laveta
1. Conectarea la Retea / Preincalzirea
•Conectati aparatul la retea. Indicatorul luminos se va aprinde. De indata ce lumina se stinge (dupa
4-5 minute) timpul de preincalzire se termina si puteti incepe sa utilizati aparatul.
•
asezate langa placile de sus si de jos. Indepartati-le si asezati un set diferit de placi, in functie de
pe corpul principal al aparatului.
•
2. Utilizarea
•Reglati timpul de gatire conform gusturilor dvs.
•In timpul utilizarii aparatului este normal ca indicatorul luminos sa se aprinda intermitent.
•-
•
3. Sfaturi pentru rezultate mai bune
•Utilizati paine feliata mediu cu sau fara coaja. Nu uitati sa cresteti usor timpul de gatire pentru
•
•
potrivite deoarece se supraincalzesc la temperatura scazuta, formand depuneri inchise la
-
tura deoarece va curge din sandvisuri dupa gatirea lor.
•Evitati folosirea umpluturilor delicate ca salata sau castravete care se inmoaie la gatire. Ingre-
Intretinerea si curatarea
Nota! Niciodata sa nu scufundati aparatul in apa sau orice alt lichid.
•Decuplati aparatul de la retea.
•Lasati-l sa se raceasca cu capacul deschis.
•
•

10
БЪЛГАРСКИ
Инструкции за безопасност
•
•
•
•
•
•
•
•
•
•
•
ЗАПАЗЕТЕ ЗА БЪДЕЩА УПОТРЕБА
Запознаване с уреда
Във връзка със стари електрически и електронни уреди (приложимо в
Европейския съюз и други европейски страни с разделно събиране на
отпадъци)

11
БЪЛГАРСКИ
Употреба
Важно!
1. Включване / загряване
•
•
•
2. Употреба
•
•
•
•
3. Полезни съвети
•
•
•
•
Поддръжка и почистване
Важно!
•
•
•
•

12
SERBIAN
Važna sigurnosna uputstva
•
•
•
•
•
•
•
•
•
•
SAČUVAJTE UPUTSTVO ZA DALJU UPOTREBU
Opis aparata
Bacanje stare električne i elektronske opreme (odnosi se na Evropsku Uniju i
evropske zemlje koje imaju sistem skupljanja smeća po vrsti materijala).
-
Svetlosni indikator
Dugme za

13
SERBIAN
Upotreba grila
Pažnja! -
-
1.Uljučivanje u struju / Zagrevanje uređaja
•
•
•
2. Upotreba
•
•
•-
•
3. Predlozi za bolje rezultate
•
•
•
-
•
Održavanje i čišćenje
Pažnja!
•
•Ostavite ga da se ohladi sa podignutim poklopcem.
•
•

14
ALBANIAN
Udhëzime të rëndësishme sigurie
me tensionin tuaj lokal.
siperfaqe te nxehta.
-
pajisje.
RUANI KËTË MANUAL PËR REFERENCË NË TË ARDHME
Përshkrimi I pajisjes
Flakja e Pajisjeve Elektrike dhe Elektronike (E aplikuar ne Bashkrimin Europian
dhe ne vende te tjera Europiane me sistem seleksionimi te ndare).
riciklimin e pajisjeve elektrike dhe elektronike. Duke u siguruar qe ky produkt eshte
-
Drita treguese
Doreza Pllaka të lëvizshme
që nuk ngjisin

15
ALBANIAN
Si të përdorim bërësin e sanduiçit
SHENIM! Para se te perdorni pajisjen per here te pare hiqni etiketat, hidhni nje luge vaj gatimi ne
pllakat qe nuk ngjisin, perhapeni ne te gjithe siperfaqen duke perdorur nje lecke kuzhine.
1. Lidhja me burimin e energjisë/Parangrohja
•
•
ju doni te pergatisni. Shtypni pllakat derisa nje tingull “klik” te degjohet per t’u siguruar qe ato jane
te vendosura si duhet ne pajisje.
•Gjate perdorimit te pare, pajisja mund te jape nje arome te lehte dhe erë djegieje e cila eshte
normale.
2. Përdorimi
Pergatisni sanduiçet, ushqimin ose pitet dhe vendosini ato ne pllaken e poshtme. Ulni kapakun
•Rregulloni kohen e pjekjes sipas deshirave personale.
•
•
•Pajisja mund te vendoset ne pozicion vertikal per ruajtje me te thjeshte.
3. Të dhëna të tjera për rezultate më të mira gatimi
•-
•
•Perdorni vetem gjalpe ose margarine te thjeshte. Yndyrat sintetike jane te papershtatshme
dale jashte nga sanduiçi apo tosti.
•-
vec. Asortimentet e sallates siç mund jane domatet dhe qepa japin rezultate te pelqyera.
Kujdesi dhe pastrimi
SHENIM! Mos e zhysni kurre pajisjen ne uje ose ne lengje te tjera.
•
•Lereni te ftohet me kapakun e hapur.
• Mos perdorni kurre
pastrues gerryes apo sfungjer prej teli. Mund te perdoren sfungjere te posaçem per ene qe
nuk ngjisin.
•Fshijeni me nje lecke te paster ose me nje peshqir kuzhine.
Table of contents
Languages:
Other Singer Kitchen Appliance manuals

Singer
Singer SM-700FG User manual

Singer
Singer SM-700WDG User manual

Singer
Singer SM-700DGS User manual

Singer
Singer Multi 650 Titanium User manual

Singer
Singer VITA COOK AF 4605 User manual

Singer
Singer VITA COOK AF-4630 User manual

Singer
Singer SPM400 User manual

Singer
Singer SM-7510 User manual

Singer
Singer DM-100W-BLR User manual

Singer
Singer SM-750FG User manual

Singer
Singer SMD-800GP User manual

Singer
Singer VITA COOK AF 4615 User manual

Singer
Singer Grill For All 3 in 1 User manual

Singer
Singer TOAST IT! GRILL User manual

Singer
Singer SMW-7520 User manual

Singer
Singer SMD-700GSW User manual

Singer
Singer SB-500WH User manual

Singer
Singer VITA COOK AF 4620 User manual