SIZZIX 660855 User manual

660855
Packing More Powerful Possibilities
The new Vagabond™ 2 takes you to creative
new places with all-metal gears and a more
ecient motor to eortlessly cut and emboss
many materials and thicknesses. Explore your
creativity with the perfect shapes for mixed
media, altered art, cardmaking, scrapbooking,
home décor and more!
Read Guide Before Operating Product
Save For Reference

• Important Safety Instructions
• Grounding Instructions
• Getting Started
• Operating the VAGABOND 2 Die–Cutter
• Sandwich Platform Alignment
• Using the PLATFORM and
THIN DIE ADAPTER
• Using SIZZLITS®and CLEARLITS™Dies
• Using ORIGINALS™, BIGZ™, MOVERS &
SHAPERS™and ON THE EDGE™Dies
• Using EMBOSSING FOLDERS and Dies
• Using FRAMELITS™, TRIPLITS™ and
THINLITS™
• Using TEXTURZ™TEXTURE PLATES
• Warranties
• Other Languages
TABLE OF CONTENTS

IMPORTANT SAFETY INSTRUCTIONS
This device is intended for household use only.
To reduce the risk of re, electrical shock or injury, read and
understand all the instructions and warnings that come with your
Vagabond 2 before operating machine (“Product”).
Product is an electrical device. Use with caution. Observe the
following precautions: DO NOT DISASSEMBLE MACHINE.
• Do not operate Product on wet surfaces or near any water
sources (tub, shower, sink, etc.).
• Keep liquids and beverages away from Product.
• Unplug Product from outlet when not in use or before cleaning.
Plug into proper wall receptacle (grounded with three polarized
prongs only). (See “GROUNDING INSTRUCTIONS”)
• Keep hands, hair and clothing away from contact with rollers.
•Do not contact the blade of the dies.
NOT SUITABLE FOR USE BY CHILDREN
14 YEARS AND UNDER
• Read and understand all the instructions and warnings that
come with the Product.
• Always operate Product on a dry, clean, level surface.
• Do not operate Product with wet hands or near water sources.
• Keep area of operation well lit.
• Do not operate Product near ammable liquids or gases.
• Do not operate Product out of doors.
• Do not unplug Product by tugging or pulling the power cord.
SAVE THESE INSTRUCTIONS and keep them near machine.

GROUNDING INSTRUCTIONS
This appliance must be grounded. In the event of malfunction
or breakdown, grounding provides a path of least resistance for
electric current to reduce the risk of electric shock. This appliance is
equipped with a cord having an equipment-grounding conductor and
a grounding plug. The plug must be plugged into an appropriate outlet
that is properly installed and grounded in accordance with all local
codes and ordinances.
Improper connection of the equipment-grounding conductor can
result in a risk of electric shock. The conductor with insulation having
an outer surface that is green with or without yellow stripes is the
equipment-grounding conductor. If repair or replacement of the
cord or plug is necessary, do not connect the equipment-grounding
conductor to a live terminal. Check with a qualied electrician
or serviceman if the grounding instructions are not completely
understood, or if in doubt as to whether the appliance is properly
grounded. Do not modify the plug provided with the appliance – if
it will not t the outlet; have a proper outlet installed by a qualied
electrician.
This appliance is for use on a nominal 120 V circuit, and has a
grounding plug that looks similar to the plug illustrated in sketch
A. A temporary adaptor, which looks like the adaptor illustrated in
sketch B, may be used to connect this plug to a 2-pole receptacle if
a properly grounded outlet is not available. The temporary adaptor
should be used only until a properly grounded outlet can be installed
by a qualied electrician. The green colored rigid ear, lug, and the
like, extending from the adaptor must be connected to a permanent
ground such as a properly grounded outlet box cover. Whenever the
adaptor is used, it must be held in place by the metal screw.
A B
Must be connected
to a permanent ground
Ground
Grounded Plug Temporary Adapter
(Not Included)

GETTING STARTED
Open the compartment on the end side of the machine and remove the power
cord. Insert the non-pronged end of the power cord into the receptacle at the
opposite end of the Machine. Insert the plug end into a properly grounded
wall outlet. (See Grounding Instructions on previous page.)
To open the Vagabond 2 Machine, push the slider located beneath the handle
in either direction. The doors will open together in one smooth motion.
1
23
Slider

To close the Vagabond 2 Machine, push the doors closed
until you hear the latches engage with a click.
OPERATING THE VAGABOND 2:
To operate the machine, rst open the doors. Then select the direction
of the motor by sliding the forward/reverse switch in either direction.
Once the desired direction has been determined, depress the motor on/
o button. The motor will stay on only while the button is being pushed. If
you take pressure o of the button, the motor will stop. (Note: The machine
moves in forward and reverse, allowing for reversal of direction at any
time. This also makes for convenient loading and handling of shape-
cutting products from either end of your Vagabond 2 Machine.)
Do not attempt to touch or remove the shape-cutting products from the
Vagabond 2 Machine until you have released all pressure from the motor
switch and all materials are clear of the rollers. Then, and only then, is it
safe to remove or handle your die and die-cut shape.
Forward/Reverse Switch Motor On/O Button

• Keep hands, hair and clothing away from contact with rollers.
• Do not contact the blade of the dies.
Before sliding product into the rollers, observe the
caution and warning labels printed on your
Vagabond 2 Machine.
Sandwich/Platform Alignment
Before sending product through the Vagabond 2 Machine, it is important
to ensure that the Platform, Cutting Pads and die, or the “sandwich,” is
aligned properly.
To align the “sandwich,” press the Guide Flaps inward until they both
make contact with the “sandwich” with enough force to move them into
alignment before entering the rollers. Once the “sandwich” is aligned, you
may proceed to slide it into the roller opening and depress the motor on/o
button. Aligning the “sandwich” will prevent binding as it passes through
the rollers.

Using the Platform
Improper use of the Platform may cause damage to the Machine.
Read and follow the instructions provided on the Platform.
The Platform is designed to be used when you are cutting or embossing thin
materials such as single sheets of paper or cardstock.
®
PLATFORM
•
PLATEFORME
•
PLATAFORMA
052215 ©Ellison
Made in China
Fabriquéen Chine
Hecho en China
TEXTURED IMPRESSIONS™ •TEXTURE FADES™•TEXTURE TRADES™ •SHADOWPRESS™
EMBOSSING DIFFUSER™
EMBOSSING • GAUFRAGE • REPUJAR CUTTING • DÉCOUPER • CORTAR GUIDE • GUIDE • GUÍA
SIZZLITS DECORATIVESTRIP •BANDE DÉCORATIVE SIZZLITS •BANDA DE DECORACIÓNSIZZLITS
SIZZLITS®
• Cutting Pad
• Plaque de découpe
• Almohadilla de Corte
• Embossing Diuser
• Sizzlits
• Sizzlits Decorative Strip
• Bande Décorative Sizzlits
• Banda de Decoración Sizzlits
• Single sheet of paper
• Seule feuille de papier
• Sola hoja de papel
• Extended Cutting Pad
• Plaque de Découpe, Extended
• Almohadilla de Corte, Extendida
• Embossing Folder
• Classeur de Gaufrage
• Carpeta de Repujado
®
THIN DIE ADAPTER
•
ADAPTATEUR POCHOIR POUR
FIN GAUFRAGE
•
ADAPTADOR PARA TROQUELES FINOS
052215 ©Ellison
Made in China
Fabriquéen Chine
Hecho en China
• DO NOT USE FOR EMBOSSING!
• NE PAS UTILISER POUR LE GAUFRAGE!
• ¡NO UTILICE PARA GRABADO EN RELIEVE!
•Vagabond 2 Platform
•Vagabond 2 Plateforme
•Vagabond 2 Plataforma
•Thin Die
• Fin Gaufrage
•Tr oqueles Finos
• Single sheet of paper
• Seule feuille de papier
• Sola hoja de papel
• Cutting Pad
• Plaque de découpe
• Almohadilla de Corte
rm
for
me
forma
CUTTING • DÉCOUPER • CORTAR
FRAMELITS™TRIPLITS™
THINLITS™
GUIDE • GUIDE • GUÍA
The Thin Die Adapter allows you to use your Framelits™, Thinlits™,
Triplits™ and other brands of thin dies in your machine.

Using Sizzlits and clearlits
Using Sizzlits®and Clearlits™
1. Place Sizzlits Die onto a Cutting Pad with foam side up. Place paper
over the die. Place another Cutting Pad over the paper to create a
“sandwich.” For Clearlits Die, place die over photo or material so that
the area to be cut shows through the die. Then place photo or material
and die between Cutting Pads to make “sandwich.” Place “sandwich” on
Platform.
2. Use the forward/reverse switch to select the proper direction. Slide
“sandwich” into the roller opening as far as it will go. Push in on the side
aps to align the “sandwich” and gently press the motor button. When
the die “sandwich” is completely through the rollers, then and only then
is it safe to remove or handle your die and die-cut shape.
1
2
Platform
Platform
“Sandwich”
Die
Paper
Cutting Pads

Using an Originals™, Bigz™, Movers & Shapers™
or On the Edge™Die
1. Place an Originals or Bigz Die on a Cutting Pad with foam side up. Place
paper or desired material to be cut on top of the die. Place the second
Cutting Pad on top of the paper or material to create a “sandwich.”
2. Use the forward/reverse switch to select the proper direction. Slide
“sandwich” into the roller opening as far as it will go. Push in on the side
aps to align the “sandwich” and gently press the motor button. When
the die “sandwich” is completely through the rollers, then and only then
is it safe to remove or handle your die and die-cut shape.
(Bigz XL Dies require
Extended Cutting Pads.)
Cutting Pads
Paper
Die
“Sandwich”

Using a Textured Impressions™, Texture Fades™,
Texture Trades™, Simple Impressions®Embossing
Folders, ShadowPress™or Embosslits™Dies
1. With Textured Impressions, Texture Fades, Simple Impressions
Embossing Folder, ShadowPress or Embosslits Die open, insert paper, foil
or other embossable material, then close like a book.
Single Sheet
of Cardstock
Textured
Impressions
Embossing Folder Cutting Pads
Platform
2. Use the forward/reverse switch to select the proper direction. Slide
“sandwich” into the roller opening as far as it will go. Push in on the side
aps to align the “sandwich” and gently press the motor button. When
the “sandwich” is completely through the rollers, then and only then
is it safe to remove or handle your embossing folder and embossed shape.

1. Place die on Cutting Pad. Place material over die and align. Place another
Cutting Pad over the material and die to create a “sandwich.”
2. Use the forward/reverse switch to select the proper direction. Slide
“sandwich,” Platform into the roller opening as far as it will go. Push in on
the side aps to align the “sandwich” and gently press the motor button.
When the “sandwich” is completely through the rollers, then and only
then is it safe to remove or handle your die and die-cut shape.
Using Framelits™, Thinlits™, Triplits™
and Other Thin Dies
Paper
Cutting Pads
Die
Thin Die Adapter
Platform
Platform
Thin Die Adapter
“Sandwich”

Using Texturz™Texture Plates
1. Place a Texture Plate directly on the Platform with the desired
design facing up. Place paper or desired material on top of Texture
Plate. Place Silicone Rubber on top of paper. Place Impressions Pad on
top of Silicone Rubber to create a “sandwich.”
2. Use the forward/reverse switch to select the proper direction. Slide
“sandwich,” Platform into the roller opening as far as it will go. Push in on
the side aps to align the “sandwich” and gently press the motor button.
When the “sandwich” is completely through the rollers, then and only
then is it safe to remove or handle your Texture Plate and
texturized shape.
Platform
“Sandwich”
Impressions Pad
Silicon Rubber
Paper
Texture Plate
Platform

Tim Holtz® Vagabond™2 Machine by Sizzix®
LIMITED 1–YEAR WARRANTY
What Does This Warranty Cover? This warranty covers
any manufacturing defects in your Sizzix Vagabond 2
personal cutting machine (the “Product”).
How Long Does The Warranty Last? This warranty lasts
for 1 year following your date of purchase of the Product.
You should retain your receipt as proof of purchase, which
may be required in connection with obtaining
warranty service.
What Will Sizzix Do? Sizzix will repair or replace any
manufacturing defects for Products returned within 1 year
following the original date of purchase.
What Does This Warranty Not Cover? This warranty does
not cover damages or defects caused by misuse or abuse of
the Product, or use of the Product for commercial, rather
than personal, applications. Cutting Pads and Platforms
are excluded from this warranty.
Disclaimers. SIZZIX SHALL NOT BE LIABLE FOR CON-
SEQUENTIAL AND INCIDENTAL DAMAGES, DAMAGES
FOR BODILY INJURY (INCLUDING DEATH) AND DAM-
AGE TO PROPERTY. THE DURATION OF ANY IMPLIED
WARRANTIES SHALL BE LIMITED TO THE DURATION OF
THE EXPRESS WARRANTY SET FORTH ABOVE. SOME
STATES DO NOT ALLOW THE EXCLUSION OR LIMITATION
OF INCIDENTAL OR CONSEQUENTIAL DAMAGE, DAMAG-
ES FOR PERSONAL INJURY, OR THE LENGTH OF IMPLIED
WARRANTIES, SO THESE LIMITATIONS MAY NOT APPLY
TO YOU. THIS WARRANTY GIVES YOU SPECIFIC LEGAL
RIGHTS, AND YOU MAY ALSO HAVE OTHER RIGHTS
WHICH VARY FROM STATE TO STATE.

37YV
E321785
Made in China
Ellison®2015. All rights reserved.
How Do You Get Warranty Service? If you believe that
there is a manufacturing defect in your Product during the
warranty period, contact Sizzix Customer Relations at the
following telephone number or website:
North America:
sizzix.com
877-355-4766 toll-free in USA
949-598-8821 outside USA
A Return Authorization (RA), along with shipping
information, will be issued. Following a determination by
Sizzix that a fault covered by this warranty may have
occurred, Sizzix will: (a) ship you replacement parts or (b)
ship you a replacement Product. Product not covered by
this warranty will be returned at
your expence.

Con la apariencia exterior de una maleta que ha viajado
mucho, la Máquina Vagabond™2 se abre fácilmente para rev-
elar una máquina portátil, aunque potente, que le transporta
a lugares de ensueño. Si se observa con más detenimiento,
la Vagabond 2 impresiona por su extraordinaria capacidad
de cortar y repujar diferentes materiales y grosores. ¿Se le
ocurre algo mejor para llevar en su viaje creativo?
Lea la guía antes de poner en funcionamiento el producto.
Consérvela para que le sirva de referencia.
ESPANOL
Índice
• INSTRUCCIONES DE SEGURIDAD IMPORTANTES
• INSTRUCCIONES DE CONEXIÓN A TIERRA
• CÓMO COMENZAR
• FUNCIONAMIENTO DE LA TROQUELADORA
Vagabond 2
• ALINEACIÓN DE LA PLATAFORMA DE SÁNDWICH
• USO DE LA PLATAFORMA Y LA CUÑA ÚNICAS
• USO DE LOS TROQUELES SIZZLITS®Y CLEARLITS™
• USO DE LOS TROQUELES ORIGINALS™, BIGZ™,
MOVERS & SHAPERS™, Y ON THE EDGE™
• USO DE FRAMELITS™, TRIPLITS™ y THINLITS™
• USO DE LAS CARPETAS DE REPUJADO Y LOS
TROQUELES
• USO DE LAS PLACAS DE TEXTURA TEXTURZ™
• GARANTÍAS

INSTRUCCIONES DE SEGURIDAD IMPORTANTES
Este aparato esta destinado sólo a uso doméstico.
El Producto es un aparato electrónico. Utilícelo con precaución. Siga
las siguientes precauciones: NO DESMONTE LA MÁQUINA.
• No ponga el Producto en funcionamiento sobre supercies mojadas
ni cerca de fuentes de agua (bañera, ducha, lavamanos, etc.).
• Mantenga líquidos y bebidas alejados del Producto.
• Desenchufe el Producto de la toma de corriente cuando no lo esté
utilizando o antes de limpiarlo.
Enchúfelo en un tomacorriente de pared adecuado (tomacorriente
conectado a tierra con tres clavijas polarizadas únicamente).
(Vea las “INSTRUCCIONES DE PUESTA A TIERRA”)
NO APTO PARA USO DE NIÑOS
DE 14 AÑOS O MENORES
• Lea y entienda todas las instrucciones y advertencias que vienen con
el Producto.
• Haga funcionar el Producto sobre una supercie seca, limpia y nivelada.
• No haga funcionar el Producto con las manos mojadas ni cerca
de fuentes de agua.
• Mantenga el área de funcionamiento bien iluminada.
• No haga funcionar el Producto cerca de gases o líquidos inamables.
• No haga funcionar el producto al aire libre.
• No desenchufe el producto quitando con fuerza o tirando del
cable eléctrico.
CONSERVE ESTAS INSTRUCCIONES y guárdelas cerca de la máquina.
ADVERTENCIA
Para reducir el riesgo de ignición, electrocución o lesión, lea y compren-
da todas las instrucciones y advertencias que vienen con su Vagabond 2
antes de poner la máquina (el “Producto”) en funcionamiento.
RIESGO DE ELECTROCUCIÓN
• Mantenga las manos, el cabello y la ropa alejados del contacto
con los rodillos.
• No toque la cuchilla de los troqueles.
PELIGRO DE ATRAPAMIENTO
PELIGRO DE CORTE
INSTRUCCIONES DE SEGURIDAD GENERALES:

Este aparato debe estar conectado a tierra. En el caso de fallo o avería,
la conexión a tierra ofrece una vía de menos resistencia para la corrien-
te eléctrica a n de reducir el riesgo de descarga eléctrica. Este aparato
está equipado con un cable que tiene un conductor de conexión a tierra
del equipo y un enchufe conectado a tierra. El enchufe debe conectarse
a una toma de tierra apropiada que esté correctamente instalada y
conectada a tierra de conformidad con todas las ordenanzas y
códigos locales.
La conexión incorrecta del conductor conectado a tierra del equipo
puede generar un riesgo de descarga eléctrica. El conductor con
aislamiento que tiene una supercie externa que es verde con o sin
tiras amarillas es el conductor de conexión a tierra del equipo. Si es
necesario reparar o cambiar el cable o el enchufe, no conecte el
conductor de conexión a tierra del equipo en una terminal con corrien-
te. Consulte con un electricista cualicado o técnico de servicio si las
instrucciones de conexión a tierra no se entienden completamente o si
duda sobre si el aparato está o no correctamente conectado a tierra.
No modique el enchufe proporcionado con el aparato –si no entra
en la toma de corriente, haga que un electricista cualicado instale
una toma de corriente adecuada. Este aparato está indicado para un
circuito nominal de 120 V, y tiene un enchufe con conexión a tierra
similar al enchufe que se muestra en el diagrama A. Puede utilizarse
un adaptador temporal, que se parece al adaptador que se muestra en
el diagrama B, para conectar este enchufe a una toma de corriente de
2 polos, si no hay una toma de corriente correctamente conectada a
tierra. El adaptador temporal debe utilizarse solamente hasta que un
electricista cualicado pueda instalar una toma de corriente correcta-
mente conectada a tierra.
La espiga rígida de color verde, la lengüeta de conexión y el equiva-
lente que sobresalen del adaptador deben conectarse a una toma a
tierra permanente tal como la cubierta de una caja de distribución
correctamente conectada a tierra. Siempre que se use el adaptador,
debe sujetarse en su lugar con un tornillo metálico.
INSTRUCCIONES DE CONEXIÓN A TIERRA
PELIGRO:

CÓMO COMENZAR
Abra el compartimento por el lado del extremo de la máquina y quite
el cable eléctrico. Inserte el extremo sin clavijas del cable eléctrico en
la entrada del extremo opuesto de la máquina. Inserte el enchufe en un
tomacorriente de pared debidamente conectado a tierra. (Vea las Instruc-
ciones de puesta a tierra de la página anterior.)
Para abrir la Máquina Vagabond 2, empuje la barra deslizante situada
debajo del mango en cualquier dirección. Las puertas se abrirán a la vez
con un movimiento suave. Para cerrar la Máquina Vagabond 2, cierre las
puertas hasta que oiga que los cierres encajan con un clic.
No intente tocar o quitar los productos cortadores de la Máquina
Vagabond 2 hasta que haya dejado de pulsar completamente el interrup-
tor del motor y todos los materiales estén fuera de los rodillos.
Solamente después de eso es seguro quitar o manejar su troquel y su
forma troquelada.
CÓMO HACER FUNCIONAR LA VAGABOND 2:
Para hacer funcionar la máquina, primero abra las puertas. Posterior-
mente, seleccione la dirección del motor deslizando el interruptor de
marcha adelante/atrás en la dirección deseada. Una vez determinada
la dirección deseada, pulse el botón de encendido/apagado del motor.
El motor permanecerá encendido solamente mientras esté pulsado
el botón.
Si deja de pulsar el botón, el motor se detendrá. (Nota: La máquina se
mueve hacia adelante y hacia atrás, permitiendo el cambio de dirección
en cualquier momento. Esto permite la carga y el manejo de los produc-
tos cortadores desde cualquier extremo de su Máquina Vagabond 2.)
PRECAUCIONES
Antes de deslizar materiales entre los rodillos,
observe las etiquetas de precaución y advertencia
impresas en su Máquina Vagabond 2.
• Mantenga las manos, el cabello y la ropa alejados del contacto
con los rodillos.
• No toque la cuchilla de los troqueles.
PELIGRO DE ATRAPAMIENTO
PELIGRO DE CORTE

Alineación de la plataforma/sándwich
Antes de introducir materiales en la Máquina Vagabond 2 es importante
asegurarse de que la plataforma, las almohadillas de corte y el troquel,
o el “sándwich”, están alineados correctamente.
Para alinear el “sándwich”, presione las lengüetas de guía hacia aden-
tro hasta que ambas estén en contacto con el “sándwich” con fuerza
suciente como para alinearlo antes de que comience a pasar entre los
rodillos. Una vez alineado el “sándwich”, proceda a deslizarlo dentro de
la apertura de los rodillos y presione el botón de encendido/apagado del
motor. La alineación del “sándwich” impide que este se atasque a medida
que pasa entre los rodillos.
USO DE LA PLATAFORMA Y LA CUÑA ÚNICAS
El uso inadecuado de la plataforma y la cuña únicas puede
dañar la máquina. Lea y siga las instrucciones que se facili-
tan sobre la plataforma y la cuña únicas.
La plataforma y la cuña únicas están diseñadas para ser utilizadas de
manera conjunta al cortar o repujar materiales nos, como hojas de papel
o cartulina individuales; sin embargo, cuando se utilizan materiales pesa-
dos como cartón, aglomerado o Grungeboard® o cuando se repuja más de
una capa de cartulina, no se debe usar la cuña única.
Para sujetar la cuña única a la plataforma única, inserte la solapa de la
cuña única en la pinza de la solapa que se encuentra en el extremo de la
plataforma única.
Uso de Sizzlits®y Clearlits™
1. Coloque el troquel Sizzlits sobre una almohadilla de corte con la
gomaespuma hacia arriba. Coloque el papel sobre el troquel. Coloque
otra almohadilla de corte sobre el papel para crear un “sándwich”.
Para usar el troquel Clearlits, coloque el troquel sobre la fotografía o
el material, de manera que el área a cortar se vea a través del troquel.
Posteriormente, coloque la fotografía o el material y el troquel entre
las almohadillas de corte para formar un “sándwich”. Coloque el
“sándwich” en la plataforma y la cuña únicas.
2. Utilice el interruptor de marcha adelante/atrás para seleccionar
la dirección adecuada. Deslice el “sándwich” hacia adentro entre la
apertura de los rodillos tanto como le sea posible. Presione las lengüe-
tas laterales para alinear el “sándwich” y presione suavemente el
botón del motor. Solamente cuando el “sándwich” del troquel
ha pasado completamente a través de los rodillos, es seguro quitar o
manejar su troquel y forma troquelada. olamente cuando el “sánd-
Table of contents
Languages:
Other SIZZIX Cutter manuals

SIZZIX
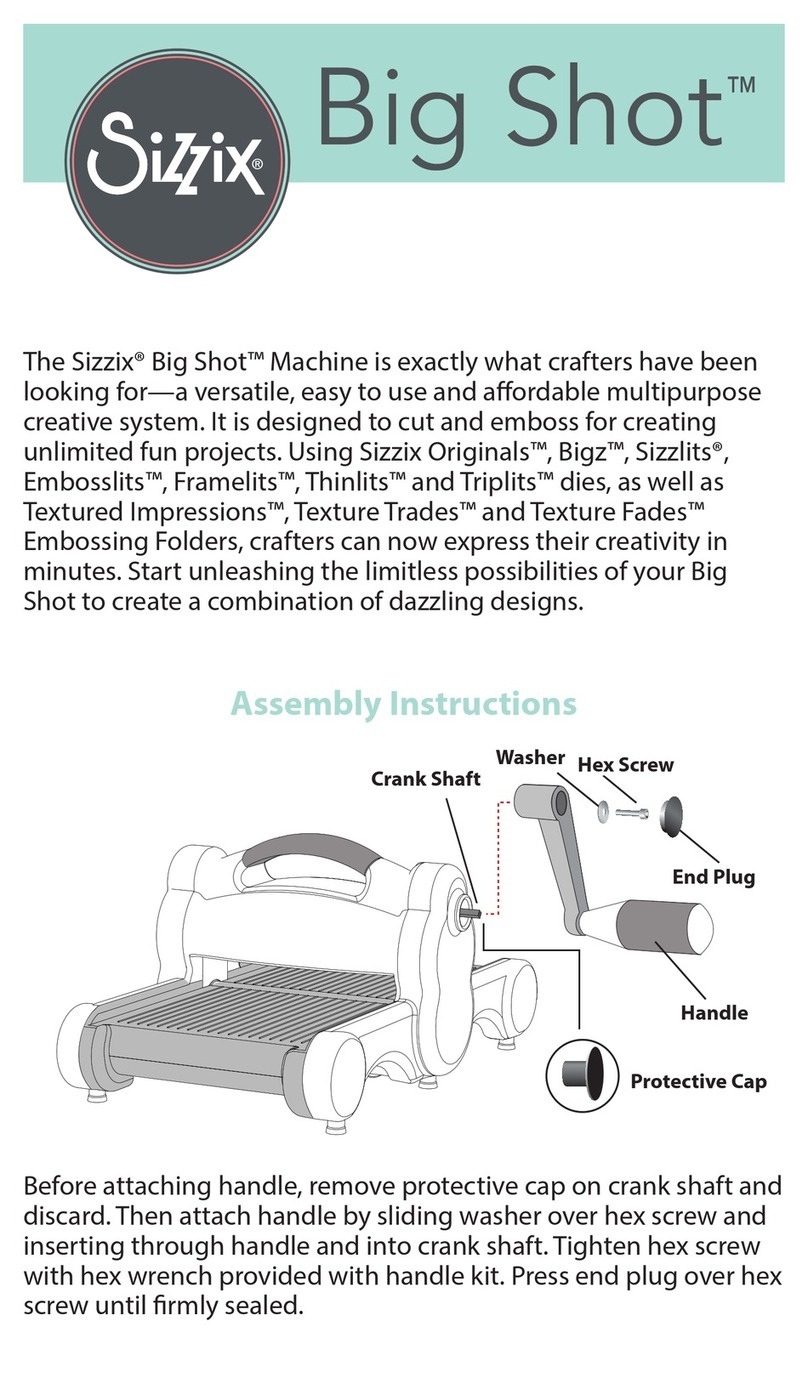
SIZZIX Big Shot Machin User manual

SIZZIX
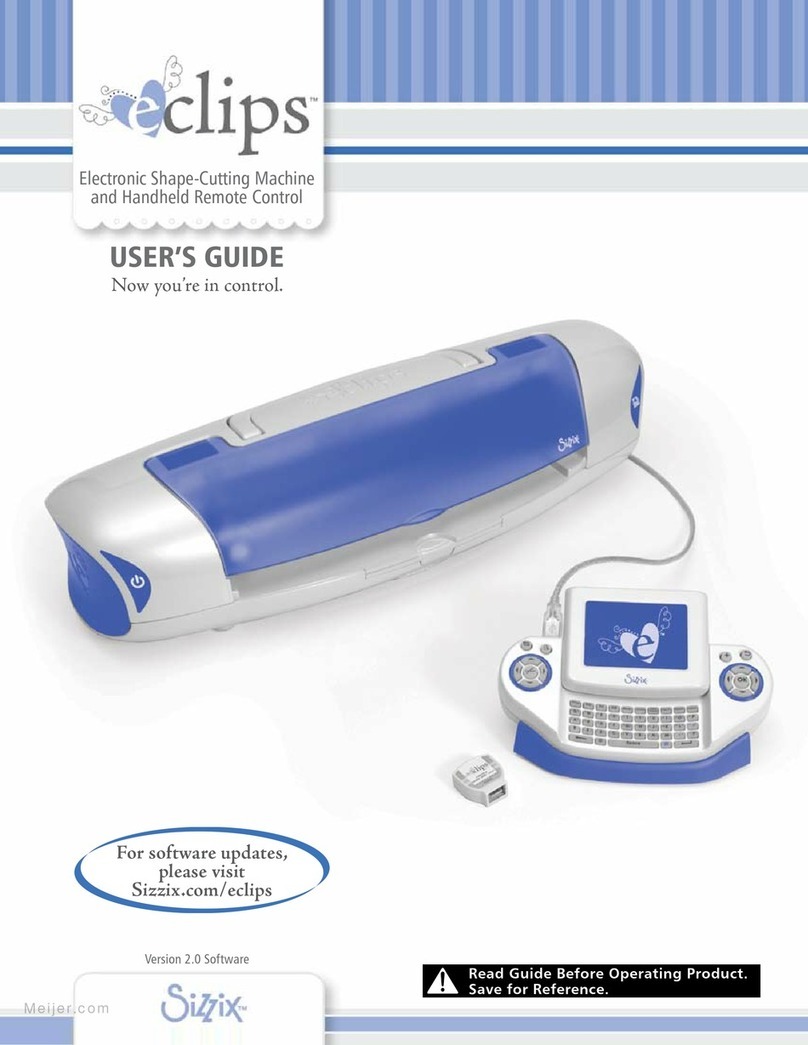
SIZZIX Eclips User manual

SIZZIX
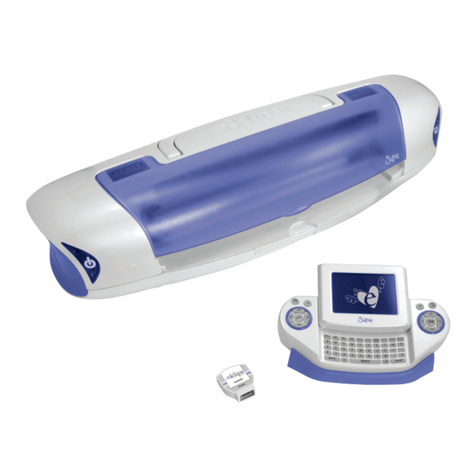
SIZZIX Eclips User manual

SIZZIX
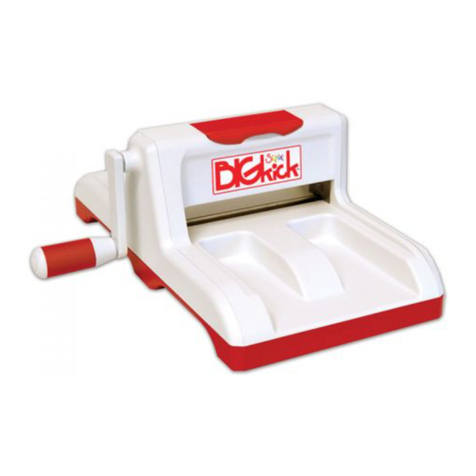
SIZZIX BigKick User manual

SIZZIX
SIZZIX eclips2 User manual

SIZZIX
SIZZIX Big Shot User manual

SIZZIX
SIZZIX eclips Tim Holtz Alterations Stamp2Cut No. 7 User manual

SIZZIX
SIZZIX Big Shot User manual

SIZZIX
SIZZIX eclips2 User manual

SIZZIX
SIZZIX Big Shot Express User manual
Popular Cutter manuals by other brands

Makita
Makita 4107RH instruction manual

Bosch
Bosch GSZ 160 Professional Original instructions

SUHNER ABRASIVE
SUHNER ABRASIVE LEB 20 Technical document

Sunrise Electronic Technology
Sunrise Electronic Technology Skycut Series manual

Husqvarna
Husqvarna Cut-n-Break K 760 Operator's manual

Makita
Makita 4112HS instruction manual