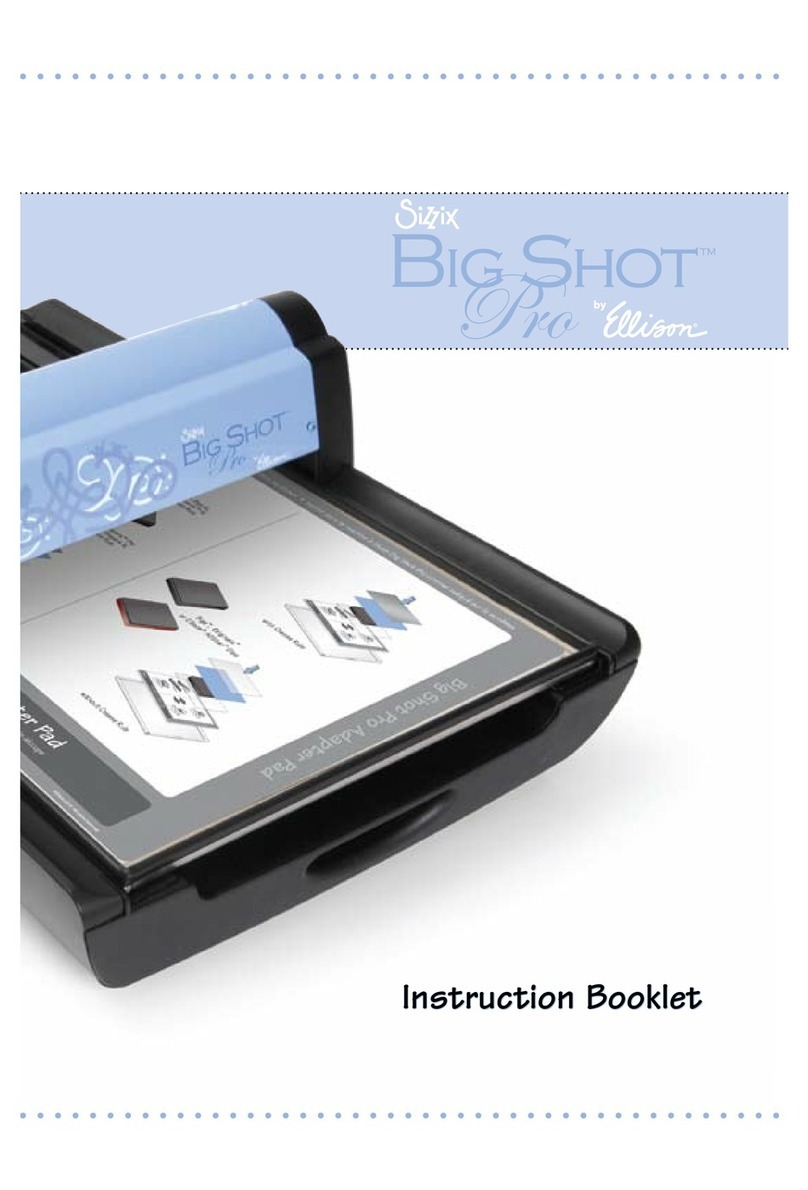
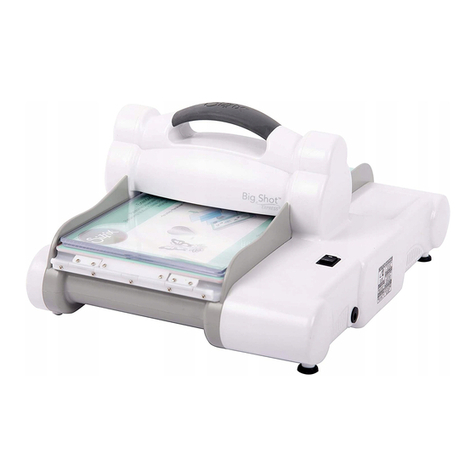
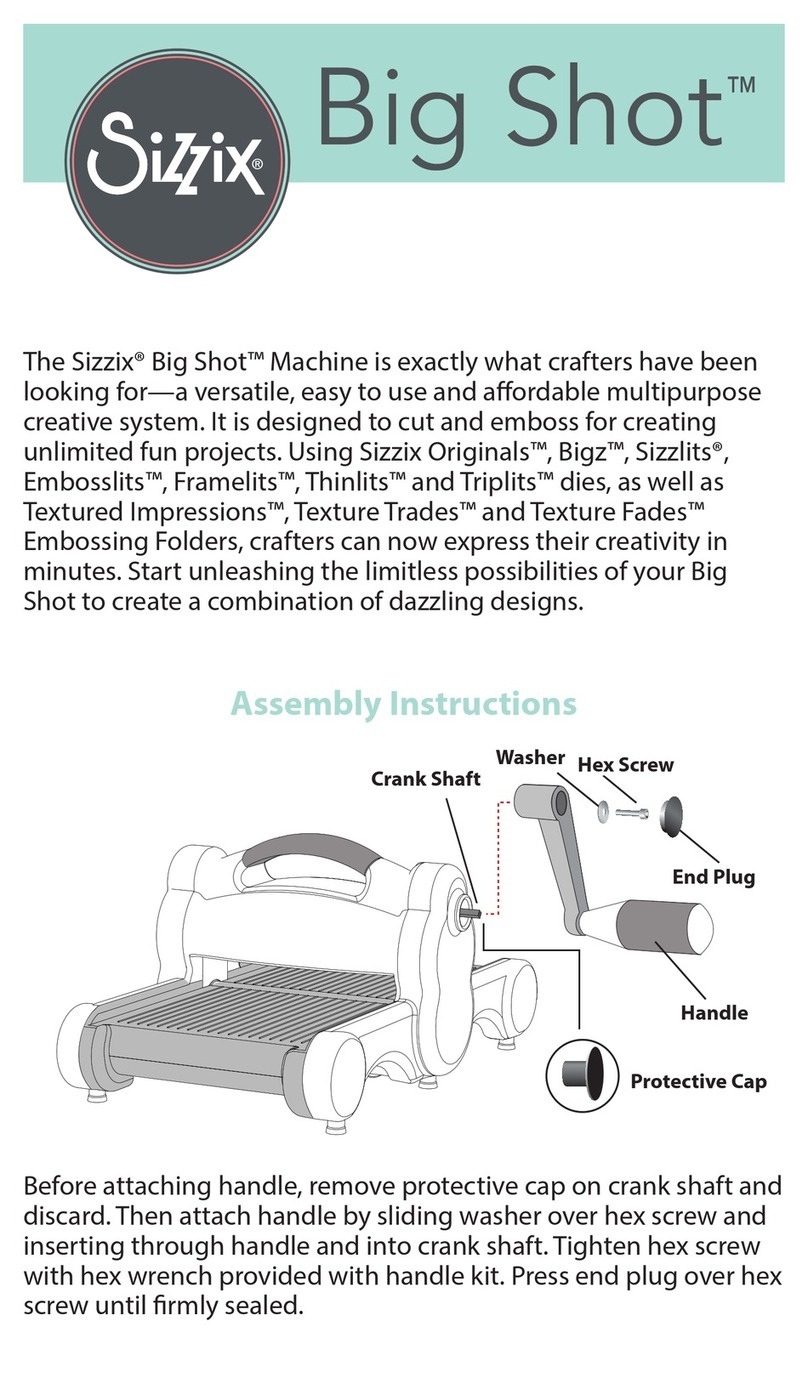
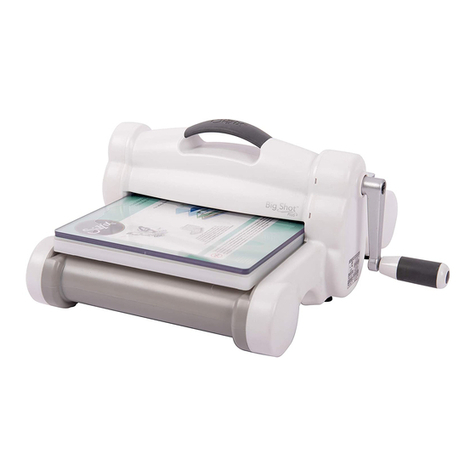
SIZZIX Big Shot Pro 660550 User manual

Instruction Booklet

Table of Contents
Safety Instructions 2
1. Introduction 3
2. Machine Placement 3
3. Setting up the Big Shot™ Pro Machine 3
Inserting the Sliding Tray and Adapter Pad 4
Attaching the Crank Handle 4
4. Operating Instructions 5
Using Bigz™, Originals™ or On the Edge™ Dies 5
without Crease Rule
Using Bigz Pro, Bigz XL, Bigz or Originals Dies 6
with Crease Rule
Using Framelits™, Thinlits™, Triplits™ or Wafer-Thin Dies 6
Using Sizzlits® or DecoEtch™ Dies 7
Using Embossing Folders, Embosslits™ or 7
DecoEmboss™ Dies
Using Textured Impressions™ Plus Embossing Folders 8
Using Ellison® SureCut™ or Ellison Custom Dies 8
Using Ellison SureCut Crease-Rule Dies 9
5. Help & Hints 10
6. Maintenance 11
Recognizing Worn Plastic Slides 11
Replacing Plastic Slides 11
Cleaning Your Machine 11
Keeping Dies Clean 11
7. Troubleshooting Solutions 12
8. Materials Guide 13
9. Die and Accessory Compatibility Table 14
10. Warranties 15
11. Instructions in Other Languages 17
French 18
Spanish 24
Italian 30
Russian 36
German 42
Portuguese 48
For additional help, call Sizzix® within USA 866-742-4447 or
outside USA 949-598-5897 or within UK 0871 222 2277 or
outside UK +44 (0) 845 345 2277 or visit sizzix.com

2
When using this product, basic precautions should always be
followed, including, but not limited to, the following:
• Always place and operate this Machine on a clean, flat, sturdy, non-skid
surface (stout table or workbench). Do not allow any part of the Machine to
overhang the edges of your work area.
• To reduce the risk of personal injury, close supervision is necessary when the
Big Shot Pro is used near children.
• Not recommended for use by children under 14 years.
• Use only attachments and accessories recommended by the manufacturer of
your Big Shot Pro Die-Cutting Machine.
• Do not use outdoors.
• Pinch hazard. Keep hands, fingers and clothing away from contact with rollers.
• Do not overload the Machine. See Materials Guide (page 13).
• Cutting hazard. Do not contact the blade of the dies.
• Use only Sliding Tray supplied with your Big Shot Pro Die-Cutting Machine.
Using another type or brand could cause damage to your Machine and dies.
• Carry your Big Shot Pro Die-Cutting Machine using the molded handholds at
both ends of the Machine. Lifting or carrying the Machine by any other part
of the Machine is unsafe.
IMPORTANT SAFETY INSTRUCTIONS
SAVE THESE INSTRUCTIONS
Store in one of the well spaces under the Sliding Tray.
WARNING Read and understand all the instructions before
using your Big Shot™Pro Machine.

3
The Sizzix® Big Shot™ Pro Machine package includes all tools and parts necessary
for full assembly and operation. The Big Shot Pro Machine will cut and emboss
a wide variety of materials with the entire line of Ellison® and Sizzix dies and
embossing tools. See the Materials Guide (page 13) for specifics. When not in use,
place the dies in Ellison and Sizzix Storage Solutions (sold separately).
1. Introduction
Lift the Big Shot Pro Machine by its molded handholds at the ends of the
Machine. Place the Machine on a clean, flat, sturdy, non-skid surface at a height
and position that are comfortable for the user. No part of the Machine should
hang over the edge of the work surface.
2. Machine Placement
3. Setting up the Big Shot Pro Machine
Parts included:
Item: Qty:
(1) Crank Handle 1
(2) Lock Washer 1
(3) Screw 1
(4) Screw Cap Cover 1
(5) Sliding Tray 1
(6) Cutting Pad 1
(7) Adapter Pad 1
(8) Premium Crease Pad 1
(9) Mylar Shims (0.1mm) 2
Tools required:
3mm Allen Wrench (Included)
Die Pick (Included)
(1) Crank Handle
Die Pick
(2) Lock Washer (3) Screw (4) Screw Cap Cover
(7) Adapter Pad
14 1/4"x 12 1/4"x 3/16"
(36.20cm x 31.12cm x 0.50cm)
(8) Premium Crease Pad
14 1/4"x 12 1/4"x 1/8"
(36.20cm x 31.12cm x 0.32cm)
(9) Mylar Shims
0.1mm x 2
3mm Allen Wrench
(6) Cutting Pad
14 1/4"x 12 1/4"x 1/8"
(36.20cm x 31.12cm x 0.32cm)
(5) Sliding Tray
15 5/8"x 12 7/8"x 5/8"
(39.69cm x 32.70cm x 1.59cm)

4
Inserting the Sliding Tray and Adapter Pad
1. Remove Big Shot Pro Machine from the shipping carton and place it on a
clean, flat, sturdy, non-skid surface. Take care when lifting Machine out of the
carton, as it weighs 30lbs (13.6kg).
2. Remove Sliding Tray from bottom of the carton. Place Sliding Tray onto Side
Rails. For cutting with Sizzix® dies, place Adapter Pad in Sliding Tray.
3. The Sliding Tray can now move back and forth through the Machine.
Attaching the Crank Handle
1. Slip the Lock Washer (Item 2) over the Screw (Item 3) and drop them into the
hole in the top of the Crank Handle (Item 1).
2. Push the Crank Handle assembly over the square roller shaft protruding
from the Big Shot Pro Machine. Insert Allen Wrench into Screw (Item 3) to
tighten. Turn clockwise (Figure A). Tighten Screw as far as possible to ensure
maximum pressure.
3. Press the Screw Cap Cover (Item 4) in place.
WARNING The Big Shot™Pro Machine is very heavy.
Use extreme care and caution when handling.
Seek assistance whenever possible.
Figure A
(1) Crank Handle
(3) Screw
(2) Lock Washer
Square Roller Shaft
(4) Screw Cap Cover
Molded Handholds

5
Using Any Size Sizzix® Bigz™, Originals™ or On the Edge™ Die
without Crease Rule*
1. Place a die onto an appropriately sized Cutting Pad. Place paper or desired
material to be cut on top of the die. Place another appropriately sized Cutting
Pad on top of the paper or material to create a“sandwich” (Figure B).
2. Place “sandwich” on top of the Adapter Pad in the Sliding Tray.
3. Push Sliding Tray into the opening of the Big Shot™ Pro Machine. Keep hands
away from roller and dies while in use.
4. Note the rotation of the Crank Handle and continue to rotate it in the same
direction until the “sandwich” has passed through the opening of the rollers.
Dies can be passed through the rollers in either direction, from the right or
from the left.
5. Remove the “sandwich” from the Big Shot Pro. Your die-cut shapes are ready
to use!
*A Crease-Rule Die is similar to a regular Bigz (steel-rule) Die; however, it contains
both cutting (sharp) rule and crease (blunt) rule.
4. Operating Instructions
WARNING Pinch and cutting hazard. Keep hands, fingers
and clothing away from contact with rollers
and dies while in use.
See Die and Accessory Compatibility Table on Page 14
Figure B
Material
Die
Premium Crease Pad
Cutting Pad
“Sandwich”
Sliding Tray Adapter Pad

6
Using Sizzix® Bigz™ Pro, Bigz XL, Bigz or Originals™ Dies
with Crease Rule*
1. Place a die on a Cutting Pad with foam side up. Place paper or desired material
to be cut on top of the die. Place the Premium Crease Pad on top of the paper
or material to create a “sandwich” (Figure C). *A Mylar Shim may be necessary;
see Troubleshooting Solutions on page 12.*
2. Place “sandwich” on top of the Adapter Pad in the Sliding Tray.
3. Follow Steps 3–5 in Operating Instructions, page 5.
Figure C
Material
Die
“Sandwich”
Sliding Tray
Cutting Pad
Premium Crease Pad
Mylar Shim
Using Framelits™, Thinlits™, Triplits™ or Wafer-Thin Dies
1. Place material to be cut on top of a Cutting Pad. Align die on top of material
as desired. Place Cutting Pad on top of die to create a“sandwich”(Figure D).
2. Place “sandwich” on Big Shot™ Pro Solo Platform, Solo Shim and Solo Thin-Die
Adapter (all sold separately) and place on top of the Adapter Pad in the
Sliding Tray.
3. Follow Steps 3–5 in Operating Instructions, page 5.
Figure D
Paper
Die
Cutting Pad
Cutting Pad
“Sandwich”
Sliding Tray Solo Platform
Solo Shim
Solo Thin-
Die Adapter
Adapter Pad
Adapter Pad

7
Using Embossing Folders, Embosslits™ or DecoEmboss™ Dies
1. With Textured Impressions™ Embossing Folder or Embosslits or DecoEmboss
Die open, insert paper, foil or other embossable material, then close like a
book. Place Standard Cutting Pads above and below the closed Folder to
create a “sandwich.”
2. Place “sandwich” on Big Shot Pro Solo Platform and Solo Shim (sold separately)
(Figure F) and place on top of the Adapter Pad in the Sliding Tray.
3. Follow Steps 3–5 in Operating Instructions, page 5.
Using Sizzix® Sizzlits® or DecoEtch™ Dies
1. Place a Sizzlits Die onto a Standard Cutting Pad with foam side up. Place
material over the die. Place another Standard Cutting Pad over the paper or
material to create a “sandwich.”
2. Place“sandwich”on Big Shot™ Pro Solo Platform and Solo Shim (sold separately)
and place on top of the Adapter Pad in the Sliding Tray (Figure E).
3. Follow Steps 3–5 in Operating Instructions, page 5.
Figure E
Figure F
Textured Impressions
Embossing Folder
Cutting Pad
Cutting Pad
Material
Die
Cutting Pad
“Sandwich”
Sliding Tray Solo Platform
Solo Shim
Cutting Pad
Material
Textured Impressions
Embossing Folder Solo Platform
Solo Shim
Adapter Pad
Adapter Pad

8
Using a single sheet of pape
r
Using Textured Impressions™ Plus Embossing Folders
1. With Textured Impressions Plus Embossing Folders, insert paper, foil or other
embossable material, then close like a book. Place Standard Cutting Pads
above and below the closed Folder to create a “sandwich.”
2. Place “sandwich” on Big Shot™ Pro Solo Platform (sold separately) (Figure G)
and place on top of the Adapter Pad in the Sliding Tray.
3. Follow Steps 3–5 in Operating Instructions, page 5.
Using Ellison® SureCut™ or Ellison Custom Dies
1. Ellison SureCut Dies can be used in the Sizzix® Big Shot Pro Machine without
the Adapter Pad, as they are thicker than Sizzix Bigz™ Dies.
2. Place SureCut Dies directly on the metal Sliding Tray, rubber side facing up.
Place material to be cut against the rubber side of the die, then place one
Cutting Pad on top of the material (Figure I).
3. Follow Steps 3–5 in Operating Instructions, page 5.
Figure G
Compatible with many brands’large format embossing folders
Solo Platform
Adapter Pad
Cutting Pad
Textured Impressions Plus
Embossing Folder
Textured Impressions Plus
Embossing Folder
8 1/4" x 11 3/4"
(21.00cm x 29.70cm)
Cutting Pad
Figure I
Cutting Pad
Material
Die

9
Premium Crease Pad
Paper
Die
Using Ellison® SureCut™ Crease-Rule Dies
1. Ellison SureCut Crease-Rule Dies can be used in the Sizzix® Big Shot Pro
Machine without the Adapter Pad, as they are thicker than Sizzix Bigz™ Dies.
2. Place SureCut Crease-Rule Dies directly on the metal Sliding Tray, rubber side
facing up. Place material to be cut against the rubber side of the die, then
place one Premium Crease Pad on top of the material (Figure J).
3. Follow Steps 3–5 in Operating Instructions, page 5.
Figure J

10
1. Dies perform better when they are placed rubber side up on the Sliding Tray.
2. When cutting delicate or thin materials, place a scrap of paper over the
material to be cut.
3. For your convenience, use dies with appropriately sized Cutting Pads.
See Die and Accessory Compatibility Table on page 14.
4. For easier cutting, place dies on Tray diagonally.
5. Use the Big Shot™ Pro Machine to cut a variety of different materials.
See Materials Guide on page 13 for suggestions.
6. Fewer sheets of material should be used when cutting very complicated shapes.
7. When cutting felt, poly foam or delicate materials, place a scrap of paper over
the material to be cut.
8. Use of Premium Crease Pad is required with Crease-Rule Dies.
9. Use only one sheet of material with Crease-Rule Dies.
10. If crease rule is cutting through the material rather than creasing the
material, place the die and material to be cut on the Adapter Pad diagonally
(as size allows) and then cut.
11. It is important to use the Die Pick (included with the Big Shot Pro) to clean
out the bits of paper and other material that build up in the joints of the dies
(where the cutting rule meets). If dies are not kept clean, the scraps will
eventually push the rule slightly apart.
12. If die does not completely cut through material, add a Mylar Shim directly
below die to increase cutting pressure on material. Two Mylar Shims are
provided with the Machine. Add one Shim to the “sandwich” first, and if die
still does not cut through material, use another Shim.
5. Help & Hints

11
Keeping Dies Clean
It is important to use the Die Pick (included with the Big Shot™ Pro) to clean out
the bits of paper and other materials that build up in the joints of the dies (where
the cutting rule meets). If dies are not kept clean, the scraps will eventually push
the rule slightly apart.
Cleaning Your Machine
Over time and due to normal use, the Machine will become dirty or dusty. This will
happen primarily in the Storage Well underneath the Sliding Tray. To clean, use
only isopropyl alcohol (rubbing alcohol) poured onto a clean paper towel and rub
over Storage Well until it evaporates. With another clean dry paper towel, wipe off
any residue. NEVER use bleach or abrasive cleaners on the Machine. The Machine
DOES NOT need to be oiled or lubricated.
6. Maintenance
Recognizing Worn Plastic Slides
After extended use, the Plastic Slides on the Side Rails may show signs of wear.
All four Plastic Slides should be replaced at the same time to ensure even wear
in the future.
Replacing Plastic Slides
• Remove the worn Plastic Slide with a thin putty knife or artist’s spatula. Gently
pry the Slide away from the Side Rail, popping the Slide out of the three holes
in the Side Rail.
• Use a damp cloth moistened with rubbing alcohol to wipe the rails where the
new Slides will be inserted (Figure L). The surface beneath the Slide must be
completely free of debris or residue that would prevent the Slide from lying
flat on the Side Rail.
• Remove adhesive paper backing from Slide. Line up the three pegs on the
Slide with the three holes in the Side Rail and gently press the pegs into the
holes (Figure M). Once the pegs are nearly all the way into position in the
holes, press down and in on the flat upper surface of the Plastic Slide. The
Slide should snap into its final position. Follow the same steps for each of the
remaining Plastic Slides.
Figure L
Side Rail
Plastic Slide
Figure M

12
1. When cutting multiple sheets of material, the cutting is incomplete.
It may be necessary to use fewer sheets of material with intricate shapes. Add
a Mylar Shim directly below die to increase cutting pressure on material. Two
Mylar Shims are provided with the Machine. Add one Shim to the “sandwich”
first, and if die still does not cut through material, use another Shim.
2. The Sliding Tray appears warped or does not slide smoothly.
Sliding Tray (part #656254) may need to be replaced. Contact Sizzix® Customer
Relations for ordering information.
3. When rolling the“sandwich”through the Machine, only the top Cutting or
Crease Pad moves.
Slide the “sandwich” toward the back of the Sliding Tray with the first inch of
the top Cutting or Crease Pad overhanging the “sandwich,” on the side closest
the rollers. Turn the handle, allowing the Cutting or Crease Pad to pass
through the rollers first, acting as a wedge so the rest of the “sandwich”
can pass through.
4. When using Crease-Rule Dies, the crease rule cuts through the material
rather than creasing the material.
Use of Premium Crease Pad is required with Crease-Rule Dies. For easier
cutting, place the die and material to be cut on the Sliding Tray diagonally
(as die size allows) and then turn the Crank Handle to move the die through
the rollers.
5. Rubber does not eject all parts of the cut material.
Use the Die Pick to remove excess material after each use.
7. Troubleshooting Solutions

13
As a general rule, the Big Shot™ Pro Machine will cut anything that scissors will
cut. The number of pieces of material that it will cut depends on the thickness of
the material to be cut and the size and complexity of the die design.
• When cutting felt, poly foam or delicate materials, place a scrap of paper over
the material to be cut.
• It may be necessary to use fewer sheets of material with intricate shapes.
• Use only one sheet of material when cutting with a Crease-Rule Die.
8. Materials Guide
Leather
Magnet, Flexible Sheets
Magnet, Self-Adhesive
Mat Board
PaperWood
Personalized Embossing Plastic (PEP)
Plastic, Shrink Film
Poly Foam
Poster Board
Quilt Batting
RuffleBoard
Rubber, Self-Adhesive
Sandpaper, Fine 00 (paper side up);
limit usage, can wear rule on die
Shelving Paper, Adhesive
Shiny Paper, Self-Adhesive
Shrink Film
Sponge, Pop-Up
Tag Board
Tin .008
Tissue, Laminated
Vellum Paper
Vinyl, Static Cling
Wallpaper
Wool
Aluminum .016"
Balsa Wood 3/32"
Basswood
Brass .005"
Bubble Wrap
Butcher Paper
Cardstock/Cover Stock
Cardstock, Laminated
Chipboard
Construction Paper
Construction Paper, Laminated
Copier Paper
Cork, Self-Adhesive 1/8"
Decorator Foil
Embossing Rubber
Fabric (Cotton, Linen, etc., as many
pieces as will fit with a piece of paper)
Fabric, Iron-On
Felt (as many pieces as will fit with a
piece of paper)
Felt, Self-Adhesive
Fun Foam
Funky Film
Funky Fur
Gift Wrap

14
9. Die and Accessory Compatibility Table
Bigz Pro,
Movers & Shapers Pro
Bigz XL,
Movers & Shapers XL
(Crease Rule)
Bigz XL,
Movers & Shapers XL
(no Crease Rule)
Bigz (Crease Rule)
Bigz (no Crease Rule),
Originals
Sizzlits, Framelits,
Thinlits, Triplits
Textured Impressions Plus
Textured Impressions,
Embosslits
Ellison SureCut/
Custom Dies
Big Shot Pro
Adapter Pad
Big Shot Pro
Standard
Cutting Pad
Big Shot Pro
Standard
Premium
Crease Pad
Extended
Standard
Cutting Pads
Extended
Premium
Crease Pad
Big Shot/
BIGkick
Standard
Cutting Pads
Big Shot/
BIGkick
Standard
Crease Pad
Big Shot Pro
Solo Shim &
Platform
•
•
•
•
•
•
•
•
•
(•)
(•)
•
• (XL, EW) •
•
(•)
(•)
•
•
• • (DC)
•
•
•
•
•
• • (LG, SM, TY)
•
•
•
•

15
9. Die and Accessory Compatibility Table
Sizzix® Big Shot™ Pro Limited 3-Year Warranty
This product comes with a limited warranty. Visit website listed below for details:
North, Central and South America:
sizzix.com/warranties
Europe, Australia/Oceania, Asia, Middle East and Africa:
sizzix.co.uk/warranties
China:
sizzix.cn/warranties
How Do You Get Warranty Service?
If you believe that there is a manufacturing defect in your Product during the
warranty period, contact Sizzix Customer Relations at the following telephone
number or website:
North, Central and
South America:
sizzix.com
866-742-4447 toll-free in USA
949-598-5897 outside USA
A Return Authorization (RA), along with shipping information, will be issued.
Following a determination by Sizzix that a fault covered by this warranty may
have occurred, Sizzix will: (a) ship you replacement parts or (b) ship you a
replacement Product. Product not covered by this warranty will be returned
at your expense.
Sizzix and Ellison® Die Limited Warranties
Visit sizzix.com/warranties, sizzix.co.uk/warranties or ellisoneducation.com/
warranties for details.
10. Warranties
Europe, Australia/Oceania, Asia,
Middle East, Africa and China:
sizzix.co.uk
0871 222 2277 within UK
+44 (0) 845 345 2277 outside UK

French 18
Spanish 24
Italian 30
Russian 36
German 42
Portuguese 48
11. Instructions in Other Languages
Instruction Booklet

18
French
Sizzix® Big Shot™ Pro Livret d’instructions
CONSIGNES DE SÉCURITÉ IMPORTANTES
CONSERVEZ CES INSTRUCTIONS
Les conserver dans un des casiers de rangement situés sous la plaque mobile.
AVERTISSEMENT : Lisez et assurez-vous de comprendre toutes les instructions
avant d’utiliser l’appareil Big Shot Pro.
Lors de l’utilisation de ce produit, il faut toujours respecter certaines précautions
élémentaires, notamment et de façon non exhaustive:
• Cet appareil doit toujours être placé et utilisé sur une surface propre, plane,
robuste et antidérapante (table épaisse ou établi). Aucune partie de l’appareil ne
doit dépasser les bords de la surface de travail.
• Pour réduire le risque de blessure, il est nécessaire d’effectuer une surveillance
stricte lorsque le Big Shot Pro est utilisé à proximité d’un enfant.
• Déconseillé pour les enfants de moins de 14 ans.
• Utiliser uniquement les pièces et accessoires recommandés par le fabricant de
votre machine de découpage Big Shot Pro.
• Ne pas l’utiliser à l’extérieur.
• Risque de pincement. Éviter tout contact des mains, doigts et vêtements avec
les rouleaux.
• Ne pas surcharger l’appareil. Voir le Guide des matériaux (page 13).
• Risque de coupure. Ne pas toucher la lame des matrices.
• Utiliser uniquement le plateau mobile fourni avec votre appareil de découpe
Big Shot Pro. L’utilisation d’un autre type ou d’une autre marque risque
d’endommager la machine et les matrices.
• Transportez votre appareil de découpe Big Shot Pro en utilisant les poignées
moulées situées à chaque extrémité de la machine. Il est dangereux de soulever
la machine par toute autre partie.
1. Introduction
Le colis de l’appareil Big Shot Pro de Sizzix comprend tous les outils et pièces
nécessaires à son montage complet et à son fonctionnement. L’appareil Big Shot Pro
Machine coupera et gaufrera de nombreux matériaux grâce à la ligne complète de
matrices et d’outils de gaufrage Ellison® et Sizzix. Voir le Guide des matériaux (page
13) pour plus de précisions. Quand elles ne servent pas, placez les matrices dans les
Solutions de stockage Ellison et Sizzix (vendues séparément).
2. Positionnement de l’appareil
Placer le Big Shot Pro sur une surface lisse, horizontale et antidérapante à une hauteur
confortable pour l’utilisateur. Aucune partie de l’appareil ne doit dépasser des bords
de la surface de travail.
3. Installation du Big Shot Pro
Pièces incluses :
(1) Manivelle, 1 (2) Rondelle de blocage, 1 (3) Vis, 1 (4) Cache pour vis, 1 (5) Plateau
coulissant, 1 (6) Tapis de découpe, 1 (7) Plaque d’adaptation, 1 (8) Plaque à filet raineur
Premium Crease, 1 (9) Cale en mylar (0,1 mm), 2
Outils nécessaires :
Clé Allen hexagonale de 3 mm (incluse), Pique pour matrice (incluse)

19
Insertion du plateau mobile et de la plaque d’adaptation
AVERTISSEMENT : L’appareil Big Shot™ Pro est très lourd. Faire très attention et
preuve de prudence lors de sa manipulation. Il est conseillé de se faire aider pour
cette manipulation à chaque fois que possible.
1. Retirez l’appareil Big Shot Pro de son emballage et placez-le sur une surface pro
pre, plane, robuste et antidérapante. Faire attention en soulevant l’appareil hors de
son carton car il pèse 13,6 kg (30 lb).
2. Sortir le plateau mobile du fond du carton. Placer le plateau mobile sur les rails
latéraux. Pour une découpe avec les plaques de découpe Sizzix®, placer la plaque
d’adaptation dans le plateau coulissant.
3. Le plateau coulissant peut maintenant se déplacer dans les deux sens à travers
l’appareil.
Fixation de la manivelle
1. Faire glisser la rondelle de blocage (pièce 2) sur la vis (pièce 3) et les faire entrer
dans le trou situé au sommet de la manivelle (pièce 1).
2. Pousser l’ensemble de la manivelle par dessus l’axe carré du rouleau dépassant
de l’appareil Big Shot Pro. Insérer la clé Allen dans la vis (pièce 3) à serrer. Tourner
dans le sens (figure A). Serrer la vis autart que possible pour assurer une pression
maximale.
3. Enfoncer à sa place le cache de la vis (pièce 4).
4. Mode d’emploi
Voir le tableau de compatibilité des matrices et accessoires, page 14
Utilisation de n’importe quelle taille de matrice Sizzix Bigz™, Originals™ ou
On the Edge™ sans filet raineur*
1. Placer une matrice sur un tapis de découpe standard. Mettre le tissu ou le matériau
à découper sur la matrice. Placer la plaque à filet raineur Standard Premium sur le
tissu ou sur le matériau pour créer une sorte de « sandwich » (figure B).
2. Placer le « sandwich » sur le dessus de la plaque d’adaptation, dans le plateau mobile.
3. Pousser le plateau mobile dans l’ouverture de l’appareil Big Shot Pro. Garder les
mains à distance du rouleau et des matrices quand la machine fonctionne.
AVERTISSEMENT : Risque de pincement et de coupure. Éviter tout contact
des mains, doigts et vêtements avec les rouleaux et les matrices pendant le
fonctionnement de la machine.
4. Noter le mouvement de rotation de la manivelle et continuer de tourner celle-ci
dans le même sens jusqu’à ce que le « sandwich » ait terminé sa course entre les
rouleaux. Les matrices peuvent passer dans les rouleaux dans les deux sens, de l a
gauche ou de la droite.
5. Retirer le « sandwich » du Big Shot Pro. Vos formes prédécoupées sont prêtes à
l’emploi !
*Une matrice à filet raineur est similaire à une matrice Bigz normale (filet en fer). Elle
diffère toutefois par la présence d’une bande coupante (aiguisée) et d’un filet raineur
(émoussé).
Utilisation de matrices Sizzix Bigz Pro, Bigz XL, Bigz ou Originals avec un filet
raineur*
1. Mettre une matrice sur un tapis de découpe avec le côté en mousse vers le haut.
Mettre le papier ou le matériau à découper sur la matrice. Placer la plaque à filet
raineur Premium Crease sur le papier ou sur le matériau pour créer une sorte
de « sandwich » (figure C). Une cale un mylar (vendue séparément) peut êtree
nécessaire, voir le dépannage à la page 22.

20
2. Placer le « sandwich » sur le dessus de la plaque d’adaptation, dans le plateau mobile.
3. Suivez les étapes 3 à 5 du Mode d’emploi, page 19.
Utilisation de matrices Framelits™, Thinlits™, Triplits™ ou Minces
1. Mettre le matériau à découper sur un tapis de découpe standard. Aligner la
matrice sur le dessus de la matériau comme souhaiter. Mettre le tapis de découpe
sur la matrice pour créer une sorte de « sandwich » (figure D).
2. Placer le « sandwich » sur un plateforme Big Shot™ Pro Solo, une cale en Solo et
une àdaptacur pour poinçons minces Solo (tous vendue séparément) set les placer
sur la plaque d’adaptation, dans le plateau mobile.
3. Suivez les étapes 3 à 5 du Mode d’emploi, page 19.
Utilisation de matrices Sizzix® Sizzlits® ou DecoEtch™
1. Mettre une matrice Sizzlits sur un tapis de découpe standard avec le côté en
mousse vers le haut. Mettre le papier sur la matrice. Mettre un autre tapis de
découpe standard sur le papier ou le matériau pour créer une sorte de « sandwich ».
2. Mettre le « sandwich » sur une plateforme Big Shot Pro Solo et une cale en Solo
(vendue séparément) et les placer sur la plaque d’adaptation, dans le plateau
mobile (figure E).
3. Suivez les étapes 3 à 5 du Mode d’emploi, page 19.
Utilisation des pochettes de gaufrage, Embosslits™ ou DecoEmboss™
1. La pochette de gaufrage Textured Impressions™ ou Embosslits ou DecoEmboss,
insérer le papier, la feuille d’aluminium ou tout autre matériau gaufrable, puis
refermer comme un livre. Mettre des tapis de découpe standards sur et sous la
pochette fermée pour créer une sorte de « sandwich ».
2. Mettre le « sandwich » sur une plateforme Big Shot Pro Solo et une cale en Solo
(vendue séparément) (figure F) et les placer sur la plaque d’adaptation, dans le
plateau mobile.
3. Suivez les étapes 3 à 5 du Mode d’emploi, page 19.
Utilisation des pochettes de gaufrage Textured Impressions Plus
1. La pochette de gaufrage Textured Impressions Plus, insérer le papier, la feuille
d’aluminium ou tout autre matériau gaufrable, puis refermer comme un livre.
Mettre des tapis de découpe standards sur et sous la pochette fermée pour créer
une sorte de « sandwich ».
2. Mettre le « sandwich » sur une plateforme Big Shot Pro Solo (vendue séparément)
(figure G) et les placer sur la plaque d’adaptation, dans le plateau mobile.
3. Suivez les étapes 3 à 5 du Mode d’emploi, page 19.
Utilisation des matrices Ellison® SureCut™
1. Les matrices Ellison SureCut peuvent être utilisées avec l’appareil Big Shot Pro
Sizzix sans plaque d’adaptation car elles sont plus épaisses que les matrices Bigz™
Sizzix.
2. Mettre les matrices SureCut directement sur le plateau mobile en métal, le
côté caoutchouc vers le haut. Mettre le matériau à découper contre le côté en
caoutchouc de la matrice puis placer un tapis de découpe sur le matériau (figure I).
3. Suivez les étapes 3 à 5 du Mode d’emploi, page 19.
Utilisation des matrices Ellison SureCut á filet raineur
1. Les matrices Ellison SureCut à filet raineur peuvent être utilisées avec l’appareil
Big Shot Pro Sizzix sans plaque d’adaptation car elles sont plus épaisses que les
matrices Bigz Sizzix.
2. Mettre les matrices SureCut à filet raineur directement sur le plateau mobile en
métal, le côté caoutchouc vers le haut. Mettre le matériau à découper contre le
côté en caoutchouc de la matrice puis placer la plaque à filet raineur Premium sur
le matériau (figure J).
3. Suivez les étapes 3 à 5 du Mode d’emploi, page 19.
Table of contents
Other SIZZIX Cutter manuals

SIZZIX
SIZZIX Big Shot User manual

SIZZIX
SIZZIX 660425 User manual

SIZZIX
SIZZIX Eclips User manual

SIZZIX
SIZZIX Sidekick User manual

SIZZIX
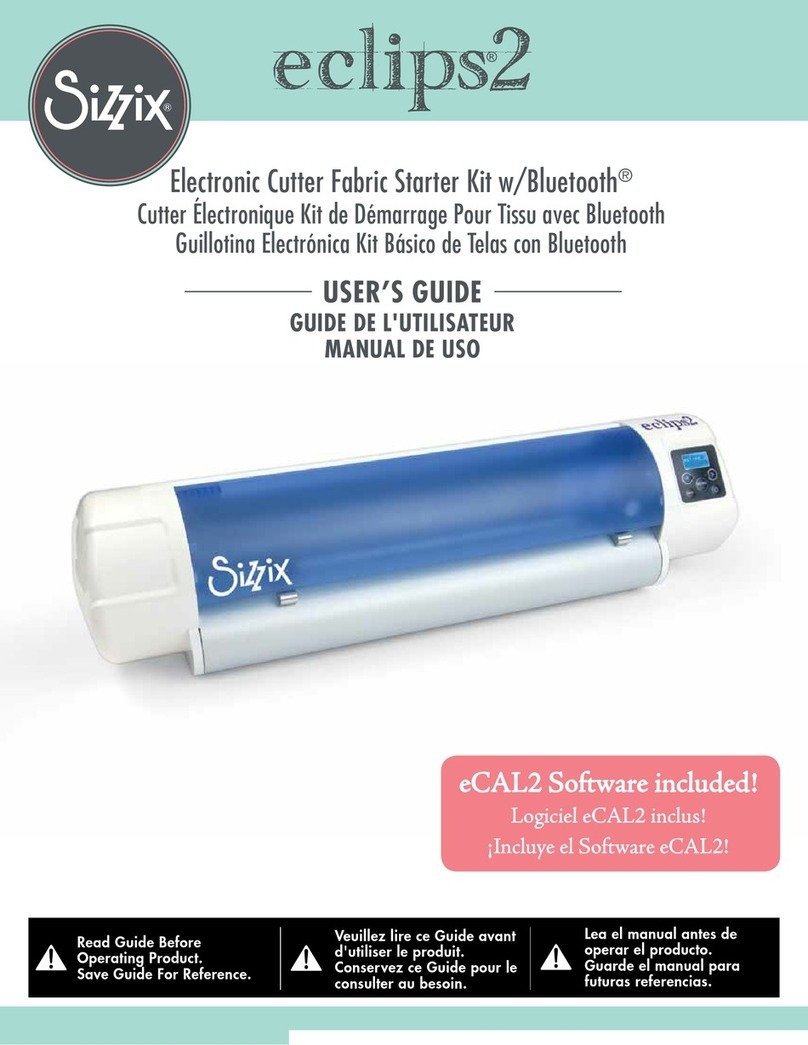
SIZZIX eclips2 User manual

SIZZIX
SIZZIX BigKick User manual

SIZZIX
SIZZIX Big Shot Machin User manual

SIZZIX
SIZZIX Eclips User manual

SIZZIX
SIZZIX 660855 User manual

SIZZIX
SIZZIX eclips Tim Holtz Alterations Stamp2Cut No. 7 User manual
Popular Cutter manuals by other brands

Makita
Makita JS1000 instruction manual

Kermi
Kermi x-net connect Installation and operating instructions

Matco Tools
Matco Tools MT1875 Operating instructions, warning information, parts breakdown

Esko
Esko Kongsberg XE Technical manual

Powermate
Powermate 024-0089 instruction manual

Bendof
Bendof NB-12MV instruction manual