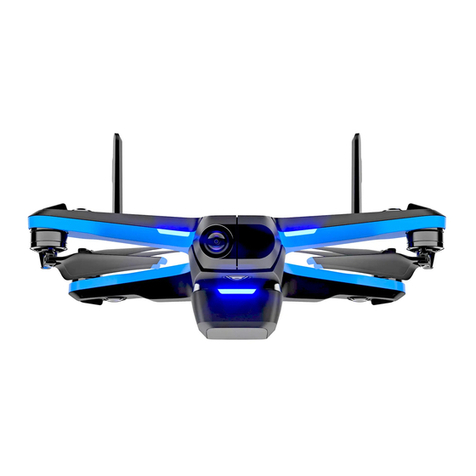
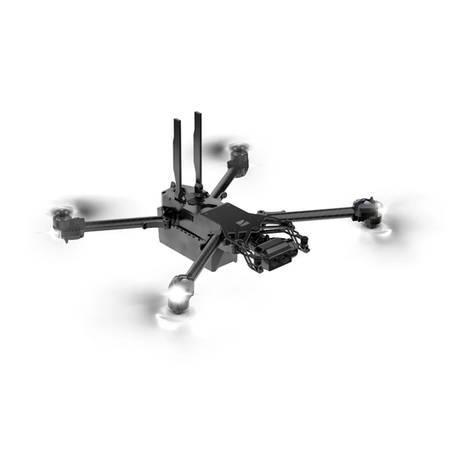
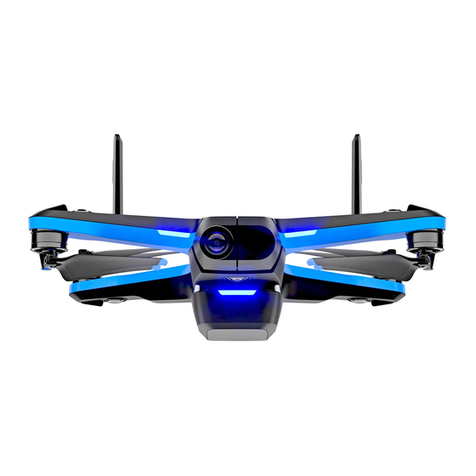
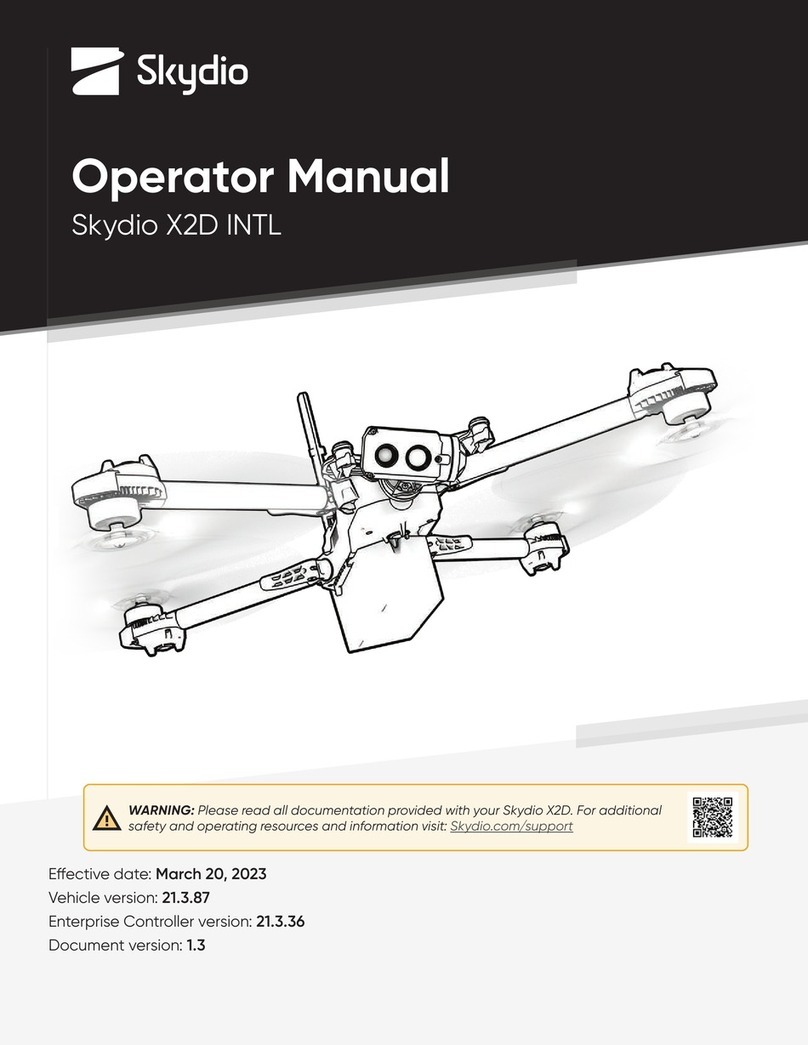
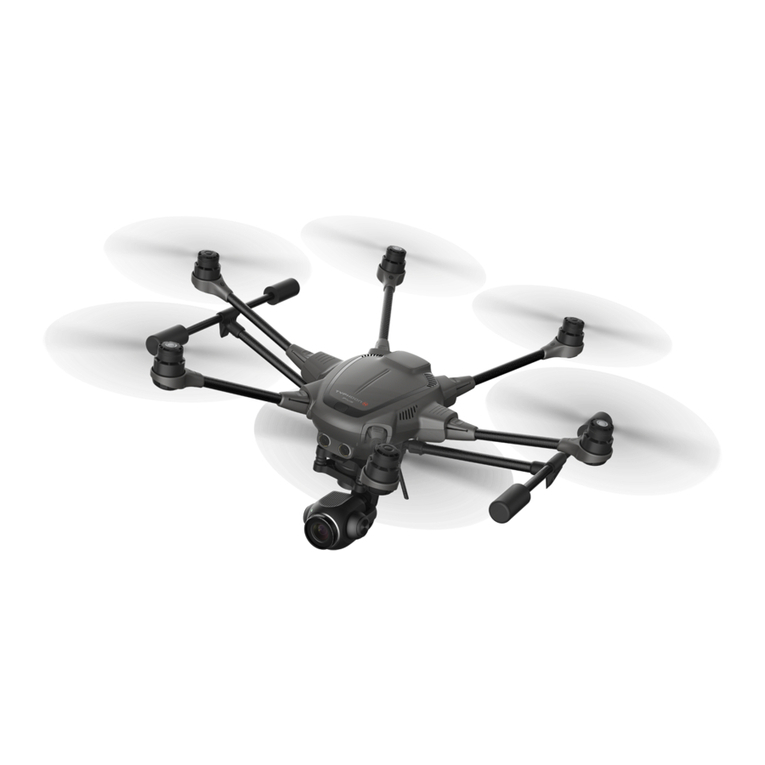
Skydio Skydio X2 User manual

This document contains instructions from the original product manufacturer Skydio, Inc.

Contents
Overview
Skydio X2 and Accessories.......................................................... 1
Skydio Hardware .......................................................................2-4
Skydio Enterprise Controller....................................................... 5
Skydio Autonomy Enterprise .......................................................6
Safety
Safety Guidelines ...........................................................................7
Flying Safely..................................................................................... 8
Getting Started
Charging batteries.........................................................................9
Charging Enterprise Controller ................................................10
Deploy Skydio X2..................................................................... 11-12
Activate Enterprise Controller..................................................13
Pair devices ....................................................................................15
Updates ...........................................................................................15
Pre-flight
Channel selection ........................................................................16
Configure maps ............................................................................ 17
Plan Waypoint Mission................................................................18
Configure Drone settings..................................................... 19-21
Configure Controller settings ............................................22-24
Flight controls................................................................................ 25
Inspection....................................................................................... 26
Flight
First flight ........................................................................................ 27
Launch.......................................................................................27-28
Flight screen .................................................................................. 29
Connection status....................................................................... 29
Battery indicator..........................................................................30
Camera settings ...........................................................................31
Recording indicators ...................................................................31
Zoom ..........................................................................................32-34
Map View........................................................................................ 35

Contents
Manual Skill.................................................................................... 36
Orbit Point Skill.............................................................................. 37
Track in Place Skill........................................................................ 38
Waypoint Skill ........................................................................39-40
keyFrame Skill................................................................................. 41
GPS Night Flight ....................................................................42-44
Return to Home ............................................................................45
Visual return...................................................................................46
Land ...........................................................................................47-48
Post-flight
Reviewing and ooading media........................................... 49
Dismantle Skydio X2 ...................................................................50
Emergency Behaviors
Lost connection ............................................................................51
Lost GPS...........................................................................................51
Low battery ................................................................................... 52
Emergency landing..................................................................... 52
View Last Flight............................................................................. 52
Maintenance
Battery safety guidelines ......................................................... 53
Updating Skydio X2 ....................................................................54
Updating Skydio Enterprise Controller................................. 55
Tighten arm clamps..............................................................56-57
Replace propeller blades..................................................58-60
Replace hard stops .............................................................. 61-63
Format memory cards ........................................................ 64-65
Export flight logs.......................................................................... 66
Upload flight logs .........................................................................67
Troubleshooting
Resetting Skydio X2.................................................................... 68
Resetting Skydio Enterprise Controller................................. 69
Weak signal................................................................................... 69
Specifications 70-73
Legal 74-75

1Skydio X2 Color/Thermal - Operator Manual © 2022 Skydio, Inc. All rights reserved.
1. Skydio X2 drone
2. Skydio Enterprise Controller
3. Controller neck strap and bracket
4. Battery
5. Dual Charger
6. 256GB SD cards (pre-installed)
7. Tactical soft case
8. Admin hard shell case
9. 100 W adapter and cable
10. 65 W Adapter
11. USB-C cable
12. Microfiber cloth
13. X2 Propeller Kit
CW (6) CCW (6) screws (12)
14. Torque driver
15. T3 driver
16. Hard stops and screws
1
4
7
2
5
8
3
6
9
10 11
14
15
13
16
12
Overview
Skydio X2 and Accessories

2Skydio X2 Color/Thermal - Operator Manual © 2022 Skydio, Inc. All rights reserved.
1. Chassis
2. Navigation camera (6)
3. Camera gimbal
4. Motor pod (4)
RGB/IR/Strobe navigation lights
5. Propeller hub
6. Propeller blades
clockwise (6) counter-clockwise (6)
7. Arm (4)
8. Arm clamp (4)
9. Antenna(s)
4
10.microSD card ports & seal
11. USB-C port & seal
12. Cooling outlet (2)
do not cover
13. Hard stop (4)
14.Battery
15. Gimbal isolator (3)
16. Power button
17. Payload bay
Overview
Skydio Hardware
13
16
11
14
15
12
17

3Skydio X2 Color/Thermal - Operator Manual © 2022 Skydio, Inc. All rights reserved.
17. Color camera
18. Thermal camera
19. Gimbal pitch motor
20. Gimbal roll motor
21. Cooling inlet
22. Skydio X2 label
23. Antennas
Skydio X2E is available two camera variations:
24. Color Electro-Optical Camera only
25. Color Electro-Optical and Thermal Infrared Camera
Overview
Skydio Hardware
22
19 20
21
17
CAUTION: Skydio X2 is not weatherproof. Do not operate in any precipitation, including rain, fog, snow, or similar
environments. Do not rest in sand, dirt or on similar terrain where particles can get trapped in the fan.
18 23
Skydio Cloud
Your Skydio Enterprise account needs to be set-up in Skydio Cloud. For step-by-step instructions visit:
Getting Started with Skydio Cloud
2524

4Skydio X2 Color/Thermal - Operator Manual © 2022 Skydio, Inc. All rights reserved.
Payload Bay
The Skydio X2 payload bay interface is located on the top of the drone and consists of an indented area with
recessed USB Type-C electrical interface receptacle, weatherproof cover, and 4 recessed mounting nuts. The
payload bay is designed to accommodate third-party payloads with the following limitations:
• size not to exceed dimensions: 1.75”(L) X 1”(H) X 2”(W)
• weight not exceed: 200 grams
• power not to exceed: 15 Watts
Payloads should be securely mounted to the X2 with no dangling parts or wires. Payload mass should be roughly
evenly distributed, and stay within the payload bay area. Loose parts or wires may cause propeller strikes or
obstruct the navigation system resulting in loss of flight control.
Line of sight - payloads that obstruct the field of view of the navigation system may result in failure to take o,
erratic flight, crashes, and fly-aways.
Flight time - any payload added to the vehicle will decrease the flight time. The closer the weight gets to 200
grams the shorter the flight time will be.
Range - payloads that obstruct the antenna may cause degraded range, sudden loss of connection, slow or
unresponsive controls.
Signal - payloads that emit a wireless signal may cause degraded range, sudden loss of connection, slow or
unresponsive controls.
GPS antenna - payloads may interfere with the GPS antenna resulting in poor GPS positioning, and aect
features such as Waypoints, GPS Night Flight and Height Ceiling.
Altitude - added weight and lower air density may result in slow or unresponsive flight controls. High altitude
flight with a payload is not recommended.
Flight Limitations
WARNING: Third-party payloads may result in degraded flight time, wireless range, altitude, GPS performance, and
general flight performance
NOTE: Powering the vehicle from a payload is not supported
Overview

5Skydio X2 Color/Thermal - Operator Manual © 2022 Skydio, Inc. All rights reserved.
4
7
2
5 86 9
12
11
10
1
3
14 16
1817
13 15
22
21
20
19
Overview
Skydio Enterprise Controller
1. Left joystick
2. Right joystick
3. Menu/back button
4. Directional pad (D-pad)
5. C1 Button - toggle Obstacle Avoidance
6. C2 Button - toggle lights
7. Return to Home (RTH) button
8. Power button
9. Launch/Land button
10.Pause button
11. Controller clamshell embedded antennas
12. User interface screen
13. R1 button - shutter/record
14.Right wheel - zoom
15. L1 button - boost
16. Left wheel - gimbal tilt
17. R2 button - Programmable*
toggle map (default)
18. L2 button - Programmable*
color to thermal camera (default)
19. Reset button
20. USB-C port
21. Cooling fan
22. Neck strap/tripod (¼-20 mount)
CAUTION: Skydio Enterprise Controller is not weatherproof. Do not operate in any precipitation, including rain, fog,
snow, or similar environments. Do not rest the controller in sand, dirt or on similar terrain where particles can get
trapped in the fan. Do not use batteries if the magnets or connector pins are damaged.
* To change L2 and R2 Select Device Settings
> Controller > Custom Functions:
• Toggle Map
• Toggle thermal or color camera
• Select close, minimal, disabled Obstacle
Avoidance
• No Function
• Restore Defaults

6Skydio X2 Color/Thermal - Operator Manual © 2022 Skydio, Inc. All rights reserved.
Feature Description Main use cases Key benefits
Close Proximity
Obstacle Avoidance
The drone can fly closer to
obstacles.
Close (~11”, 28 cm)
Minimal (~4”, 10 cm)
Disabled
Standard (~34”, 86 cm)
(out-of-the-box with X2)
• Situational awareness
• Inspection
Allows closer flight for indoor
navigation e.g. through large
doorways and up-close
inspection of detailed assets
Visual
Return-to-Home
Ability to RTH purely using visual
wayfinding when flying in GPS
denied environments
• Situational awareness
• Inspection
Provides robust and safe RTH
in high-RF or GPS-denied
environments (e.g below
bridges)
Superzoom Blends the six 4K navigation
cameras to create an omni-
directional view. Allows the
user to zoom digitally with
algorithmic image stabilization
• Situational awareness See farther, and in all
directions without moving the
drone - reduces pilot cognitive
load
Point-of-Interest
Orbit
Drone will navigate itself while
revolving around a user-defined
point on a map
• Situational awareness Enables surveillance and
overwatch of any structure or
locale
Track-in-place Ability to visually track a car
or person from a fixed position
from farther away
• Situational awareness Enables covert surveillance
from farther stando distances
Vertical View Gimbal can vertically look
straight up above the drone
• Inspection Allows for overhung
inspections such as ceilings,
bridges, and canopies
Overview
Skydio Autonomy Enterprise Features

7Skydio X2 Color/Thermal - Operator Manual © 2022 Skydio, Inc. All rights reserved.
Safety Guidelines
Safety
Check your propellers for damage
before flying.
Follow all civil aviation authority
regulations, as well as any applicable
local and federal laws
Clean all of the cameras so
Skydio X2 can see clearly.
Keep your fingers away from
moving propellers at all times.
Skydio X2 does not avoid moving
objects or cars.
Skydio X2 is not weatherproof –
don’t fly in rain, snow, fog, high
winds, etc.
Use caution around reflective
surfaces (still water, mirrors, etc.) and
small obstacles (thin branches, utility
lines, ropes, chain link fencing, etc.)
Before flying over water, ensure your
drone has GPS lock. Launch and
land your drone over a dry surface.
Skydio X2 obstacle avoidance is o
during GPS Night Flight mode and can
be impaired when in low light & poor
visibility. Fly with extreme caution
under these conditions.

8Skydio X2 Color/Thermal - Operator Manual © 2022 Skydio, Inc. All rights reserved.
Safety
Flying Safely
Pre-flight
• Ensure that all of the camera lenses are dust and smudge-free prior to flight
• Inspect the battery magnets and connections for damage and debris prior to flight
• Inspect propeller blades for nicks, cracks, or other visible damage prior to flight
• Inspect the chassis for damage and debris prior to flight
• Ensure all 4 arms are fully deployed against the hard stops and arm clamps are fully seated prior to initiating
flight. Failure to do so may result in unstable flight and/or a loss of control. A moderate amount of force is required
to fully seat the clamp to the arm - if the arm clamp closes with low eort, damage has occurred within the hinge
and the drone should not be flown.
Environment
• Do not fly in precipitation, fog, or snow
• Fly with caution in low light, poor visibility, and nighttime conditions - obstacle avoidance is disabled.
• Do not fly in extremely hot temperatures above 109°F (43°C)
• Do not fly in extremely cold temperatures below 14°F (-10°C)
• When flying in temperatures below 32°F (0°C) ensure your batteries are pre-warmed to 50°F (10°C) prior to takeo
• Avoid windy weather conditions, or gusts above 23 mph (37 km/h)
• Do not fly over bodies of water more than 30 ft (3 m) across
• Do not fly around objects less than .5 in (1.27 cm) in diameter such as thin branches, utility lines, ropes, and/or net-
ting
• Do not fly around objects in motion such as cars, boats, balls, animals, or other drones
Warnings
• Fly cautiously around people
• Avoid transparent or reflective surfaces, windows, or mirrors greater than 23 in (58 cm) wide
• Avoid moving obstacles, cars, and animals
• The pilot in command (PIC) is responsible for managing altitude, range, and battery level and monitoring in-app
messages and alerts
• Avoid flight in low-light conditions
• Alert messages will display if Skydio X2 determines the environment is not safe for flight
• When instructed to do so, immediately fly Skydio X2 to the safest area and land
• Flying at high altitudes may significantly increase the time required to return and safely land
• Propeller blades are sharp—handle with care
• Skydio should not be used or handled by a person under the age of 18 years
Regulations
• Follow all civil aviation, such as the FAA or your countries regulatory agency, rules and regulations
• You are responsible for your Skydio X2 at all times, when operating your Skydio X2 check knowbeforeyoufly.org /
B4UFLY / CASA-verified before flying.
• Do not fly in an environment where the use of the device is not authorized or restricted.
• Keep your Skydio drone within visual line of sight at all times, unless you have received express permission to fly
beyond visual line of sight from a civil aviation authority such as the FAA.
INFO: Visit https://skydio.com/safety and https://skydio.com/support for more information, helpful tips,
videos, and articles.

9Skydio X2 Color/Thermal - Operator Manual © 2022 Skydio, Inc. All rights reserved.
Getting Started
Charging Batteries
The Skydio Dual Charger simultaneously provides current to two batteries. However, It will prioritize charging
the battery with the highest charge first—the excess input power will begin charging the second battery. Allow
approximately two hours to fully charge batteries.
Step 1 - Slide one or both batteries down the guard rails onto the dual charger
• magnets will engage to seat the battery
Step 2 - Connect the USB-C cable to the 100 W power adapter and the Dual Charger
Step 3 - Plug the power adapter into a 100-240 V power source
Using Skydio X2
Using the Skydio Dual Charger
Step 1 - Slide the battery into the battery tray until it is fully seated
Step 2 - Connect X2 using the USB-C cable and 100 W power adapter
Step 3 - Plug the power adapter into a 100-240 V power source
• X2 will power on
• battery lights will begin to flash
The current charge level is accessed by pressing the power button on the battery:
Battery Charge Levels
WARNING: Skydio X2 batteries are seated using magnets that may potentially attract metallic debris. Prior to
installing your battery, visually inspect the magnets and connector pins, to ensure that they are clean and free of
debris or damage. Do not use batteries if the magnets or connector pins are damaged.

10 Skydio X2 Color/Thermal - Operator Manual © 2022 Skydio, Inc. All rights reserved.
Getting Started
Charging Enterprise Controller
Step 1 - Connect the controller using the USB-C cable and the 65 W power adapter
(or an o-the-shelf 18 W or above power adapter)
Step 2 - Plug the power adapter into a 100-240 V power source
• flashing lights indicate charging
• the controller will power on and display the charge levels
• lights will remain solid blue for 1 minute and X2 will power o indicating that the charging is complete
Enterprise Controller Charge Levels
When the controller is powered on or charging, the lights on the front of the controller will indicate the current state
of charge. When the controller is powered o, you can view the state of charge by pressing the power button.
NOTE: The Skydio Enterprise Controller supports charging while in use, including flying X2.
WARNING: Do not fly when the Skydio Enterprise Controller battery is low. If the controller reaches low battery level
while in flight, pilot the drone to a safe location and land immediately.

11 Skydio X2 Color/Thermal - Operator Manual © 2022 Skydio, Inc. All rights reserved.
Getting Started
Deploy Skydio X2
WARNING: Propeller blades are sharp. Handle with care.
Step 1 - Release the 4 arm clamps
Step 2 - Lift the motor arms out and away from the body
• listen and feel for a click
• if you feel any resistance when opening the arms, push outward
(horizontally) on the arm to unseat
Step 3 - Return the 4 arm clamps to the locked position
• ensure that the blue marks align
Step 4 - Verify that the log and media memory cards are installed
1. Logs card (do not remove) – records logs and supports future updates
2. Media card – stores images and video

12 Skydio X2 Color/Thermal - Operator Manual © 2022 Skydio, Inc. All rights reserved.
Getting Started
Deploy Skydio X2
Step 5 - Slide the battery on to the rails towards the camera until the magnets engage
Step 6 - Gently push the antennas inward to release
• guide into a vertical position
Step 7 - Power on your Skydio X2
• press and hold the power button on the battery for 3 seconds
TIP: This is the suggested order of operations when deploying your X2 for the first time. It is not necessary to unfold the
arms and antennas prior to installing the battery and powering on the drone. On subsequent deployments insert the
battery and power on the aircraft first, then unfold the arms and antennas while the drone is booting up.

13 Skydio X2 Color/Thermal - Operator Manual © 2022 Skydio, Inc. All rights reserved.
Getting Started
Activate Enterprise Controller
WARNING: This password cannot be recovered or reset if forgotten! Ensure it is written down and stored in a safe
location. If the password is lost, the controller will no longer be usable and will need to be replaced.
Step 1 - Power on the controller
Step 2 - Read and accept Skydio purchase terms
Step 3 - Connect to the Internet
Step 4 - Enter your email address for verification
Step 5 - Retrieve the activation code from your email
Step 6 - Enter the code and select Next
Step 7 - Set a password for the controller (optional)
• to unlock the controller when powering on
• to wake the controller from a sleep state
Activation complete -
• a message will display prompting you to pair the controller with
your Skydio X2

14 Skydio X2 Color/Thermal - Operator Manual © 2022 Skydio, Inc. All rights reserved.
Step 1 - Power on X2 and Enterprise Controller
Step 2 - Connect the controller to X2 using the USB-C cable
• wait approximately 15 seconds
Step 3 - Verify that your Skydio X2 was paired
• select the INFO menu
• the drone name is listed under Paired Drone
Getting Started
Pair devices
Your Skydio X2 needs to be paired with the Enterprise Controller to fly.
NOTE: Skydio Enterprise Controller can only be paired with one drone at a time.

15 Skydio X2 Color/Thermal - Operator Manual © 2022 Skydio, Inc. All rights reserved.
Getting Started
Updates
Step 1 - Power on your X2 and the controller
Step 2 - Select the INFO menu
Step 3 - Select the X2 name under Paired Drone
Step 4 - Select Update
Step 5 - Follow the on-screen prompts
• install on the Enterprise Controller first
• install on the X2 second
• the lights on your X2 will flash during the update
Skydio Enterprise Controller screen will keep you
informed of the progress at every step
Before flying, ensure that your Skydio X2 and Skydio
Enterprise Controller are up-to-date. You can verify your
software versions in the following locations:
NOTE: Ensure that your account has been set-up in Skydio Cloud. For step-by-step instructions visit:
Getting Started with Skydio Cloud

16 Skydio X2 Color/Thermal - Operator Manual © 2022 Skydio, Inc. All rights reserved.
Anti-flicker
Adjust anti-flicker settings if you experience flickering in your video. This setting is for users located outside of North
America, in countries where the frequency of the alternating current in household electrical outlets is 50 Hz.
Channel Selection
Skydio X2 dynamic channel selection will automatically monitor signal interference and move to a clearer channel to
improve wireless transmission signal quality during flight or you can manually select your radio frequency channel to
avoid congestion from other signals. These are standard 5 GHz network channels that correspond to the following
frequencies:
• Auto (dynamic channel selection - default)
• 36: 5180 MHz
• 40: 5200 MHz
• 44: 5220 MHz
• 48: 5240 MHz
• 149: 5745 MHz
• 153: 5765 MHz
• 157: 5785 MHz
• 161: 5805 MHz
• 165: 5825 MHz
Step 1 - Select the INFO menu
Step 2 - Select your drone under Devices
Step 3 - Select Channel Selection
OR in flight
Step 1 - Select the Settings icon
Step 2 - Select the Drone tab
Step 3 - Select Radio Channel
NOTE: Skydio recommends leaving the Channel Selection set to Auto for best results.
Pre-flight
Table of contents
Other Skydio Drone manuals

