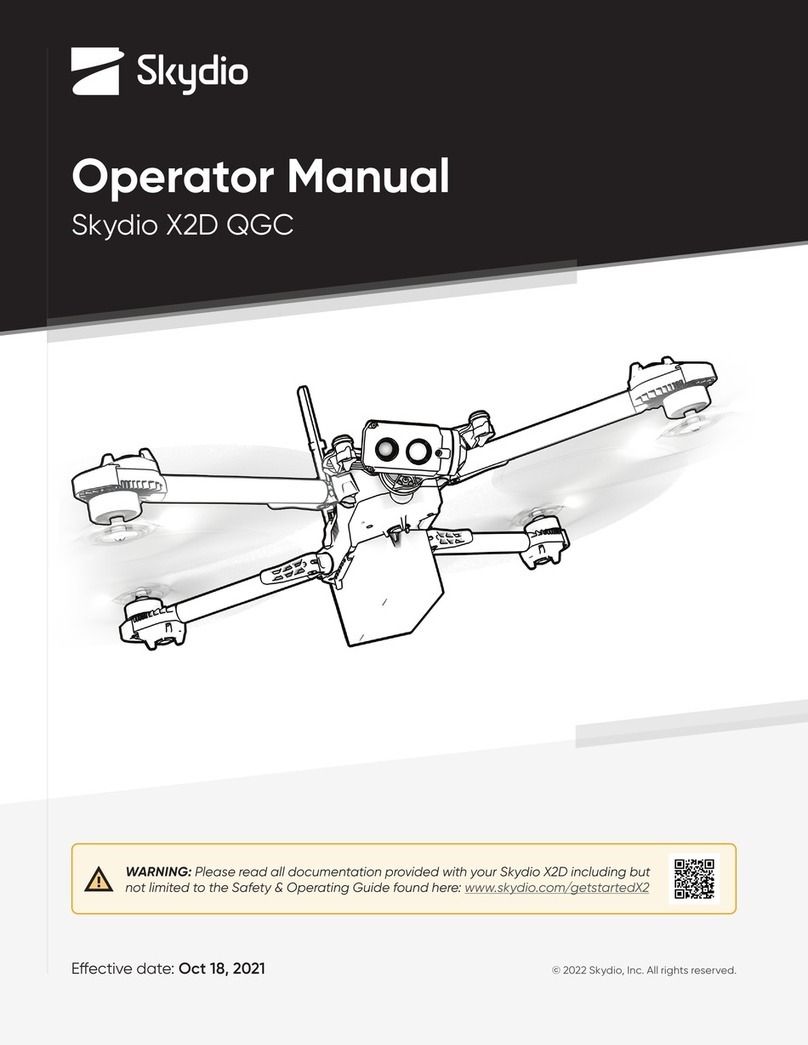
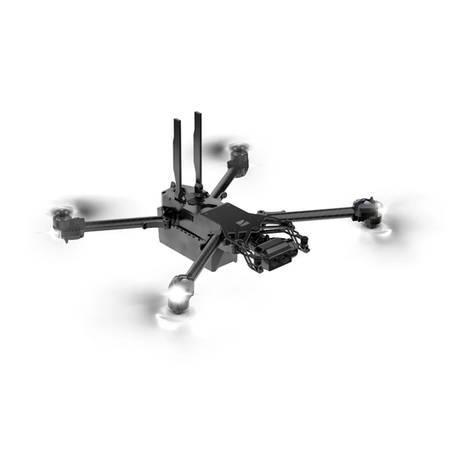
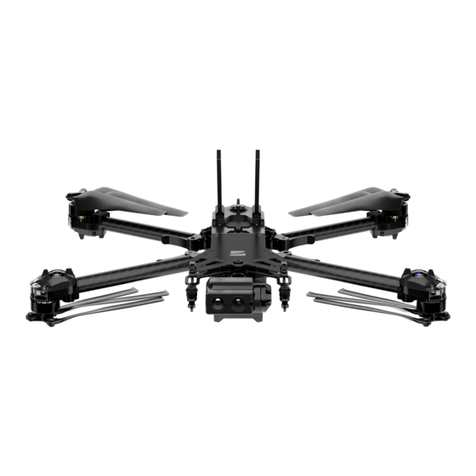
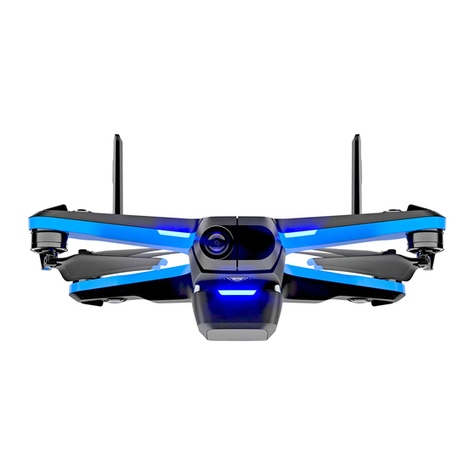
Skydio 2 User manual

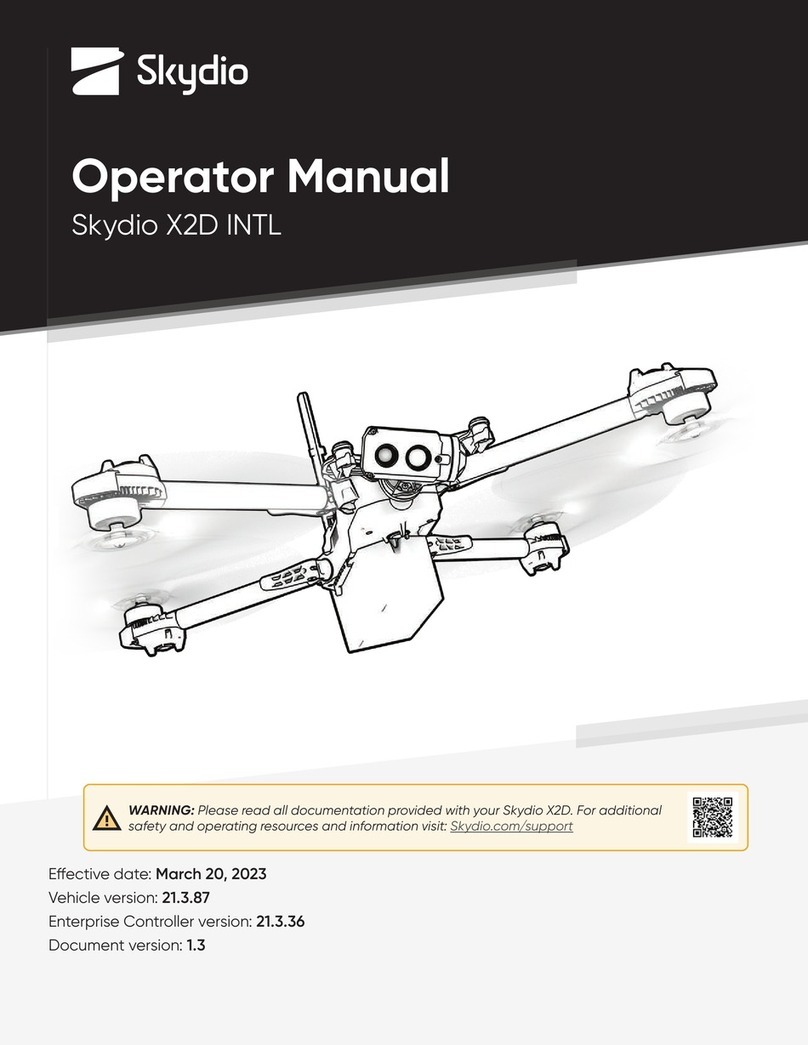
Operator Manual
Skydio 2TM
Enterprise
Eective date: June 2, 2021
Version 14.3

Included 3
AEF software add-on 4
Getting Started 5
Launch 10
Device Settings Menu 11
Drone Settings 12
App Settings 14
Signal Strength Indicator 14
Battery Indicator 15
Navigation Lights 15
Camera Settings 16
Flight Controls 17
Recording Indicator 18
Return to Home 18
Maps 19
Enterprise Skills 20
Cinematic Skills 26
One-Shot Skills 29
Zoom Recording 31
Downloading Oine Maps 33
Plan a Waypoint Mission Oine 34
Return Behavior 35
GPS vs Visual Return 36
Hand Launching and Landing 40
Viewing and Saving Media 43
Emergency Procedures 44
Low Battery Procedure 45
Flying Safely 46
Recovering a Lost Drone 47
Specifications 49
Compliance Information 52
Table of Contents

© 2021 Skydio, Inc. All rights reserved.
3
With the purchase of Skydio AEF software add-on, your Skydio Enterprise App provides
access to autonomous features and a comprehensive set of flight skills.
The scope of this guide is to introduce you to Skydio 2 Enterprise App command and
control user interface paired with the Skydio 2 Controller to fly your Skydio 2.
For more information please refer to our full Skydio 2 Controller User Guide.
• Skydio 2
• Skydio 2 Battery
• Charging power adapter
• USB-C to USB-C charging and data cable
• Skydio 2 Quick Start Guide
• Extra set of propellers (2 props total)
If you purchased the optional Pro Kit, you will receive everything in the Starter Kit, plus:
• 3 extra Skydio 2 Batteries
• Skydio 2 Dual Charger
• SanDisk 128GB Extreme microSD Card
• Skydio 2 Controller
• Tablet Adapter for Controller
• Skydio 2 Beacon
• Skydio 2 Pro Case
• PolarPro Cinema Series ND Filters
• 2 extra sets of propellers (4 extra props total)
• Skydio Premier Support
For more information Skydio 2 Pro Kit and Skydio 2 Upgrade Kits, visit skydio.com.
Enterprise Solution
What is Included
Skydio 2 Starter Kit
Skydio 2 Pro Kit

© 2021 Skydio, Inc. All rights reserved.
4
Skydio AutonomyTM Enterprise Foundation (AEF)
software add-on
Skydio AEF software add-on features include:
FEATURE DESCRIPTION MAIN USE CASES KEY BENEFITS
Close Proximity
Obstacle
Avoidance
The drone can fly closer to
obstacles.
Standard (~34”)
Close (~11”)
Minimal (~4”)
Disabled
Situational
awareness
Inspection
Allows closer flight for
indoor navigation e.g.
through large doorways,
and up-close inspection
of detailed assets
Precision Mode
Tunes the system for ultra-pre-
cise positioning of the drone
based on joystick inputs. (AEF
feature for S2. Included with
Autonomy Core for X2)
Situational
awareness
Inspection
Allows for up-close pho-
tography and eortless
capture of critical com-
ponents
Visual Return-to-
Home
Ability to RTH purely using vi-
sual wayfinding when flying in
GPS denied environments
Situational
awareness
Inspection
Provides robust and
safe RTH in high-RF or
GPS-denied environments
(e.g., below bridges)
Oine Maps
Download maps ahead of
time to use map-based fea-
tures without a cellular LTE
connection
Situational
awareness
Inspection
Use map-based func-
tionality even for jobs
in remote, o-the-grid
areas
Superzoom
Blends the six 4K navigation
cameras to create an omnidi-
rectional view. Allows the user
to zoom digitally with algorith-
mic image stabilization
Situational
awareness
See farther, and in all
directions without moving
the drone - reduces pilot
cognitive load
Point-of-Interest
Orbit
Drone will navigate itself while
revolving around a user-de-
fined point on a map
Situational
awareness
Enables surveillance and
overwatch of any struc-
ture or locale
Track-in-place
Ability to visually track a car
or person from a fixed position
from farther away
Situational
awareness
Enables covert surveil-
lance from farther stand-
o distances
Vertical View Gimbal can look straight up
overhead of the drone Inspection
Allows for overhung in-
spections such as ceilings,
bridges, and canopies

© 2021 Skydio, Inc. All rights reserved.
5
Insert a micro SD card into the Skydio 2 SD
card slot to capture your footage. The Skydio
2 requires a UHS Speed Class 3 (U3) or faster
microSD card to record 4k video.
Skydio 2 may need to format your SD card, so
please ensure any data is safely copied o the
card before use. Skydio 2 cannot fly without a
properly formatted microSD card that has at
least 1 GB of storage available.
Attach the Skydio 2 battery to your Skydio 2
and charge the battery using the included
USB-C cable and Power Adapter. Note that
Skydio batteries are held in place magnetically
and may be removed by pulling on them.
Please review our battery instructions and care
prior to flight
The lights on the Skydio 2 battery will indicate
the current state of charge. You may also
tap the button on the front of the battery to
display the current state of charge. The lights
will pulse while the battery is charging. While
charging, the Skydio 2 should be in an open
area as it is normal for the chassis to become
warm to the touch. When fully charged the
lights on the battery will remain solid for one
minute then turn o.
Getting Started
Step 1
Step 2
Step 3
Charging
Fully Charged

© 2021 Skydio, Inc. All rights reserved.
6
Connecting to Skydio 2
While your battery is charging, download and
install the Skydio Enterprise app on your mobile
device. The Skydio Enterprise app is available
on the App Store® and Google Play™.
Launch the Skydio Enterprise app and power on your Skydio 2 by pressing and
holding the battery button for 3 seconds. You will be asked to enable location
and microphone services (and local networking on iOS) on your phone which are
required for the Skydio 2 to function normally, and to register your Skydio 2 with
your business email address (you only have to do this the first time you fly).
Note: When registering in the app, you will need to use the business email account
associated with your Autonomy Enterprise license.
Step 1
Step 2
Skydio Enterprise app is compatible with iOS 12.0 or Android 7.0 (or later).

© 2021 Skydio, Inc. All rights reserved.
7
Updating Skydio 2
Skydio 2 uses WiFi to connect the Enterprise App and other
Skydio accessories. When prompted, enter your Skydio 2 WiFi
name and password into the Skydio app. You may find your
drone’s WiFi name and password located in the battery tray.
Change your password or reset to auto-generated credentials.
Note: Each code is unique to that registration. If at some point you log out or
remove and reinstall the app, you will need to register again and Skydio will send a
new, unique code.
When you register in the app, you will receive an email with a login code. Enter in
the code to continue.
Always make sure you are flying with the latest Skydio 2 software. The Skydio
Enterprise app will guide you through the required steps. If an update is available,
it’s best to download the Skydio 2 update when you have access to an internet-
enabled WiFi network.
Step 3

© 2021 Skydio, Inc. All rights reserved.
8
Flying Safely
Check your propellers for
damage before flying.
Follow FAA guidelines and local,
state and federal laws.
Clean all of the cameras so
Skydio 2 can see clearly.
Obstacle avoidance is o during
GPS Night Flight mode and can be
impaired when in low light & poor
visibility. Fly with extreme caution
under these conditions.
Keep your fingers away from
moving propellers at all times.
Skydio 2 does not avoid moving
objects or cars.
Skydio 2 is not weatherproof –
don’t fly in rain, snow, fog, high
winds, etc.
Use caution around thin
branches, utility lines, ropes,
wires, netting, chain link fencing,
etc.
Fly cautiously over bodies of
water larger than
30 ft (9.1 m) across.
Safety Guidelines
• Skydio 2 relies on cameras for navigation—it’s essential to keep the camera lenses clean. Use a clean
microfiber cloth to ensure that all of the camera lenses are dust and smudge-free before every flight.
• Skydio 2 uses magnets to seat the battery that may attract metallic debris. Visually inspect the
magnets and connections prior to flight.
• Inspect batteries for damage. Do not attempt to use batteries that are damaged, dented, or ruptured
after a crash or drop. Visually inspect propeller blades for nicks, cracks, or other visible damage. Never
fly with damaged propellers.
WARNING: Keep your fingers away from the propellers. Attempting to touch the propellers or the drone
during flight, launch, or landing has a high risk of severe injury. Exercise caution when holding Skydio 2 in
windy environments, as gusts may cause the propellers to spin.

© 2021 Skydio, Inc. All rights reserved.
9
• When landing, Skydio 2 descends straight down and does not avoid obstacles. Ensure your landing
area is flat and clear of obstacles. Stay clear of the landing area to avoid injury.
• Do not intentionally try to crash Skydio 2.
• Fly indoors with caution in well-lit, large, open areas such as warehouses or gymnasiums. Avoid flying
near glass, mirrors, textureless walls, dark areas, or polished, reflective flooring.
• Do not fly in temperatures below 23° F (-5°C) or above 104°F (40°C). Endurance may be degraded when
operating near temperature limits.
• When flying in temperatures below 32°F (0°C), ensure your batteries are room temperature (50°F / 10°C)
prior to takeo.
• Do not fly Skydio 2 in high winds or gusts above 25 mph (40 km/h). Skydio 2 will automatically Return to
Home (RTH) if it is too hot.
• Skydio 2 is not weatherproof and requires good visibility. Do not fly in any precipitation, including rain,
fog, or snow.
• Do not fly over bodies of water more than 30 ft (3 m) across.
• Do not fly around thin branches, telephone or power lines, ropes, netting, wires, chain link fencing or
other objects less than .5 in (1.27 cm) in diameter.
• Skydio 2 only avoids obstacles that are not in motion. Cars, boats, balls, animals, other drones, other
people, or similar moving objects may not be avoided. You should exercise extreme caution and good
judgment when flying near people.
• Do not fly around transparent or reflective surfaces such as windows or mirrors greater than 23 in (58 cm)
wide.
• If your Skydio 2 strikes an obstacle it will attempt to stabilize and continue the flight.
• When the sun is low on the horizon, it can temporarily blind the cameras depending on the drone’s
angle. Your drone may be cautious or jerky when flying directly toward the sun.
• Skydio 2 flight speed is ~36 mph/58 km/h (ground speed) or 25 mph/40 km/h (air speed) under most
conditions.
• Standard obstacle avoidance is enabled when Skydio 2 is autonomously executing a 3D Scan. Close,
Minimal, or Disabled obstacle avoidance is only accessible when manually capturing photos.
• Skydio 2 will alert you if it encounters an error or determines the environment is not safe for flying. When
instructed to do so, immediately fly Skydio 2 to the safest area and land.
• Flying at high altitudes may significantly increase the time required to return and safely land. The pilot
in command is responsible for managing altitude, range, and battery level at all times. Monitor in-app
messages and alerts.
• Skydio 2 is NOT A TOY and should not be used or handled by a person under the age of 18.
Visit https://skydio.com/safety and https://skydio.com/support for more information and helpful tips,
videos, and articles.

© 2021 Skydio, Inc. All rights reserved.
10
Where to fly
• You are responsible for your Skydio 2 at all times. Follow all local civil aviation authority regulations (ex:
the FAA in the US and CASA in Australia), as well as any applicable local and federal laws.
• Before every flight, you must ensure that you are authorized to fly in the airspace using airspace
awareness services, such as the B4UFLY app, knowbeforeyoufly.org, and b4ufly.kittyhawk.io/. If you are
located in Australia, check a CASA-verified drone safety app or website before flying.
• DO NOT enter restricted airspace, which may include sporting events and other public gatherings. If
you have any doubt whether you are able to fly, do not fly.
• Flight in U.S. controlled airspace requires FAA authorization. Visit FAA LAANC for more information.
• DO NOT fly directly over people or crowds.
• Keep Skydio 2 within visual line of sight at all times, unless you have received express permission to fly
beyond visual line of sight from a civil aviation authority such as the FAA.

© 2021 Skydio, Inc. All rights reserved.
11
Launch
For your first flight, we recommend finding a clear, open space on level ground
with at least 20 feet of clearance in every direction (including above). Ensure
nothing is obstructing the propellers at your launch location. Although flying
Skydio 2 is easy and intuitive, it’s a good idea to give yourself and others a
little space when flying for the first time. Always be alert and aware of your
surroundings during use.
Set your Skydio 2 down on clear, flat ground at least 10 feet away with the front
camera facing toward you. You may also use the top of Skydio 2’s case as a
convenient launch and landing pad.
Select and hold the LAUNCH button.
Skydio 2 will hover in place until you initiate a skill or use the app (or Skydio
Controller) to start flying.
Note: Skydio 2 requires a stable GPS connection to fly greater than 33 ft
(10 m) above its point of takeo or the currently tracked subject. This may
not be possible when flying in GPS denied environments such as indoors,
heavy urban areas, and deep canyons; or when flying near large metal
structures such as radio towers and bridges. Fly a few meters in a lateral
motion (forward, backward, left, or right) to acquire a GPS lock.
To learn more about using the Skydio 2, visit https://skydio.com/support for the
latest articles and tutorial videos.

© 2021 Skydio, Inc. All rights reserved.
12
Flight Screen
Device Settings Menu
Gives you access to in-flight settings for the Skydio 2 as well as control settings
for the phone and Controller (when connected).
Note: Flight Controls will not be displayed on-screen when flying with the Skydio Controller

© 2021 Skydio, Inc. All rights reserved.
13
Drone Settings
Height Floor and ceiling
• Default floor 8 ft (2.4 m) above the ground when flying autonomously. When
enabled when performing a waypoint mission, flying to a user-specified point on
the map (i.e., Fly Here Now), or Returning to Home. It will not aect manual flight.
• Customize the height ceiling: adjust the maximum allowed flight ceiling height to
between 30 and 1500 ft.
• Disable the height ceiling: disable the maximum allowed flight altitude.
Height Floor
The Height Floor setting can have a significant impact on tracking performance. It is
important to understand how this setting works as well as how and when it is safe to
disable it.
The Height Floor is enabled by default and maintains at least 8 ft (2.4 m) of space
above a tracked subject while in any autonomous follow skill. This helps create a buer
of space between Skydio 2 and any moving objects, such as people, pets or vehicles.
While enabled, the Height Floor setting may aect your flight in a number of ways:
• While following a subject, Skydio 2 may become “trapped” by obstacles and
unable to continue following due to the height restriction, even though the space
underneath the drone is clear.
• You will be prevented from lowering Skydio 2 below the 8 feet (2.4 meters) height
floor any time a subject is being tracked, such as when using the on-screen controls
to set the desired follow height or using the Beacon’s Wand feature.
It is important to note that the Height Floor setting only applies while a subject is being
tracked. If Skydio 2 is in manual flight mode with no subject selected, you always have
full control over the vehicle’s height.
Height Floor setting disabledHeight Floor setting enabled (default)

© 2021 Skydio, Inc. All rights reserved.
14
Note: Obstacle Avoidance set to Standard, the top air speed is 36 mph (58 km/h).
When set to Close, Minimal, or Disabled, the top air speed is 9 mph (14.5 km/h).
Obstacle Avoidance
Your Skydio 2 allows closer flight for navigation through tight spaces and up-close
inspection of detailed assets with two additional obstacle avoidance modes:
• Standard: 34 inches (86 cm) between your Skydio 2 and any obstacle
• Close: 11 inches (28 cm) between your Skydio 2 and any obstacle
• Minimal: 4 inches (10 cm) between your Skydio 2 and any obstacle
• Disabled: obstacles avoidance is disabled
Disabling the Height Floor setting may increase tracking performance by allowing Skydio
2 to fly under low-lying obstacles, such as tree branches and overhangs, to maintain
visual line of sight. It also allows users to set the preferred follow height low to the
ground, capturing high-energy shots from a unique ground-hugging perspective. As
stated in the Safety and Operating Guide, Skydio 2 only avoids obstacles that are not in
motion. Cars, balls, animals, other drones, other people, or similar moving objects will not
be avoided if they’re moving faster than walking speed.
The combination of low elevation flight and high speed tracking presents an increased
risk of collision with moving objects. Skydio, Inc strongly recommends users only disable
the Height Floor setting when operating in wide open, outdoor spaces with no other
people, animals, or other moving objects nearby. Pilots maintain full responsibility for the
safe operation of their Skydio 2 drone at all times during flight.

© 2021 Skydio, Inc. All rights reserved.
15
Flight Style
Determines the way Skydio 2 moves in flight.
Precision tunes the Skydio 2 system for
ultra-precise control and positioning, while
Cinematic results in smoother movement
that’s optimized for more stabilized video.
Precision flight style will be selected by
default.
Return Behavior
Customize the way Skydio 2 behaves after initiating a return.
Drone Looks - Skydio 2 will either look toward
or away from the return destination while
returning.
Return Type - return using GPS or the drone’s
vision system. Set your return type to Vision
when you fly in GPS-denied environments.
Wait Before Return - Set how long Skydio
2 should wait after it loses communication
before it returns to the launch point (or
Home Point if one was set). This wait time
gives Skydio 2 time to try to re-establish a
connection to the controlling device. When
the drone and controlling device are still
connected and you command a return, Skydio
2 will return immediately without waiting.
Return Height - Set the height to which Skydio
2 should ascend before returning. By default
the return height is set to 32 ft (9.7 m) Skydio 2
will ascend to that height before returning.
Height Behavior -
• Absolute: ascend to the specified Return
Height (above the launch point) before
returning
• Relative: ascend by the specified Return
Height above the current position before
returning.
Return Speed - Set the speed at which Skydio 2 should fly when returning.
Reference the Return Procedures section for more information.

© 2021 Skydio, Inc. All rights reserved.
16
Signal Strength Indicator
Displays the current strength of the user’s radio link to the Skydio 2 while in flight.
As the signal strength decreases, users may experience a lower quality video
feed or a delay in their controls. For best signal quality, always maintain a direct
line of sight between the phone or controller and the Skydio 2 and avoid flying in
areas with electromagnetic interference.
Flight Telemetry
• Toggles the display of vehicle telemetry data. When enabled, Skydio 2
current speed, height above take o, range from launch point and camera
angle (gimbal pitch) is displayed while in flight.
App Controls
• Slide (default) - Single stick with pitch and roll with yaw on separate buttons
• Steering - Single stick with pitch and yaw with roll on separate buttons
• Dual Sticks - Traditional Mode 2 dual-stick controls
Dual Sticks Mode
• Sets the control style for the Dual Sticks app control setting. Allows you to
choose between Mode 1, Mode 2 (default), and Mode 3 style controls.
Controller Settings (when Controller accessory is connected)
Gimbal Sensitivity
• Controls how quickly camera gimbal pitches up and down
Flight Sensitivity
• Allows you to switch between default and custom sensitivity settings for the
roll, pitch, yaw and throttle inputs.
• The default settings are fixed and cannot be changed.
• You may change the custom settings however you wish.
Flight Mode
• You may switch between Mode 1, Mode 2 (default), and Mode 3 style flight
controls.
Note: All Controller settings are saved on your Skydio 2 and are only available
when your Controller is connected to your drone.
App Settings

© 2021 Skydio, Inc. All rights reserved.
17
Battery Indicator
Battery indicator messaging displays how much battery you have to fly, how much
battery capacity it takes to return, and how much battery is required to land.
• Percentage - displays battery charge remaining
becomes a two-minute countdown when the drone has less than two minutes of
time before a required landing
• Green - indicates how much battery capacity for nominal flight before the time limit
required to safely return and land
• Yellow - indicates how much battery is required to safely return
• Red - indicates how much battery is required to land when the drone will begin a
non-cancellable landing
Note: As ground elevation increases or decreases, Skydio 2 takes into account this new
ground level and adjusts the battery indicator level accordingly.
Enabled - RGB navigation lights display red when the drone is facing you and green
when facing away to help you quickly understand the orientation of your drone.
Disabled - RGB navigation lights will be on during the initial boot sequence and will
turn o when the drone is ready to fly.
Navigation Lights

© 2021 Skydio, Inc. All rights reserved.
18
Photo Capture Settings
• Photo Interval***
• O / 1s or 2s**** / 5s / 10s
• HDR On/O
• JPG / JPG+DNG*****
• White Balance
• Shutter Speed
• Exposure
* HDR is not supported in all video resolutions and frame rates.
** Skydio 2 can record video in either AVC (H.264) or HEVC (H.265). Dierent mobile devices and personal computers have dierent
compatibilities with these encoding standards. Be sure to choose the encoding standard that is best suited to your desired
workflow.
*** When Photo Interval is enabled Skydio 2 will continuously capture photos at the specified time interval until the setting is
disabled or the flight ends.
**** The fastest interval photo setting when capturing in raw DNG is two seconds. Users may capture a photo every one second
when capturing in JPG mode.
***** DNG photos are not displayed in the media tab of the Skydio Enterprise app and are retrieved directly from the microSD card.
Note: Digital 3x zoom is not supported in all video resolutions and frame rates. Reference the
Digital Zoom and Superzoom section.
Camera Settings
Provides access to the camera settings and allows you to change between video and photo
recording mode. Skydio 2 can capture photos or video but not both at the same time. You may
change your camera settings at any time before or during flight. Please note that changing
the camera settings before launch may cause Skydio 2 to return to the preflight screen and re-
calibrate its vision system. Some video capture settings (such as video resolution and frame rate)
cannot be changed while the drone is actively zooming. See the Digital Zoom and Superzoom
section for more information.
Video Capture Settings
• Resolution
• Frame rate
• HDR On/O*
• Auto / Manual Recording
• Video Codec**
• White Balance
• Shutter Speed
• ISO
• Exposure

© 2021 Skydio, Inc. All rights reserved.
19
Stop/Land Button
While the Skydio 2 is in manual control mode the LAND button is available, you
may press and hold the LAND button for 3 seconds to command the drone to
land at its current location.
While Skydio 2 is flying autonomously, such as orbiting or flying to a waypoint, you
may tap the red stop button to cancel the current action and place the drone
into manual control mode.
Flight Controls
The on-screen flight controls are the primary method for controlling Skydio
2 during both autonomous and manual flight. Manual flight controls are the
same in all skills and may be customized in the “Phone” tab of the device menu.
Autonomous controls are unique for each skill.
See the Flying Skydio 2, Manual Skill
section for more information

© 2021 Skydio, Inc. All rights reserved.
20
Recording Indicator
Recording Video: Auto
Recording Video: Manual
Recording Paused: Manual
Photo Button
Interval Photos
Return to Home
Tapping the Return to Home button gives you the ability to have Skydio 2
automatically return to either the launch location or your current location.
If a Home Point has been set for this flight,
the “Launch Point” option will be replaced
with “Home Point”.
Other manuals for 2
6
Table of contents
Other Skydio Drone manuals
