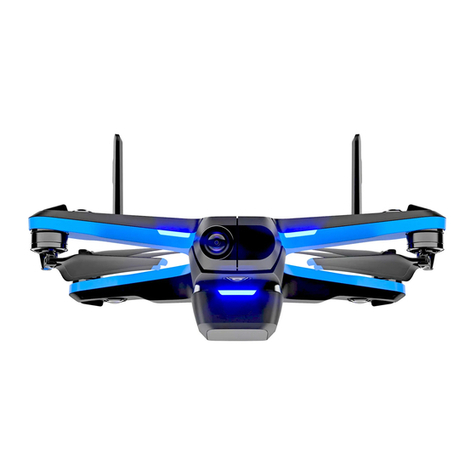
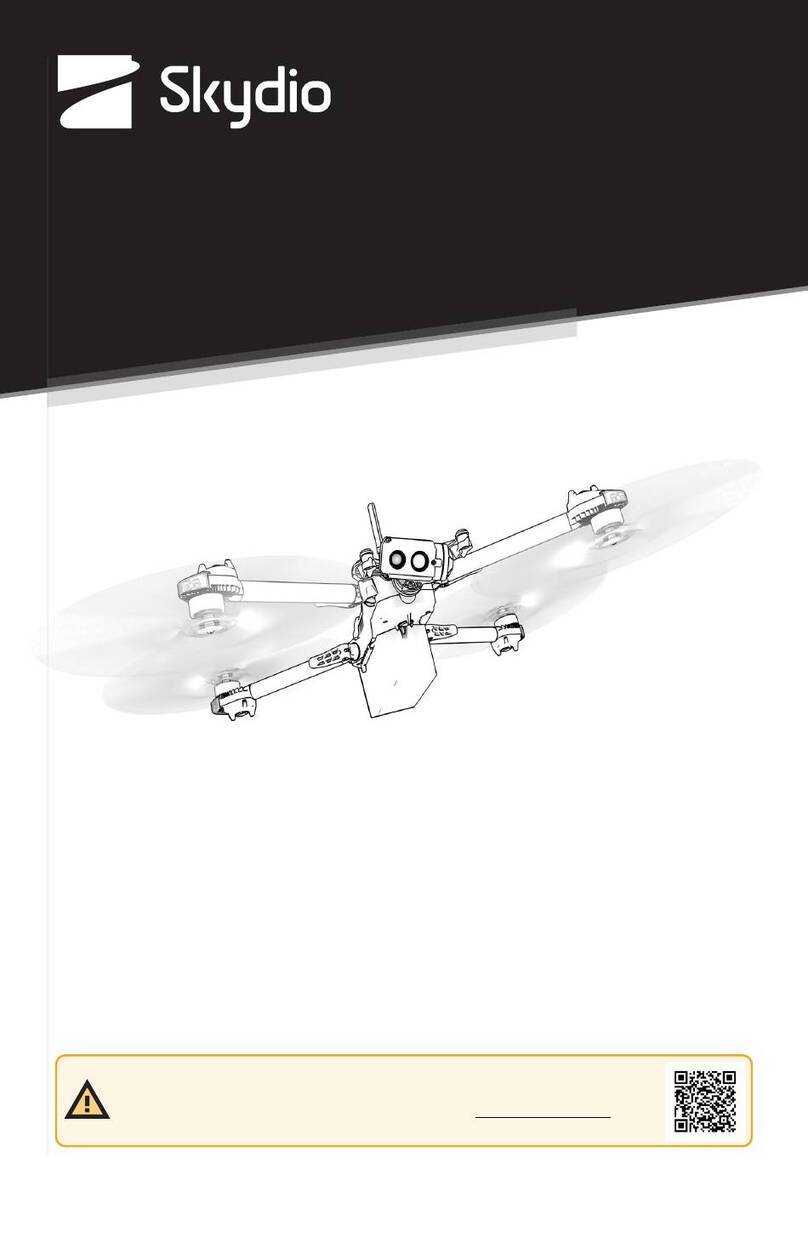
Skydio 2 User manual

:
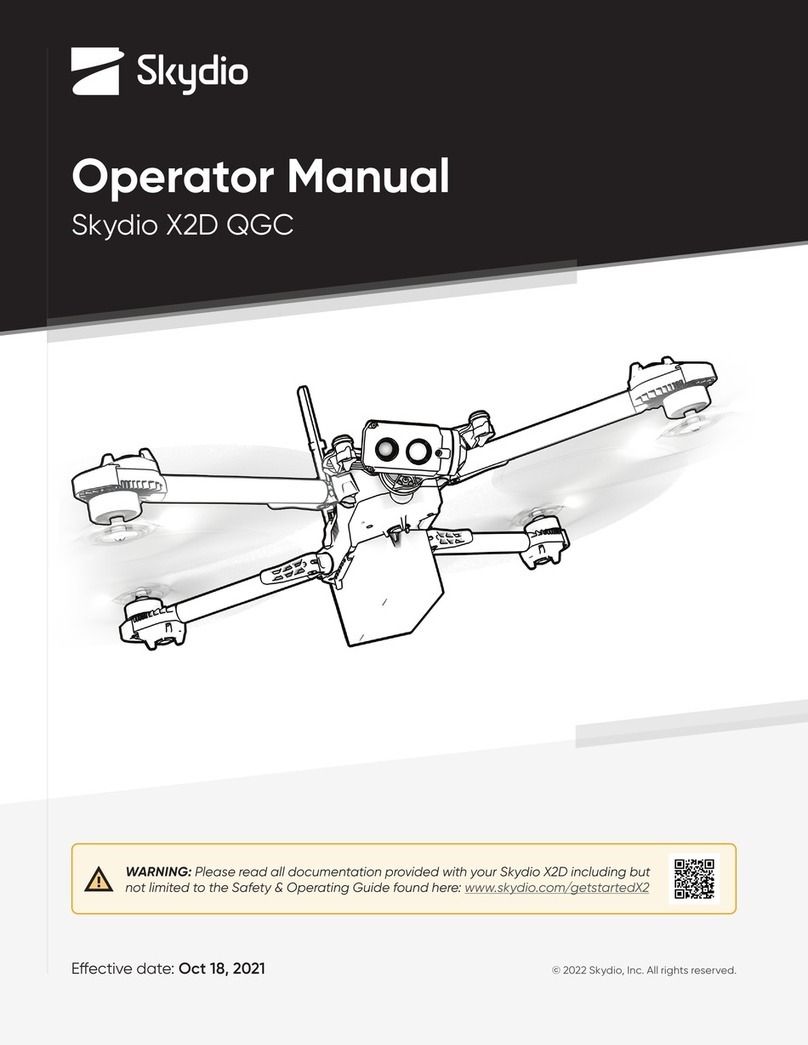
Operator Manual
Skydio 2/2+
Updated: March 29, 2022
Version: 19.0
WARNING: Please read all documentation provided with your Skydio 2/2+ including but
not limited to the Safety & Operating Guide found here: http://skydio.com/getstarteds2
© 2021 Skydio, Inc. All rights reserved.

Contents
Overview
Skydio 2/2+ and Accessories................................................1
Skydio 2/2+ Hardware........................................................... 2
Safety
Safety Guidelines .................................................................. 3
Flying Safely............................................................................ 4
Pre-flight
Set Up....................................................................................... 5
Activate the Skydio 2 app.................................................... 7
Settings Menu......................................................................... 8
Drone Settings Menu............................................................. 8
Phone Settings Menu ...........................................................12
Controller Settings Menu.....................................................13
Anti-Flicker .............................................................................14
Channel Selection ................................................................15
Return To Home.....................................................................16
Map View................................................................................17
Pre-flight Inspection.............................................................18
Flight
First Flight...............................................................................19
Hand Launch.........................................................................20
Flight Screen ..........................................................................21
Flight Controls .......................................................................21
Camera and Video Settings .............................................. 22
Recording Indicator............................................................. 23
Signal Strength Indicator ...................................................24
Battery Indicator..................................................................24
Flight Skills............................................................................. 25
General Skills ........................................................................ 25
Cinematic Skills .................................................................... 26
Tracking a Subject............................................................... 27
One-Shot Skills.....................................................................28

Contents
Specialty Skills...................................................................... 28
Land........................................................................................ 29
Case Landing........................................................................30
Hand Landing ........................................................................31
Post-flight
Viewing and Saving Media ................................................ 32
Emergency Behaviors
Lost Connection................................................................... 33
Lost Connection Return Behaviors ................................... 33
Lost GPS Behavior ...............................................................34
Low Battery Behavior..........................................................34
Recovering a Lost Drone .................................................... 35
Maintenance
Battery safety guidelines................................................... 36
Replace Propeller Blades ................................................... 37
Updating Your Drone ..........................................................38
Skydio 2 Specifications 39
Skydio 2+ Specifications 42
Legal 45

1Skydio 2/2+ - Operator Manual © 2021 Skydio, Inc. All rights reserved.
Skydio Starter Kit includes:
1. Skydio 2/2+ drone
2. Battery (1)
3. Custom Fit Hard-shell case
4. USB-C wall adapter
5. USB-C charging/data cable
6. Replacement propellers (2)
Overview
Skydio 2/2+ and Accessories
Skydio Pro Kit includes:
• 2 additional batteries
• 1 Beacon
• 1 Joystick Controller
• 1 tablet adapter for Joystick Controller
• 1 Dual Charger
• 1 Pro Case
• 1 SD Card
• 1 set of PolarPro ND Filters
• 1 additional set of spare propellers
• Skydio Premier Support

2Skydio 2/2+ - Operator Manual © 2021 Skydio, Inc. All rights reserved.
1. Chassis
2. Camera gimbal
3. Navigation camera (6)
• 3 on top and 3 on bottom
4. Antennas (Skydio 2+ only)
5. USB-C port
6. Propeller hub with blades
Overview
Skydio 2/2+ Hardware
CAUTION: Skydio is not weatherproof. Do not operate in any precipitation, including rain, fog, snow, or similar
environments. Do not rest in sand, dirt or on similar terrain where particles can get trapped in the fan.
7. Arm (4)
8. MicroSD memory card port
9. Battery tray
10.Vehicle ID and password
Top view Bottom view
1
2
3
5
6
7
8
9
10
4

3Skydio 2/2+ - Operator Manual © 2021 Skydio, Inc. All rights reserved.
Safety
Check your propellers for
damage before flying.
Follow all civil aviation authority
regulations, as well as any applicable
local and federal laws.
Clean all of the cameras so
Skydio can see clearly.
Don’t fly in low-light conditions or in
poor visibility.
Keep your fingers away from
moving propellers at all times.
Skydio does not avoid moving
objects or cars.
Skydio is not weatherproof –
don’t fly in rain, snow, fog, high
winds, etc.
Use caution around reflective
surfaces (still water, mirrors, etc.) and
small obstacles (thin branches, utility
lines, ropes, chain link fencing, etc.)
Before flying over water, ensure your
drone has GPS lock. Launch and
land your drone over a dry surface.
Safety Guidelines

4Skydio 2/2+ - Operator Manual © 2021 Skydio, Inc. All rights reserved.
Pre-flight
• Ensure that all of the camera lenses are dust and smudge-free prior to flight.
• Inspect the battery magnets and connections for damage and debris prior to flight.
• Inspect propeller blades for nicks, cracks, or other visible damage prior to flight.
• Inspect the chassis for damage and debris prior to flight.
• Remove the gimbal retaining clip from the front-facing camera.
• Ensure any Battery Saver or Low Power modes are disabled on your mobile device. These modes may interfere with Skydio’s
ability to communicate with the device and negatively impact your flight experience.
Environment
• Do not fly in precipitation, fog, or snow.
• Ensure flight environment has good visibility. Skydio can only fly in normal daytime conditions.
• Do not fly in extremely hot temperatures above 104°F (40°C).
• Do not fly in extremely cold temperatures below 23°F (-5°C).
• When flying in temperatures below 32°F (0°C) ensure your batteries are pre-warmed to 50°F (10°C) prior to takeo.
• Avoid windy weather conditions, or gusts above 25 mph (40 km/h).
• Fly cautiously around reflective surfaces such as still water or mirrors. Before flying over water, ensure your drone has GPS
lock. Launch and land your drone over a dry surface.
• Do not fly around objects less than .5 in (1.27 cm) in diameter such as thin branches, utility lines, ropes, netting.
• Do not fly around objects in motion such as cars, boats, balls, animals, or other drones.
Warnings
• Fly cautiously around people.
• Avoid transparent or reflective surfaces, windows, or mirrors greater than 23 in (58 cm) wide.
• Avoid moving obstacles, cars, and animals.
• The pilot in command (PIC) is responsible for managing altitude, range, and battery level and monitoring in-app messages
and alerts.
• Avoid flight in low-light conditions.
• Alert messages will display if Skydio determines the environment is not safe for flight.
• When instructed to do so, immediately fly Skydio to the safest area and land.
• Flying at high altitudes may significantly increase the time required to return and safely land.
• Propeller blades are sharp—handle with care.
• Skydio should not be used or handled by a person under the age of 18 years.
Regulations
• Follow all civil aviation, such as the FAA or your countries regulatory agency, rules and regulations.
• You are responsible for your Skydio at all times. When operating your drone check knowbeforeyoufly.org / B4UFLY / CA-
SA-verified before flying.
• Keep your Skydio drone within visual line of sight at all times, unless you have received express permission to fly beyond
visual line of sight from a civil aviation authority such as the FAA.
• Do not fly in an environment where the use of the device is not authorized or restricted.
Safety
Flying Safely
Visit https://skydio.com/safety and https://skydio.com/support for more information, helpful tips, videos,
and articles.

5Skydio 2/2+ - Operator Manual © 2021 Skydio, Inc. All rights reserved.
Pre-Flight
Set-Up
Step 1 - Insert a micro SD card into the memory card slot
• you may be required to format your card in the drone before
flying
• Skydio will not fly without a properly formatted card
Step 2 - Attach the battery to your drone
• the batteries are held in place with magnets
• firmly tug battery to remove
Step 3 - Charge your battery using the USB-C cable and
power adapter
• charge in an open area
• it is normal for the drone and battery to be warm during
charging
Battery lights indicate the current state of charge
• lights on the battery will turn on and begin to flash at its
current charge level. Flashing will continue until it turns solid,
indicating charging is complete
• lights will remain solid for one minute and turn o when
charging is complete
• lights on Skydio 2/2+ will turn on and remain solid blue until
charging is complete
Fully Charged
Charging
CAUTION: Remove the red plastic gimbal clip before charging.

6Skydio 2/2+ - Operator Manual © 2021 Skydio, Inc. All rights reserved.
Pre-Flight
Set-Up
Step 4 - (Skydio 2+ only) Flip up antennas
• Gently lift each antenna and guide it into a vertical position

7Skydio 2/2+ - Operator Manual © 2021 Skydio, Inc. All rights reserved.
Activate the Skydio app
Step 1 - Install the Skydio app on your mobile device:
• available on the App Store® and Google Play
• compatible with iOS 12.0 or Android 9.0 (or later)
Step 2 - Launch the Skydio app
Step 3 - Enable location and microphone settings on your phone
• additionally, local networking on iOS
Step 4 - Power on your drone
• press and hold the battery button for 3 seconds
Step 5 - Activate your drone
• enter the email account you would like to be associated with your Skydio app
• Skydio will email you a unique registration code
Step 6 - Enter the code sent to your email
• select Next
Step 7 - Enter your Skydio WiFi name and password when prompted
• located on the sticker attached to the drone or inside the battery tray
• remove the sticker attached to the drone before flying
The Skydio app on your mobile device is used to fly your Skydio 2/2+, update your system, format your SD memory
card, and view and manage your media.
Pre-Flight

8Skydio 2/2+ - Operator Manual © 2021 Skydio, Inc. All rights reserved.
Height Floor
• (Enabled by default) maintains at least 8 ft (2.4 m) of space above a
tracked subject while in any autonomous follow skill, creating a buer
between Skydio and any moving objects, such as people, pets, or
vehicles.
• You will be unable to lower the Height Floor below 8 ft (2.4 m) height
floor while tracking a subject.
• While following a subject, Skydio may become trapped by obstacles
and be unable to continue following due to the height restriction, even
though the space underneath the drone is clear.
Settings Menu
Access in-flight settings for the drone, your phone, and the Controller (if connected).
Height Limits
Pre-Flight
NOTE: The Height Floor setting only applies while a subject is being tracked. If Skydio is in manual flight mode with no
subject selected, you always have full control over the drone’s height.
Disabling the Height Floor setting may increase tracking performance by
allowing Skydio to fly under low-lying obstacles, such as tree branches
and overhangs, to maintain a visual line of sight. It also allows users to
set the preferred follow height low to the ground, capturing high-energy
shots from a unique ground-hugging perspective.
Skydio only avoids obstacles that are not in motion. Cars, balls,
animals, other drones, other people, or similar moving objects will not be
avoided if they’re moving faster than walking speed.
The combination of low elevation flight and high-speed tracking
presents an increased risk of collision with moving objects. Skydio, Inc.
strongly recommends users only disable the Height Floor setting when
operating in wide open, outdoor spaces with no other people, animals,
or other moving objects nearby. Pilots maintain full responsibility for the
safe operation of their Skydio drone at all times during the flight.
Drone Settings Menu

9Skydio 2/2+ - Operator Manual © 2021 Skydio, Inc. All rights reserved.
Pre-Flight
Height Ceiling
• Enable Edit Height Ceiling to adjust the maximum allowed flight ceiling
height between 30 ft (10 m) and 1500 ft (457 m).
• When disabled, the Height Ceiling is set at 400 ft (122 m).
• Height Ceiling selections will persist across flights and power cycles.

10 Skydio 2/2+ - Operator Manual © 2021 Skydio, Inc. All rights reserved.
Return Behavior
Customize the way Skydio behaves after initiating a return:
Return Height - Allows you to set the height to which Skydio
should ascend before returning. By default, the Return
Height is set to 32 ft (9.7 m). Skydio will ascend to that height
before returning.
Height Behavior - Choose between Absolute and Relative
• Absolute means your drone will ascend to the specified
Return Height above the launch point before returning.
For example, if the Return Height is 32 ft and the drone is
at 20 ft at the time the return is commanded, Skydio will
ascend 12 ft before returning.
• Relative means your drone will ascend to the specified
Return Height above the current position before returning.
For example, if the Return Height is 32 ft and the drone is
at 20 ft at the time the return is commanded, Skydio will
ascend 32 ft and then return at a height of 52 ft.
Drone Looks - Skydio will either look toward or away from
the return destination while returning.
Return Speed - Adjust the speed at which Skydio should fly
when returning.
Lost Connection - Lets you choose how you want your
drone to behave if the signal to your controlling device is
lost:
• Wait Before Return - Specify the amount of time that
you want Skydio to wait before it initiates a return flight,
allowing time to reconnect.
• Land Once Returned - When enabled, Skydio will return,
hover for a specified amount of time, and then land.
• Wait Before Land - Specify the amount of time between
0 to 300 seconds (the default is 240 seconds) that you
want Skydio to wait before landing. This setting is only
enabled when Land Once Return is toggled on.
Drone Settings Menu
Pre-Flight
Lost Connection return settings
Return Behavior settings

11 Skydio 2/2+ - Operator Manual © 2021 Skydio, Inc. All rights reserved.
Drone Settings Menu
Pre-Flight
Enable Narrow Band
Enable Narrow Band to provide additional wireless range.
• Extends controller range in open environments
• When enabled, the drone will switch to narrow band whenever applicable
• Video quality may suer slightly
NOTE: This setting is only available while connected to the controller or Beacon.

12 Skydio 2/2+ - Operator Manual © 2021 Skydio, Inc. All rights reserved.
App Controls
• Slide (default) - Single stick with pitch and roll with yaw on
separate buttons
• Steering - Single stick with pitch and yaw with roll on
separate buttons
• Dual Sticks - Traditional Mode 2 dual-stick controls
Dual Sticks Mode
• Sets the control style for the Dual Sticks app control setting.
Allows you to choose between Mode 1, Mode 2 (default), and
Mode 3 style controls
Phone Settings Menu
On Screen Display
Telemetry
• Toggles the display of telemetry data during flight:
• Current speed
• Height above launch
• Range from the launch point
Pre-Flight
NOTE: If you are piloting your drone using the on-
screen controls your maximum speed 36 mph.
Beacon Menu
When Beacon is connected, you will see a new tab under Device Settings which
displays the battery percentage and current software version. You will not see
this menu when Beacon is disconnected.
NOTE: Android users will not see the battery
percentage.

13 Skydio 2/2+ - Operator Manual © 2021 Skydio, Inc. All rights reserved.
NOTE: Controller settings are only available when your Controller is connected to your drone. If you are piloting your
drone using the Controller your maximum speed 36 mph.
Gimbal Speed
• Controls how quickly the camera gimbal pitches up and down
Flight Speed
• Switch between default and custom sensitivity settings for the
roll, pitch, yaw and throttle inputs
• Default settings are fixed and cannot be changed
• Custom settings may be adjusted
Flight Mode
• Switch between Mode 1, Mode 2 (default), and Mode 3 style flight
controls
Controller Settings Menu
Pre-Flight
Mode 1
Mode 2 (default) Mode 3

14 Skydio 2/2+ - Operator Manual © 2021 Skydio, Inc. All rights reserved.
Anti-flicker
Pre-Flight
Adjust Anti-flicker settings if you experience flickering in your video. This setting is for users located outside of North
America, in countries where the frequency of the alternating current in household electrical outlets is 50 Hz.
Step 1 - Select the INFO menu
Step 2 - Select your drone name
Step 3 - Select Anti-flicker
These are standard 5 GHz WiFi channels that correspond to the following frequencies:
• 36: 5180 MHz
• 40: 5200 MHz
• 44: 5220 MHz
• 48: 5240 MHz
• 149: 5745 MHz
• 153: 5765 MHz
• 157: 5785 MHz
• 161: 5805 MHz
• 165: 5825 MHz
Skydio recommends leaving Channel Selection set to Auto for best results.

15 Skydio 2/2+ - Operator Manual © 2021 Skydio, Inc. All rights reserved.
Channel Selection
Pre-Flight
By default, your Skydio 2/2+ will monitor signal interference and move to a clearer channel to improve wireless
transmission signal quality during flight. You may override this by selecting your preferred channel.
Step 1 - Select the INFO menu
Step 2 - Select the name of your drone under Devices
Step 3 - Scroll until you see Channel Selection
Step 4 - Choose your desired radio frequency channel
NOTE: You cannot change your radio channel while flying.

16 Skydio 2/2+ - Operator Manual © 2021 Skydio, Inc. All rights reserved.
Return to Home
NOTE: Skydio must have a GPS signal at some point during the flight to create a Home Point. The better and more
sustained the GPS signal, the more accurate Skydio flight will be when returning to that Home Point. If Skydio loses GPS
or the GPS signal becomes weak, the drone will do its best to estimate and return to the Home Point position.
Pre-Flight
The Return to Home icon gives you the ability to have Skydio automatically return to either the launch location or your
current location. Create a Home Point (or move the existing Home Point) by long-pressing on the map and selecting
Set Home Point from the menu.
Home points are optional, set for each flight and not saved between flights. Skydio will automatically return to a set
Home Point in the event of a loss of communication (unless otherwise specified in the waypoint settings). Tapping on a
Home Point on the map gives you the option to fly the drone to that location immediately or remove it from the map.

17 Skydio 2/2+ - Operator Manual © 2021 Skydio, Inc. All rights reserved.
Map View
Select the map icon to enter the Map View. Your location, Skydio, and Launch
Point location are all indicated on the map. To exit the Map View, tap the map
icon again.
Skydio Controller/
Phone
Home Point Launch Point Beacon
Pre-Flight
Other manuals for 2
6
This manual suits for next models
1
Table of contents
Other Skydio Drone manuals
