manuals.online logo
Brands
  1. Home
  2. •
  3. Brands
  4. •
  5. SMART-AVI
  6. •
  7. Extender
  8. •
  9. SMART-AVI SX-500 User manual

SMART-AVI SX-500 User manual

Other SMART-AVI Extender manuals

SMART-AVI USB2PRO User manual

SMART-AVI

SMART-AVI USB2PRO User manual

SMART-AVI XTPRO User manual

SMART-AVI

SMART-AVI XTPRO User manual

SMART-AVI HDX-POE-PRO User manual

SMART-AVI

SMART-AVI HDX-POE-PRO User manual

SMART-AVI FVX-2000 User manual

SMART-AVI

SMART-AVI FVX-2000 User manual

SMART-AVI FDX-M4U User manual

SMART-AVI

SMART-AVI FDX-M4U User manual

SMART-AVI HFX User manual

SMART-AVI

SMART-AVI HFX User manual

SMART-AVI HDC-IR User manual

SMART-AVI

SMART-AVI HDC-IR User manual

SMART-AVI SX-500 User manual

SMART-AVI

SMART-AVI SX-500 User manual

SMART-AVI DVX-4P User manual

SMART-AVI

SMART-AVI DVX-4P User manual

SMART-AVI USB2-MAX User manual

SMART-AVI

SMART-AVI USB2-MAX User manual

SMART-AVI DVX-200PS User manual

SMART-AVI

SMART-AVI DVX-200PS User manual

SMART-AVI SDX-XT-4P User manual

SMART-AVI

SMART-AVI SDX-XT-4P User manual

SMART-AVI RKT8-HDX100 User manual

SMART-AVI

SMART-AVI RKT8-HDX100 User manual

SMART-AVI FDX-500 User manual

SMART-AVI

SMART-AVI FDX-500 User manual

SMART-AVI HDX-W100 User manual

SMART-AVI

SMART-AVI HDX-W100 User manual

SMART-AVI SDX-XT User manual

SMART-AVI

SMART-AVI SDX-XT User manual

SMART-AVI FDX-MINI-TX User manual

SMART-AVI

SMART-AVI FDX-MINI-TX User manual

SMART-AVI HDX-W100S User manual

SMART-AVI

SMART-AVI HDX-W100S User manual

SMART-AVI LDX User manual

SMART-AVI

SMART-AVI LDX User manual

SMART-AVI LDX User manual

SMART-AVI

SMART-AVI LDX User manual

SMART-AVI FDX-MINI User manual

SMART-AVI

SMART-AVI FDX-MINI User manual

SMART-AVI RKT16-HDX100 User manual

SMART-AVI

SMART-AVI RKT16-HDX100 User manual

SMART-AVI SDX User manual

SMART-AVI

SMART-AVI SDX User manual

SMART-AVI HDX-100 User manual

SMART-AVI

SMART-AVI HDX-100 User manual

Popular Extender manuals by other brands

SY HDBT-60T installation guide

SY

SY HDBT-60T installation guide

Appsys ProAudio ADX-16 user manual

Appsys ProAudio

Appsys ProAudio ADX-16 user manual

Atlona RS232 user manual

Atlona

Atlona RS232 user manual

IDK OPF-TH1000-A user guide

IDK

IDK OPF-TH1000-A user guide

Enable-IT 824WP quick start guide

Enable-IT

Enable-IT 824WP quick start guide

Worx Landroid RadioLink WA0864 Get started

Worx

Worx Landroid RadioLink WA0864 Get started

TP-Link TL-WA730RE user guide

TP-Link

TP-Link TL-WA730RE user guide

Camplex CMX-HDMI-SFPL user manual

Camplex

Camplex CMX-HDMI-SFPL user manual

SC&T HE03-4K user manual

SC&T

SC&T HE03-4K user manual

Samsung SCS-26UC4 user guide

Samsung

Samsung SCS-26UC4 user guide

Foxun SX-GES24 operating instructions

Foxun

Foxun SX-GES24 operating instructions

MuxLab 500771 Operation manual

MuxLab

MuxLab 500771 Operation manual

foxunhd SX-AEX01 operating instructions

foxunhd

foxunhd SX-AEX01 operating instructions

TERK Technologies LFIRX2 owner's manual

TERK Technologies

TERK Technologies LFIRX2 owner's manual

Devolo Audio Extender supplementary guide

Devolo

Devolo Audio Extender supplementary guide

Edimax EW-7438RPn V2 instructions

Edimax

Edimax EW-7438RPn V2 instructions

Shinybow USA SB-6335T5 instruction manual

Shinybow USA

Shinybow USA SB-6335T5 instruction manual

SECO-LARM ENFORCER EVT-PB1-V1TGQ installation manual

SECO-LARM

SECO-LARM ENFORCER EVT-PB1-V1TGQ installation manual

manuals.online logo
manuals.online logoBrands
  • About & Mission
  • Contact us
  • Privacy Policy
  • Terms and Conditions

Copyright 2025 Manuals.Online. All Rights Reserved.

© Copyright 2004 Smart-AVI, All Rights Reserved
Notice
The information contained in this document is
subject to change without notice. Smart-AVI makes
no warranty of any kind with regard to this material,
including but not limited to, implied warranties of
merchantability and fitness for any particular
purpose.
Smart-AVI will not be liable for errors contained herein
or for incidental or consequential damages in
connection with the furnishing, performance or use
of this material.
No part of this document may be photocopied,
reproduced or translated into another language with
out prior written consent from Smart-AVI.
For the complete manual, visit www.smartavi.com.
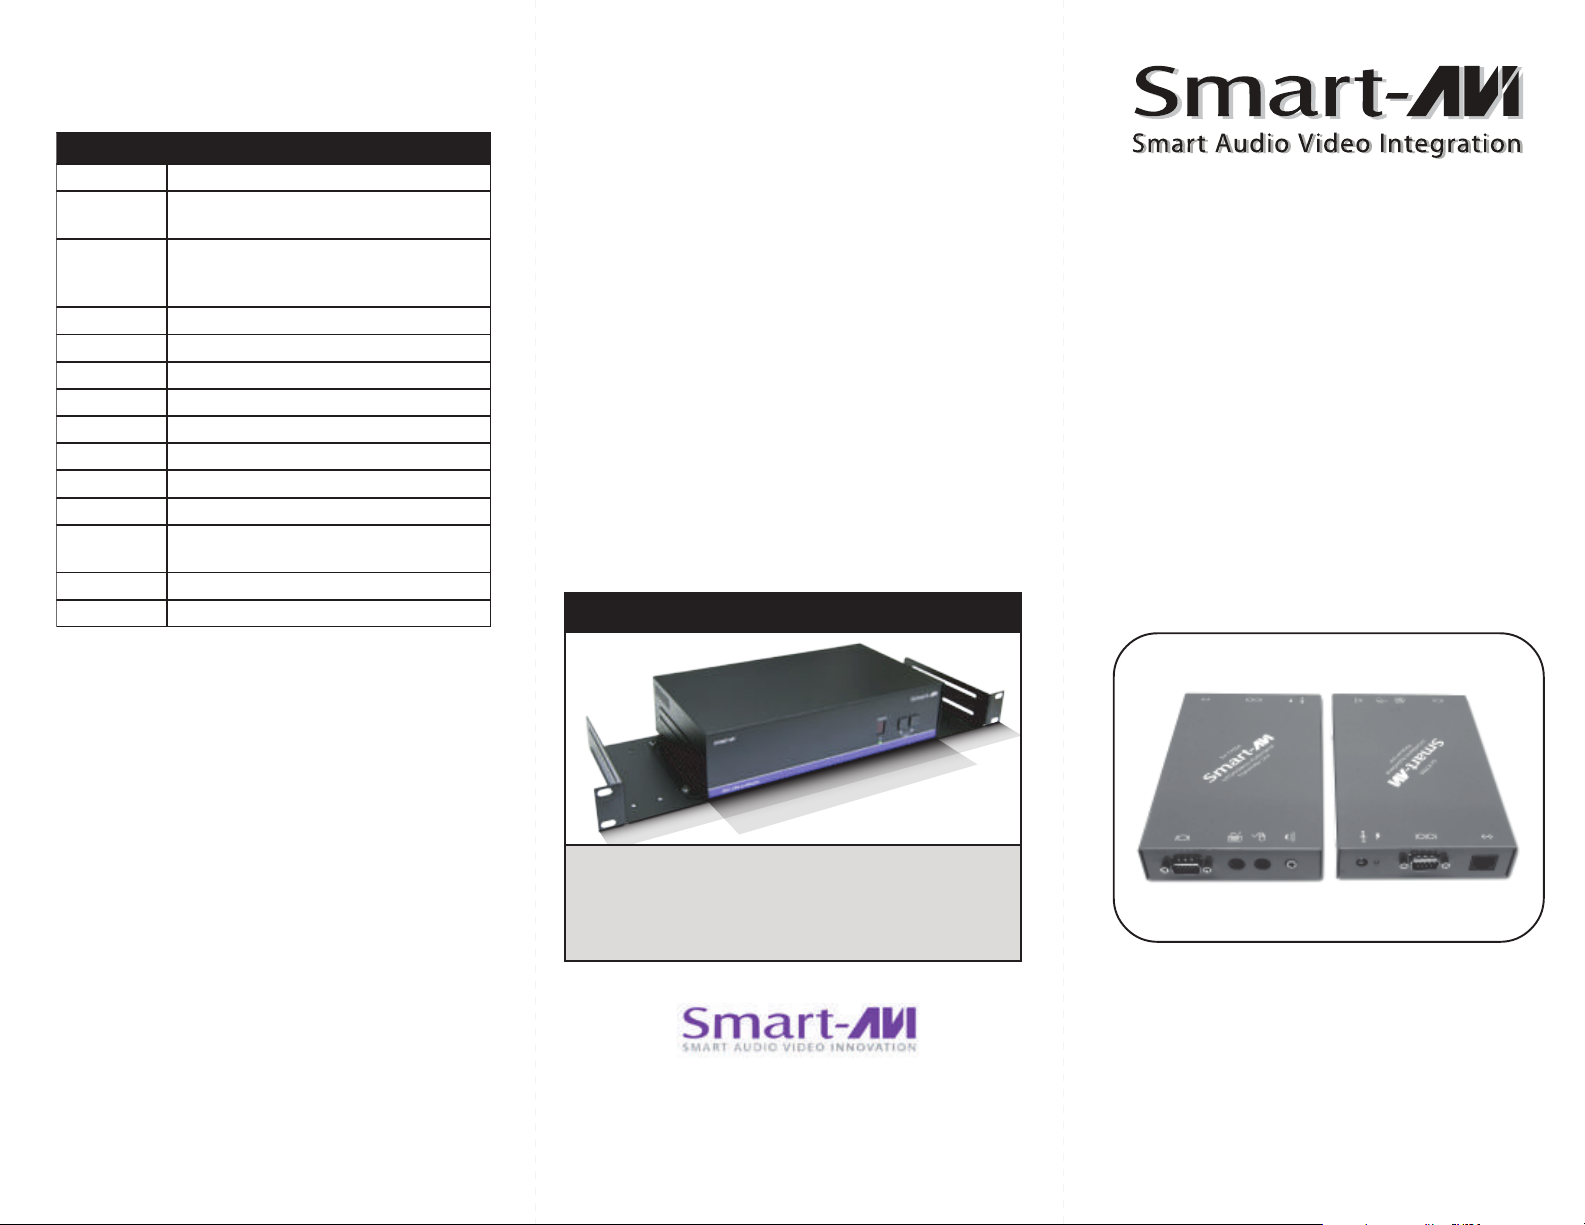
Uses a single CAT5 to extend
Keyboard, Video, Mouse, Audio and RS232
to a remote location up to 1000 ft. away.
SX-500
www.smartavi.com
Quick Start Guide
3111 Winona Ave., Suite 101
Burbank, California 91504
Phone: (818) 565-0011
Facsimile: (818) 565-0020
Technical Specifications
snoitacificepS005-XS snoitacificepS005-XS snoitacificepS005-XS snoitacificepS005-XS snoitacificepS005-XS
oediV oediV oediV oediV oediV
langi .S 0eulB,neerG,deR:langisgolanA
smhO57p-pV7
noituloseR
ecnatsiD
;tf058006x008;tf0001084x046
;tf0064201x0021;tf007867x4201
.tf0650021x0061
cny eS lbitapmocLTTlacitreVdnalatnoziroH
htdiwdnaB zHM003
draobyeK draobyeK draobyeK draobyeK draobye eK lbitapmoC2/SPdradnatS
esuoM esuoM esuoM esuoM esuo e
M lbitapmoC2/SPdradnatS
232SR 232SR 232SR 232SR 232S )R spbk6.75xaM(xelpuDflaH
oiduA oiduA oiduA oiduA oidu tA ekcoskcajmm5.3decnalabnUoeretS
rewoP rewoP rewoP rewoP rewo2 A2CDV21
lacisyhP lacisyhP lacisyhP lacisyhP lacisyhP
snoisnemiD
HxDxW
)ni81.1x45.6x92.4(mm03x661x901
thgie )W bl62.1(gk75.
erusolcnE leetS
5
© Copyright 2011 Smart-AVI, All Rights Reserved
NOTICE
The i n f o r m a tion c o n t ained in this d o cumen t
is subject to change without notice. Smart-AVI makes
no warranty of any kind with regard to this material,
including but not limited to, implied warranties of
merchantability and tness for any particular purpose.
Smart-AVI will not be liable for errors contained herein or for
incidental or consequential damages in connection with the
furnishing, performance or use of this material.
No part of this document may be photocopied, reproduced or
translated into another language without prior written consent
from Smart-AVI.
For more information, visit www.smartavi.com.
SmartAVI, Inc. / Twitter: smartavi
11651 Vanowen St. North Hollywood, CA 91605
Tel: (818) 503-6200 Fax: (818) 503-6208
http://www.SmartAVI.com
Rack Mountable Option
Our SmartRack is the perfect solution to allow
virtually all SmartAVI devices to be custom mounted
in a standard 19” server rack. The SmartRack is fully
adjustable and can secure/organize several devices.
Introduction
The SX-500 is a combination of transmitter and
receiver devices designed to allow access to the PC
from a keyboard, mouse, and monitor at a remote
location up to 1000 ft. away.
Features
Provides remote access to the PC with
keyboard, mouse and monitor.
Uses a single CAT-5 UTP cable to reduce
installation costs.
Extends signals up to 1000 ft.
Supports all PC/AT and PS/2 keyboards with
full emulation.
Caps Lock, Num Lock, and Scroll Lock are
automatically saved and restored.
Supports full emulation and conversion on all
PC/AT and PS/2 mice.
Recognizes and supports a mix of PC/AT and
PS/2 mice.
Compatible with Windows, NT, OS/2, UNIX,
Linux, and other operating systems.
Supports computer monitors with resolutions
of up to 1600x1200.
Offers adjustable cable compensation.
Compact metal enclosure.
Supports stereo audio.
Supports RS232 from 300bps to 19,200 bps.
Compensation for each color.
What’s in the box?
SX-500SX-500
SX-500SX-500
SX-500
Please check the contents of the package before
beginning installation.
Installation Diagram
Installation Instructions
System Power UpSystem Power Up
System Power Up
1. Connect the 9 volt power supplies to the transmitter
and receiver.
2. Turn the system on by plugging in the power adapter,
if it is not yet connected.
3. Power up your computer.
4. Observe to see if both transmitter and receiver power
LEDs are ON, and computer has finished the boot
up process.
5. Observe monitor at receiver end to see if signal is
going through.
Before you power up, ensure that all cables are properly
connected as shown in the diagram below.
Quickstart
1. Connect the video out, keyboard and mouse ports
on your computer to the transmitter using the
supplied KVM cable.
3. Connect the power adapter to the transmitter and
the receiver.
4. Optional - Connect the RS232 on your computer to
the RS232 port on the transmitter unit.
5. Connect a CAT5 cable to the transmitter and run it
over to the receiver.
6. Connect peripherals to the receiver. I.E. keyboard,
mouse, monitor, and optionally a serial device.
7. Once everything is connected power on your
computer and the SX-500 unit.
tnetnoCegakcaP005-XStnetnoCegakcaP005-XS tnetnoCegakcaP005-XS tnetnoCegakcaP005-XStnetnoCegakcaP005-XS
ytQytQ ytQ ytQytQnoitpircseDnoitpircseD noitpircseD noitpircseDnoitpircseDrebmuNtraPrebmuNtraP rebmuNtraP rebmuNtraPrebmuNtraP
1rettimsnarT005-XS005XT-XS
1revieceR005-XS005XR-XS
2ylppuSrewoPA1CDV9SU-A1D9-SP
1MVKelameFotelaM60-FMMVK-CC
seirosseccAlanoitpOseirosseccAlanoitpO seirosseccAlanoitpO seirosseccAlanoitpOseirosseccAlanoitpO
1elbaCoiduAoeretSmm5.360-MMAMM-CC
9V
9V
5V DC 2A Power Supply PS-5D2A-US
5
5