manuals.online logo
Brands
  1. Home
  2. •
  3. Brands
  4. •
  5. SMITH SYSTEM
  6. •
  7. Indoor Furnishing
  8. •
  9. SMITH SYSTEM PLANNER BREAKAWAY PENINSULA 26000 User manual

SMITH SYSTEM PLANNER BREAKAWAY PENINSULA 26000 User manual

01/2008
Form #179694800-328-1061
www.smithsystem.com
If you have damaged or missing components please contact customer service.
BREAKAWAY PENINSULA TABLE
MODEL 26000
ASSEMBLY
INSTRUCTIONS
For assistance in assembling product, missing or damaged parts,
or to place an order, please contact Customer Service at 800-328-1061.
Form# 179694 www.smithsystem.com 08.21.2015
PLANNER™
BREAKAWAY PENINSULA
Planner Breakaway Peninsula
26000 Planner Breakaway Peninsula
HARDWARE AND COMPONENTS
Form# 179694 www.smithsystem.com 08.21.2015
PARTS LIST
28" PLANNER LEG SET W/ HARDWARE
1
77500
BLA, PLT, CMP, NVYCOLORS:
PART NUMBER:
QTY PER UNIT:
DESCRIPTION:
PLANNER ACTIVITY TRAP BRACKETS
1
77513
BLA
COLORS:
PART NUMBER:
QTY PER UNIT:
DESCRIPTION:
COLORS:
CHOICE OF LAMINATE
CHOICE OF T-MOLD
26000*
1
www.smithsystem.com
PART NUMBER:
If you have damaged or missing components please contact customer service.
01/2008
COLORS:
PART NUMBER:
QTY PER UNIT:
DESCRIPTION:
BLA
17557
1
CASTER INSERT PACK (3")
COLORS:
PART NUMBER:
QTY PER UNIT:
DESCRIPTION:
BLA
77505
1
23.75" SUPPORT CHANNEL
PENINSULA TOP KIT
DESCRIPTION:
QTY PER UNIT:
800-328-1061
Form #179694
P/N #77500:
PLANNER LEG SET
WITH HARDWARE
P/N #26000:
BREAKAWAY
PENINSULA TOP KIT
P/N #77513:
PLANNER ACTIVITY
‘TRAP BRACKETS’
P/N #17553:
3” DUAL-WHEEL
CASTER PACK
P/N #77505:
23.75”
SUPPORT CHANNEL
PARTS LIST
28" PLANNER LEG SET W/ HARDWARE
1
77500
BLA, PLT, CMP, NVYCOLORS:
PART NUMBER:
QTY PER UNIT:
DESCRIPTION:
PLANNER ACTIVITY TRAP BRACKETS
1
77513
BLA
COLORS:
PART NUMBER:
QTY PER UNIT:
DESCRIPTION:
COLORS:
CHOICE OF LAMINATE
CHOICE OF T-MOLD
26000*
1
www.smithsystem.com
PART NUMBER:
If you have damaged or missing components please contact customer service.
01/2008
COLORS:
PART NUMBER:
QTY PER UNIT:
DESCRIPTION:
BLA
17557
1
CASTER INSERT PACK (3")
COLORS:
PART NUMBER:
QTY PER UNIT:
DESCRIPTION:
BLA
77505
1
23.75" SUPPORT CHANNEL
PENINSULA TOP KIT
DESCRIPTION:
QTY PER UNIT:
800-328-1061
Form #179694
STEP 1: Lay the top upside down (laminate side down). You should see the pre-drilled holes.
ASSEMBLY INSTRUCTIONS
Form# 179694 www.smithsystem.com 08.21.2015
STEP 2: Loosely attach each leg to the top using the screws included in the leg set carton. Align
the slots on the top plate of the leg to the pre-drilled holes in the top. Do not tighten the screws –
you will do that as one of the final steps.
STEP 3: Loosely attach the support channel to the top using the screws included in the leg set
carton. Align the holes of the channel to the predrilled holes in the top. Do not tighten the screws
– you will do that as on of the final steps.
USE 8 SCREWS
INCLUDED IN
LEG SET CARTON USE 8 ADDITIONAL
SCREWS INCLUDED IN
LEG SET CARTON
INSERTS
REMOVE
A
LEG WITHOUT
INSERTS
SCALE 1 : 4
DETAIL A
THE SET SCREWS TO
LOOSEN AND REMOVE
RELEASE AND REMOVE
THE LEG INSERT
1. LAY TOP UPSIDE DOWN (LAMINATE SIDE DOWN). YOU SHOULD SEE PRE-DRILLED HOLES.
IN THE LEG SET CARTON. ALIGN THE HOLES OF THE CHANNEL TO THE PRE-DRILLED HOLES
FINAL STEPS.
ON THE TOP. DO NOT TIGHTEN THE SCREWS - YOU WILL DO THAT AS ONE OF THE
FINAL STEPS.
www.smithsystem.com
ALLEN WRENCH) INCLUDED IN THE LEG SET CARTON TO LOOSEN AND REMOVE
If you have damaged or missing components please contact customer service.
3. LOOSELY ATTACH EACH LEG TO TOP USING THE SCREWS INCLUDED IN THE LEG SET
01/2008
CARTON. ALIGN THE SLOTS ON THE TOP PLATE OF THE LEG TO THE PRE-DRILLED HOLES
ON THE TOP. DO NOT TIGHTEN THE SCREWS - YOU WILL DO THAT AS ONE OF THE
THE SET SCREWS IN EACH LEG STEM. KEEP THE SET SCREWS ASIDE FOR A STEP 8.
4. LOOSELY ATTACH THE SUPPORT CHANNEL TO THE TOP USING THE SCREWS INCLUDED
2. REMOVE CHROME INSERT IN EACH LEG STEM. USE THE HEX KEY (ALSO KNOWN AS
800-328-1061
Form #179694
PRE-DRILLED HOLES SHOULD BE FACING UP
STEP 6: Use the connector bolts to attach each leg to the trap brackets.
*(Connector bolts are included in the hardware pack in the leg set carton).
STEP 5: Attach the trap brackets to the channel.
*Instructions for the trap bracket are included in it’s carton.
ASSEMBLY INSTRUCTIONS
Form# 179694 www.smithsystem.com 08.21.2015
www.smithsystem.com
10. WITH THE HELP OF AT LEAST ONE OTHER PERSON, TURN THE UNIT OVER (UPRIGHT).
TRAP BRACKETS ARE INCLUDED IN ITS CARTON.
5. ATTACH THE TRAP BRACKETS TO THE THE CHANNEL. INSTRUCTIONS FOR THE
BOLTS ARE INCLUDED IN THE HARDWARE PACK IN THE LEG SET CARTON.
7. TIGHTEN ALL OF THE SCREWS AND CONNECTOR BOLTS IN YOUR ASSEMBLY.
6. USE THE CONNECTOR BOLTS TO ATTACH EACH LEG TO THE TRAP BRACKETS. CONNECTOR
If you have damaged or missing components please contact customer service.
CASTER INSERTS AT THE DESIRED HEIGHT.
USING THE HEX KEY AND SET SCREWS. TIGHTEN THE SET SCREWS TO SECURE THE
8. INSERT THE CASTER INSERT IN EACH LEG STEM. ADJUST THE HEIGHT OF THE INSERT
11. THE PENINSULA BREAKAWAY TABLE IS NOW READY FOR USE.
01/2008
9. DOUBLE CHECK ALL PARTS BEFORE TURNING OVER.
800-328-1061
Form #179694
B
DETAIL B
SCALE 1 : 8
CASTER INSERT
STEP 7: Tighten all of the screws and connector bolts in your assembly.
STEP 8: Insert the caster in each leg, fasten with included wrench.
*(wrench included with caster pack).
STEP 9: With the help of another person, flip the table right side up and assembly is complete.
www.smithsystem.com
10. WITH THE HELP OF AT LEAST ONE OTHER PERSON, TURN THE UNIT OVER (UPRIGHT).
TRAP BRACKETS ARE INCLUDED IN ITS CARTON.
5. ATTACH THE TRAP BRACKETS TO THE THE CHANNEL. INSTRUCTIONS FOR THE
BOLTS ARE INCLUDED IN THE HARDWARE PACK IN THE LEG SET CARTON.
7. TIGHTEN ALL OF THE SCREWS AND CONNECTOR BOLTS IN YOUR ASSEMBLY.
6. USE THE CONNECTOR BOLTS TO ATTACH EACH LEG TO THE TRAP BRACKETS. CONNECTOR
If you have damaged or missing components please contact customer service.
CASTER INSERTS AT THE DESIRED HEIGHT.
USING THE HEX KEY AND SET SCREWS. TIGHTEN THE SET SCREWS TO SECURE THE
8. INSERT THE CASTER INSERT IN EACH LEG STEM. ADJUST THE HEIGHT OF THE INSERT
11. THE PENINSULA BREAKAWAY TABLE IS NOW READY FOR USE.
01/2008
9. DOUBLE CHECK ALL PARTS BEFORE TURNING OVER.
800-328-1061
Form #179694
B
DETAIL B
SCALE 1 : 8
CASTER INSERT
STEP 5: Attach the brackets to the top using (8) #10 wood screws, by first aligning the brackets
with the predrilled holes in the top.
ASSEMBLY INSTRUCTIONS
Form# 179856A www.smithsystem.com 08.21.2015
For Assistance in assembling product, missing or damaged parts,
or to place an order, please contact customer service at 800-328-1061
You may also place your order online at
www.smithsystem.com
Form# 179856A 04/2014
Step 5: Attach the brackets to the top using (8) #10 wood screws, by first aligning the brackets with the
predrilled holes.
Step 6: With help, flip the desk back into its upright position. Your desk is now ready for use. Enjoy!
STEP 6: With the help of another person, flip the desk back into it’s upright position. Your desk is
now ready for use. Enjoy!

Other SMITH SYSTEM Indoor Furnishing manuals

SMITH SYSTEM Second Surface Shelf Kit User manual

SMITH SYSTEM

SMITH SYSTEM Second Surface Shelf Kit User manual

SMITH SYSTEM 25218f User manual

SMITH SYSTEM

SMITH SYSTEM 25218f User manual

SMITH SYSTEM GREEGUARD 24010 User manual

SMITH SYSTEM

SMITH SYSTEM GREEGUARD 24010 User manual

SMITH SYSTEM Rectangle Interchange User manual

SMITH SYSTEM

SMITH SYSTEM Rectangle Interchange User manual

SMITH SYSTEM Planner Studio Bench User manual

SMITH SYSTEM

SMITH SYSTEM Planner Studio Bench User manual

SMITH SYSTEM Silhouette 01600 User manual

SMITH SYSTEM

SMITH SYSTEM Silhouette 01600 User manual

SMITH SYSTEM Flavors P-Tablet User manual

SMITH SYSTEM

SMITH SYSTEM Flavors P-Tablet User manual

SMITH SYSTEM 26547 User manual

SMITH SYSTEM

SMITH SYSTEM 26547 User manual

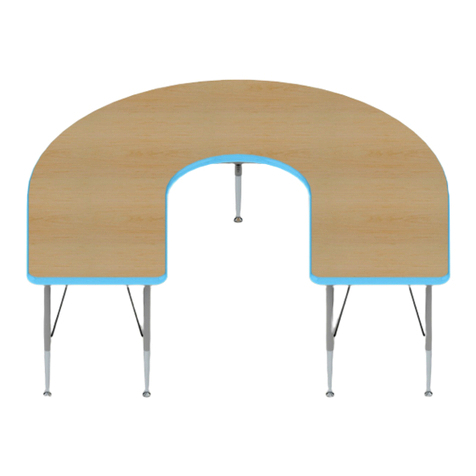
SMITH SYSTEM Horseshoe Activity Table 01933 User manual

SMITH SYSTEM

SMITH SYSTEM Horseshoe Activity Table 01933 User manual

SMITH SYSTEM Cabinet Lectern Pole Kit User manual

SMITH SYSTEM

SMITH SYSTEM Cabinet Lectern Pole Kit User manual

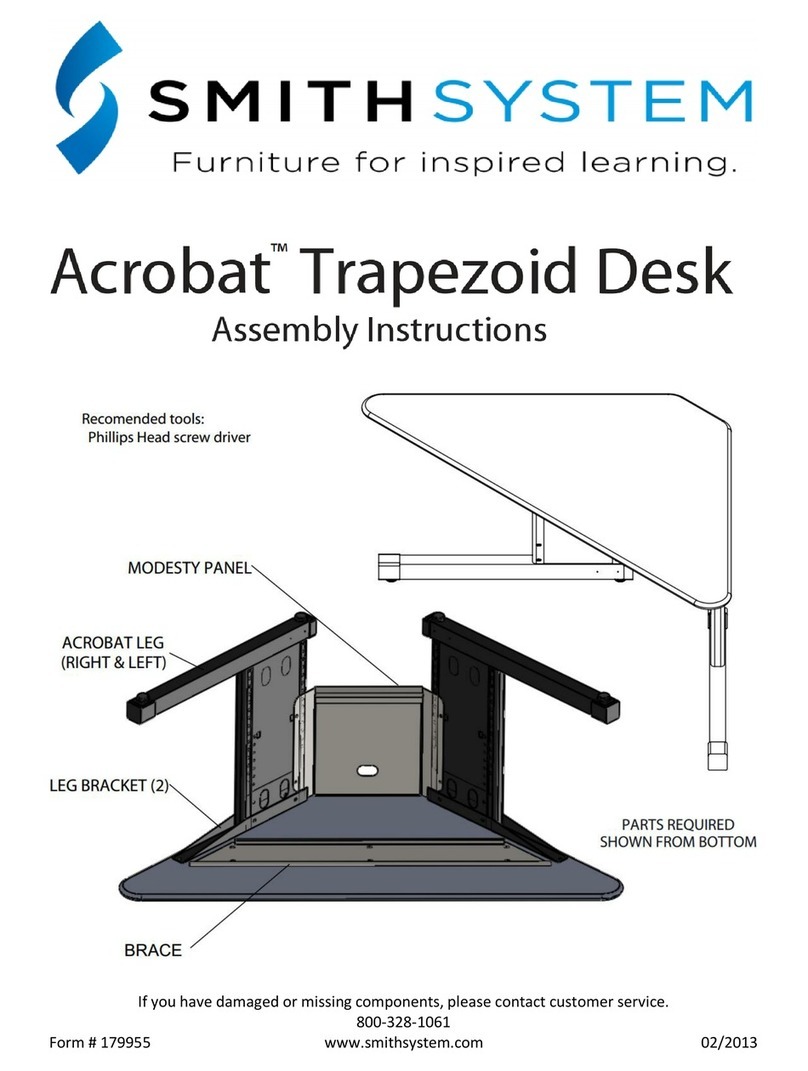
SMITH SYSTEM Axrobat Trapezoid Desk User manual

SMITH SYSTEM

SMITH SYSTEM Axrobat Trapezoid Desk User manual

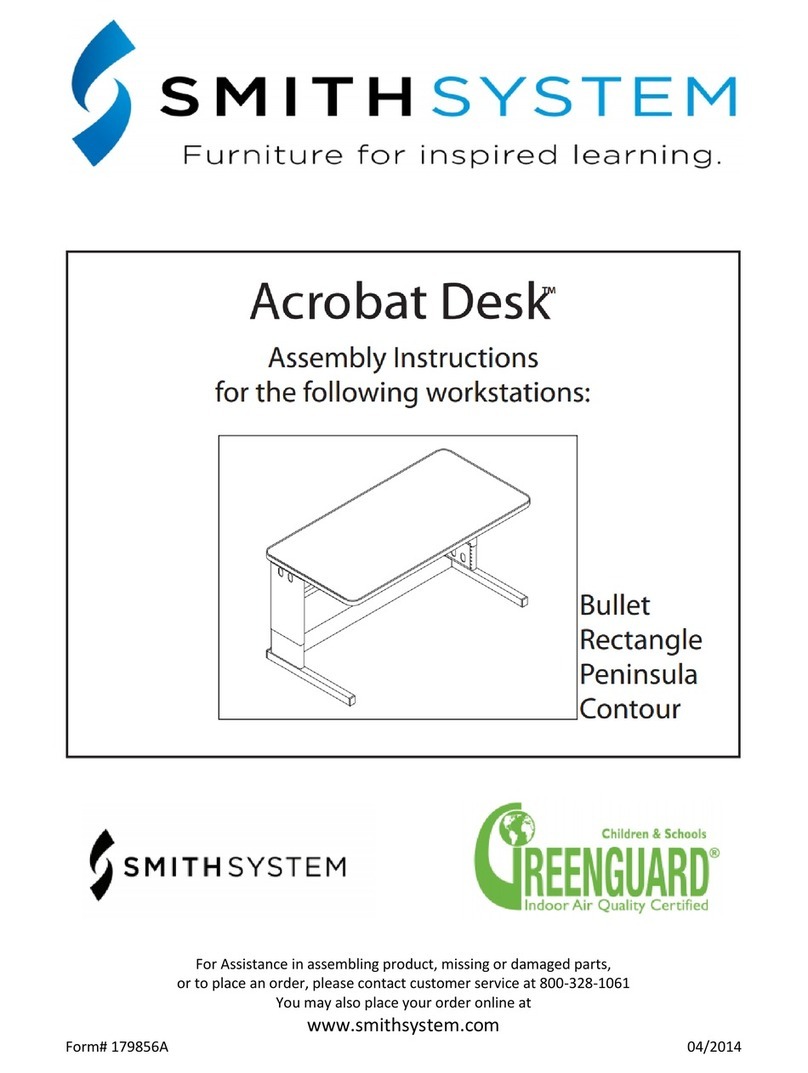
SMITH SYSTEM Acrobat Bullet User manual

SMITH SYSTEM

SMITH SYSTEM Acrobat Bullet User manual

SMITH SYSTEM elemental User manual

SMITH SYSTEM

SMITH SYSTEM elemental User manual

SMITH SYSTEM 26690 User manual

SMITH SYSTEM

SMITH SYSTEM 26690 User manual

SMITH SYSTEM Cascade 26161 User manual

SMITH SYSTEM

SMITH SYSTEM Cascade 26161 User manual

SMITH SYSTEM Cascade User manual

SMITH SYSTEM

SMITH SYSTEM Cascade User manual

SMITH SYSTEM 01350 User manual

SMITH SYSTEM

SMITH SYSTEM 01350 User manual

SMITH SYSTEM UXL P-Tablet Chair XL183P P NT Series User manual

SMITH SYSTEM

SMITH SYSTEM UXL P-Tablet Chair XL183P P NT Series User manual

SMITH SYSTEM UXL User manual

SMITH SYSTEM

SMITH SYSTEM UXL User manual

SMITH SYSTEM Planner Studio User manual

SMITH SYSTEM

SMITH SYSTEM Planner Studio User manual

SMITH SYSTEM NUMBERS 02130 User manual

SMITH SYSTEM

SMITH SYSTEM NUMBERS 02130 User manual

SMITH SYSTEM MOTUM TEACHERS DESK 58021 User manual

SMITH SYSTEM

SMITH SYSTEM MOTUM TEACHERS DESK 58021 User manual

SMITH SYSTEM 27344 User manual

SMITH SYSTEM

SMITH SYSTEM 27344 User manual

SMITH SYSTEM UXL Nest and Fold Table User manual

SMITH SYSTEM

SMITH SYSTEM UXL Nest and Fold Table User manual

Popular Indoor Furnishing manuals by other brands

Regency LWMS3015 Assembly instructions

Regency

Regency LWMS3015 Assembly instructions

Furniture of America CM7751C Assembly instructions

Furniture of America

Furniture of America CM7751C Assembly instructions

Safavieh Furniture Estella CNS5731 manual

Safavieh Furniture

Safavieh Furniture Estella CNS5731 manual

PLACES OF STYLE Ovalfuss Assembly instruction

PLACES OF STYLE

PLACES OF STYLE Ovalfuss Assembly instruction

Trasman 1138 Bo1 Assembly manual

Trasman

Trasman 1138 Bo1 Assembly manual

Costway JV10856 manual

Costway

Costway JV10856 manual

moss DESIGN Caisson Credenza Assembly instructions

moss DESIGN

moss DESIGN Caisson Credenza Assembly instructions

Aquaglide FULL DECK 15.0 owner's manual

Aquaglide

Aquaglide FULL DECK 15.0 owner's manual

AREBOS AR-HE-SW30 user manual

AREBOS

AREBOS AR-HE-SW30 user manual

Till-Hilft Fulda 87005.330 Assembly instructions

Till-Hilft

Till-Hilft Fulda 87005.330 Assembly instructions

Twoey Outside 2010 quick start guide

Twoey Outside

Twoey Outside 2010 quick start guide

Hettich Easys 200 operating instructions

Hettich

Hettich Easys 200 operating instructions

The bedboss RELAX 404 Series owner's manual

The bedboss

The bedboss RELAX 404 Series owner's manual

Oeseder Möbelindustrie Bern 991 720 Assembly instructions

Oeseder Möbelindustrie

Oeseder Möbelindustrie Bern 991 720 Assembly instructions

Costway HW68469 user manual

Costway

Costway HW68469 user manual

Next ALIX A27743 Assembly instructions

Next

Next ALIX A27743 Assembly instructions

BROSA Hans Assembly guide

BROSA

BROSA Hans Assembly guide

Prodigg MINIKA PBA015T-FUR installation manual

Prodigg

Prodigg MINIKA PBA015T-FUR installation manual

manuals.online logo
manuals.online logoBrands
  • About & Mission
  • Contact us
  • Privacy Policy
  • Terms and Conditions

Copyright 2025 Manuals.Online. All Rights Reserved.