manuals.online logo
Brands
  1. Home
  2. •
  3. Brands
  4. •
  5. SOMFY
  6. •
  7. Home Automation
  8. •
  9. SOMFY DIY AUTOMATION KIT User manual

SOMFY DIY AUTOMATION KIT User manual

Other SOMFY Home Automation manuals

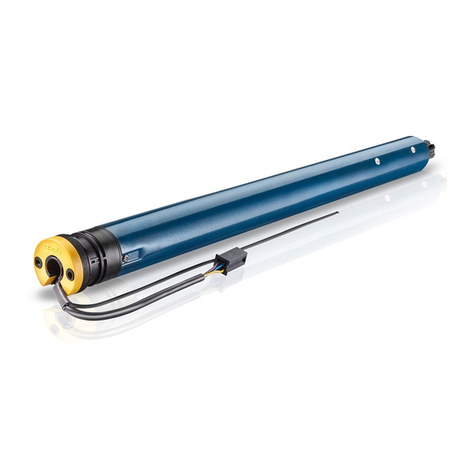
SOMFY Sunea io User manual

SOMFY

SOMFY Sunea io User manual

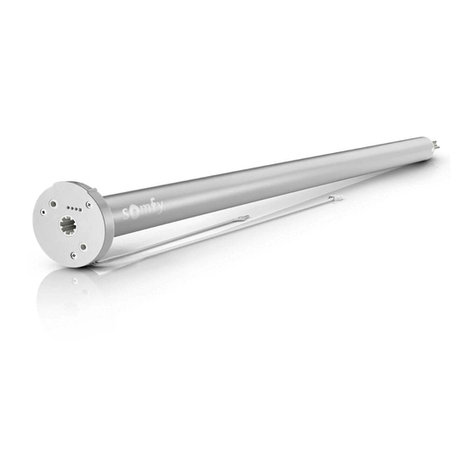
SOMFY LV25 User manual

SOMFY

SOMFY LV25 User manual

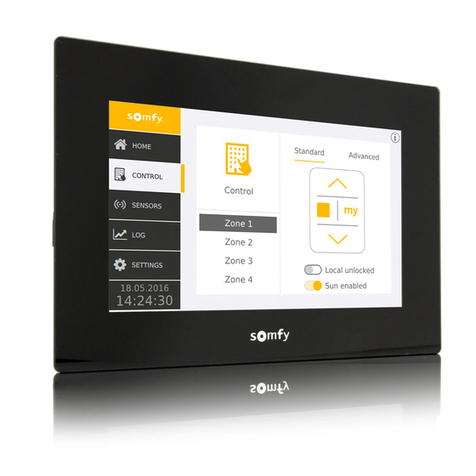
SOMFY Irismo DC User manual

SOMFY

SOMFY Irismo DC User manual

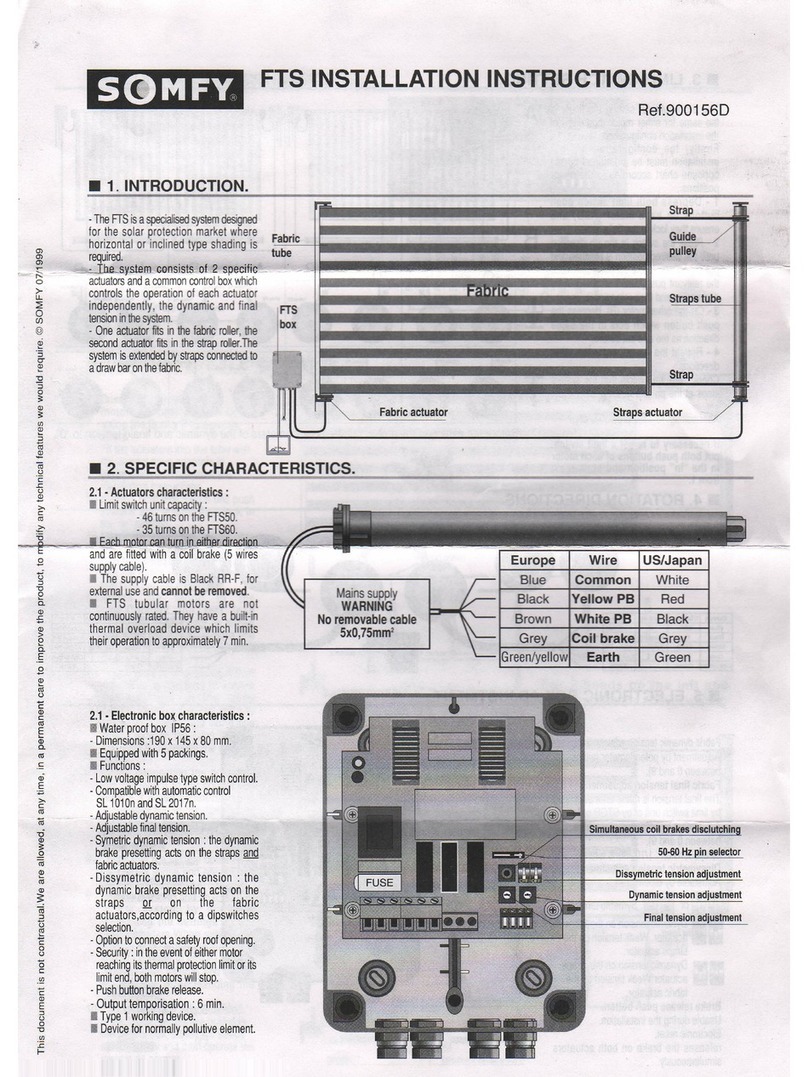
SOMFY TaHoma Assembly instructions

SOMFY

SOMFY TaHoma Assembly instructions

SOMFY Tilt 50 RTS User manual

SOMFY

SOMFY Tilt 50 RTS User manual

SOMFY Irismo Plus User manual

SOMFY

SOMFY Irismo Plus User manual

SOMFY TaHoma Serenity User manual

SOMFY

SOMFY TaHoma Serenity User manual

SOMFY sonesse 30 rts User manual

SOMFY

SOMFY sonesse 30 rts User manual

SOMFY ST28WF Installation manual

SOMFY

SOMFY ST28WF Installation manual

SOMFY Home Motion Glystro User manual

SOMFY

SOMFY Home Motion Glystro User manual

SOMFY Sonesse 40 PA User manual

SOMFY

SOMFY Sonesse 40 PA User manual

SOMFY Connectivity kit User manual

SOMFY

SOMFY Connectivity kit User manual

SOMFY PACK SOMFY ONE+ User manual

SOMFY

SOMFY PACK SOMFY ONE+ User manual

SOMFY sonesse 30 rts User manual

SOMFY

SOMFY sonesse 30 rts User manual

SOMFY IXENGO S User manual

SOMFY

SOMFY IXENGO S User manual

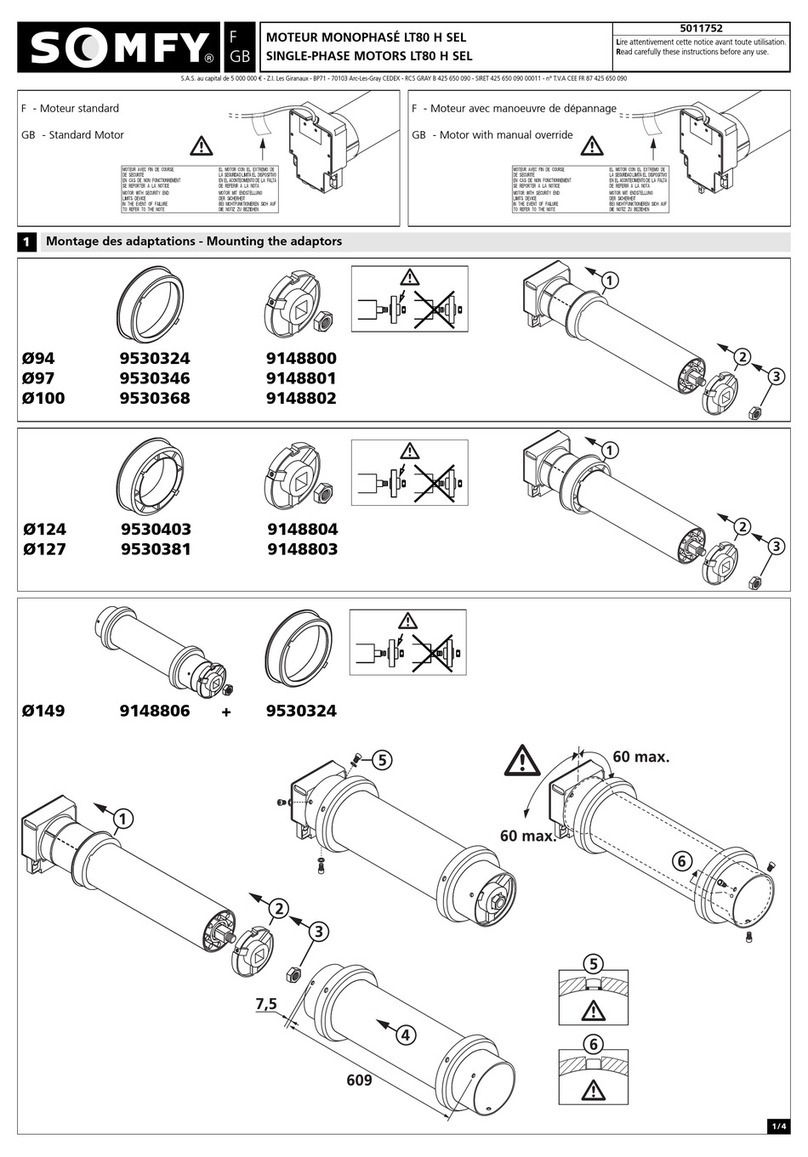
SOMFY LT80 H SEL User manual

SOMFY

SOMFY LT80 H SEL User manual

SOMFY MC PRO Series User manual

SOMFY

SOMFY MC PRO Series User manual

SOMFY 4120 User manual

SOMFY

SOMFY 4120 User manual

SOMFY TAHOMA RTS Quick setup guide

SOMFY

SOMFY TAHOMA RTS Quick setup guide

SOMFY TaHoma Operation manual

SOMFY

SOMFY TaHoma Operation manual

SOMFY Smoove Origin RS100 io User manual

SOMFY

SOMFY Smoove Origin RS100 io User manual

SOMFY Ixengo L User manual

SOMFY

SOMFY Ixengo L User manual

SOMFY TaHoma User manual

SOMFY

SOMFY TaHoma User manual

SOMFY Opening and shock sensor User manual

SOMFY

SOMFY Opening and shock sensor User manual

Popular Home Automation manuals by other brands

Elko RF KEY manual

Elko

Elko RF KEY manual

Truth Hardware Sentry II installation instructions

Truth Hardware

Truth Hardware Sentry II installation instructions

FIBARO FGWPA-111 user manual

FIBARO

FIBARO FGWPA-111 user manual

Hezborg BGR8016B product manual

Hezborg

Hezborg BGR8016B product manual

MYDLINK Pro Series Quick installation guide

MYDLINK

MYDLINK Pro Series Quick installation guide

EVERSPRING AN180 manual

EVERSPRING

EVERSPRING AN180 manual

Panasonic KX-HNA101FX installation guide

Panasonic

Panasonic KX-HNA101FX installation guide

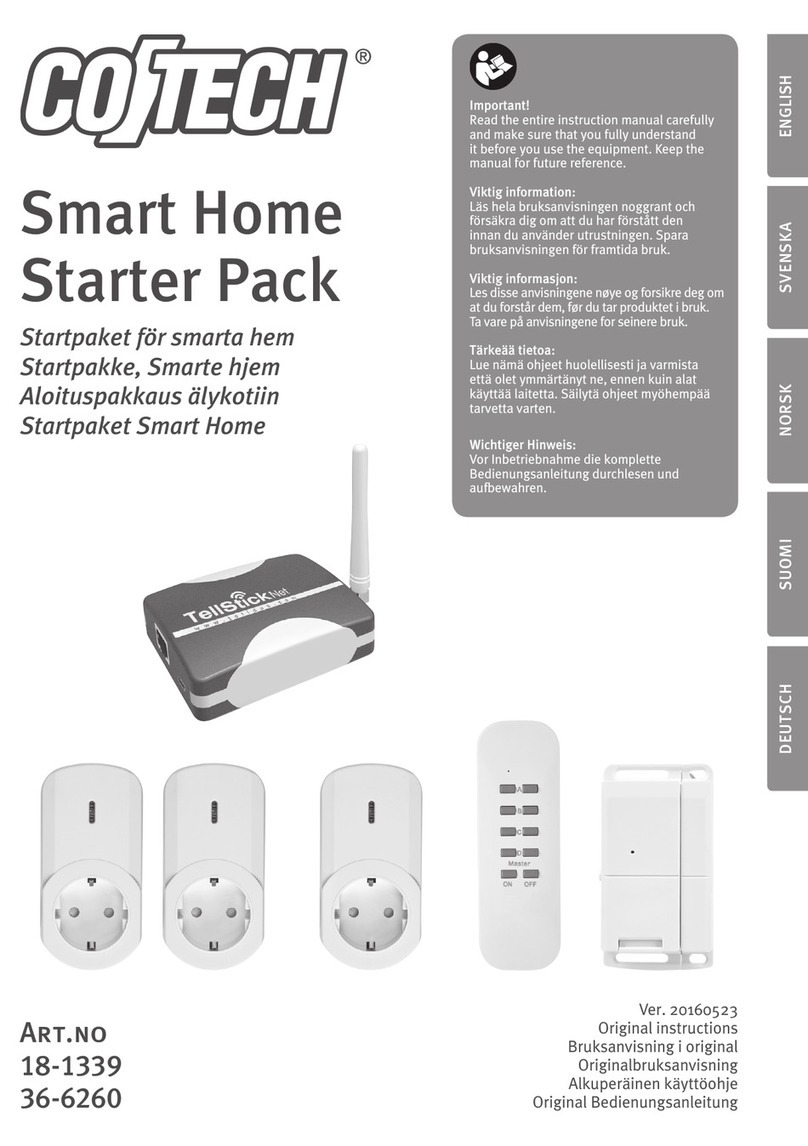
Coltech 18-1339 Original instructions

Coltech

Coltech 18-1339 Original instructions

nedis WIFILRF10C37 quick start guide

nedis

nedis WIFILRF10C37 quick start guide

Veho TA45 manual

Veho

Veho TA45 manual

Nexa ZPR-111 manual

Nexa

Nexa ZPR-111 manual

Leviton 47604-F6 installation instructions

Leviton

Leviton 47604-F6 installation instructions

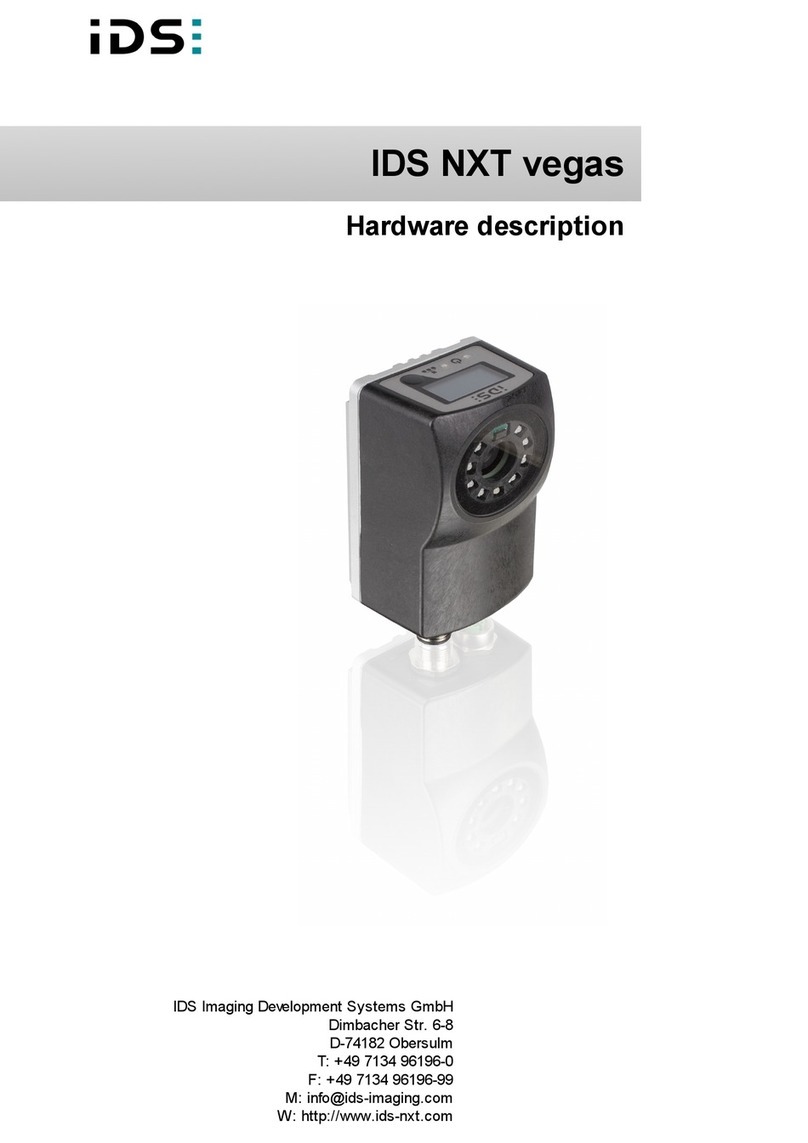
IDS NXT vegas Hardware description

IDS

IDS NXT vegas Hardware description

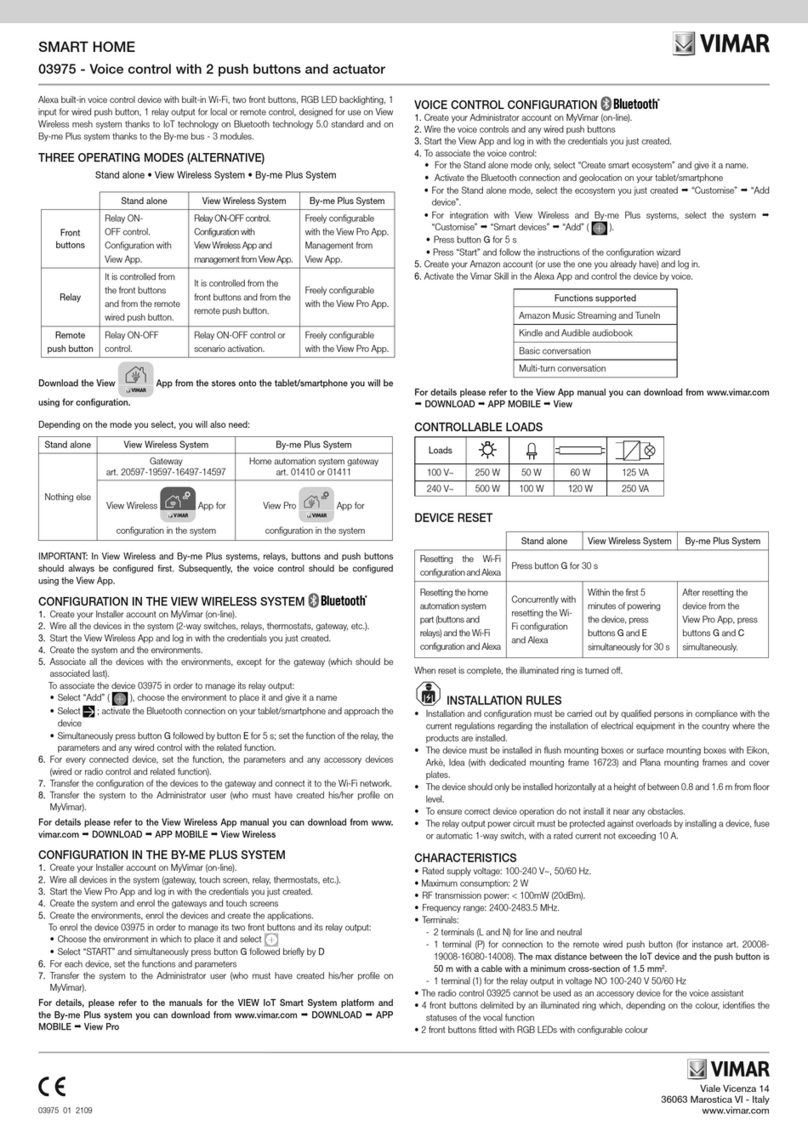
Vimar 03975 user manual

Vimar

Vimar 03975 user manual

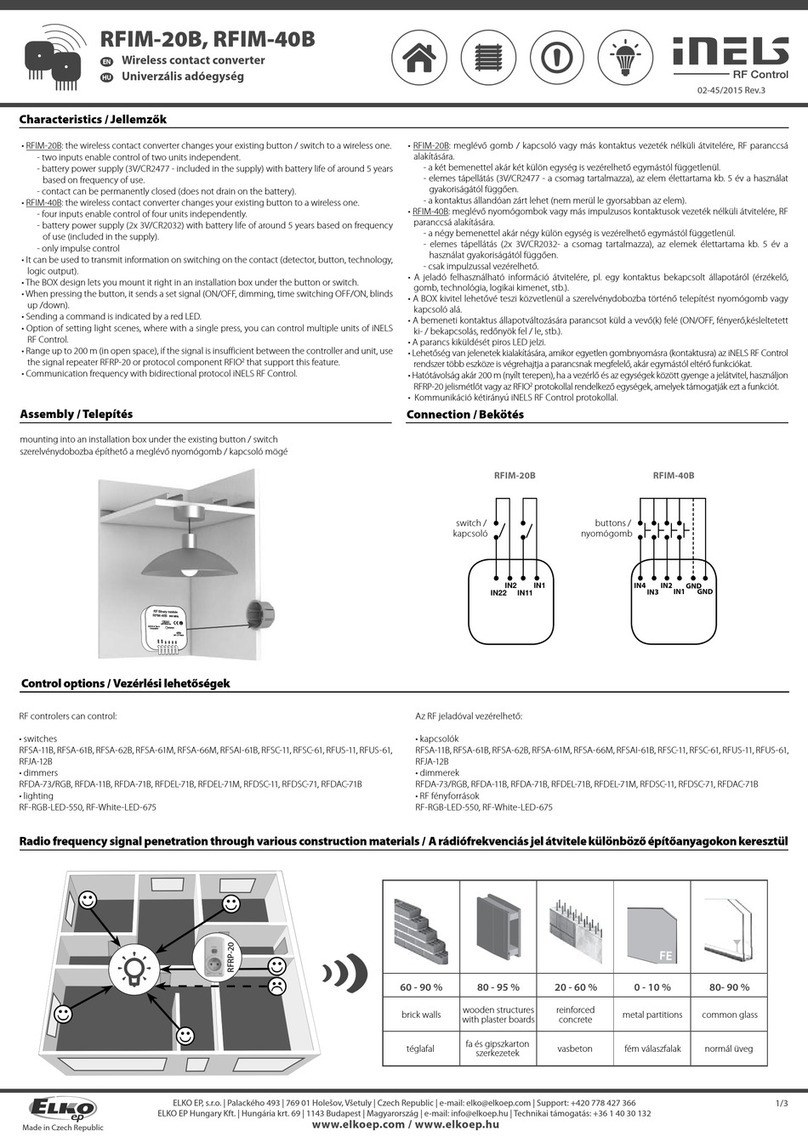
iNels RFIM-20B manual

iNels

iNels RFIM-20B manual

EVA Logik ZW30 manual

EVA Logik

EVA Logik ZW30 manual

Leviton ODCØP-S0W installation instructions

Leviton

Leviton ODCØP-S0W installation instructions

Vertilux VTi CELTIC DC Programming instructions

Vertilux

Vertilux VTi CELTIC DC Programming instructions

manuals.online logo
manuals.online logoBrands
  • About & Mission
  • Contact us
  • Privacy Policy
  • Terms and Conditions

Copyright 2025 Manuals.Online. All Rights Reserved.

DIY AUTOMATION KIT
FOR A ROLLER BLIND
INSTALLATION GUIDE
32
1.6m aluminium tube 40mm diameter with double-sided tape
Somfy cutting guide
Somfy Motor, Roll Up 28 WF RTS Li-ion
Somfy Charger
Screws and wall plugs
Somfy Remote, Telis 1
Bracket covers
Brackets
Drive plate
Idle end
Drive wheel and crown wheel
CONTENT OF KIT
54
Disassemble current roller blind and remove the fabric. Slide the motor into the tube and the idle end (I) onto the
opposite end of the tube.
.
Measure the width of your existing roller blind tube, mark
the new aluminium tube to this width and saw vertically to
length using the cutting guide. Start sawing on the tape. Peel the backing off the double-sided tape and fix the
fabric to it. Make sure the fabric lies flat on the tube
without creases. To help mount the fabric straight and
wrinkle free, peel the backing tape off in steps.
Fit the crown wheel (C), drive wheel (D) and drive plate (P)
to the motor.
STEP 1 STEP 4
STEP 2
STEP 5
Continue to
steps 6-9
STEP 3
C
D
P
I
!
!
INSTALLATION OF THE ROLLER
BLIND DIY AUTOMATION KIT
STEP 6a
STEP 6b
STEP 7
76
STEP 8
STEP 9
First determine
how you want the
blind to roll. The
blind can either
roll close to the
window (i) for
light exclusion or
over the roller (ii)
to avoid fittings.
Carefully mark the
positions for the
screw holes of the
left bracket (L). Drill
the holes** and
fix the bracket in
position (1).
Hang the blind in
the left bracket and
check that it is level
using a levelling
device. Carefully
mark the positions
of the 2 holes of the
right bracket (R).
Remove the blind,
drill the holes** and
fix the right bracket
in position (2).
Hang the roller
blind in position
between the
brackets. Fix drive
end (1) first then
click the idle end
(2) in position.
Finally fit the
bracket covers in
position.
Then decide
whether to face fix
(iii) or top fix (iv)
your blind.
Fitting your blind outside the
window recess.
Follow these steps to centre your blind in the
middle of your window:
The measurements at either end of the recess (C)
need to be the same.
To work out (C):
1) Measure and note the width of the
window recess (B).
2) Measure and note the width of the blind (A).
3) Take measurement (B) away from
measurement (A) and divide the answer by 2 to
get measurement (C).
We recommend face fix if
• you want to fit the brackets
directly to the window frame.
We recommend top fix if:
• you have PVC window frames
• there are obstructions,
like handles
(iii) Face fix
Face fix
measuring*
Fixing the
brackets**
Fixing the
brackets**
Top fix
measuring*
*When measuring and hanging, make sure that the flange on the
motor head points down to fit in the bracket. Also ensure the idle end
plunger (opposite the motor end) is depressed by at least 5mm when
marking the hole positions and hanging the blind.
** If securing to plaster, brick, stone, etc., drill the holes at the
marked positions using a 5 mm masonry drill bit and insert the wall
plugs supplied. Fix the brackets in place using the screws supplied.
easiest with
2 people
(i) Close to window
(iv) Top fix
(ii) Over the roller
A
BC
L
1
L
1 1
R2
R
2 2
C
Face fix Top fix
PREPARE YOUR ROLLER BLIND
FOR FITTING
Somfy Limited
Unit 7, Lancaster Way
Yeadon, Leeds
West Yorkshire LS19 7ZA
United Kingdom
T: +44 113 391 3030
www.somfy.co.uk
Somfy Nederland B.V.
Jacobus Ahrendlaan 1
2132LP Hoofddorp
The Netherlands
T: +31 900 22 22 266
www.somfy.nl
8
For more information about how to set up the motor and the
remote please refer to the interactive swipeguide:
https://somfy.swipeguide.com/guide/diy-kit-roller-blinds
Alternatively check the seperately provided installation guides
of the motor and the remote.
MOTOR
AND
REMOTE
SETUP: