manuals.online logo
Brands
  1. Home
  2. •
  3. Brands
  4. •
  5. Sony
  6. •
  7. Projector Accessories
  8. •
  9. Sony HCS-W80 User manual

Sony HCS-W80 User manual

© 2005 Sony Corporation
Projector Screen
Instructions
Owner’s Record
The model and serial numbers are located on the rear. Record the
serial number in the space provided below. Refer to these numbers
whenever you call your Sony dealer regarding this product.
Model No. HCS-W80
Serial No.
Contacting Sony
If you have any question regarding this product or require
technical assistance, please call Sony Customer Service
Engineering at 1-866-347-7669.
HCS-W80
2-561-800-01 (1)
Warning
For Customers
Sufficient expertise is required for installing this
product. Installation should be performed by a
licensed contractor only. Proper safety precautions
should be taken during the handling and installation
of the screen.
Insure that the wall on which the screen is to
be installed is of sufficient strength to support
the screen
If the wall is unstable, uneven or not perpendicular to
the floor, the screen may fall and cause damage to the
screen and injury to persons. The wall should be
capable of supporting a weight of at least four times
the screen weight.
Keep fire away from the screen
The surface of the screen may burn if exposed directly
to flames.
Do not use packing materials for any other
purposes
If a small child should get the vinyl sheet of the
packing materials around his or her neck or put it over
his or her head, suffocation may occur.
Do not disassemble or make alterations to the
parts of the projector screen
If you do this, the characteristic of the screen will
deteriorate. The screen may fall, causing injury to
persons.
Do not apply any load to the screen, and do
not lean on or hang from the screen
If you do this, the screen surface may become damaged
or deformed, or the screen may fall on you and cause
serious injury.
For Sony Dealers
Precautions for installation of the screen
Installation should be performed by a licensed
contractor only and keep small children away during
the installation. If the screen is not installed correctly,
the following accidents (without limitation) may occur:
•The screen may fall and cause serious personal injury
and/or property damage.
•If the wall is unstable, uneven or not perpendicular to
the floor, the screen may fall and cause damage to the
screen and injury to persons. The wall should be
capable of supporting a weight of at least four times
the screen weight.
•If the installation of the screen on the wall is not
sufficiently secure, the screen may fall and cause
injury or damage to property.
Be sure to subcontract transportation,
installation or dismounting of the screen to
qualified, licensed contractors
If persons other than qualified, licensed contractors
transport, install or dismount the screen, it may fall and
cause injury or property damage. Be sure that two or
more persons carry or dismount the screen.
Do not leave the screws within reach of small
children
Be careful that small children do not swallow the
supplied screws by mistake.
Precautions
On Use
•Do not expose the screen to rain. The characteristic of
the screen may deteriorate.
•Be careful that moisture condensation does not occur
on the screen surface. If it does, the characteristic of
the screen may deteriorate.
•Do not expose the screen to direct sunlight,
particularly ultraviolet rays, for an extended period of
time. The screen surface may be sunburnt and
become discolored.
•Do not write or paint on the screen. Written or
painted marks may not be erased, and they result in
severe deterioration of the characteristic of the
screen.
•Do not rub on the screen surface strongly or push
your hand against it. Scratches may occur and result
in severe deterioration of the characteristic of the
screen.
•If there is an odor of adhesive, leave the screen in a
well ventilated area for 24 hours or more. The vapor
is not harmful to persons.
•Do not install or use the screen in a highly heated,
humid or extremely contaminated location. Doing so
may result in deterioration of the characteristic of the
screen. In particular, nicotine stains may be difficult
to remove.
On Cleaning
As the screen surface has a special coating, clean the
screen as follows to prevent damage to the screen:
•Clean the screen with a soft cloth. Do not use paper
towels to clean the screen as they may scratch the
surface.
•To remove hard contamination, use the cloth
moistened with mild detergent solution and water. Do
not spray cleaning solution directly onto the screen. It
should only be sprayed onto the cleaning cloth.
•Do not use any type of abrasive pad, alkaline cleaner,
acid cleaner, scouring powder, chemical cloth, or
solvent such as alcohol, benzene or thinner, as these
may scratch the screen’s coating.
Recommended
Installation
Optimum viewing can be obtained if you determine
the screen height for installation referring to the
following as a guide.
Ceiling installation
X
V
H
Floor installation
V
H
X
X = (H + V)/2 + 100 mm
X: Distance between the floor and the center of the
screen
H: Distance between the floor and the center of the
projector lens
V: Distance from the floor to your eyes
Installing the Screen
WARNING
Installation should be performed by a licensed
contractor only.
Caution
The wall that the screen is to be installed on should be
capable of supporting a weight at least four times that
of the screen (see “Specifications”). Check the
strength of the wall the screen will be installed on.
Reinforce the wall sufficiently if necessary.
Installing the Screen
1Fix the screen to the wall using the supplied four
screws (Ø 4.1 ×20) with a Phillips screwdriver.
Introduction
The Sony HCS-W80 projector screen is designed to
reflect RGB wavelength band selectively while other
bands are absorbed without being reflected. This
characteristic of the screen provides higher contrast in
ambient light conditions and realizes ultimate black
level on the front projection screen.
Unpacking
Open the package and check the parts.
Screen
Screw (Ø 4.1 ×20 mm) (4)
Corner cover (4)
Instructions (1)
Warranty (1)
Screw
(Ø 4.1 ×20 mm)
(supplied)
2Align the supplied four corner covers with the
positions where the screws have been tightened in
step 1, then push in the covers until they click.
To remove the screen
1Push in the catches on the corner covers using a
flat-head screwdriver to release and then remove
the four corner covers.
2Remove the four screws on the corners of the
screen.
WARNING
Make sure that two or more persons hold the screen to
remove it.
Specifications
Screen size
80 inches (measured diagonally) (aspect ratio:
16:9)
Screen type
Wall-mount screen
Weight
7.7 kg (17 lb)
Dimensions
1047 (411/4)
1772 (697/8)
1822 (713/4)
80 inches
997 (393/8)
Design and specifications are subject to change
without notice.
Center of the screen
Center of the lens
Eyes
Eyes
Center of the lens
Unit: mm (inches)
Printed on 100% recycled paper using VOC (Volatile
Organic Compound)-free vegetable oil based ink.

Other Sony Projector Accessories manuals

Sony PSS-610 User manual

Sony

Sony PSS-610 User manual

Sony Vision Exchange PEQ-C100 Reference guide

Sony

Sony Vision Exchange PEQ-C100 Reference guide

Sony LMP-F370 User manual

Sony

Sony LMP-F370 User manual

Sony SU-XTQ005 User manual

Sony

Sony SU-XTQ005 User manual

Sony LMP-C280 User manual

Sony

Sony LMP-C280 User manual

Sony LMP-P200 User manual

Sony

Sony LMP-P200 User manual

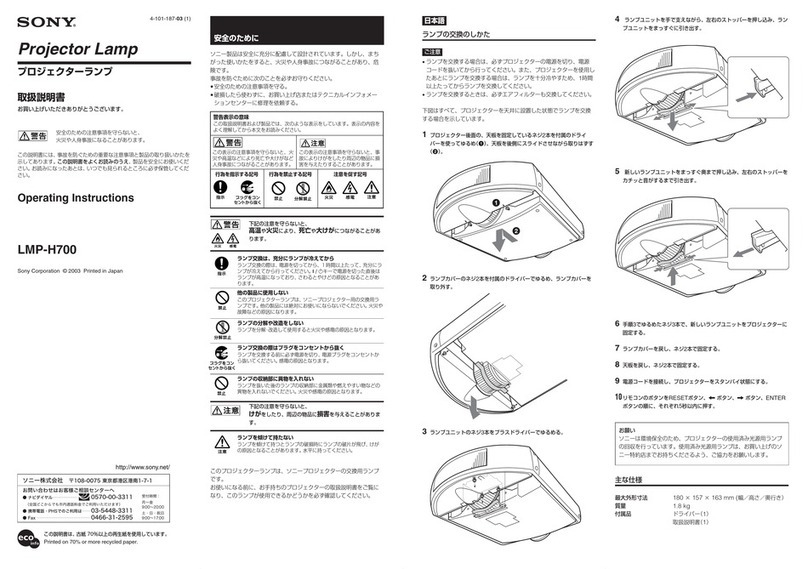
Sony LMP-H700 User manual

Sony

Sony LMP-H700 User manual

Sony VCL-CPJ07 User manual

Sony

Sony VCL-CPJ07 User manual

Sony LMP-LS2000 User manual

Sony

Sony LMP-LS2000 User manual

Sony LMP-Q120 User manual

Sony

Sony LMP-Q120 User manual

Sony LMP-E220 User manual

Sony

Sony LMP-E220 User manual

Sony LMP-H202 User manual

Sony

Sony LMP-H202 User manual

Sony VID-P150 User manual

Sony

Sony VID-P150 User manual

Sony VPL-AW15VPS User manual

Sony

Sony VPL-AW15VPS User manual

Sony VID-P110 User manual

Sony

Sony VID-P110 User manual

Sony SU-XWQ005 User manual

Sony

Sony SU-XWQ005 User manual

Sony LMP-H330 User manual

Sony

Sony LMP-H330 User manual

Sony SU-PJ2000 User manual

Sony

Sony SU-PJ2000 User manual

Sony LMP-H400 User manual

Sony

Sony LMP-H400 User manual

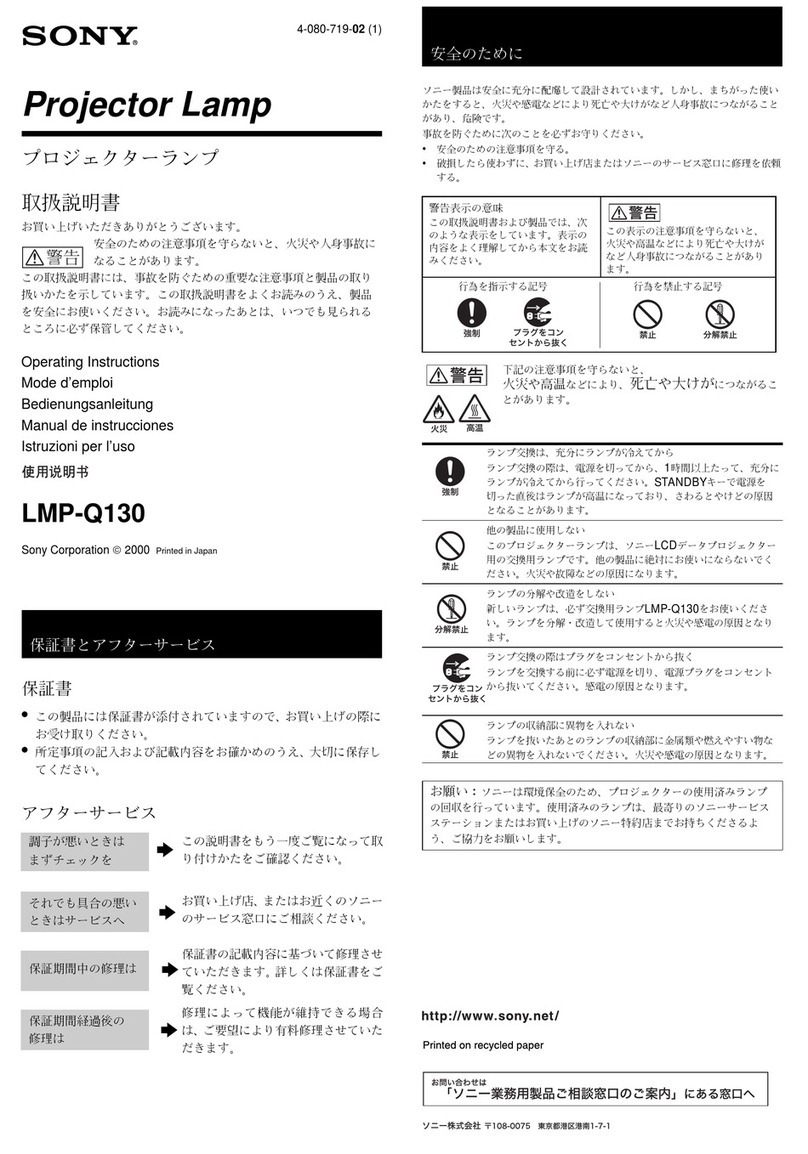
Sony LMP-Q130 User manual

Sony

Sony LMP-Q130 User manual

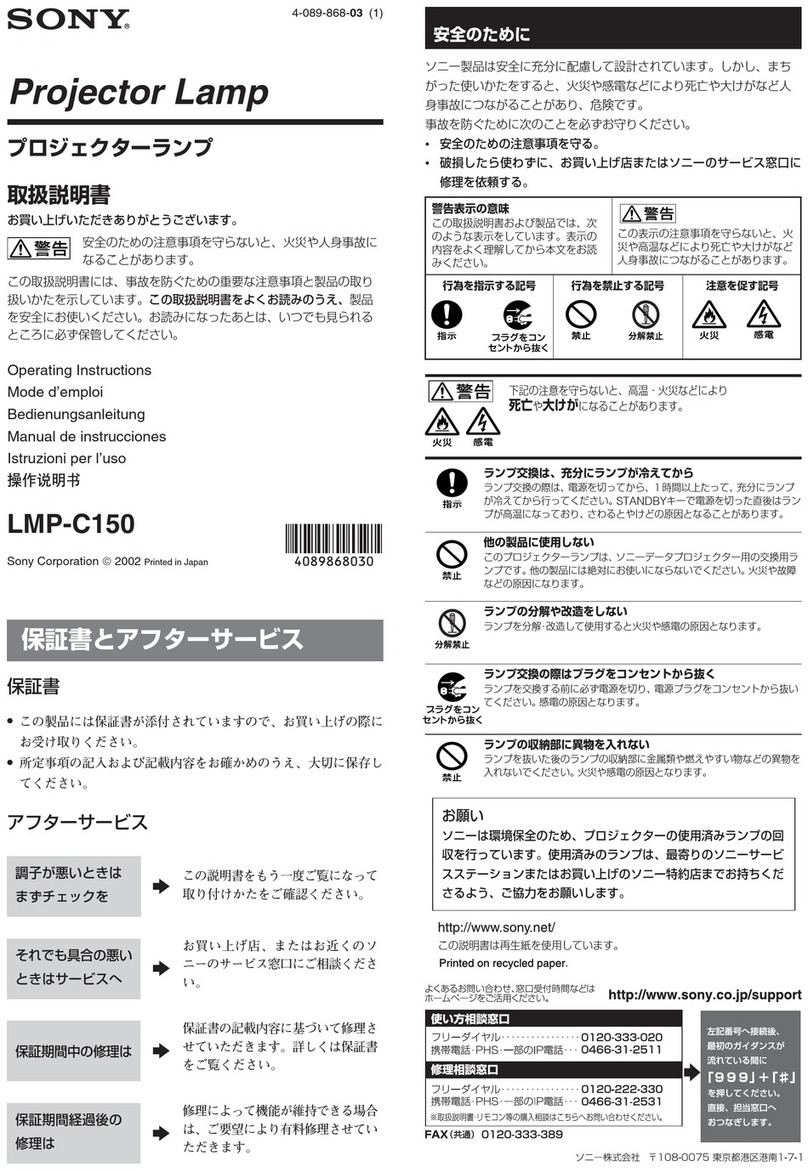
Sony LMP-C150 User manual

Sony

Sony LMP-C150 User manual

Sony REA-C1000 User manual

Sony

Sony REA-C1000 User manual

Sony VPDL-ZP50 User manual

Sony

Sony VPDL-ZP50 User manual

Sony EOB6635 User manual

Sony

Sony EOB6635 User manual

Popular Projector Accessories manuals by other brands

Optoma BX-AL133B datasheet

Optoma

Optoma BX-AL133B datasheet

PEERLESS PE 1120 Installation and assembly

PEERLESS

PEERLESS PE 1120 Installation and assembly

Osram SIRIUS HRI Series Directions for use

Osram

Osram SIRIUS HRI Series Directions for use

Presentation Switchers PS111 quick start

Presentation Switchers

Presentation Switchers PS111 quick start

Kramer VIA GO user manual

Kramer

Kramer VIA GO user manual

Yamaha PJL-112 Replacement guide

Yamaha

Yamaha PJL-112 Replacement guide

Mitsubishi Electric 236CB Features

Mitsubishi Electric

Mitsubishi Electric 236CB Features

Epson BrightLink 475Wi user guide

Epson

Epson BrightLink 475Wi user guide

Acer WP100 quick guide

Acer

Acer WP100 quick guide

Biamp Modena Hub Network administrator's guide

Biamp

Biamp Modena Hub Network administrator's guide

Panamorph DCR-S3 installation guide

Panamorph

Panamorph DCR-S3 installation guide

Exact solutions FRAME-EVO-P10 manual

Exact solutions

Exact solutions FRAME-EVO-P10 manual

i3 i3board user manual

i3

i3 i3board user manual

CHIEF VCM103S installation instructions

CHIEF

CHIEF VCM103S installation instructions

InFocus LP70+ Replacement instructions

InFocus

InFocus LP70+ Replacement instructions

Sharp AN-PH20EZ Operation manual

Sharp

Sharp AN-PH20EZ Operation manual

PDR UPM51 product manual

PDR

PDR UPM51 product manual

CHIEF HB-43E installation instructions

CHIEF

CHIEF HB-43E installation instructions

manuals.online logo
manuals.online logoBrands
  • About & Mission
  • Contact us
  • Privacy Policy
  • Terms and Conditions

Copyright 2025 Manuals.Online. All Rights Reserved.