Specac Apex 400 Press User manual

644-003 2I-25200-2
Apex 400 Press
Hydraulic Presses
User Manual

User Manual
2
Apex 400 Press Hydraulic Press
CONTENTS
APEX 400 PRESS HYDRAULIC PRESS ....................................................2
LIST OF SAFETY SYMBOLS ....................................................................3
1. INTRODUCTION .................................................................................4
2. UNPACKING,CHECKING AND INSTALLATION........................................5
3. GENERAL SAFETY.............................................................................8
4. DIAGRAMS -APEX 400 PRESS.........................................................12
Front View.............................................................................................. 12
Back View............................................................................................... 13
Legend for Apex 400 Press Diagrams.................................................... 14
5. OPERATION -APEX 400 PRESS .......................................................15
General Procedure .............................................................................. 15
Display Screens, Function Buttons and Symbols ................................... 16
Operation – Steps to Press a Sample .......................................... 18
Powering up the Apex 400 Press........................................................ 18
Operation – Further Features of the Press ................................. 24
Piston Travel......................................................................................... 24
6. DISPLAY SCREENS –OPERATION,OPTIONS,PROGRAMMING,
DIRECTORY &EDITING........................................................................25
The Different Display Screen Environments.................................... 25
7. NON-ROUTINE PROCEDURES FOR THE PRESS..................................32
Aborting a Pressing Procedure.............................................................. 32
Work Becomes “Trapped” in the Pressing Area.................................... 32
No Sample in the Pressing Area............................................................. 32
8. FAULT FINDING,CAUSES AND REMEDY ............................................33
9. GENERAL PREVENTATIVE MAINTENANCE .........................................37
11. ACCESSORIES FOR APEX 400 PRESS ............................................39
Apex 400 Press Dies............................................................................... 39
12. SPECIFICATIONS OF THE APEX 400 PRESS.....................................39

Apex 400 Hydraulic Presses
3
List of Safety Symbols
Safety Symbol
Meaning
Caution
(Reference ISO 7000-0434B, 2004-01)
Caution – Possibility of Electric Shock
Indoor Use Only
© September 2023Specac Ltd. All rights reserved.
Brilliant Spectroscopy isa trademark of Specac Ltd.
Other product names mentioned herein may be
trademarks of their respective owners.

User Manual
4
1. Introduction
Thank you for purchasing a Specac product.
The Apex 400 Hydraulic Press is an automatic and programmable
400kN (40 tonnes) hydraulic press which has been designed for a wide
variety of pressing applications within the laboratory or heavy industrial
environments, to apply a load from 40kN to 400kN. These presses are
specifically suited to the preparation of solid sample discs, particularly
for pellets at 40mm diameter or pressing samples into steel rings.
The press includes a touch screen for setting up a pressing sequence.
The Apex press is provided with USB connectivity if it is a requirement
to operate the press remotely from a computer system. For remote
operation, please see Section 10 in this manual.
The Apex press is fully CE marked to comply with strict European
regulations.
WEEE Directive for Equipment Disposal
The symbol (above) on the back of the press indicates that this product
complies with the Waste Electrical and Electronic Equipment Directive
(WEEE). If this product is in use and was purchased within the European
Union, please contact your local sales agent or Specac to make
arrangements for disposal of this equipment.
The equipment must be cleaned and decontaminated before disposal.

Apex 400 Hydraulic Presses
5
2. Unpacking, Checking and Installation
CAUTION! The Apex 400 press is 120kg and care must
be taken to transport it correctly. Please keep the press
packing materials for future transportation, if
necessary, by reversing the following procedure. This
will protect you and the press from accident or injury.
The Apex 400 press is shipped in a wooden crate with a special pallet
base. The lid of the crate and the sides of the crate can be removed by
removing the screws as shown. The press is packed with a lifting “eye
bolt” which needs screwing into the hole in the top of the press.
Screws

User Manual
6
Lifting Eye Bolt
Screw into top
of press

Apex 400 Hydraulic Presses
7
The press is now ready to be lifted out of the wooden crate.
CAUTION: The press MUST be lifted into its working
position using a suitable hoist (or crane) with a lifting
hook to pass through the eye bolt. DO NOT ATTEMPT
TO LIFT THE PRESS BY ANY OTHER METHOD. DO NOT
USE A PIPE OR BAR THROUGH THE LIFTING EYE. DO
NOT USE THE HANDLE ON THE FRONT TO LIFT THE
PRESS.
The press can now be lifted upwards and out of the crate using a crane
or hoist. For example, an Engine Hoist or Powered hand truck can be
used. If the crane is stationary, then the press can also be lifted onto a
scissor lift trolley for transport and then slid from the trolley onto the
workbench.
Place the press in its working position. The bench worktop should be of
a minimum thickness of 25mm, stable and level. The press needs to be
sited near to an electrical power supply to connect to the press for
operation.
CAUTION: The press should be positioned at least 25cm back, away
from the edge of the worktop, so that the drawer is over the worktop
when fully open.
The press is supplied filled with hydraulic oil (VG100, P/N GS25901) and
is ready to use.
Specac would strongly advise that the Apex 400 press packing materials
are retained and not destroyed, for future transportation should it be

User Manual
8
required. Using the purpose-built packaging is the safest way of moving
and containing the press to minimize for any possible damage in transit.
Replacing an Apex 400 press in its packaging is the reverse of the
procedure described previously.
The equipment must be cleaned and decontaminated before storing,
disposal or moving.
For any inquiries to Specac regarding the Apex 400 press, the serial
number must be quoted. The serial number is a five-digit number
preceded by a letter and it is found on the electrical appliance label
placed on at the rear of the press.
3. General Safety
Specac recommends that the following safety precautions should be
followed for any operational procedure of the Apex 400 press.
Safety Regulations
Testing has been performed by the application of the following
Regulations and Standards:
EN61010-1: 2010 +A1:2019 Safety requirements for laboratory
equipment
EN61326-1: 2021 EMC requirements for laboratory equipment.
CE Marking
This product bears the “CE” marking and complies with Machinery
Directive 2006/42/EC, EMC Directive 2014/30/EU, Low Voltage
Directive 2014/35/EU and RoHS 3 Directive EU 2015/863.

Apex 400 Hydraulic Presses
9
Electrical Safety
WARNING: The equipment must be connected to an earthed electrical
mains supply socket outlet. Do not use with an extension cable without
a protective earth connection.
WARNING: Any interruption of the protective conductor may result in
hazardous condition leading to possibility of an electrical shock hazard.
Always ensure that the mains cord is free from obstructions and the
appliance inlet is accessible to the user.
WARNING: Only use a suitably rated and approved mains cord set
(power cable) acceptable for the local national regulations and
standards.
CAUTION: Disconnect the mains power supply before cleaning and or
servicing. Wear protective gloves for cleaning. No user serviceable parts
within, refer all serving requirements to a suitably qualified electrician or
Specac approved representative.
CAUTION: When required, ensure that all fuses are replaced with the
correct voltage, operating characteristics and current rating as specified
in supporting documentation and on the rating label of the equipment.
CAUTION: Whenever it is likely that electrical protection has been
impaired, the press should be made inoperative and be secured against
unintended operation. Contact your local dealer or Specac for further
advise and servicing requirements.
If the equipment is used in a manner not specified within this manual,
the protection provided by the equipment may be impaired.

User Manual
10
Operational Safety
The drawer, containing sample die, is an important component and its
protection mechanism is linked to the operation of the press. When the
drawer is open the press operation is disabled.
WARNING: If the drawer shows any visible signs of damage this may
impair its effective performance for safe containment of parts within.
Specac recommends that the drawer is replaced if damaged to conform
to the correct safety standards.
CAUTION: If power supply is lost during operation of the press whilst a
load is being applied DO NOT OPEN the drawer to try and remove the
test sample. Should this occur please refer to the section on the Drawer
(see page 33) for the correct procedure under these circumstances.
WARNING: The power cord is the overall form of disconnection and
needs to be always kept accessible.
CAUTION: The die is heavy, so safety shoes should be worn if the die
is removed for cleaning.
Do not attempt to press potentially combustible materials or materials
with a low flash point temperature. Always consult your local safety and
laboratory operating procedures before use.
Do not operate the press in very hot or very cold environments. The
press is only intended to operate within its rated ambient temperature
range (+10°C to +40°C).
Do not operate the press in WET, DAMP or HUMID environments.
(Always allow enough time for condensation to evaporate before
connection to the supply, especially if the press has been stored in cold
conditions).
Do not operate the press if it shows any visible damage. The press may
have been dropped in transit or damaged in use.

Apex 400 Hydraulic Presses
11
Do not continue operating the press if it fails to perform the intended
tonnage and/or measurement of applied load.
Repair or Maintenance Safety
The Apex 400 Press must be disconnected from the mains supply
before removing equipment covers for adjustment, replacement of faulty
parts or general maintenance.
Any adjustment, maintenance or repair of the equipment while
connected to the mains supply should be avoided as far as possible and
if inevitable, should be carried out only by a qualified person who is
aware of the hazards involved and/or Specac authorized agent.
Please do not remove the drawer. For cleaning it can be opened and
wiped with a damp cloth or vacuumed.
These terms apply to and form part of the terms of use and any contract
between Specac Limited and any purchaser of the Apex 400 Press and
when issued shall supersede any other terms. Specac Limited shall not
be liable for any for any defects appearing in an Apex 400 Press sold or
supplied by Specac Limited to the extent that such defects arise as a
result of the purchaser or any user modifying or tampering with the
goods or failing to operate the Apex 400 Press in accordance with
instructions issued by Specac Limited from time to time in relation to
installation, operation, storage or maintenance. All warranties other than
those expressly given by Specac Limited in its conditions of sale, or
which are implied and may not be excluded by virtue of an applicable
statute or regulation shall be excluded to the fullest extent permitted by
law.

User Manual
12
4. Diagrams - Apex 400 Press
Front View
Start Button (11)
Stop Button (12)
Touchscreen Display (4)
Sample Die Drawer (5)
Front Power -
On/Off button (1)
Lifting Eye & Hole (7)
Die Holder (6)
Die Cap (10)

Apex 400 Hydraulic Presses
13
Back View
Cooling Vent
USB A (9) – for software updates
Dust Flap
Rear Power
switch (2)
Fuse Box (15)
Power Lead
Connection (3)
Appliance Label and
Serial Number (14)

User Manual
14
Legend for Apex 400 Press Diagrams
(1) Front On/off power switch.
(2) Rear power switch
(3) Power Lead connection.
(4) Touchscreen Display.
(5) Die Drawer.
(6) Die Holder.
(7) Lifting Eye & Hole.
(8) Pressure Plate
(9) USB A Socket
(10)Die Cap
(11) Start (apply load) button.
(12) Release (remove load) button.
(14) Appliance Label and Serial Number
(15) Mains fuse holder.

Apex 400 Hydraulic Presses
15
5. Operation - Apex 400 Press
General Procedure
The Apex 400 press is used to apply a constant load to a sample powder
contained within a die.
The Apex 400 press can apply a load by running program which can be
loaded from the Directory. The press is configured with a couple of
starter programs, but more can be added by the user.
When using a program, the 1st load to be applied can be quickly edited
from the main screen by touching the Adjust Load symbol of the
Display Screen (4) and then applied when the start button (11) is
pressed. A load between 40 kN to 400 kN can be set.
Programming and Editing the programs are explained in their own
sections of this instruction manual. (Please see Section 6.)
For the procedural description of operation in how to install, press and
remove a sample from an Apex 400 press, please refer to the diagrams
of the press for the part identification where mentioned.
CAUTION! Ensure that any loads used on the press
are within the maximum safety limit load of the die.

User Manual
16
Display Screens, Function Buttons and Symbols
Display Screens
All operations and the status of the Apex 400 press are shown on the
Display Screen (4). The Display Screen has five principal types of
display presentation.
These five “Display Screens” are:
1) Main Operation Screen
2) Settings Screen
3) Program Directory List Screen
4) Program Editing Screen
5) Event Viewer
Function Buttons
There are two function buttons on the front panel. The top green button
is the start (apply load) button (11) and the red lower is the stop (release
load) button (12).
Note: The stop button (12) should be considered a general “failsafe”
function button and can be pressed to cease all operations in
running of the press at any time or in case of emergencies.
During the actual running of any program if the stop button (12) is
pressed once, this action will:
A) Abort a program if the load is actually rising or releasing.
B) Release the load and retract the cylinder.
On rare occasions where no load has yet been applied and the program
is aborted, the cylinder may take a long time to retract. 5-10 min.

Apex 400 Hydraulic Presses
17
Status Symbols
The following shows the main status screen and common status
messages likely to be seen.
Main Operating Screen – Status Icons
Status Icon -The Pressure Plate is in the Sample
Loading state
Status Icon -The Pressure Plate is in the Sample
Release/Eject state
Status Icon -The Pressure Plate is moving or in
transitory state
Status Icon -Drawer is Open or Closed – The press will
only run with the drawer closed
Status Icon –Green color indicates if the oil
temperature is OK.
Current time
Load
Status Icons
Currently Loaded Program
Buttons – described below

User Manual
18
Operation – Steps to Press a Sample
Powering up the Apex 400 Press
Connect the press to a suitable electrical supply using the supplied
mains lead and plug at the rear into the power socket (3). Then switch
On the rear power switch (2) followed by turning on by pressing the front
power on/off switch (1). The switch illuminates red when the press is On.
From start up the display will load the Main Operation Screen. The last
used program will be loaded ready for use.
Note: On first start up or if the power has been lost the press may ask
for the current time to be set. This can be set or cancelled.
At initial start-up a typical operating screen will be presented as shown
below.
Note: If the drawer (5) is open, the drawer symbol will be shown
with a red exclamation. This means that all power to the
motor has been cut to prevent any accidental operation.
Load
Status Icons
Currently Loaded Program
Buttons

Apex 400 Hydraulic Presses
19
Changing the Language Display and the Units of Load
The Apex 400 press language can be changed in the Settings screen.
From the main screen, touch the followed by the .
The press can display the Units of load in kN, Tonnes or US Tons. This
is changed in the settings screen by touching the
Placing Work in the Apex 400 Press
After switching On, open the drawer (5).
Place the die in the drawer (5) in the support ring (6). This can be done
one part at a time in this order:
1. Plunger
2. Spring
3. Die Body – slowly, taking care to align the parts and not damage
them.
CAUTION: The dies supplied by Specac with the press are
designed specifically for this drawer and have the correct
height to be used with the press. Contact Specac before
using any other die.
Place powder sample into the die cavity and fit the die top cap (10).
Make sure the top cap is fitted securely.
Now close the drawer (5).
Recommended masses of sample
and load are provided here, adjust
mass and load to get thickness and
pellet quality as needed.
Sample:
Rock
Food
∅ 32 mm die
7 g
3 g
∅ 35 mm die
8 g
4 g
∅ 40 mm die
10 g
5 g
Starting Load:
200 kN
40 kN

User Manual
20
Applying a Load with the Apex 400 Press
Once the sample is correctly positioned and the drawer (5) has been
closed, a program can be run.
Touch the Directory symbol to change the program.
There are two main types of die, and they require programs set up in a
different way.
CAUTION: Applying too much load to certain sample types
can cause the die to stick. Start with lower loads and
increase until the pellet quality is acceptable.
Table of contents
Other Specac Power Tools manuals
Specac
Specac Atlas GS15800 User manual
Specac
Specac Apex 400 User manual
Specac
Specac Atlas Autotouch 40T User manual
Specac
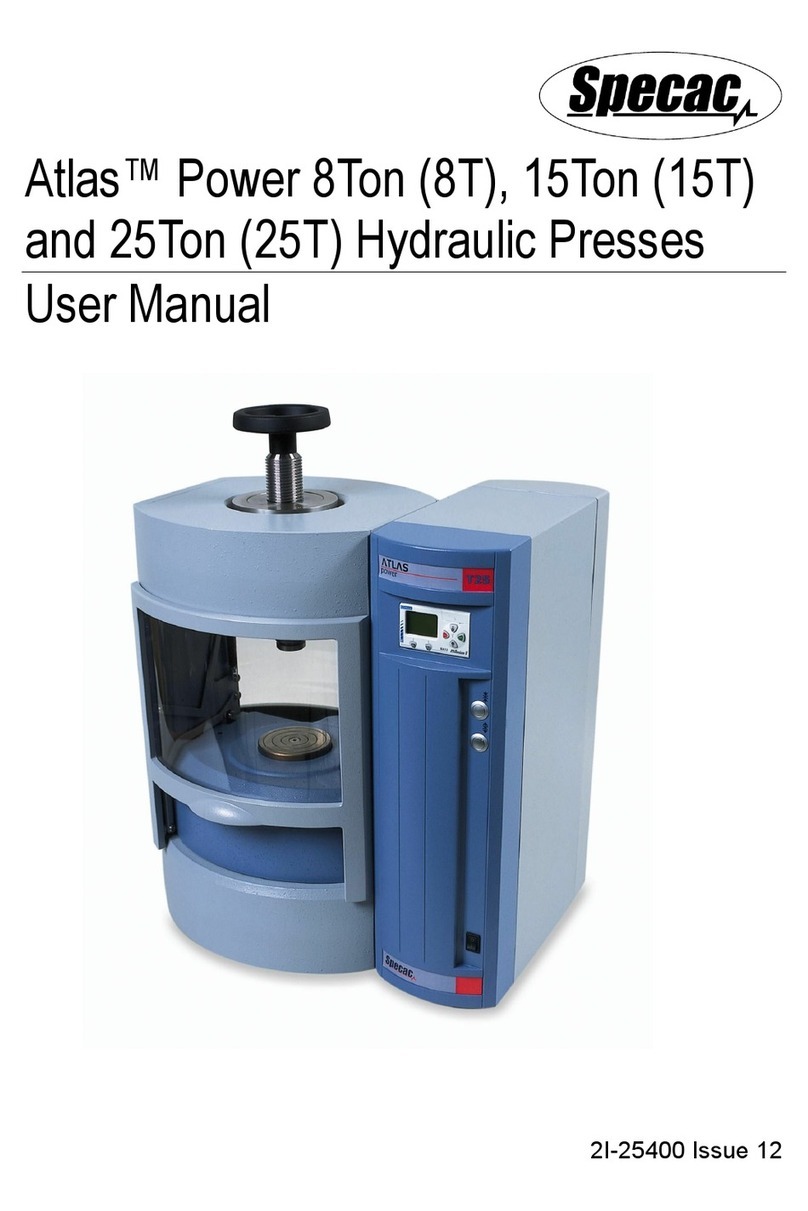
Specac Atlas Power 8Ton User manual
Specac
Specac GS03940 User manual
Specac
Specac Atlas 15T User manual
Specac
Specac Atlas Power 8Ton User manual
Specac
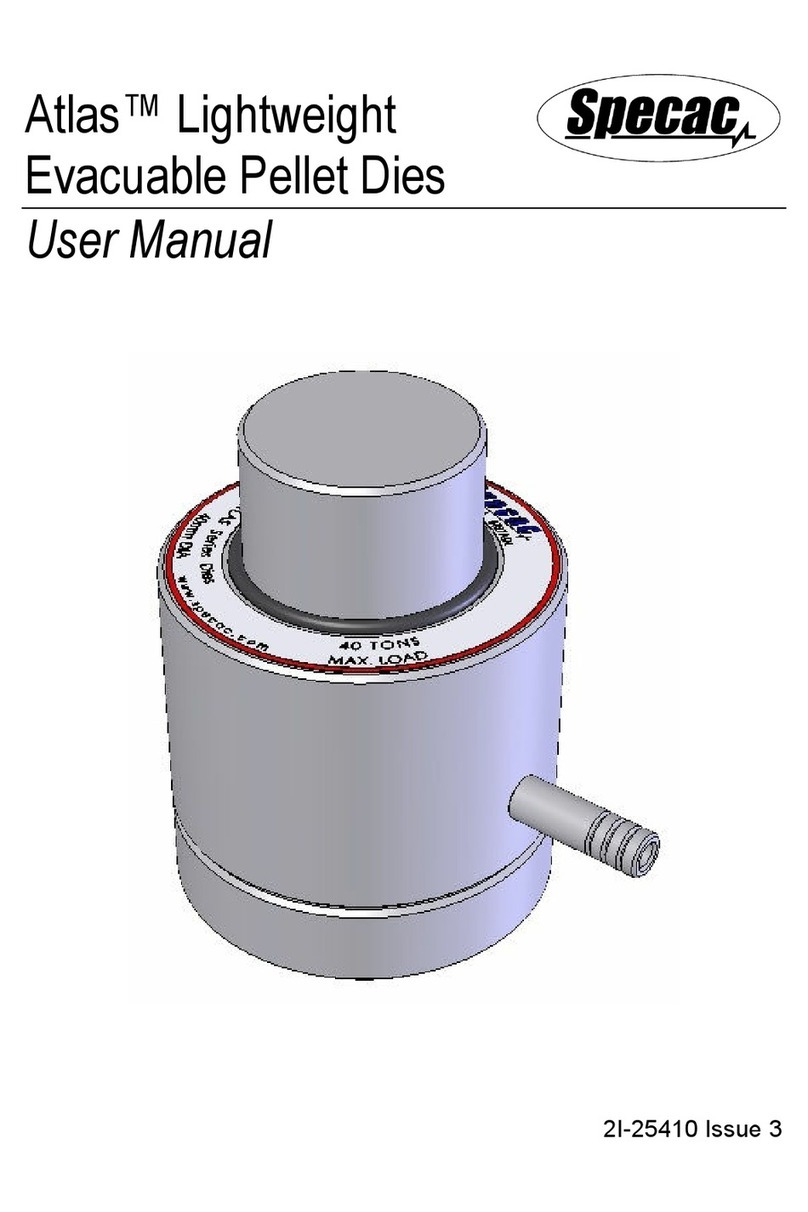
Specac Atlas Lightweight Evacuable Pellet Die User manual
Specac
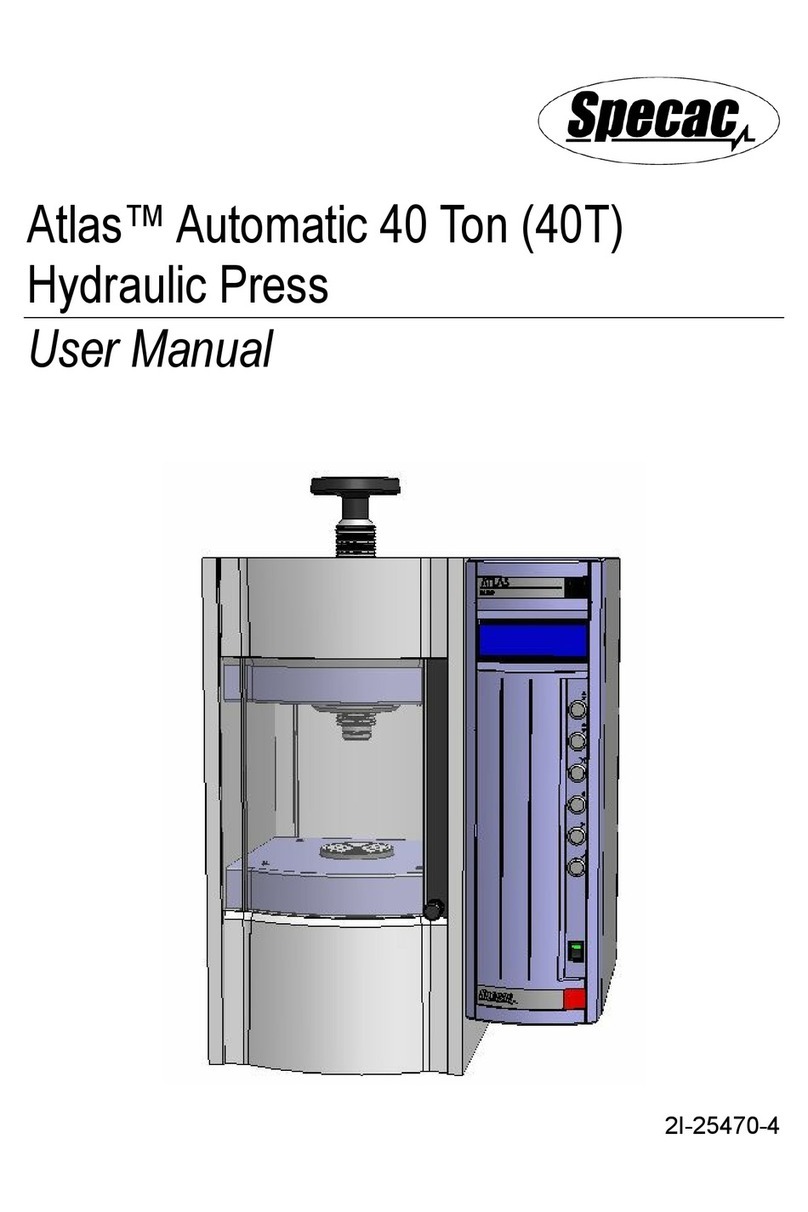
Specac Atlas Automatic 40 Ton User manual
