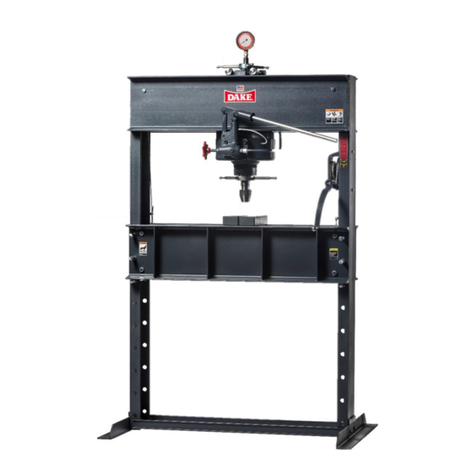
Note: If the drawer is open, the drawer symbol will be shown with a red exclamation. This means
that all power to the motor has been cut to prevent any accidental operation.
The Apex 400 press can apply a load by running program which can be loaded from the Directory. The press is configured with a
couple of starter programs, but more can be added by the user.
When using a program, the 1st load to be applied can be quickly edited from the main screen by touching the Adjust Load symbol
of the Display Screen and then applied when the start button is pressed. A load between 40 kN to 400 kN can be set.
For first time use test the operation by running at 40kN.
Main Operating Screen – Status Icons
Status Icon - The Pressure Plate is in the Sample
Loading state
Status Icon - The Pressure Plate is in the Sample
Release/Eject state
Status Icon - The Pressure Plate is moving or in
transitory state
Status Icon - Drawer is Open or Closed – The press will
only run with the drawer closed
Status Icon - Indicates if the oil temperature is OK.
1. Obtain the sample and the correct Die. Make sure it is the correct size and set up correctly.
2. Open the drawer (image above) and place into support ring as shows above. The dies supplied by
Specac with the press are designed specifically for this drawer and have the correct height to be used
with the press. Contact Specac before using any other die.
3. Place powder sample into the die cavity and fit the die top cap. Make sure the top cap is fitted
securely. Recommended mass examples, please refer to table Recommended masses of sample and
load
4. Close the drawer.
5. Once the sample is correctly positioned and drawer is closed, a program can be run. Please
remember there is a maximum piston travel of 38mm, and the press motor and pump will
automatically stop when this travel limit is reached.
6. Please view “Operation” section of the Apex 400 Manual for the additional steps needed to run
this sample
Note: If you experience any technical issues with the press, please refer first to the Troubleshooting guide section of the
User Instruction Manual for possible causes and remedies.
Initial Setup (continued)
Run the press with Ring Die
Start Pressing Sample Recommended masses of
sample and load
Run the press with Standard die
2
3
• From start up the display will load the Main Operation Screen. The last used program will be loaded ready for use.
•Note: On first start up or if the power has been lost the press may ask for the current time to be set. This can be set or cancelled.
Directions to correct are in the User Manual.
• The display will load the Main Operation Screen. The last used program will be loaded ready for use.
• At initial start-up a typical operating screen will be presented as shown below.
1. Pour sample 2. Place cap 3. Close drawer
4. RUN PRESS
in Std Die mode
5. Open drawer
6. Remove cap7. Remove sample
1. Insert empty ring 2. Pour sample 3. Place cap 4. Close drawer
5. RUN PRESS
in Ring Die
mode
6. Open drawer
7. Remove cap8. Remove sample
Program Folder, Event Viewer, Adjust Load, Settings
