manuals.online logo
Brands
  1. Home
  2. •
  3. Brands
  4. •
  5. Speco
  6. •
  7. IP Camera
  8. •
  9. Speco O2VLB2 User manual

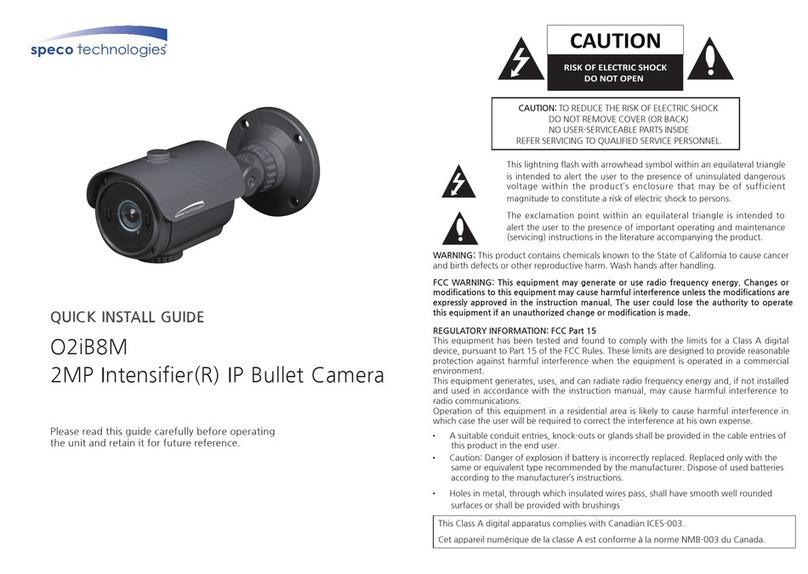
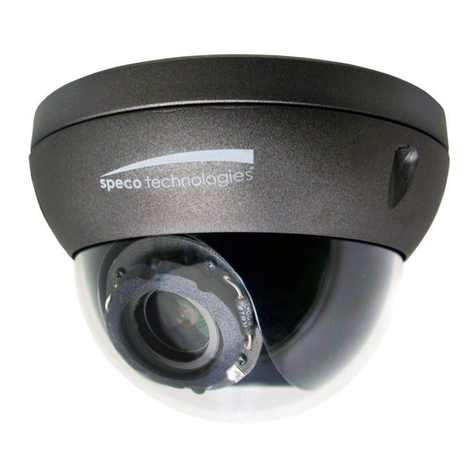
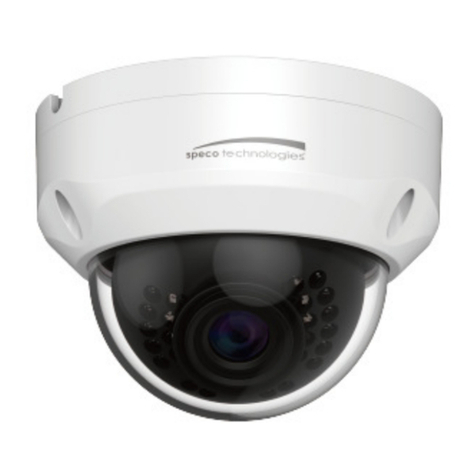
Speco O2VLB2 User manual

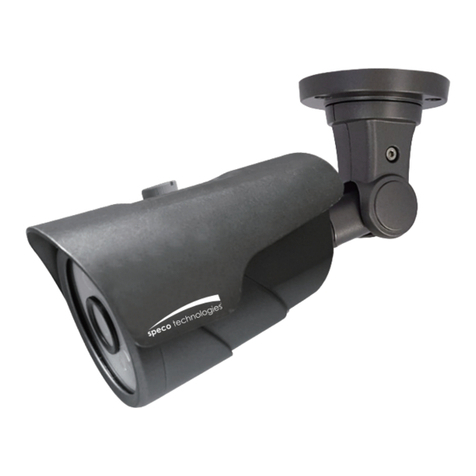
Full HD Bullet
IP Camera
Quick Start Guide
Welcome
Thank you for purchasing this network camera!
This quick guide is designed to be a reference tool for your
system.
Please read this guide carefully before operating the unit
and retain it for future reference.
Should you require any technical assistance please contact
our technical support.
Important Safeguards and
Warnings
1.
Electrical Safety
All installation and operation here should conform to local
electrical safety codes.
Please check if the power supply is correct before operating
the device.
Use a certified/listed 12VDC Class 2 power supply only.
Note: Do not connect two power sources to the evice at
the same time; it may result in evice amage!
We assume no liability or responsibility for all fires or
electrical shock caused by improper handling or installation.
2. Installation
Do not apply power to the camera before completing
installation.
Please install the proper power cut-off device before
installing wiring.
3. Qualifie Personnel
This camera should be installed by qualified personnel only.
All examination and repair work should be done by qualified
personnel.
Any unauthorized changes or modification could void the
warranty.
4. Environment
This product should be installed in a cool dry place away
from direct sunlight and heat sources.
Please transport use and store the device within the
allowed temperature and humidity ranges.
Do not install the product in extreme temperature
conditions.
Do not expose the camera to electromagnetic radiation.
Otherwise it may result in CMOS sensor failure.
Do not block any ventilation openings.
Do now allow water and liquid intrusion into the camera.
Heavy stress strong vibration or exposure to water are not
allowed during transportation storage and installation.
5. Operation an Maintenance
Do not disassemble the product. There are no components
which are serviceable by the user.
Please shut down the device and unplug the power source
before beginning any maintenance work.
Do not touch the CMOS sensor optic component. You can
use a blower to clean the dust on the lens surface.
Always use dry soft cloth to clean the surface. If there is too
much dust use a cloth dampened with a small quantity of
neutral detergent.
Use a professional optical cleaning method to clean the
enclosure. Improper cleaning such as using cloth may result
in poor IR functionality and/or IR reflection.
Statement
This guide is for reference only.
Product manuals and specifications may be modified
without prior notice. Speco Technologies reserves the right
to modify these without notice and without incurring any
obligation.
Speco Technologies is not liable for any loss caused by
improper operation.
Note:
Before installation check the package and make sure that
all components are included.
Contact your rep or Speco customer service department
immediately if something is broken or missing in the
package.
Accessories

Accessory
Qty
Network Camera
1
Quick Start Guide
1
Installation
Accessories
1
CD
1
1
Physical Specifications
1.1 Cable
Refer to the following figure for cable
information.
Figure 1-1 Cable
Please refer to the following table for details
No
Port
Function
Connection
Note
1
LAN
Network
Ethernet
jack
Data
2 DC
12V
Power input DC jack Power
1.2 Dimensions
Please refer to the following figure for
dimension information. The unit is in mm.
See figures 1-2 and 1-3.
Figure 1-2 Front
Figure 1-3 Side
2
Device Installation
Note: Please make sure the installation
surface can support a minimum of 3 times
the weight of the camera.
Figure 2-1 Installation
Please see Figures 2-1 and 2-2.
Step 1
Put installation template on the designated
surface where you will install the device (wall
or ceiling).
Step 2
Drill holes according to position of the holes
on the installation template.
Step 3
Open accessories bag take out the
expansion bolts and insert them into the
drilled holes.
Step 4
Take out the screws. Tighten the 4 screws to
fix the device on the installation surface (wall
or ceiling). The sun shield can be adjusted.
Tighten the screws on the sun shield.
Step 5
Connect all applicable wiring properly.
Figure 2-2 Installation
Step 6
Use Philip’s head screw to loosen the
adjusting screw.
Step 7
Adjust the device to the desired angle.
Step 8
Use Philip’s head screw to tighten the screws.
3
Network Configuration
The camera is set to DHCP mode out of the
box.
3.1 IP Scanner Operation
IP Scanner can search for the device on the
local
network. Please note that only devices
that are on the same subnet can be
discovered.
Open up IP Scanner.
In the device list you can view the IP address
model number and Mac address of each
device. Select the applicable device and
double click to open
Figure 3
3.2 Web Operation
This device supports viewing and
management via a web browser on a PC.
Open the browser and input the IP address
of the camera in the address bar or double
click the device in IP Scanner.
Network Configuration
The camera is set to DHCP mode out of the
3.1 IP Scanner Operation
IP Scanner can search for the device on the
network. Please note that only devices
that are on the same subnet can be
Open up IP Scanner.
In the device list you can view the IP address
model number and Mac address of each
device. Select the applicable device and
double click to open
up the web viewer.
Figure 3
-1 IP Scanner
3.2 Web Operation
This device supports viewing and
management via a web browser on a PC.
Open the browser and input the IP address
of the camera in the address bar or double
click the device in IP Scanner.
The login interface is shown below. See
Figure 3-2.
Please input your user name and password.
Default user name is a min and password is
1234.
Note: For security purposes, please change
the passwor after initial login an keep it
in a safe place.
After logging in follow directions to install
applicable plugins.
Figure 3-2 Web login
Note
•This gui e is for reference only.
Slight ifferences may be foun
in the user interface.
•All the esigns an software here
are subject to change without
prior written notice.
•All tra emarks an registere
tra emarks mentione are the
properties of their respective
owners.
•Please visit our website at
specotech.com or contact
customer service for more
information.

Other manuals for O2VLB2

1

Other Speco IP Camera manuals

Speco Intensifier OiMD1 User manual

Speco

Speco Intensifier OiMD1 User manual

Speco VLEDT2G Series User manual

Speco

Speco VLEDT2G Series User manual

Speco O4P30X2 User manual

Speco

Speco O4P30X2 User manual

Speco VIP2P1 User manual

Speco

Speco VIP2P1 User manual

Speco O2FD4M User manual

Speco

Speco O2FD4M User manual

Speco VIP2PTZ12X User manual

Speco

Speco VIP2PTZ12X User manual

Speco O3VFBM User manual

Speco

Speco O3VFBM User manual

Speco O6MDP2 User manual

Speco

Speco O6MDP2 User manual

Speco ONSIP O2DP7 User manual

Speco

Speco ONSIP O2DP7 User manual

Speco O2P4X User manual

Speco

Speco O2P4X User manual

Speco HTD8TG User manual

Speco

Speco HTD8TG User manual

Speco & IP-WDRB1 User manual

Speco

Speco & IP-WDRB1 User manual

Speco Intensifier OiD4 User manual

Speco

Speco Intensifier OiD4 User manual

Speco O3FDP9 User manual

Speco

Speco O3FDP9 User manual

Speco VLDT4W User manual

Speco

Speco VLDT4W User manual

Speco O2iB3M User manual

Speco

Speco O2iB3M User manual

Speco O2B2 User manual

Speco

Speco O2B2 User manual

Speco OINT03D User manual

Speco

Speco OINT03D User manual

Speco O2iB8M User manual

Speco

Speco O2iB8M User manual

Speco O8B2M User manual

Speco

Speco O8B2M User manual

Speco O4VLB5 User manual

Speco

Speco O4VLB5 User manual

Speco O2P12XH User manual

Speco

Speco O2P12XH User manual

Speco O2MB1 User manual

Speco

Speco O2MB1 User manual

Speco Intensifier O2iTC23 User manual

Speco

Speco Intensifier O2iTC23 User manual

Popular IP Camera manuals by other brands

TP-Link Kasa Cam Outdoor Quick installation guide

TP-Link

TP-Link Kasa Cam Outdoor Quick installation guide

Ganz PixelIPro Series ZN-B2MAP user manual

Ganz

Ganz PixelIPro Series ZN-B2MAP user manual

Provision ISR PT-737 Quick installation manual

Provision ISR

Provision ISR PT-737 Quick installation manual

Concept Pro CVP9328DNIR-AHD user manual

Concept Pro

Concept Pro CVP9328DNIR-AHD user manual

FLIR Quasar CM-6206-H1-I Quick installation guide

FLIR

FLIR Quasar CM-6206-H1-I Quick installation guide

ALIBI ALI-BC5010VF Quick installation and user guide

ALIBI

ALIBI ALI-BC5010VF Quick installation and user guide

Salora CDC100 quick start guide

Salora

Salora CDC100 quick start guide

Novus NVIP-2DN5001C-1P user manual

Novus

Novus NVIP-2DN5001C-1P user manual

Haiwei V1-W user manual

Haiwei

Haiwei V1-W user manual

Avigilon H.264 Series user guide

Avigilon

Avigilon H.264 Series user guide

AVer VB342+ quick start guide

AVer

AVer VB342+ quick start guide

Novus NVIP-3DN7540D/IRH-2P user manual

Novus

Novus NVIP-3DN7540D/IRH-2P user manual

Vicon VC2430B Installation & operation manual

Vicon

Vicon VC2430B Installation & operation manual

Velleman CAMIP21 user manual

Velleman

Velleman CAMIP21 user manual

Export Import Global AK-3509 user manual

Export Import Global

Export Import Global AK-3509 user manual

QIMMIQ DV360 4K user guide

QIMMIQ

QIMMIQ DV360 4K user guide

Tenvis JPT3815W quick start guide

Tenvis

Tenvis JPT3815W quick start guide

Burg Wächter SNC-4323IR Quick installation guide

Burg Wächter

Burg Wächter SNC-4323IR Quick installation guide

manuals.online logo
manuals.online logoBrands
  • About & Mission
  • Contact us
  • Privacy Policy
  • Terms and Conditions

Copyright 2025 Manuals.Online. All Rights Reserved.