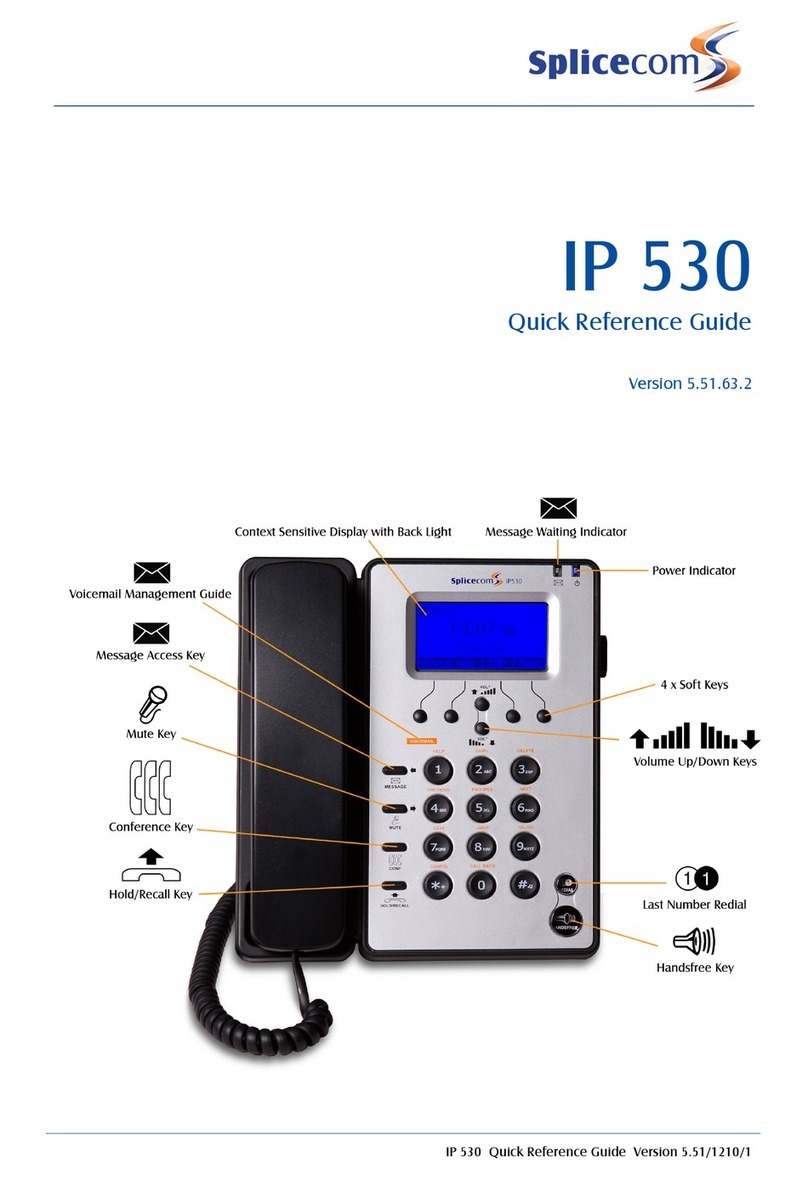
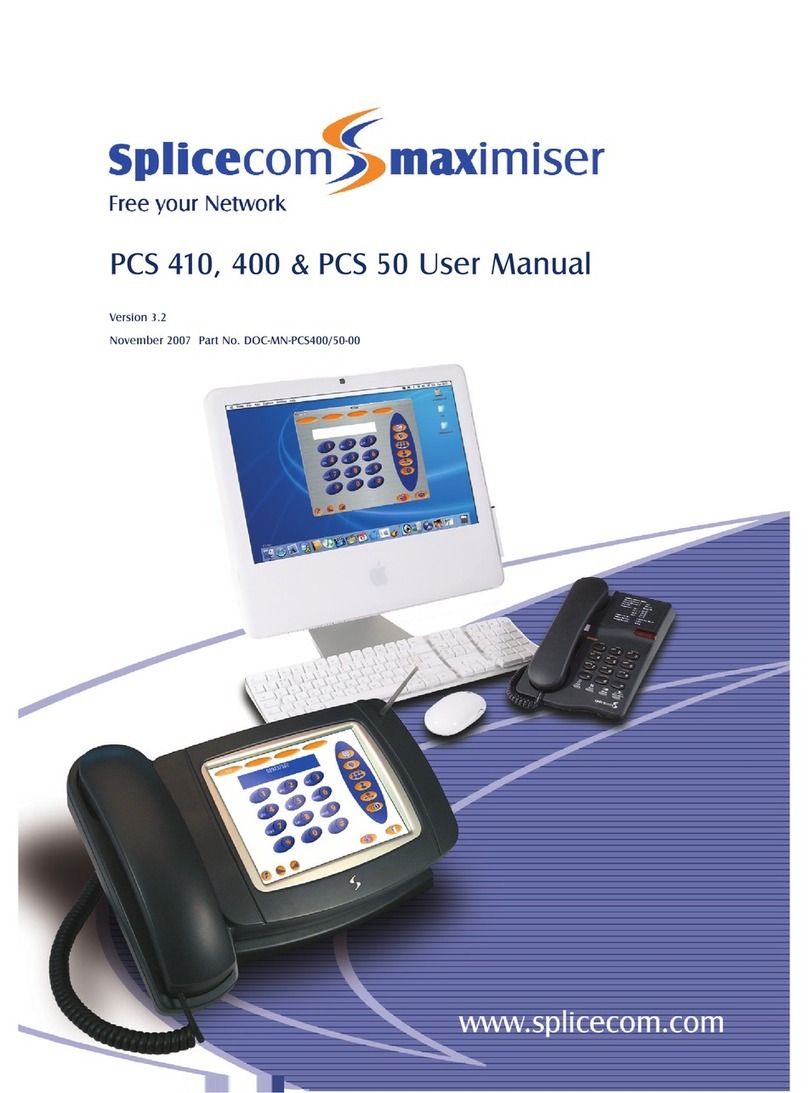
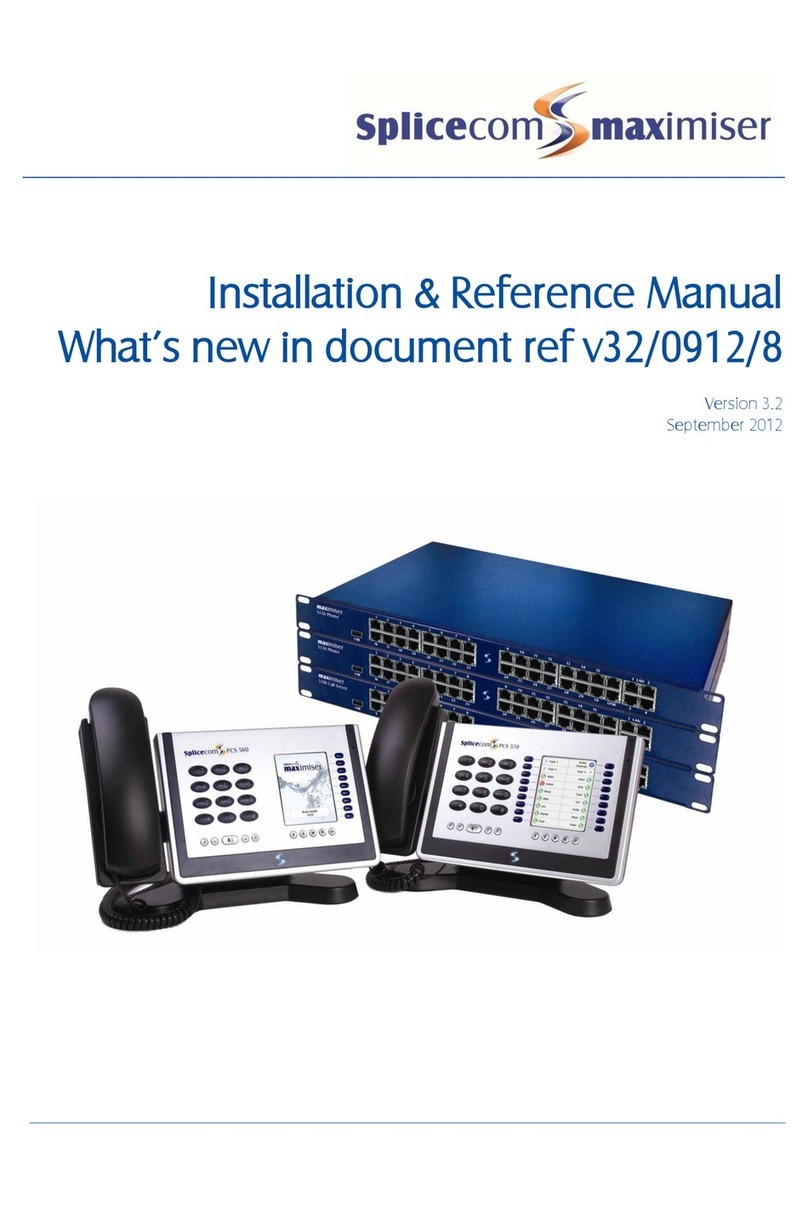
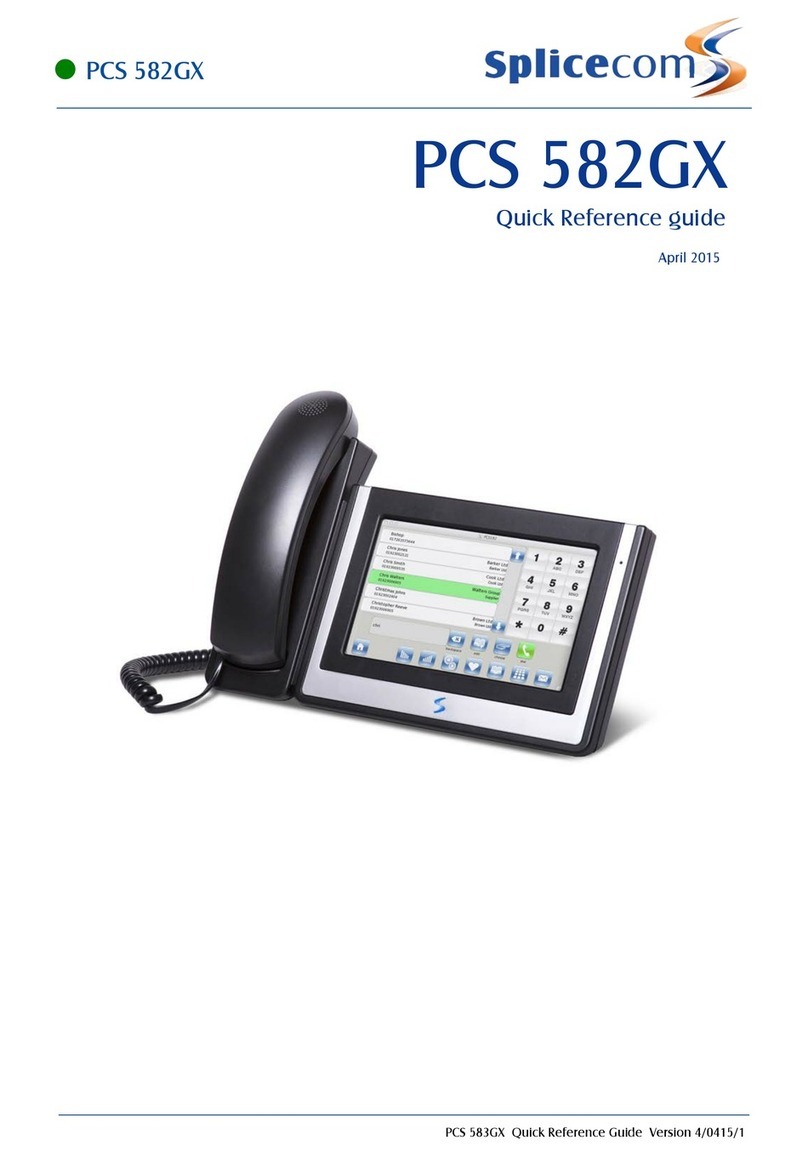
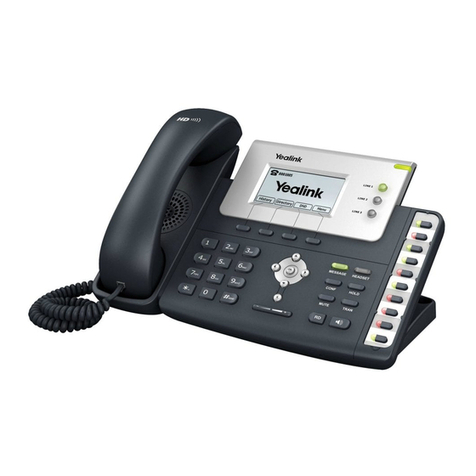
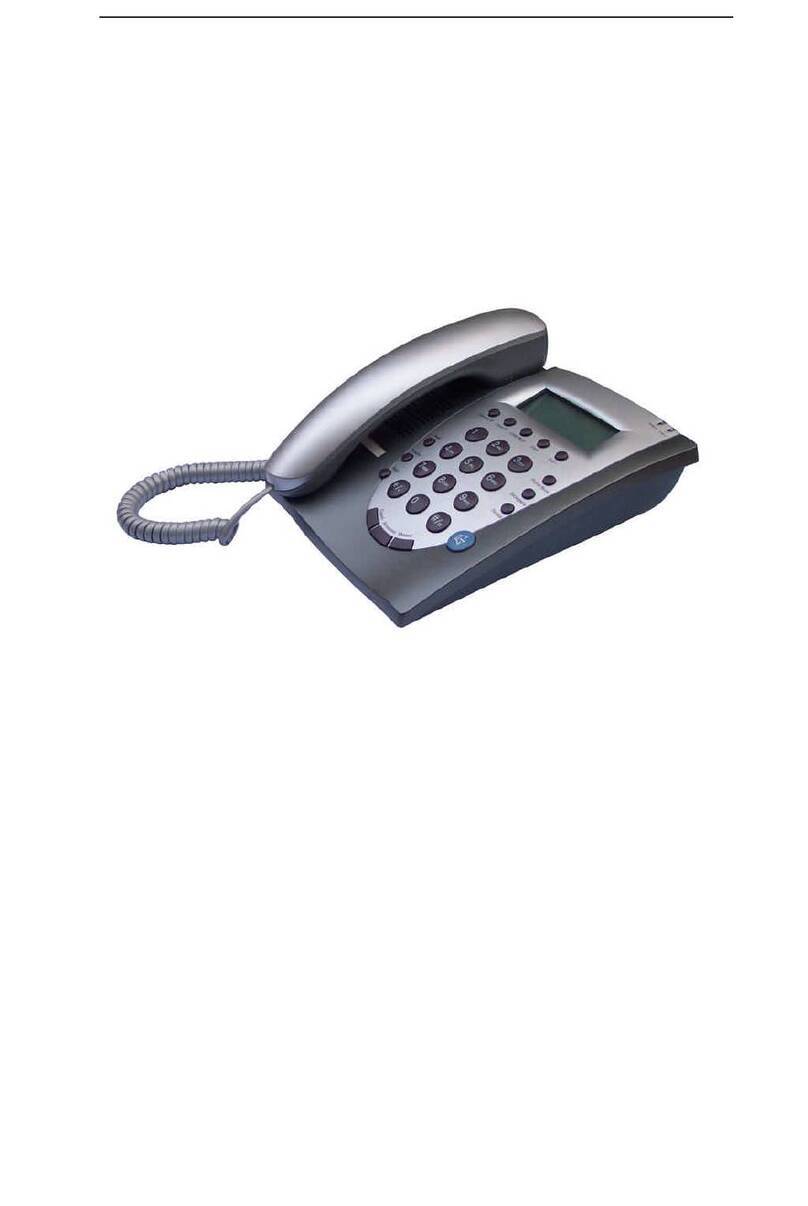
Splicecom PCS 100 User manual

PCS 100 User Manual
Version 2.2
May 2005 Part No. DOC-MN-PCS100-00

This page is blank

PCS 100 User Manual
V2.2/0505/1 - i - PCS 100 User Manual
Contents
Contents .................................................................................................................................i
Introduction...........................................................................................................................1
Your PCS 100........................................................................................................................2
Getting Started.......................................................................................................................2
Making a Call........................................................................................................................3
Answering a Call ...................................................................................................................5
Ending a Call.........................................................................................................................6
Working with Favourites (Speed Dials) .................................................................................7
Call Status .............................................................................................................................9
Placing a Call on Hold...........................................................................................................9
Transferring a Call.................................................................................................................9
Redialling a Number............................................................................................................11
Parking a Call......................................................................................................................11
Switching to Hands Free......................................................................................................12
Muting a Call.......................................................................................................................12
Changing the Volume..........................................................................................................12
The Message Box – Your Incoming Call History & Voicemail ............................................14
Working with Voicemail......................................................................................................16
Recording a Call..................................................................................................................20
Recording a Memo ..............................................................................................................20
Conferencing .......................................................................................................................21
Using Call Waiting ..............................................................................................................22
Using Follow Me/Forwarding..............................................................................................22
Using Do Not Disturb..........................................................................................................26
Working with the maximiser System Directories .................................................................27
The User Directory ..............................................................................................................27
The Contacts Directory........................................................................................................28
The Department Directory ...................................................................................................29
Working as a member of a Department................................................................................30
Partnering the PCS 100 with your PC or Laptop ..................................................................32
PCS 100 - Buttons in Brief ..................................................................................................33
Index ...................................................................................................................................34

PCS 100 User Manual
This page is blank

PCS 100 User Manual
V2.2/0505/1 - 1 - PCS 100 User Manual
Introduction
SpliceCom’s wide range of Proactive Communication
Stations (PCS) delivers the ultimate in service to the
desktop for those seeking the real business benefits that
can be gained from the convergence of voice, video and
web enabled applications. When used in conjunction
with the maximiser, the screen based PCS 400 (colour)
and PCS 200 (monochrome) allow the relevant
information from your core business applications to be
“pushed” to the desktops of those who need it in a timely
and controlled manner.
The PCS 100 is an IP system phone, providing all the facilities normally associated with a top
of the range digital phone for making and receiving calls. An LCD display, combined with
eight context sensitive keys and six further buttons for the most-frequently used functions,
delivers easy-to-use operation for every day telephony tasks.
Supplied as standard with every maximiser system, the
PCS 50 application for Windows, Mac OS X and Linux
PCs delivers ALL of the benefits associated with
SpliceCom’s top of the range PCS 400 desktop station.
Typically deployed as an IP Softphone or as a “partner”
to traditional analogue telephones and GSM/mobile
phones, the PCS 50 application can also be used in
conjunction with the PCS 100. This allows an alternative
way to handle calls quickly and efficiently for those who
prefer to “drive” their telephone through their desktop or
laptop computer, in addition to providing a cost-effective
method of converging voice with the company intranet and web-enabled applications

PCS 100 User Manual
V2.2/0505/1 - 2 - PCS 100 User Manual
Your PCS 100
At rest, your PCS 100 is on-hook. All the buttons are explained in further detail in the
appropriate section of this User Guide.
Getting Started
Hot Desking/Log In
In most implementations the PCS 100 will be your permanent desktop phone and as such it
will have been automatically allocated to you by your System Administrator – there will be
no need for you to Log In or Log Out. However, if you are a Hot Desk User, in other words a
User who has been given the ability to log in to any phone on the system because, for
example, you need to move around the building or you are rarely in the office and do not
need a permanent telephone, you can log in to a PCS 100 as follows. You will need to know
your extension number and Login Access Code please refer to your System Administrator for
these details.
Enter your extension number, an Asterisk, your Login Access
Code and terminate with a Hash. eg 2040*1234#The system will
automatically log you in, your Favourites will be will be
presented as your default Display and you can make and receive
calls in the normal way.
Or
If the PCS 100 is already Logged In (it may default to another
user, or be used as a general phone with limited capabilities),
press the Page Up button.

PCS 100 User Manual
V2.2/0505/1 - 3 - PCS 100 User Manual
press the Page Up button.
Press the Page Up button a second time.
Logout
Press the Context Sensitive Key alongside Logout.
Enter your extension number, an asterisk, your Login Access
Code and terminate with a Hash. eg 2040*1234#The system will
automatically log you in, your Favourites will be will be
presented as your default Display and you can make and receive
calls in the normal way.
Log Off
Once you have finished using the telephone that you are logged on to you may wish to log
off. Your extension becomes busy and your calls will pass to Voicemail (if enabled) or to
your Forward on Busy number (if configured).
Press the Page Up button.
Press the Page Up button a second time.
Logout
Press the Context Sensitive Key alongside Logout. The phone
will return to the User, or state, assigned to this extension -
dependent on the configuration of the system.
Note: The system may be configured to automatically log you off after the extension is not
used for a specified amount of time. This is useful if you forget to manually log off. Please
refer to your System Administrator for further details.
Headset Operation
When a headset is connected to the PCS 100 the handset will operate in hands free mode. Lift
the handset to override this operation.
Making a Call
Dial the number required using the Keypad (internal or external
number).
Or
Lift the handset or press the Speaker button. You will hear dial
tone.
Dial the number required using the Keypad (internal or external
number).
The Status screen will display whom you are ringing, your details
and provide a Clear button and (Leave) Voicemail button – the
latter appears for internal calls only.
Once the call is connected the Clear and Voicemail buttons will
disappear and be replaced by four Park Slots (1-4).
If you have started to make a call, have changed your mind and wish to stop the call either
replace your handset, press the Speaker button, or press the Context Sensitive Key alongside
Clear on the Display.

PCS 100 User Manual
V2.2/0505/1 - 4 - PCS 100 User Manual
Making an Internal Call to a User (another extension)
Dial the extension number required using the Keypad
Or
Lift the handset or press the Speaker button. You will hear dial
tone.
Dial the extension number required using the Keypad.
Or
Press the Users button. A list of the Users on your system will
appear on the Display.
Use the Page Up/Down buttons or the
Alpha- Numeric Keypad to find the User
you require.
Robin
Select the User required by pressing the Context Sensitive Key
alongside their name.
A list of contact numbers for that User will be displayed. Up to 5
numbers per User – and Voicemail - can be stored on the
maximiser system.
705
Dial the required number by pressing the Context Sensitive Key
alongside it.
For further information on working with the User Directory please refer to page 27.
Making an Internal Call to a Department
Dial the extension number of the Department required using the
Keypad
Or
Lift the handset or press the Speaker button. You will hear dial
tone.
Dial the extension number of the Department required using the
Keypad.
Or
Press the Department button. A list of the Departments on your
system will appear.
Use the Page Up/Down buttons or the
Alpha- Numeric Keypad to find the
Department you require.
Sales
Select the Department required by pressing the Context Sensitive
Key alongside its name.
Two contact numbers for that Department will be displayed –
Extension no. & Voicemail.
720
Dial the required number by pressing the Context Sensitive Key
alongside it.
For further information on working with the Department Directory please refer to page 29.

PCS 100 User Manual
V2.2/0505/1 - 5 - PCS 100 User Manual
Making an External Call
Dial the number required using the Keypad
Or
Lift the handset or press the Speaker button. You will hear dial
tone.
Dial the number required using the Keypad.
Or
Press the Contacts button. A list of external Contacts stored on
your system’s directory will be displayed.
Use the Page Up/Down buttons or the
Alpha-Numeric Keypad to find the
Contact you require.
Steve Smith
Select the Contact required by pressing the Context Sensitive Key
alongside their name.
A list of telephone numbers for that Contact will be displayed. Up
to 5 numbers per Contact can be stored on the maximiser system.
01234567890
Dial the required number by pressing the Context Sensitive Key
alongside it.
For more information regarding the use of the Contacts Directory please refer to page 28.
Entering Additional Digits
Once a call has been made, further digits can be entered from the Alpha Numeric Keypad
when required. For example, when using an auto attendant or Interactive Voice Response
(IVR) system
Answering a Call
On receiving a call your handset will ring, your Message Waiting
LED will flash and the Display will show the caller’s number and
details (if known), details of the number called and two active
buttons; Answer and Clear.
To answer the call, lift your handset, or press the Speaker button.
Or
Answer
Press the Context Sensitive Button alongside Answer on the
Display.
Or
Clear
If you do not wish to answer the call press the Context Sensitive
Button alongside Clear on the Display and the call will be passed
to Voicemail (if enabled) or cancelled.

PCS 100 User Manual
V2.2/0505/1 - 6 - PCS 100 User Manual
A historical record of all incoming calls will be stored in your Message Box. Please refer to
page 14 for further information.
Ending a Call
To end a call, replace your handset, or press the Speaker button.
Or
Press the Page Down button under the Display.
Clear
Press the Context Sensitive Key alongside Clear on the Display.
Note: When used on the PCS 100 the Speaker button will only end the call if used in hands
free mode otherwise this icon will switch from handset to hands free mode. Please refer to
page 12 for further details.

PCS 100 User Manual
V2.2/0505/1 - 7 - PCS 100 User Manual
Working with Favourites (Speed Dials)
When your PCS 100 is not in use the Display shows your Favourites list – Speed Dials,
which can be internal or external numbers. Where an internal extension appears in your
Favourites list, the entry will also act as Busy Lamp Fields (BLF). This allows you to see
when that User is on the phone, and when the User (or Department) has been presented with a
call, allowing you to pick the call up.
You may also access your Favourites list at any time whilst a call is in progress by pressing
the Favourites button above the Display.
Note:
•If you have no entries in your Favourites list Login will appear as your default page.
•You can enter your own Favourites using the PCS 50. Alternatively, this can be
achieved by your System Administrator using Manager.
Making a call from your Favourites list
Use the Page Up/Down buttons to find the required
Favourite entry.
Ros
Press the Context Sensitive Key beside the appropriate name in
your Favourites list. The call will be automatically made.
Note:
Ros
If an internal Favourite is displayed with a crossed telephone after
the name it signifies that this User is currently busy.
Ros
If an internal Favourite is displayed with a bell after the name it
signifies that this User/Department’s phone is ringing.
Transferring a call via your Favourites list
Press the Favourites button.
Use the Page Up/Down buttons to find the required
Favourite entry.
Ros
Press the Context Sensitive Key alongside the desired entry in
your Favourites list. The original call will be placed on hold and a
new call will be made.
To transfer the call, replace your handset, or press the Speaker
button.
Or
Press the Page Down button underneath the Display.
Transfer
Press the Context Sensitive Key alongside Transfer on the
Display.

PCS 100 User Manual
V2.2/0505/1 - 8 - PCS 100 User Manual
Call Pick up
Any entry within your Favourites list that has been created for an internal User or Department
can be used to pick up a call ringing on that extension - indicated by a bell icon being shown
alongside the User’s name. This is useful if, for example, you wish to answer your
colleague’s phone when they are not at their desk, or handle calls on behalf of another
Department.
Press the Favourites button.
Use the Page Up/Down buttons to find the required
Favourite entry.
Ros
Press the Context Sensitive Key alongside the relevant entry in
your Favourites list to pick up the call.

PCS 100 User Manual
V2.2/0505/1 - 9 - PCS 100 User Manual
Call Status
Whilst a call is in progress the Display will show you the status and details of your call. You
will also be given the ability to place a call on hold, transfer a call, etc as described in the
next section of this User Guide.
If you are receiving a call the first two lines of the Display reflects the Caller’s Name (if
known) and Number (or Private/Withheld if not presented by your service provider), whilst
the 3rd and 4th lines show the name and number that you have been called on (this could be
your DDI, a colleague’s details when their calls are forwarded to your extensions, or as a
participant of a Department – Main, Sales, Support, etc.) allowing you to answer the call
appropriately (please refer to page 30 for further details on working with Departments). Two
active buttons are available on the 5th and 7th lines; Answer & Clear
If you are making a call the first two lines of the Display show the details of number you are
calling, whilst the next two lines display your details. For external calls Clear is provided on
the 7th line, whilst, additionally, (Leave a) Voicemail is provided on line 6 for internal calls.
Once a call is connected the use of the Context Sensitive Keys changes. Those on lines 5
through to 8 of the Display show Park Slots 1 – 4. Using the Page Down button underneath
the display changes their use again. Line 5 becomes Transfer, Line 7 becomes Clear, whilst
Line 8 is used to Record a call.
Placing a Call on Hold
Press the Recall button.
To retrieve the call, press the Recall button a 2nd time.
Transferring a Call
Announced Transfer
Place the call on hold (press the Recall button).
Dial the number required (internal or external number). Wait for
the call to be answered, then introduce the caller.
To transfer the call, replace your handset, or press the Speaker
button.
Or
To transfer the call, press the Page Down button underneath the
Display.
Transfer
Press the Context Sensitive Key alongside Transfer on the
Display.
Or
To clear the call that you are currently connected to and return to
the original call, either press the Recall button, or wait for the
other end to hang up.

PCS 100 User Manual
V2.2/0505/1 - 10 - PCS 100 User Manual
Or
To return to the original call and place the second call on hold,
press the Page Down button underneath the Display.
Switch
Press the Context Sensitive Key alongside Switch to toggle
between the two calls.
Transfer
Finally, press the Context Sensitive Key alongside Transfer to
connect the two calls (regardless of which call you are currently
connected to).
Blind Transfer (un-announced transfer)
Place the call on hold (press the Recall button).
Dial the number required (internal or external number). Wait for
the phone to ring.
To complete the transfer, replace your handset, or press the
Speaker button.
Or
Press the Page Down button underneath the Display.
Transfer
Press the Context Sensitive Key alongside Transfer on the
Display.
Dial the number required (internal or external number). The call
will be automatically transferred to this number. You will no
longer have control of the call.
Transferring a Call via your Favourites
Your Favourites list can be used to quickly and easily transfer calls without having to
remember the number.
Press the Favourites button.
Use the Page Up/Down buttons to find the required
Favourite entry.
Ros
Press the Context Sensitive Key beside the appropriate name in
your Favourites list. The original call will be placed on hold and
the new call will be automatically made.
Press the Page Down button underneath the Display.
Transfer
Press the Context Sensitive Key alongside Transfer on the
Display when ready.
Transferring a Call via the Directories
If you do not know the number of the person to whom you wish to transfer the call you can
look up the information in one of the directories available.
Select either Contacts or Users or
Departments by pressing the appropriate
button.
Use the Page Up/Down buttons or the
Alpha-Numeric Keypad to locate the
entry you require.
Robin
Select the directory entry required by pressing the Context
Sensitive Key alongside the name.

PCS 100 User Manual
V2.2/0505/1 - 11 - PCS 100 User Manual
Sensitive Key alongside the name.
A list of contact numbers for that Contact, User or Department
will be displayed.
705
Dial the required number by pressing the Context Sensitive Key
alongside it. The original call will be placed on hold and the new
call will be automatically made.
Press the Page Down button underneath the Display.
Transfer
Press the Context Sensitive Key alongside Transfer on the
Display when ready.
Further information on working with these directories can be found on the following pages:
Contacts – page 28, Users – page 27 and Departments – page 29.
Redialling a Number
The last calls made from your PCS 100 will be saved in the Last Number Redial list and can
therefore be used to save time when dialling these numbers again.
Press the Last Number Redial button. A list of the numbers you
have dialled most recently will be shown.
The name of the User/Department/Contact you made the call to
will be displayed if this information is available. In cases where
there is no directory entry for the number dialled, the number
itself will be displayed.
Use the Page Up/Down buttons to find the call to
be redialled.
Steve Smith
Press the Context Sensitive Key beside the appropriate name or
number. The Display will show all the telephone numbers
associated with that Directory entry – up to 5 numbers. The actual
number previously dialled is indicated by a < in front of it.
01234567890
Dial the required number by pressing the Context Sensitive Key
alongside it.
Note:
•The “last” 20 calls made will be displayed.
•A phone with a cross through it after an entry represents a call that was not
answered.
Parking a Call
This facility allows calls to be put on hold in a system area so that the call can be picked up
from any other extension on the system. The PCS 100 provides access to four Park Slots, 1 -
4. If a call is parked via one of these Park Slots all Users with a PCS 400/200/100/50 will be
able to see the parked call and will be able to retrieve it if required.
Park a Call
Park 1
Press one of the Context Sensitive Keys beside Park 1- 4.
The details of the caller – name if known, or number - will be
displayed against the relevant Park Slot.
Pick up a Parked Call

PCS 100 User Manual
V2.2/0505/1 - 12 - PCS 100 User Manual
Lift your handset or press the Speaker button and Park Slots 1 – 4,
will be shown on the Display. If in use, the name – or number –
relating to the parked call will be displayed instead.
Steve Smith
Press the Context Sensitive Key beside the relevant Park Slot to
retrieve the call.
Switching to Hands Free
You may wish to switch between hands free and handset operation without interrupting the
call.
From handset to hands free – press the Speaker button and replace
the handset.
From hands free to handset – lift the handset.
Note: If you press the Speaker button while in hands free mode you will end the call.
Muting a Call
You may wish to prevent a caller from hearing your conversation with another colleague in
your area.
Press the Mute button to mute your call.
Press the Mute button a second time to turn this feature off.
Note: When this feature is activated the Mute symbol will be visible on the 1st Line of
the Display.
Changing the Volume
You can change the ringing volume and conversation volume at any time during or before a
call.
Changing the Volume before a call
Press the Speaker button.
Press the Volume Up or Down buttons as required.
Press the Speaker button a second time when finished.
Changing the Volume during a ringing call
The Display will change to the Call Status screen when a call is
received.
Press the Volume Up or Down buttons as required.
The ringing volume will increase or decrease.

PCS 100 User Manual
V2.2/0505/1 - 13 - PCS 100 User Manual
Changing the Volume during a call
Answer the call in the normal manner.
Press the Volume Up or Down buttons as required.
The volume of your handset will increase or decrease
appropriately.

PCS 100 User Manual
V2.2/0505/1 - 14 - PCS 100 User Manual
The Message Box – Your Incoming Call History & Voicemail
The PCS 100 Message Box allows you to view and manage a historical list of your Incoming
Calls - internal & external, answered & missed – and Voicemail.
View the contents of your Message Box
Press the Message Box button. A list of historical incoming calls
and voicemail will be displayed.
Use the Page Down button to display further entries. There is no
limit to the number of completed calls and voicemails that can be
listed. However, only the last 10 missed calls are recorded.
Press the Message Box button to return to your default Favourites
Display.
Note:
Steve Smith
Signifies a Completed Call.
Steve Smith
Signifies a Missed Call.
Steve Smith
Signifies a New or Unread Voicemail message.
Steve Smith
Signifies an Old or Read Voicemail message,
View further details relating to your historical incoming calls
Press the Message Box button.
Steve Smith
Press the Context Sensitive Key alongside an entry to display
further information relating to that call.
Press the Message Box button to return to your default Favourites
Display.
Note:
•Further information relating to a call consists of;
oThe Name of the Caller (if known).
oThe Callers Number.
oThe Time and Date of the call.
oThe name of the User or Department called.
•In addition three Action buttons appear on the Display
oDelete (entry)
oCall (Caller’s number)
oExit (back to Incoming Call List)
•Entries are listed in date and time order with the newest at the top

PCS 100 User Manual
V2.2/0505/1 - 15 - PCS 100 User Manual
Ringback a previous caller
Each incoming call received by your PCS 100 will be logged in your historical incoming
calls list. The number received with these calls can be dialled-back directly from this list.
Press the Message Box button.
If required, use the Page Down button to display further entries.
Steve Smith
Select the call to be dialled-back using the Context Sensitive Key
alongside the required entry. Further information about that call is
now shown.
Call
Dial the caller back by pressing the Context Sensitive Key
alongside Call.
Note:
•If the call is made back to a Contact “known” by the system – that is one within the
Contacts, Users or Departments directories - a list of other telephone numbers
associated with this entry will be shown. The active number (the one being dialled) is
indicated by a < in front of it.
•If the caller’s number has been withheld or not received by the system this facility
will not be available. The further information page will indicate if the caller’s
telephone number has been received.
Deleting a call list entry
There is no limit placed on the number of completed calls, whilst the last 10 missed calls are
also recorded with the oldest entry being deleted once this number has been exceeded.
However, you can also manually delete an entry if required.
Press the Message Box button.
If required, use the Page Down button to display further entries.
Steve Smith
Select the call to be deleted using the Context Sensitive Key
alongside the required entry.
Delete
Remove the Incoming Call entry by pressing the Context
Sensitive Key alongside Delete.
Press the Message Box button to return to your default Favourites
Display.

PCS 100 User Manual
V2.2/0505/1 - 16 - PCS 100 User Manual
Working with Voicemail
The Voicemail facility allows your callers to leave a message if you are on the phone or do
not answer a call. However, this facility must be configured to enable you to use this service,
please refer to your System Administrator for further details.
Receiving a Message
•If you are busy or do not answer your phone the caller will be automatically passed to
your Voicemail and will be able to leave a message
•If the caller has left a message the Message Waiting Indicator LED icon on your PCS
100 will flash.
By default, your extension will ring for 20 seconds before your extension is considered not
answered. Your System Administrator will be able to tell you if this default setting has been
changed.
Retrieving a Message
Press the Message Box button.
If required, use the Page Down button to display further entries.
Sue Jones
Press the Context Sensitive Key alongside a new Voicemail to
display further information relating to that message.
Play
To hear the message, press the Context Sensitive Key alongside
Play.
Press the Message Box button to return to your Incoming Call &
Voicemail list. The message will now be displayed in normal text
as it has been read and will be deleted after 7 days unless
manually saved.
Press the Message Box button again to return to your default
Favourites Display.
Message Handling
While viewing information about a Voicemail the following details are displayed;
•Caller’s Name
•Caller’s Number
•Time & Date of Call
•The Name of the User or Department Called
And in addition the following active buttons are shown on the Display to help you manage
your Message Box:
•Play
•Delete
•Call
•Exit
Whilst playing a Voicemail message, the following details are displayed;
•Caller’s Name
•Caller’s Number
•Time & Date
Other manuals for PCS 100
3
Table of contents
Other Splicecom IP Phone manuals
Splicecom
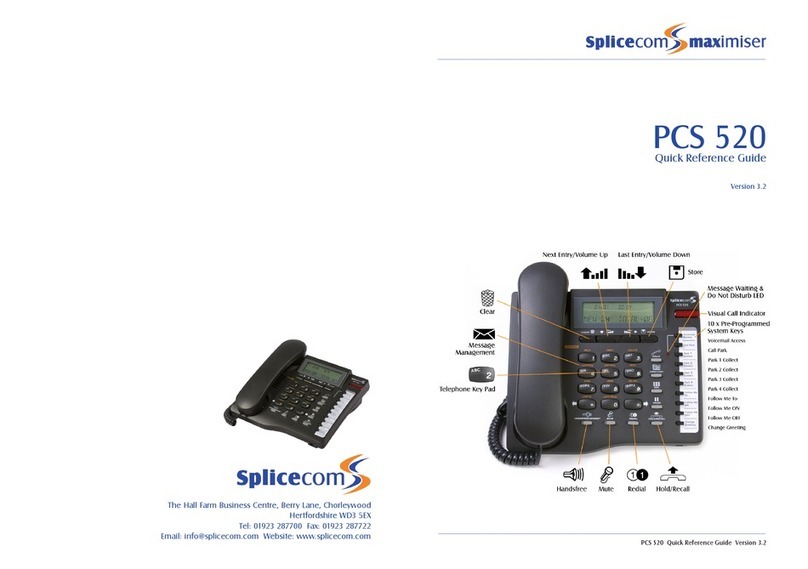
Splicecom PCS 520 User manual
Splicecom
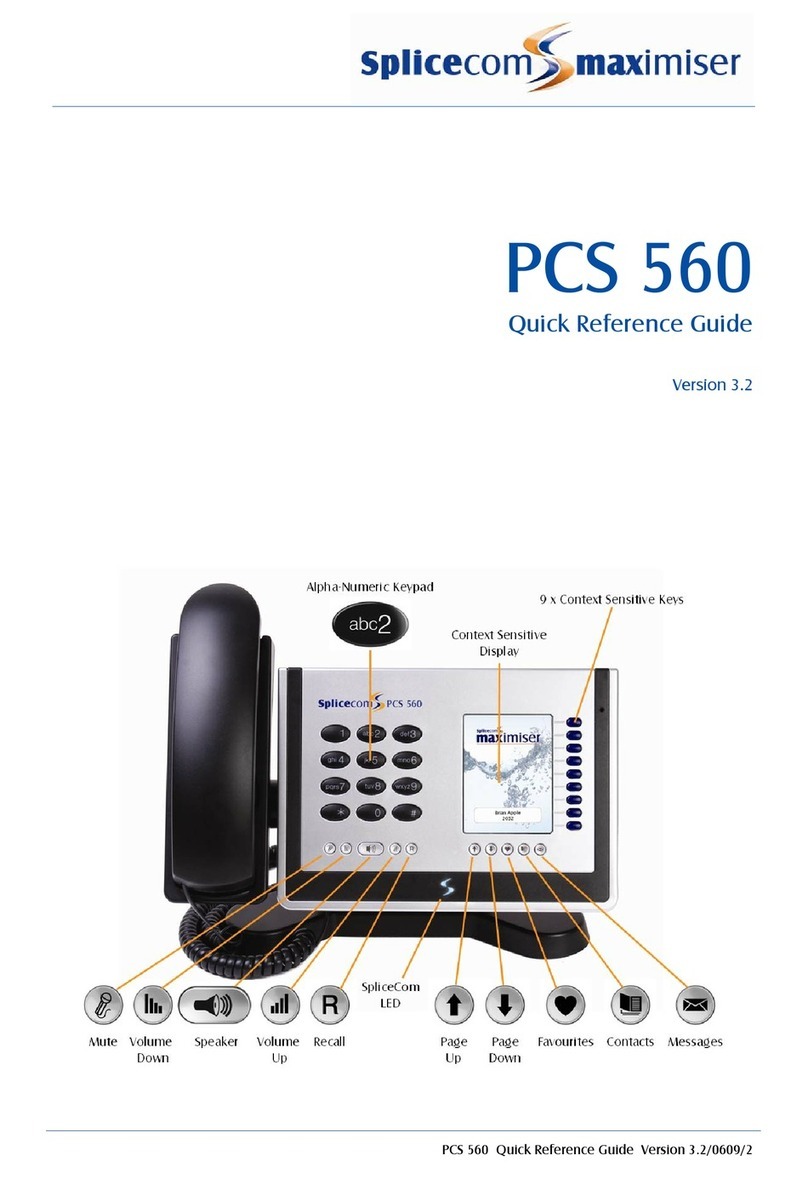
Splicecom PCS 560 User manual

Splicecom
Splicecom PCS 10 Instruction Manual

Splicecom
Splicecom PCS 520 User manual
Splicecom
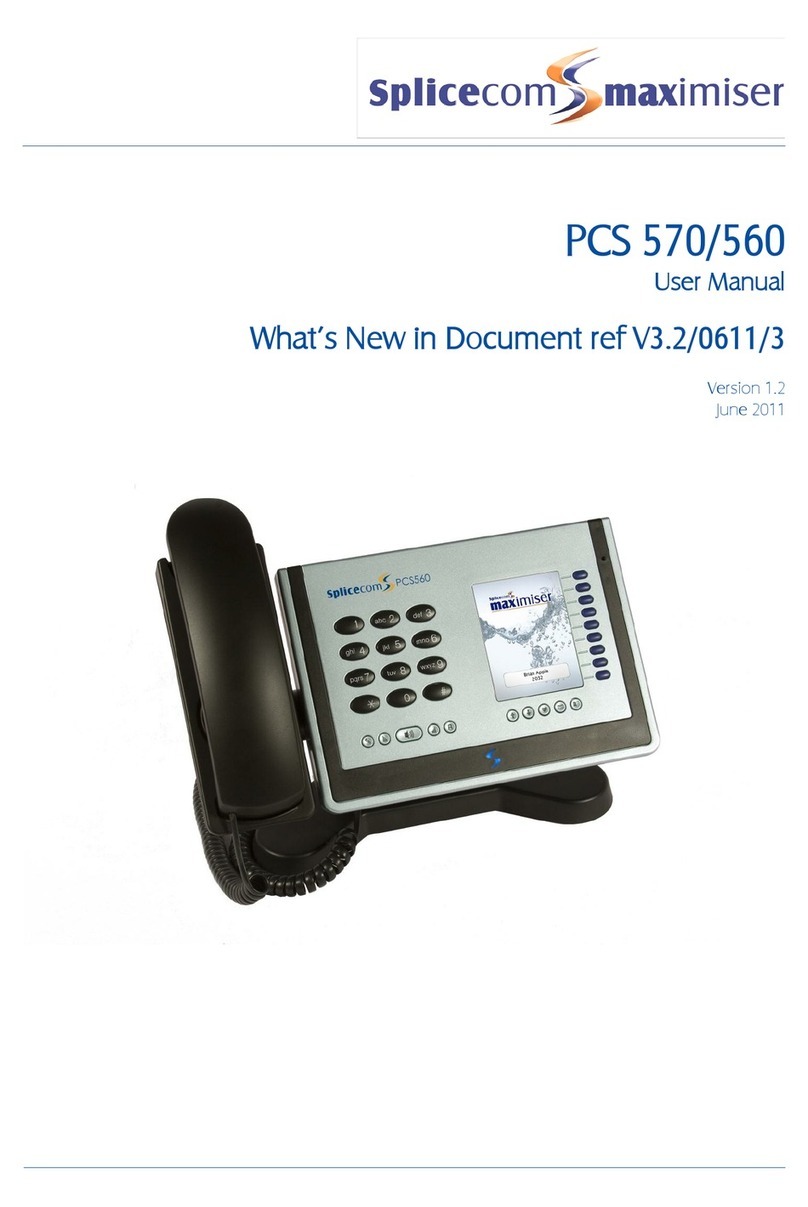
Splicecom PCS 570 User manual
Splicecom
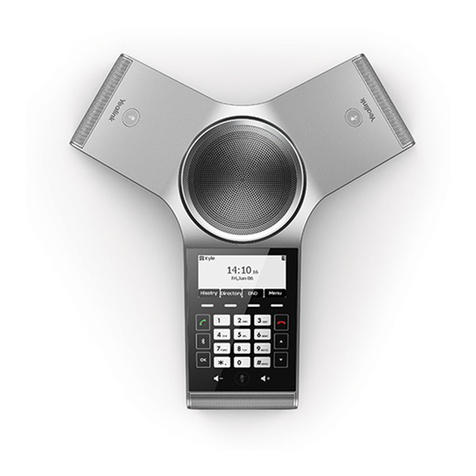
Splicecom Yealink CP920 User manual
Splicecom
Splicecom PCS 580G User manual
Splicecom
Splicecom PCS 563 User manual
Splicecom
Splicecom PCS 552 User manual
Splicecom
Splicecom Yealink T57W User manual
