manuals.online logo
Brands
  1. Home
  2. •
  3. Brands
  4. •
  5. Sumake
  6. •
  7. Power Tools
  8. •
  9. Sumake DT-6617 User manual

Sumake DT-6617 User manual

DT-6617 3 IN 1 DIGITAL TIRE INFLATOR
Features:
Reinforced Zinc & TPR body
Ideal for Automotive Industrial & Trade
Spiral Protected Air Hose
Heavy Duty Zinc Die Cast Body
Operation pressure up to 100 PSI
Fast inflation, air flow delivered: 1.15 CFM
Function:
Fill air (inflation)
Release air (deflating)
Gauge pressure(measuring)
Specifications:
Large LCD Display for Easy Reading
Pressure Range: PSI; Bar; kg/cm2; Kpa
Pressure Increments: 0.5PSI / 0.05Bar/0.05kg/cm² / 5 Kpa
Automatic shut off after 60 seconds of to conserve battery life
Measuring Range form 0-160 PSI (+/-2%,@25 )℃
Supply Voltage: 1.5V <CR2032 battery>
Spiral Protected Air Hose 39cm & Clip Tip <360 Degree swivel function>
Dual Chuck 9-1/2"
Check tire pressure often while inflation. Inflate to tire manufacturer's recommended pressure only.
Over-inflation and under-inflation of fire both create potentially hazardous driving conditions.
Wearing impact-resistant protective eyewear while inflation tires is recommended.
To read Pressure Depress Lever Fully Release
Never Connect to an Air Source that is Capable of Exceeding 150 PSI.
Always check and set pressure when the tire is cold.
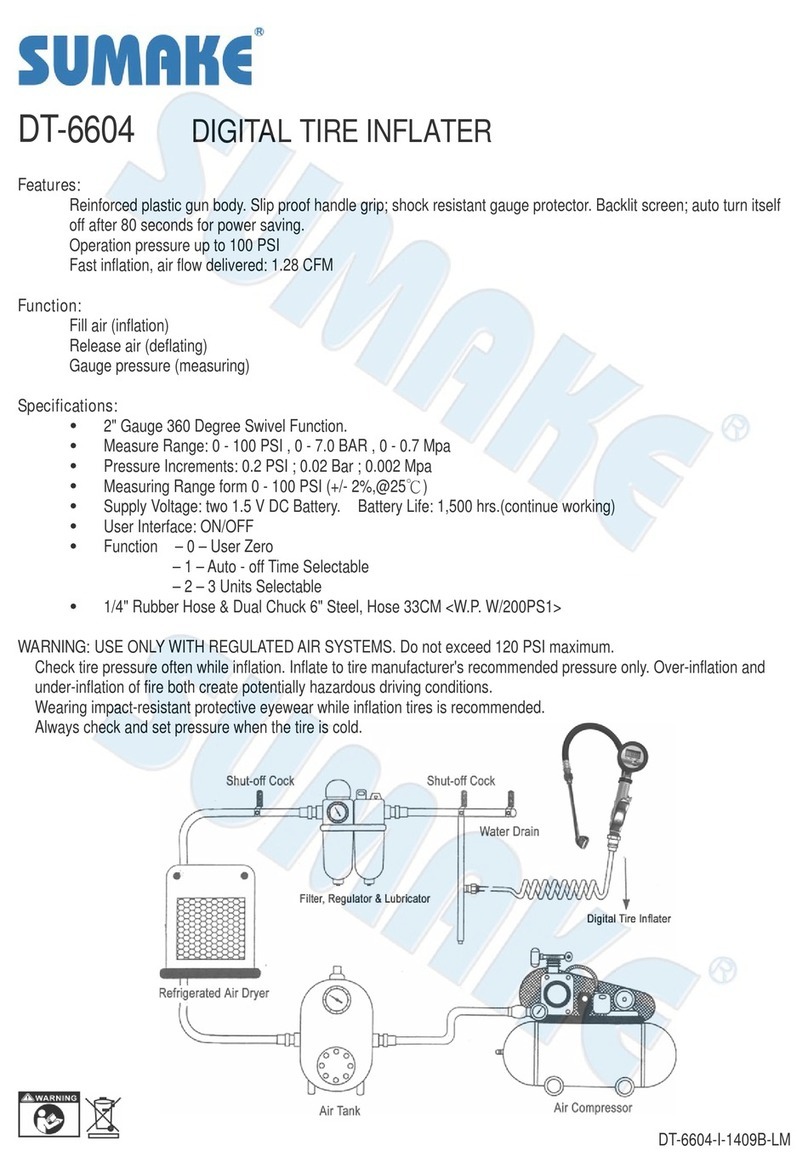
Ideal System Connection
LCD GAUGE OPERATION GUIDE
Operation mode:
To switch on: When the gauge is off, press “On” button once then the gauge will be turned on.
To switch off: When the gauge is on, press “On” button once turn off. Or, the gauge will be automatically off when it
has been set in advance to be turned off under specific condition.
Change Functional Setting
Three different function settings can be manipulated according to user’s need:
1. Sets to zero
2. Automatic shut-off 30, 60, 120, 180, SEC
3. Pressureunitselections PSI. Bar. Kg/cm²Kpa
How to go in to Function settings
When the gauge is on, please turn off the gauge. Having turned off the gauge and with nothing show on the LCD, press “On”
button for about 3 seconds until the LCD shows 「---」. And then, let go the “On” button.「-0-」,「-1-」, and「-2-」will
be showing on the LCD. Please select the function「-0-」,「-1-」, or「-2-」according to your need. (Details please see
the following bullet points.) Lastly,「-E-」will show for 2 seconds and the gauge will shut off automatically. When LCD shows
「---」and not let go the “On” button, the LCD will keep showing 「---」until the "On" button has been released.
1. Sets to zero:When LCD displays「-0-」<*> , press "On" button once, the gauge will be set to zero.
<*> If not pressing "On" in 3 seconds, LCD will show 「-1-」.
2. Automatic shut-off:When LCD shows 「-1-」<*1>, press "On" once, the gauge will go in to Automatic shut-off mode.
<*1> If not pressing "On" in 3 seconds, LCD will show 「-2-」.
3. Pressure unit selections:When LCD shows「-2-」<*2>, press "On" once, the gauge will allow you to select the pressure
unit.
<*2> If not pressing "On" in 3 seconds, LCD will show 「-E-」and the gauge will be turned off automatically.
1. -0- Sets to zero
If there is no pressure being entered, please follow the how to instruction above to go to the function of set to zero.
When seeing「-0-」showed on the LCD, press "On" button once in 3 seconds. LCD will shows「00-」, please press the "On"
button one more time and then 「000」will be shown on the LCD. Within 3 seconds, press "On" button again. Now, the
gauge will set to zero. Once the gauge finishes zero, 「End」will be shown on the display for 2 seconds and then turn off.
※When seeing 「-0-」,「00-」or「000」and not pressing "On" button in 3 seconds, the gauge won’t do zero. After
it shows 「-E-」on the display, the gauge will turn off.
2. -1- Automatic shut-off
Default setting: 180 (Unit: seconds)
Change the time value: Following the how to instruction above to go to automatic shut –off function.
The numbers show on the display are "30","60","120", and "180". Each number will last about 2 seconds on the display.
Once the number to be set is showing, press “ On ” to select the value. The value will flash 3 times. The gauge will turn off
after showing 「End」for 2 seconds.
※Number selections will show 4 times with the sequence of "30","60","120" , and "180". If not choosing any number,
the gauge will not change the previous setting. After showing 「-E-」for 2 seconds, the gauge will turn off.
3. -2- Pressure unit selections
Default setting: PSI
Please follow the how to instruction above to go to the selection for measurement unit.
Display shows the sign as 「- 」(left),「 - 」(middle)and「-」(right), each for two seconds. Each dash is corresponding
to the measurement unit wording on the front, which has Psi, Bar, and MPa. When the dash is at the desired pressure unit,
press “ On ” to select the unit. The selected unit will flash 3 times. After showing「-E-」for 2 seconds, the gauge will turn off.
※The selections will show 4 times. If the unit isn’t selected, the previous setting
Steps of change battery
Step 1
Take out #16 the
Rubber Cover
Stick
Step 2
Loosen #15 the
Piston Rods
Step 3
Take out #15 the
Piston Rods and
#13 the Cover
Stick
Step 4
Separate #12 the
Housing Assembly
from #4 the Rubber
Grip
Step 5
Open #12 the
Housing
Assembly
Step 6
Push the used
battery out
Step 7
Insert the new
battery in
Step 8
Put #12 the Housing
Assembly back to
#4 the Rubber Grip
Step 9
Put #15 the Piston
Rods and #13 the
Cover Stick back
to the Housing
Assembly
Step 10
Tighten #15 the
Piston Rods
Step 11
Put #16 the
Rubber Cover
Stick back
DT-6617-I-1911B-LM
DT-6617
PARTS LIST
No. Parts No. Description Q'ty
1 DT6617-01 Trigger 1
2 DT6617-02 Screw 1
3 DT6617-03 Nut 1
4 DT6617-04 Rubber Grip 1
5 DT6617-05 Spring 1
6 DT6617-06 Valve Stem 1
7 DT6617-07 Valve Bushing 1
8 DT6617-08 Nut 1
9 DT6617-09 Rubber Hose 1
10 DT6617-10 Clip Chuck 1
11 DT6617-11 O-Ring 1
12 DT6617-12 Led Body Housing Assembly 1
13 DT6617-13 Cover Stick 1
14 DT6617-14 O-Ring 1
15 DT6617-15 Piston Rod 1
16 DT6617-16 Rubber Cover Stick 1
17 DT6617-17 Dual Chuck 1
DT-6617-P-1606A-LM
3 IN 1 DIGITAL TIRE INFLATOR

Other Sumake Power Tools manuals

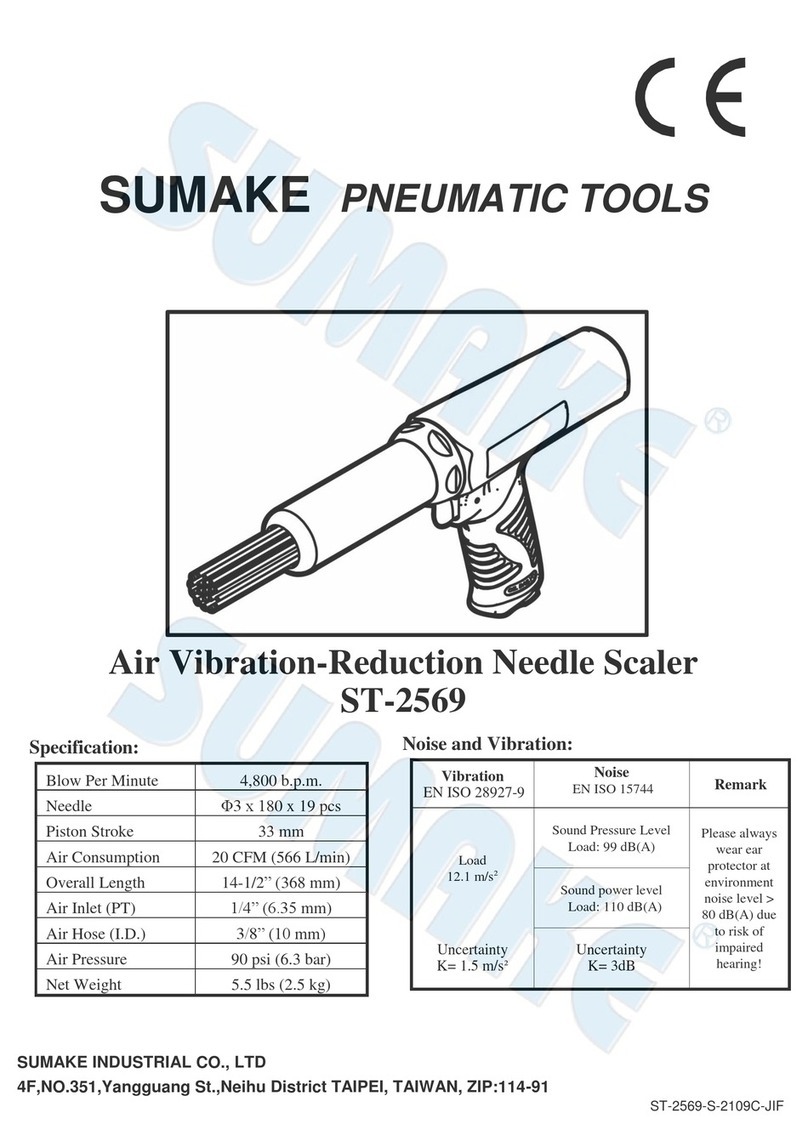
Sumake ST-2215 User manual

Sumake

Sumake ST-2215 User manual

Sumake FAW010 User manual

Sumake

Sumake FAW010 User manual

Sumake ST-M5032H User manual

Sumake

Sumake ST-M5032H User manual

Sumake CS-3510 User manual

Sumake

Sumake CS-3510 User manual

Sumake ST-6652DA User manual

Sumake

Sumake ST-6652DA User manual

Sumake ST-2234 User manual

Sumake

Sumake ST-2234 User manual

Sumake FLB030 User manual

Sumake

Sumake FLB030 User manual

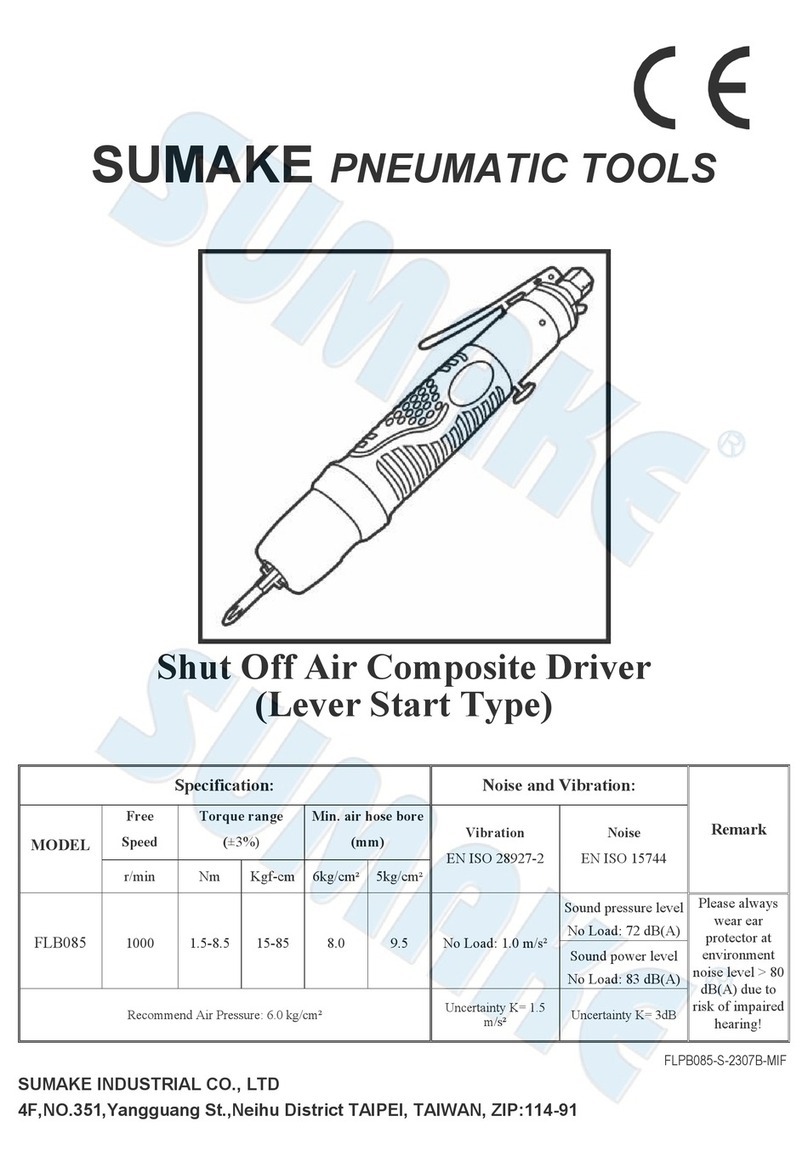
Sumake FLB085 User manual

Sumake

Sumake FLB085 User manual

Sumake ST-6671 User manual

Sumake

Sumake ST-6671 User manual

Sumake ST-AH202R User manual

Sumake

Sumake ST-AH202R User manual

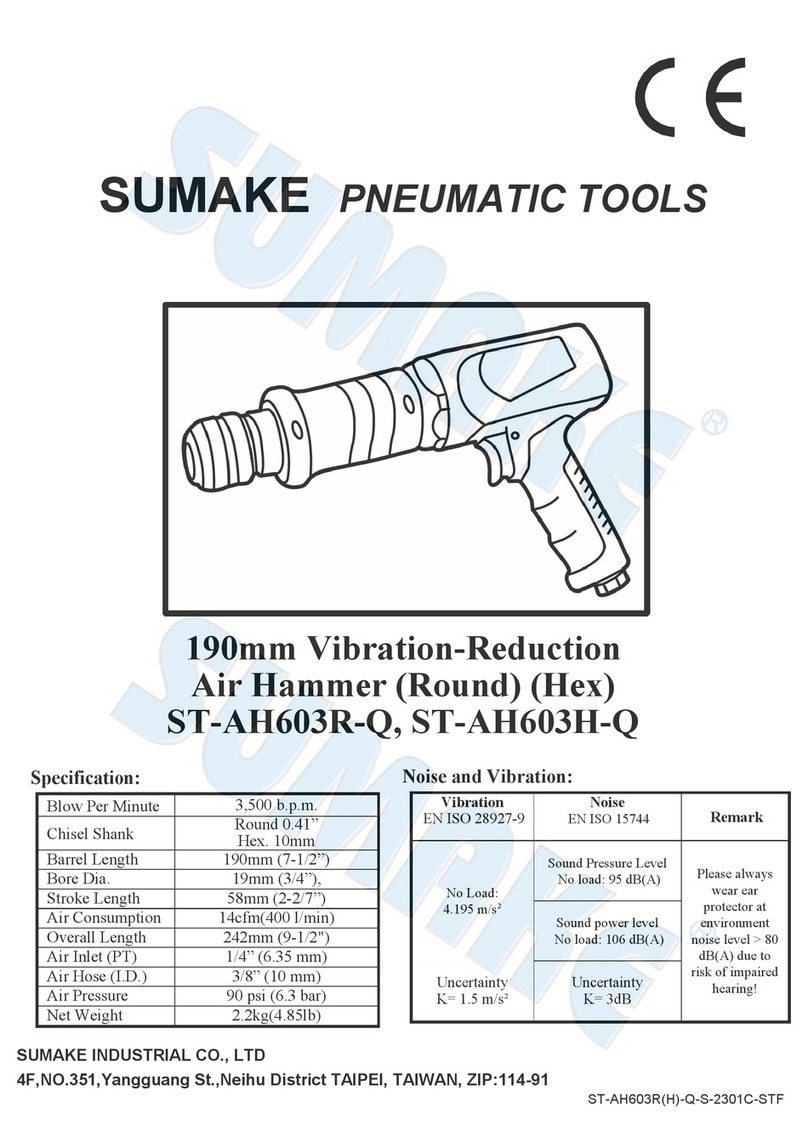
Sumake ST-AH603R User manual

Sumake

Sumake ST-AH603R User manual

Sumake CS-35B User manual

Sumake

Sumake CS-35B User manual

Sumake ST-2248SR User manual

Sumake

Sumake ST-2248SR User manual

Sumake ST-6676 User manual

Sumake

Sumake ST-6676 User manual

Sumake ST-2210 User manual

Sumake

Sumake ST-2210 User manual

Sumake ST-2213 User manual

Sumake

Sumake ST-2213 User manual

Sumake ST-2569 User manual

Sumake

Sumake ST-2569 User manual

Sumake KPW002 User manual

Sumake

Sumake KPW002 User manual

Sumake ST-2211 User manual

Sumake

Sumake ST-2211 User manual

Sumake ST-6615B User manual

Sumake

Sumake ST-6615B User manual

Sumake DT-6604 User manual

Sumake

Sumake DT-6604 User manual

Sumake S Series User manual

Sumake

Sumake S Series User manual

Sumake ST-2237 User manual

Sumake

Sumake ST-2237 User manual

Sumake ST-AH400R User manual

Sumake

Sumake ST-AH400R User manual

Popular Power Tools manuals by other brands

Parkside PHLG 2000 F5 Translation of the original instructions

Parkside

Parkside PHLG 2000 F5 Translation of the original instructions

Stanley GD50 Service manual

Stanley

Stanley GD50 Service manual

Baier BFS instruction manual

Baier

Baier BFS instruction manual

Makita JN3201 instruction manual

Makita

Makita JN3201 instruction manual

Makita AS001G instruction manual

Makita

Makita AS001G instruction manual

FEC enFORCE DSP1500 Operation manual

FEC

FEC enFORCE DSP1500 Operation manual

Grouw! 70228 instruction manual

Grouw!

Grouw! 70228 instruction manual

RIDGID 600 operating instructions

RIDGID

RIDGID 600 operating instructions

Milwaukee M12 2460-20 Operator's manual

Milwaukee

Milwaukee M12 2460-20 Operator's manual

Makita KP0810CJ instruction manual

Makita

Makita KP0810CJ instruction manual

DeWalt XR LI-ION DCG412 instruction manual

DeWalt

DeWalt XR LI-ION DCG412 instruction manual

Hilti WSJ 750 manual

Hilti

Hilti WSJ 750 manual

Makita T221D instruction manual

Makita

Makita T221D instruction manual

Stanley Genesis 07537 Instruction and service manual

Stanley

Stanley Genesis 07537 Instruction and service manual

Matatakitoyo Torque Tools META Operation manual

Matatakitoyo Torque Tools

Matatakitoyo Torque Tools META Operation manual

Galaxy Press GS-205B Plus Operation manual

Galaxy Press

Galaxy Press GS-205B Plus Operation manual

PEUGEOT EnergyWrench-18VBL manual

PEUGEOT

PEUGEOT EnergyWrench-18VBL manual

M7 PB-2402 user manual

M7

M7 PB-2402 user manual

manuals.online logo
manuals.online logoBrands
  • About & Mission
  • Contact us
  • Privacy Policy
  • Terms and Conditions

Copyright 2025 Manuals.Online. All Rights Reserved.