manuals.online logo
Brands
  1. Home
  2. •
  3. Brands
  4. •
  5. Suncast
  6. •
  7. Outdoor Storage
  8. •
  9. Suncast GS1000 User manual

Suncast GS1000 User manual

OWNER'S MANUAL
GUIDE DE MONTAGE
No Tools Required
Aucun outil n'est necessaire pour le montage
GS1000
Horizontal Storage Shed
GS1000
Remise aoutils horizontale
ACAUTION
i r , ifoi '...!- ol (i•i.•d< i»au« eht»ic*X
Sto^ *™ »«< "« bottom el |M
Do 1101 stand 11 vttUI tenon rfMBt rittltt|
Hind* ci;Mv He"I'*re *n«cMf«
«tp»» M<*««• WoU." -nroWiMty
Sunuil ti nt Ktyctttf* to lUnitoe nnr4 bi v.f mrei ni mirusr
•«ieo-lir"icivSiiMBK! <cuoh»Jlo Mil sui*li» aWMMi* nfftM fit ttt* "(j*o«vt)
t-Srodrxy twk I'1" l««V*1lu." hvwii in 1H /am *>"' nMill Wirt
AATTENTION
|J uhl«; ok o n nMjtta sb tieav in tttetnii cn**p?s >ir.»imiti« ou twiwM
Urenr ae at c« ws fflrc uitlisM p*i Oes wUnh.
impnvm atwil n*tt*|K>uf d»HtK t*l I* CWttfttl ft U
-Vrtttl *™n*nki I. nrnir «.« nut: »i«iot muTOi J, faittMi otttmcs.
Sumait (Kdr* toil* i«wv,»t)'iw «n tx *oontucw wnwm< »> mlmip** on Ui*lM|M*
ira«ifff ii reinee ««r>ans rtfttm to oc w«aa«Kr o«an* *•
•Vt<rw t*jt"i*(*r-Mi u» r*npM»iiM cm *>«. m» irx*. ocu uimudrmre .'i itmi
Before you begin...
Read instructions prior to assembly. This kit contains parts thai can be damaged Hmcoireclly assembled. Please follow instructions.
Suncast is not responsible lor replacing parts damaged due to incorrect assembly.
Avani de commencer...
tisez les instructions avanl de proceder a('assemblage. Ce kit com ent Oes pieces qui nsquent d'etre endommagees si ces demieres
ne sonl pas montees tofiedement Veuillez suivre les instructions. Suncast ne peut etie tenu resnonsable en cas dc perte de pieces
suile aun montage mcoiiett
Assembly Instructions /Instructions de montage
OpKtfull? *»l LOC*0-K
Lrn«C«ii"CriiltKtDiiiW 12p0 *10(*««
1. IMPORTANT: Bottom IA) must be installed on a
level surface.
1.IMPORTANT: Place7 le SOde (A) sur line
surface aniveau.
BOTTOM /SOCLE
Securing in Ground
Your sfod tnrom mn tn sxiirecj to Bio ground try dulliirj 7;16 twtes though De lour prrwded 'ouitf 'etessed areas headi ul the (cu corners and then rearing 1?'
fliioucjl the -in the ae* and to i)k ywnd. Hwm nails are avaiabl? al home tenters ard hardware stores
Fixation du socle au sol
Lb socle de la iemise peut elrelixeausoien percaitt des trous de <YiBpo |li mm) dans les ouatre espaces en retran prewus dans chacun des qua
tre coins puis en introduisant un clou de 12 oo. (3C cm) dans les trous on socle (usqu aattondre le sol Cos clous sont disponiOles atipres de voire
quincaiiliar
iQuillity Control Uc
Numeio Oe conlrclt1de qualite
"-20C1 SuncW Cwp*»tcr. BjU'd. %B3B0BM
2. Attach Lett Side Panel (C) to Back Panel (B) as shown. Press
parts together until pieces snap in place.
2. Fixez le panneau lateral gauche <C> au panneau arriere (B)
cornme illustre. Pressez les pieces les unes dans les autres
jusqu'ace quslles se bloqueni
3. Attach Right Side Panel (0} to Back Panel (B) as done in
step 2Press parts together until pieces snap in place.
When complete, set aside tor later use.
3. Fixe? le panneau lateral droit (D) au panneau arriere (B)
comme lors de I'fitape 2. Presse? les pieces les unes dans les
autres jusqu'a ce qu elles se eloquent
Apres avoir termine. place; Iensemble a fecart afin de pouvoir
Iutiliser anouveau ultfirieurement.
4. Locale cutout in the lower left corner ot the Right Door (F).
Position Door Latch Housing [M] teeth toward the bottom of the cutout, placing
the teeth under the lower edge of cutout.
Push down on top edge of Door Latch Housing (M> to push the ears under the
outer edge of the cutout
NOTE; Door Latch Housing |M) can only be inserted in one direction.
4. Rep6rez la section decoupee dans le coin inffineur gauche de la porte droite (F).
CUaif
Section ttecu&Se
Positionnez les dents du logement du loquet de porte (M) vers le bas de la section
decouple, en veillant aplacer les dents sous le bord inlerieur de la section
Appuyez sur le bord superieur du logemenl du loquet de porte (M) afin de presser
les dents sous le bord exierieur de la section decoupee.
REMARQUE: le logemenl du loquet de porte (M) ne pent etre introdult qu'en un seul sens
Eirs
lew
M
Wi* de Seme*
5. Insert the square end of the Door Latch Pin (N) by
angling it into the top ot the Door Latch Housing (M). Push
the rounded end ol the Door Latch Pin (N) downward to
engage snaps that secure it in housing.
6. Introduisez le bout carre de la goupiile de verrouiilage
(N; du loquet de porte en Iinclinant vers le haul du loge-
ment du loquel de porte (M). Pressez te bout rond de la
goupiile de verrouiilage (N) du loquet de porte vers le bas
afin dintroduce les fixations la rctcnant au logement.
6. When complete, make sure that the Door Latch Pin <N> is
in the UP position and set Right Door (F) aside for later use.
6. Apres avoir terming assurez-vous que la goupiile de ver-
rouiilage (N) du loquet de porte est orientee vers le haul
(position "UP') et placez la porte droite (F) aI'ecart atin de
pouvoir I'utiliser anouveau ulterieurement.
PufJiitfo UP Munn
Poisso? *n oceiliCTiUPlHAU!)
IMPORTANT: NOT SNAP BACK ASSEMBLY INTO PLACE UNTIL
STEP 10.
7. Set the Back Assembly (CAD} on top ol Bottom Panel (A) by
lining up the holes with the corresponding bottom pegs.
DO NOT SNAP RIGHT SIDE INTO PLACE UNTIL STEP 10.
8. Place the Right Door (F) over the hinge post on the Bottom
Panel (A). Without tulty engaging the snap, press down on the
the Right Side Panel (D) aligning the hinge post into the Right
Door.
DO NOT SNAP LEFT SIDE INTO PLACE UNTIL STEP 10.
9. Repeat for Left Door.
10. When the hinge pin and hinge post are correctly aligned
begin to push Back Assembly (C.B.D) down to fully snap in place.
IMPORTANT: NE PAS SERRER LFS PIECES LES UNES CONTRE
LES AUTRES AVANT L'ETAPE 10.
7. Placez le panneau arriere (C.B.D) sur le panneau de support
(A) en alignant les trous avec les tenons correspondants du sup-
port.
NE PAS ENCLIPSER LE COT6 DROIT AVANT L'ETAPE 10.
8. Place? la pone droite (F) sur la charniere correspondante du
panneau de support (A) Tout en vetllanl ane pas introduce com-
plement le mScanisme de verrowllage. pressez sur le panneau
lateral droit (D) afm d'aligner le montant de la charniere dans la
porte droite.
NE PAS ENCLIPSER LE C6TE GAUCHE AVANT L'ETAPE 10.
9. Rep&ez roperation pour la porte gauche.
10. Apr6s avoir aligne le montant de la charniere et I'axe de la
charniere, commence* apresser le dos de la remise (C.B.D) vers
le bas alio denclipser le tout.
IMPORTANT:
Product must be installed on alevel surface.
11. Hold Top (G) in an open (vertical) position parallel with the
Back (B) then nook the Top hinges to the Back hinge posts. Close
top to engage.
TIP:
It doors do not close properly, the surface may not be level.
We recommend using asmall shim to level the shed.
IMPORTANT:
Placez le produit sur une surface aniveau.
11. Tenez le couvercle (G) debout (position ouvertej parallele ala
partie arriere (B) puis accrochez les charnieres du couvercle dans
les logements pour charnieres de la partie arriere. Fermez le cou-
vercle avec precaution
CONSEIL:
Si les portes ne se ferment pas correctement. la surface n'est
sans doute pas aniveau. Nous vous recommandons d'utiliser
une petite cale afin de mettre aniveau la remise.
CyHwerEnd
Boriducytindie 12. Top Support Prop Rod (R) can be
placed on either (he right or letl side ot your
GS1O00. You musi choose which side you
will use prior to continuing with assembly.
12. La tige de soutien (R) pent etre placets
sui Iun ou I'autre des cfltts de voire
GSI0O0. Vous devrez choisir quel cute vous
compter utiliser avanl de continuer Iassem-
blage.
r. . ..•;i ,-i
Logwrml *pr« du rylirdrn
13. Locate the cylinder snap
on the underside ot the Top
(G) at the tront right or left
coiner.
Insert one side ot the Top
Support Prop Rod (R) cylin-
der end at an angle into the
cylinder snap, making sure
that the angled notch points
towards the outside ot the
unit and then push the other
side ot ihe cylinder end into
ptaca
13. Reperez le logement du
cylindie sur le dessous de (G)
au niveau du com avant droit
ou gauche.
Inlroduise: un cOte de la tige
de support (R) superieure en
linchnantdans le logement de
prise du cytindre tout en veil-
lant a ce que les points de
rencoche sownt onentes vers
rexterieur de la remise, puis
poussez Iautre cOte du loge-
ment de prise du cylindre en
place
Securing Your Shed: To ptoperty lock
your shed using the Pa3ccfc AssemMy
feature. 5/16''rjadto*isretonimendaJ.
Fermer acl6 votre remise: Pour
termer acle voire remise en util-
isant le disposttit de termeture, ii
est recommande* dutiliser un cade-
nasde 5716 po.
14. With cylinder end
attached to Top (G). twist
the tab end of the Prop Rod
(R) so that it will pass
through slot in the top front
ot Side Panel and then
untwist.
14. Apres avoir fix* I'ax-
tre'mitedu cylindre a|G).
touinez I'onglet de fixation de
la tige de soutien superieure
<R) alin quelle puisse passer
dans la tente situee dans la
oartie superieure avant du
panneau lateral puis lournez
I'onglet dans le sens inverse.
opiod ifWptacle
•tmM ptv 15. To use Prop Rod (R)
feature, open Top (G) to the
point where the prop rod
lifts and sets in the prop rod
receptacle.
To close and stow prop rod
(R). open Top (G)to the
point that the prop rod
comes out of the receptacle,
then redirect the prop rod to
tall into the lull prop rod
storage space.
Piop ice slDiasr space
fspje* d« wpciwil pom to*
15. Pour utiliser la tige de
soutien (R). ouvrez (G»
jusqu'a ce que la tige se
souteve et repose dans le
logement Qui lui est reserve.
Pour lerme el ranger la tige de
soutien (R) ouvrez (G)
lusqu a ce que la tige sorte de
son logement. puis dirigez-la
atin qu'elle vienne se placer
dans le compartiment de
rangement Qui lui est reserve.
Shelving Template /Dimensions
51/4'
3'
L19 3/4'
•26 \tT
1LJ
12* Max
53"
SheMng
Shsluing tan be added to your Suncast storage shea By utilizing Ihe pro-
vided dimensions and cutting your own shelf Irom Vthick shelving
material. Ihe notched corners face the back ol the shed and fit into the
inner short brackets that haw been molded into ihe Inner sides ot your
storage shed.
Etageres
Vous pouvez ajouter fles etageres avoire remise en uliltsant les dimen-
sions fournies et en fabriquant voire propre etagere aparlir d'une
planche de 1po (2.54 cm> d'epaisseur. Les coins aencoches lonl face
au dos de la remise el se placent dans les supports inteneurs pour
etageres ayant etc mouies dans les cdtts intetieurs de la remise.
GS100C Warrant,
Suneas*! Corporation. 701 No* Kirk Roafi turn*. HINun. 60510 (Mamfcitureri w»rirns lo lie otrgna) pnrcHaser or»t rut the tntkji.d piod jet &!i« from roiHigl ana hoiinianstip
dafeets lnder normal household <e* at lime ol owcrase Weci** product or pan mu*l b« returned. freigM p-epad to tht Manutaclwtr satfjm lAitencorv Pans DtpMtrMBl] ahJOQ »ih
proot 0' purchase Ution ot IW atoresa*) Ihe detectiVe product or part Ml be report or r»Pt*«d at the optoi ol the ManulKluit. *li»out ttwg* to It* orfleiat purchaser and
wuiMd uma wstomer r-eght trjpcti
rrw lined wanly dOBS rtotappt, »damage MM* ttcm xoaent. neglect msjsc commera* use iterator cornt on not in accwdaiw wth mwurton ot Milnude or attempted by
nautlOriWd parsons
FMi imwd wnmyapplies or*/ to tno pnKMd onciosco and cms not acpy lo atcessory runs
'«FMAtJL«Ciy^RSll*8l!T*HsHtL.#JLtR SLIMI'tu SOLELY '0 THE RtPAR OR RE PLACEIAE NT C* Thl DfcftCT IVt PUOJUCt UH W! AND 1HL MAAIUfAClUIUfl SHALL IW HO EVWI
BE LIABLE FOR AUY l\C©fl*TAl OR CONStfJUNIIAl QAVJAGES WHICH MAY R6SUU FROM ANY DE'ECt l« MATERIAL QO W0«<MAHSN'P OH IROM IH£ BHlACHOr MY EXPRESS OR
WLIfOWAPfUMTV
Sow Stiles do not allow the eickacri or lirnitahon of incdenUlor consequential damages or iinm«nrjt now Brig jn rnjii-u wmjniy lasts, *j the MMlimitations nay no! apply to yoj
rift* warranty C-*3 you spccec legal rgltfs and you may -un« ottn iiphls wlnr. may wry Irom state to Slate
gm—ia» Humnait
SjncasO Corporation. 701 No* Rjfh Row. Batava. ilimoo 60610 (Uomni) oanrtt aprodi* coniie lo* -cc de trateriaL. et de lUmukon aIacfeteLr ei oatr «ublutrcr, dc true
IttajM tt (NinmiM nornali Tout argon* «tMMi>« Cl tojte pOc Kt-Xt>xisc do» etre ren-rort pot W,*' ju Wmcaii la rttlnflN Oe: Pids Dep*!rrerr> avtc ine preuvc iactiat
diiM Apia* ifcmkon »i wxuit (o« oe up««i o«ikii*w». e« d*'n*r son rcpan ou PMUMan ctax du tabnc*fl el tare has (ncovni pa< racMHl MM et remrt col du* CtBc
gnu* UNIim-cctvit p» *t Ofgjit iUr»*tiirt ijite amaMdem. ur< rerjb9*xe. nusage convnarcal. vr* nedtcaax. on loi* i«ilisatwi non tontonr* ai. insfuerens aios. cue
Mute rfoaralion rIfactiiae aj t*«** pai Ou (WtsonrW non agtae
Olte r>,rarlie Imiee sappn** ufi)i»n»pl au pioQsIl Oijfu tt r* sarakjue pas am p««i HOKMPK,
I*raSPONSABlLITF. DU FABRtANT SF UWITf UUOUfMENT AIA REPARATION OU AU REMPLACEMENT DU PROOUn OU OE LA P«CE E#« OUESIION. DE PLUS. It FA6RICAHI CtaiM
TOUTE fllSVONSABIUlE Zh CAS DE DOMMAOiS INDlRfCTS OU COHSfOJEUrS Sl"TE AUN MATERIA!) OeFECTiiEUX OU AUftE FABRICATION INCORRECTE OU AU NCN RESPECT OE LA
GARANIlt EXI'RESSi Oil WICIIE Cwta>ri«aliOJ prowincM ne p*fm*flei mU lirnrUaondf Udura* durw oararft* rnrptrctta ri^It'dosion da Ooirmages rCtTBCtl Lm l*nl*i ou *wlu-
S«ns rrcritlonrMes ci-fosstis peuven re pM ". Wcl-qiir dam -rV" ai One garanke vous accorde 6t% Orcni iwdtojiei particaMr* et il mpmvbk que «us Ofriurr diWti tictt qui peu-
vtx «anv ttvr. la piovraa Crtta wantfi n,s mlri>n mrdmufs <9tti<nn nIett poss*le «* -ousen ay" sctai Iflat *i la pnninca.
fACtORT RE. PAIRS
Reparr service and aiwrnMr auHlaKe aieavaiUVt ditKl 'ton Itw taiiay. no: Irorr tne place
0^ PMftnt II Ml producl require! repar ptfjase tall or mtt us Wananly repai pans aie
sen oul 'iee Of charfle Hine produa is out cl wnanv mwiH lalotm you ol Ine OBr&w pnor
Ic sororrg Hit t» parts VISA and MasterCard art aattva on prone orders For Assent*/ ot
Ruplixriwl Pars inlormatcr
ft?pl«»rBH Pud
Sunusl Corporation
701 North Kirk Road
BflUria. It 60S10
PATENTS
P3lf HI NMI»
80Cft4o-Z3<l5oi630-8'9-20S0
?4 hW sarvw!
7days a we*»
or vsit wwwwncasi corn
REPARAIIONS DIMM
IwtM est poss*ie de ta*e raoarer ou asserroier le proM don /ous MMntNMn
auptCs de Ibsme «l nort pas aupnH Ot voire levendm Si xonxxtl eol et re rapar?. vanle:
nous apprtei ou btms tcrre MPMmnl les prtcn necassairtft ia'toaralon CMHHH pai
la garantia soit wpedifes gradriifrr»it AprBi la pCrrcde Oe coi*««lijie. nous vous itlrjimerofis
Oes Iras a-art de toiHetiiroyn npieces les carles de ciMe VISA et Masleiuid soit aewp-
M« pour toirte aurmande Wetfoneiiie Pom de plus amtfes rerserpnemenis sur li rnonUoe
ciles piftesde rer*annc
Rlplacament Parts
Suncasl Coixraiicn
ioi Nciin Kir* Road
Balavia. LK6I0
BREVETS
Bimls en after*
Comeese: le
800-846 2Mb ou 630 879-2«sO
MMBM Z4tv2«i ot T|7i
oj vtsite; i« sna ino-nct wnv suncast corn
Pimm pronto thn KtenuNn /Vn*kr twa. MMlB
Name /Nom:
Street /Rue: Clty/Ville:
State /Etat ou Province: Zip Code /Code postal:
Phone /Telephone: Date /Date:
p. 1'•F,. ,'
MyConlrcJ »«rtOt
iRom Omri Minii)
GS1000
Ordering liutrtclloni
1Call Suncasr to rjncrtQ i*>rrw.tiori call 800 84&234S
vG30-8»-20S0. Vo v.v, -frxlaj BOO «n 430 pin
Gentr* IriK (Eaapt rtohdays) Or see MMWMMMm
2Ocnpeten Mi on! address Print OMity.
3MGSncwanOt&dlngtoTouiCOSl
Ii' "'"i .rMKMntt MO 6.75* M*S UX.)
4Send compHK (orai wttn emu oi money cratr to
Suncwi Cm
5No C.0.D Orflm will Waccepted
Insmiclloos poarli comnjne*
1Poor toui rwiirgwrner* conctmanl kt pite. ipp*ez
Sural xi 800-846-2345 on 630-879-2050 Ou kfdi au
rtncHtCi Oe «hMTH i14 30 (limit du MMOti fUfc-
UiifcJ uaf Its pint ISr+i ou visit* ; It site Uitetnel
w* mi newt coir
2HrW7 YOtrt adreue complete Venito ec/ire ifiibienient
tn Vttrei meyrscules
3-iI"ii.ii'i" •tide tii 'i it Ian iiloial
lies residents MIIllinois dow* a**** ur* tin de
6'SV|
4Her.voy«#IO'mi«irBiemptitt|OOiwuic'«i«itou
jnnunaijlordniih&xcast.
seraacceolM
mtormntion on
least products and
replacement parts sec
rw.suncast.com
[7777Tc h-lfc-m 1^ -QTol BBTB 1
Ho Oecomifto .Comitm* Pf« rot*
tOMOM<t),SOCU(l| W0123174
i*n hi ip*mrf*j *en rtf (i> 010171411
UF1 siot 11 1 r laiCpai ,vi<n (110W36U
1~RIGHT SC( (ll 'PAIMftlll»t|Mi OROIT(» 010173518
lift 000" (II 1POSIECAUCM III O10l?33i8
WWT DOC* (t»#MmDTOdf [1) 010123?IB
NPffl/CaiMKuKII 010173034
\ITOP SUPPOfli PWROD m*TlCt MSUPVCST WCDUrtRClt (1) 0101238IB
OOOB IATCH HOUSIW (II 'lOOWEMT DuKBIWU OC POBTT. (1) 010177?!B
OOf* U1CM P* (l| /GOUFIAE OU «BR0U (1} 0101HH8
SUB I01M 110TU MKUll
ii »isicfiiTSAOoaJssrnx. les atsmrsorsi intiasMvfMTuoijnRinif T*>ror>M&ricnnc*M*wiTiiirio»iof em
SH1PPWG ft HAWltiG' IXftDlllQN UMWtTfWI
-MZKIHC 'StD r.Hf-ii! CIJOMI woicywiOERliraosro/wriijaici.jciiji
Uai to: /MWttl SUKKt CofOCratOrl 701 KORTH KIRK ROAD BAIAVTA. IL USA 60510

Other Suncast Outdoor Storage manuals

Suncast Brilliant Everett BMS6511 User manual

Suncast

Suncast Brilliant Everett BMS6511 User manual

Suncast BMDB134004 User manual

Suncast

Suncast BMDB134004 User manual

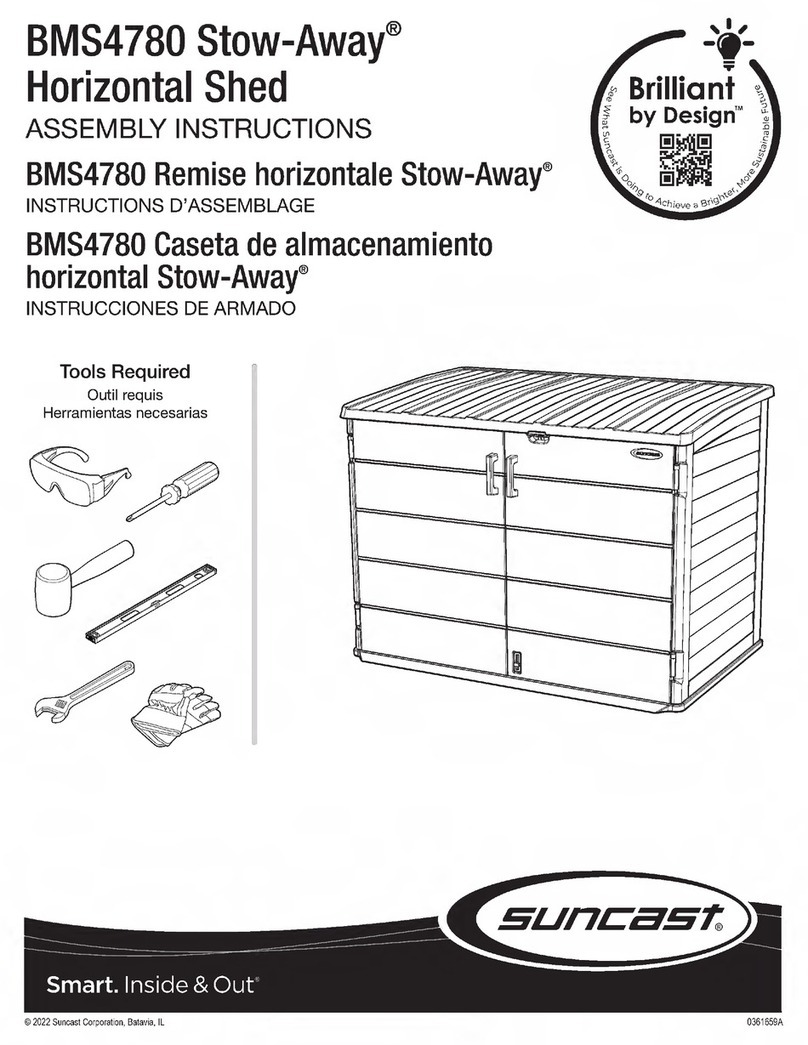
Suncast Brilliant by Design Stow-Away BMS4780 User manual

Suncast

Suncast Brilliant by Design Stow-Away BMS4780 User manual

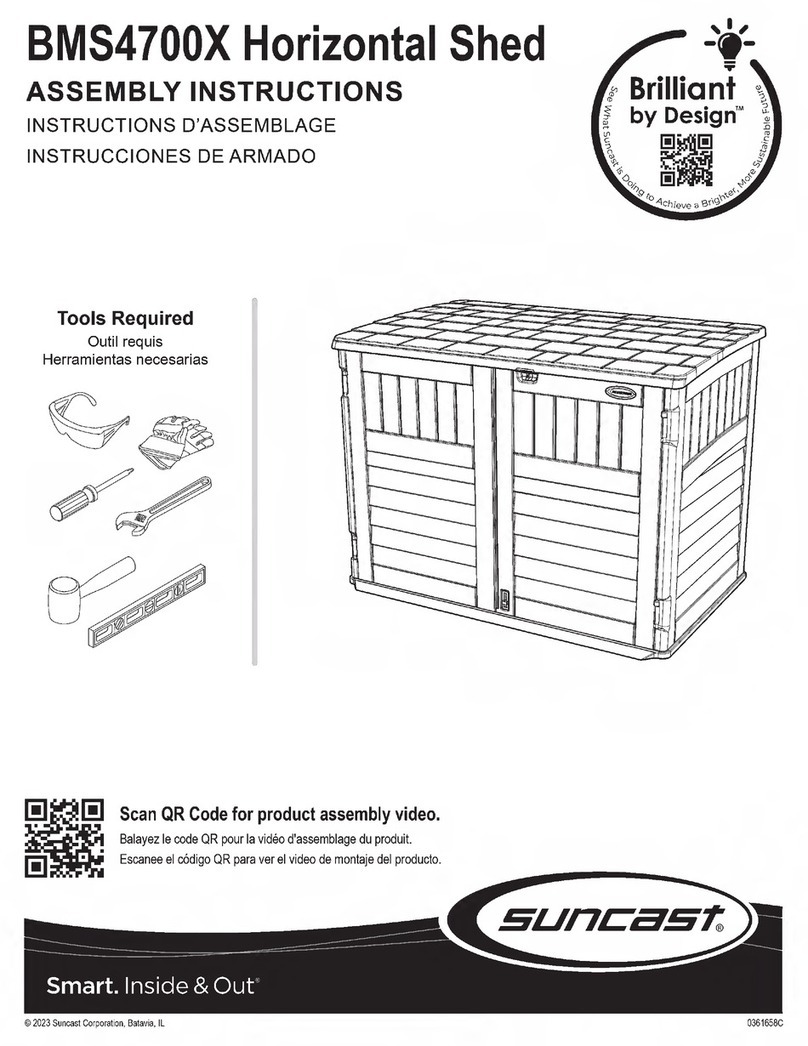
Suncast BMS4700X User manual

Suncast

Suncast BMS4700X User manual

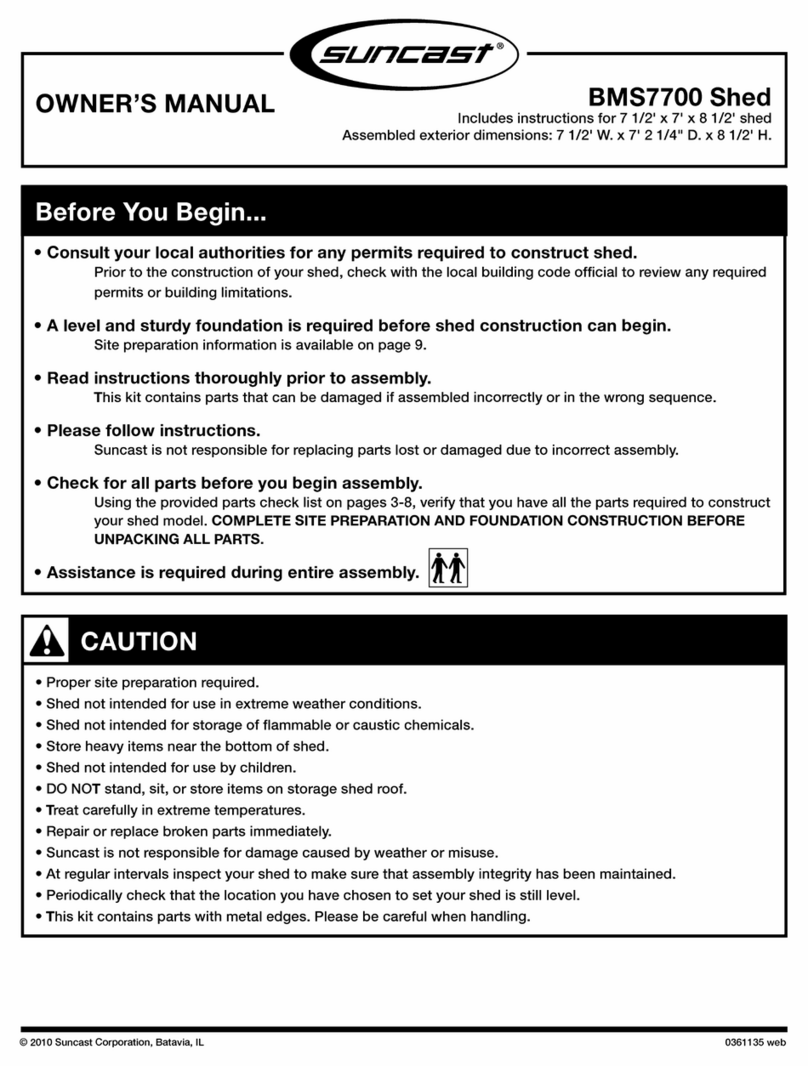
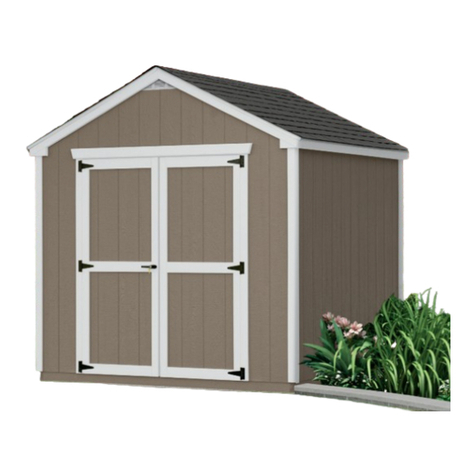
Suncast BMS7700 User manual

Suncast

Suncast BMS7700 User manual

Suncast Everett BMS6312 User manual

Suncast

Suncast Everett BMS6312 User manual

Suncast Sierra BMS6550 User manual

Suncast

Suncast Sierra BMS6550 User manual

Suncast DB5025P User manual

Suncast

Suncast DB5025P User manual

Suncast GLIDETOP BMS4900 User manual

Suncast

Suncast GLIDETOP BMS4900 User manual

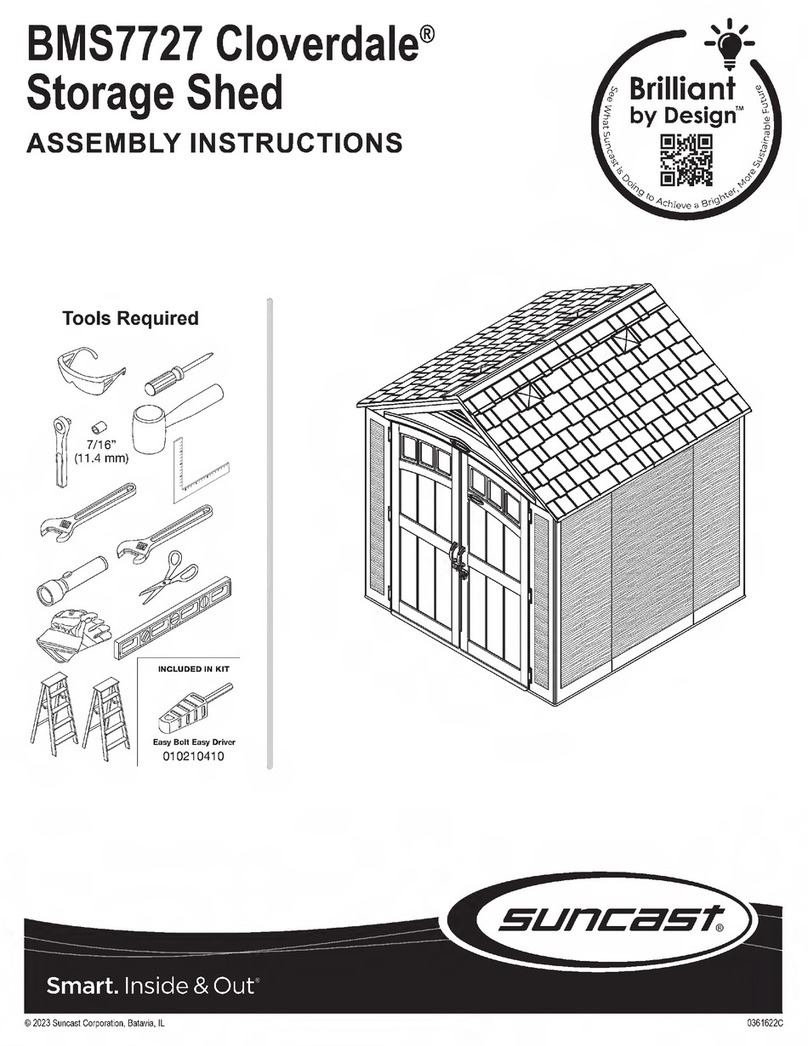
Suncast Brilliant by Design Cloverdale BMS7727 User manual

Suncast

Suncast Brilliant by Design Cloverdale BMS7727 User manual

Suncast BMS8125 User manual

Suncast

Suncast BMS8125 User manual

Suncast 774098 User manual

Suncast

Suncast 774098 User manual

Suncast Vista BMS7402 User manual

Suncast

Suncast Vista BMS7402 User manual

Suncast Covington BMS7425 User manual

Suncast

Suncast Covington BMS7425 User manual

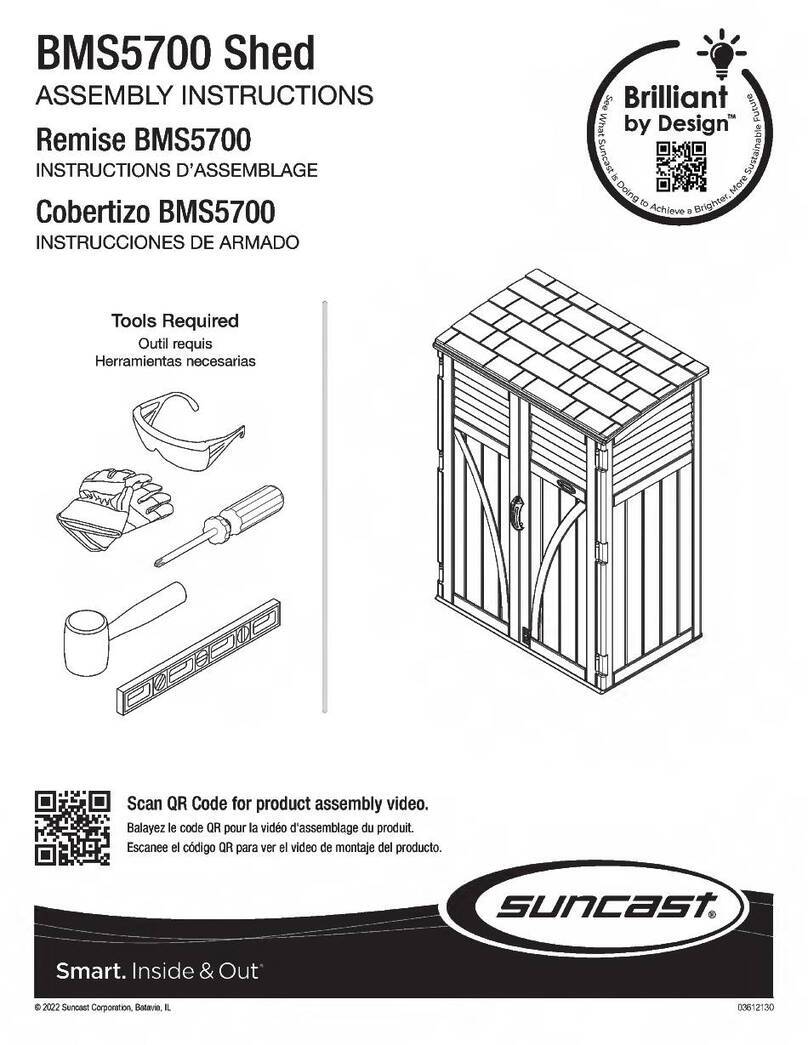
Suncast BMS5700 User manual

Suncast

Suncast BMS5700 User manual

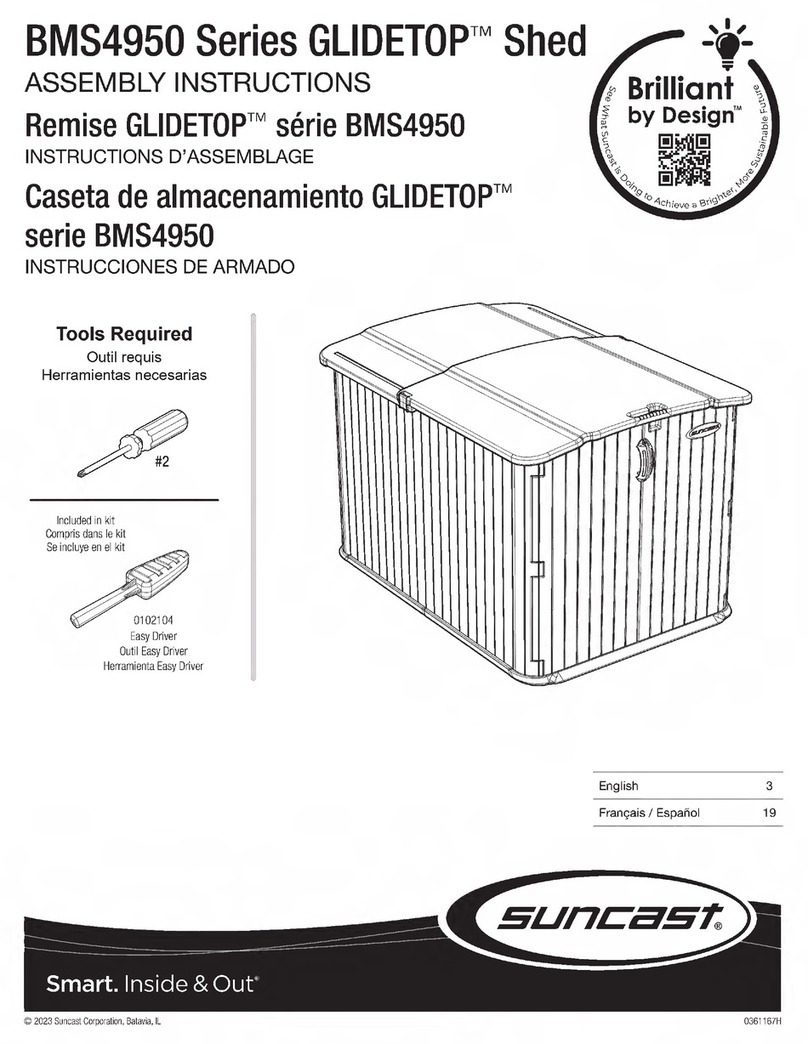
Suncast GLIDETOP BMS4950 Series User manual

Suncast

Suncast GLIDETOP BMS4950 Series User manual

Suncast BMS5700 User manual

Suncast

Suncast BMS5700 User manual

Suncast BMS4700 User manual

Suncast

Suncast BMS4700 User manual

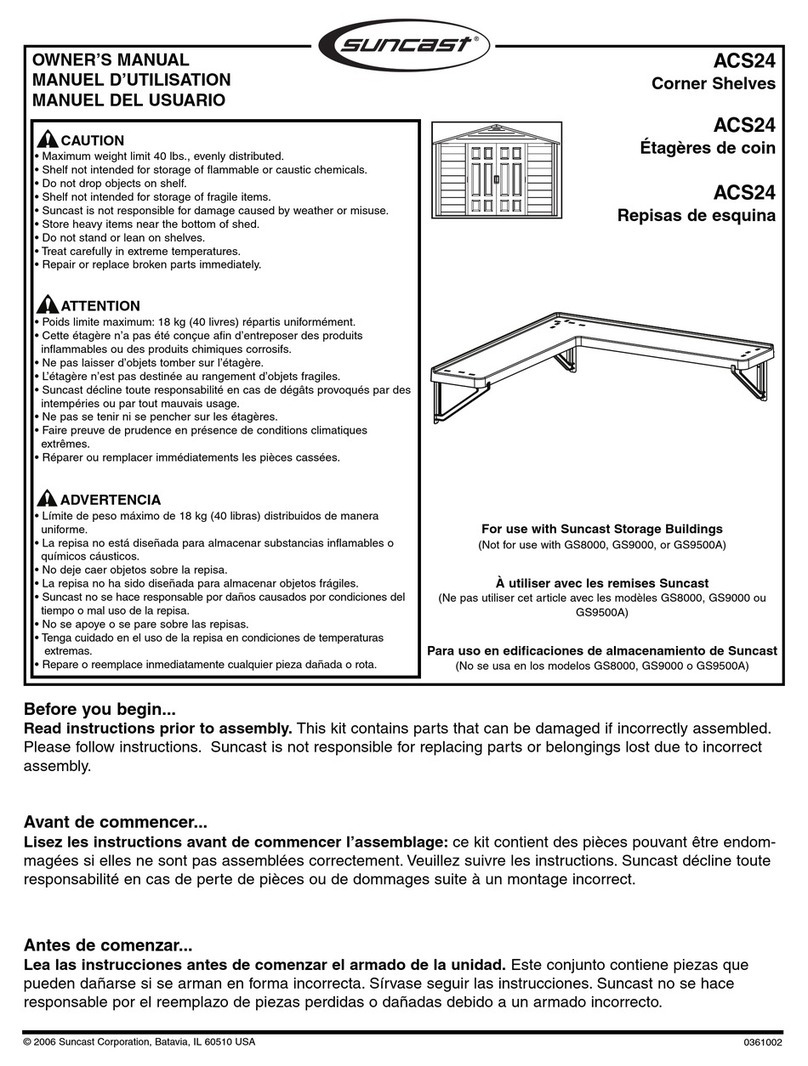
Suncast ACS24 User manual

Suncast

Suncast ACS24 User manual

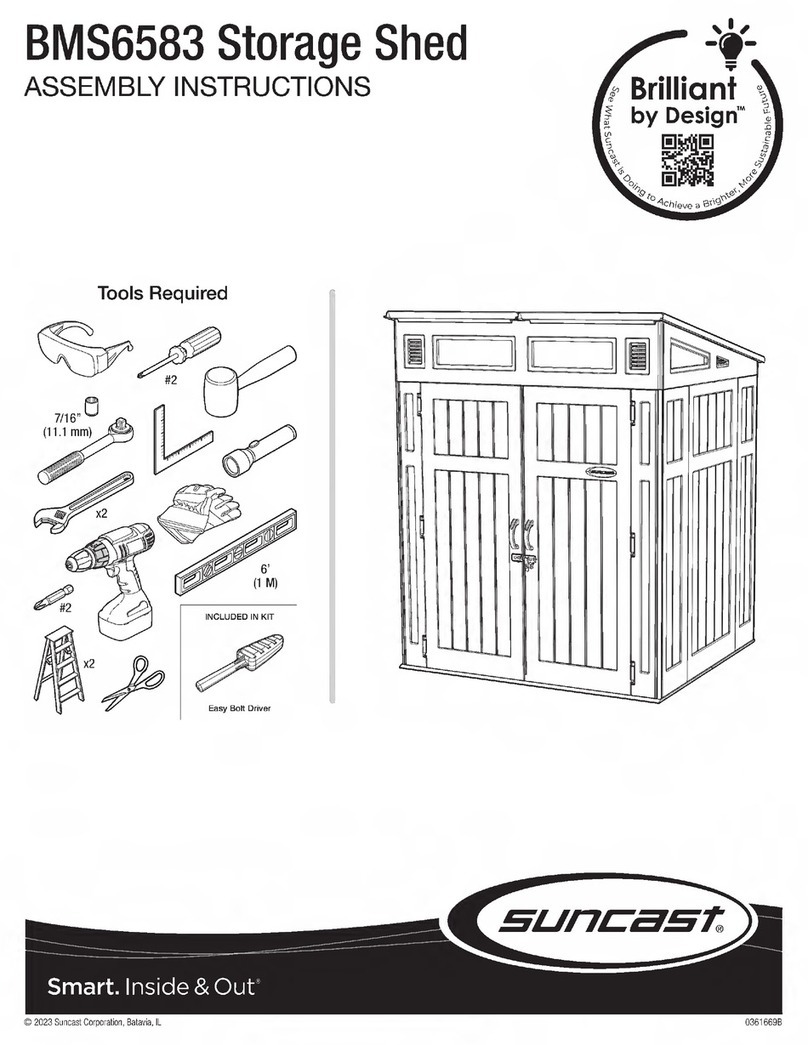
Suncast BMS6583 User manual

Suncast

Suncast BMS6583 User manual

Suncast Vista V7572PK User manual

Suncast

Suncast Vista V7572PK User manual

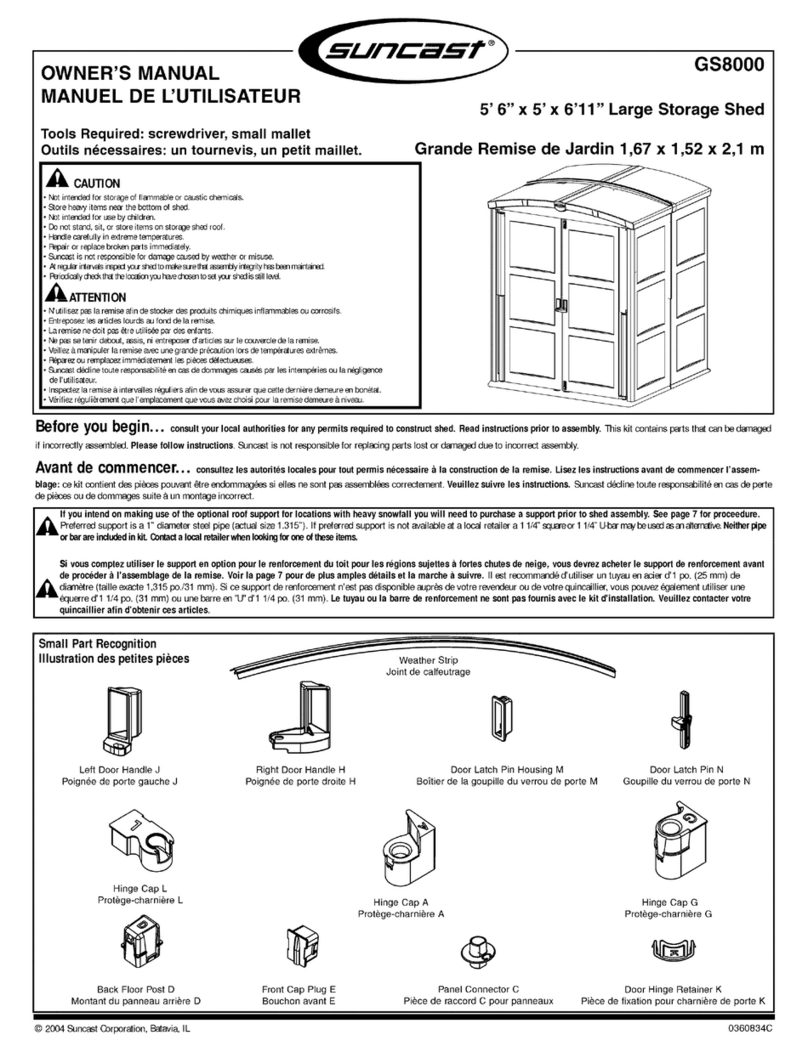
Suncast GS8000 User manual

Suncast

Suncast GS8000 User manual

Suncast DB6300 User manual

Suncast

Suncast DB6300 User manual
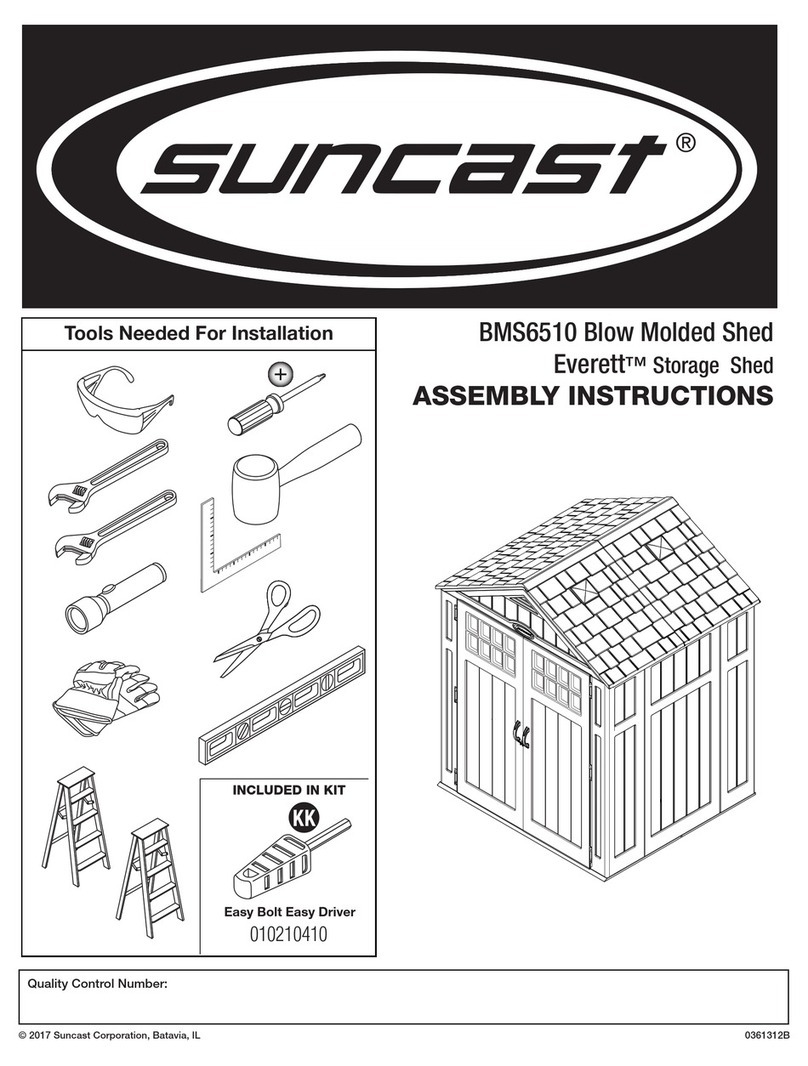
Suncast Everett BMS6510 User manual

Suncast

Suncast Everett BMS6510 User manual

Popular Outdoor Storage manuals by other brands

ABSCO SHEDS SIGNATURE ADCPSN3 installation manual

ABSCO SHEDS

ABSCO SHEDS SIGNATURE ADCPSN3 installation manual

Keter MANOR 6x4DD Assembly instructions

Keter

Keter MANOR 6x4DD Assembly instructions

Midwest ROOF CUPOLA quick guide

Midwest

Midwest ROOF CUPOLA quick guide

GARDEN MASTER GM1511 Assembly instructions

GARDEN MASTER

GARDEN MASTER GM1511 Assembly instructions

tradetested GS506-V1 manual

tradetested

tradetested GS506-V1 manual

Karibu 75336 Building instructions

Karibu

Karibu 75336 Building instructions

Lifetime 60120 Assembly instructions

Lifetime

Lifetime 60120 Assembly instructions

Duratuf KIWI MK3B Assembly instructions

Duratuf KIWI

Duratuf KIWI MK3B Assembly instructions

Alice's Garden LYS manual

Alice's Garden

Alice's Garden LYS manual

Heartland Scottsdale Assembly manual

Heartland

Heartland Scottsdale Assembly manual

Keter FACTOR 8x8 Assembly instructions

Keter

Keter FACTOR 8x8 Assembly instructions

extraspace expandastore Assembly instructions

extraspace

extraspace expandastore Assembly instructions

USP DURAMAX Aluminium Skylight Shed Owner's manual/ instructions for assembly

USP

USP DURAMAX Aluminium Skylight Shed Owner's manual/ instructions for assembly

Duratuf Sentry Shed SL1507 Assembly instructions

Duratuf

Duratuf Sentry Shed SL1507 Assembly instructions

Hanover 9820010 owner's manual

Hanover

Hanover 9820010 owner's manual

Rubbermaid 1Q05 Assembly instructions

Rubbermaid

Rubbermaid 1Q05 Assembly instructions

Sunnydaze Decor QX-4LR-4LRC quick start guide

Sunnydaze Decor

Sunnydaze Decor QX-4LR-4LRC quick start guide

Yardmaster 87 GEYZ Assembly instructions

Yardmaster

Yardmaster 87 GEYZ Assembly instructions

manuals.online logo
manuals.online logoBrands
  • About & Mission
  • Contact us
  • Privacy Policy
  • Terms and Conditions

Copyright 2025 Manuals.Online. All Rights Reserved.