HAWK Ceiling
2We reserve the right to alter specifications. 20080315 www.swegon.com
Technical description
Design
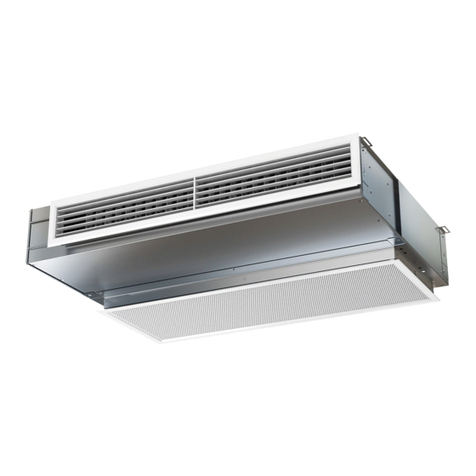
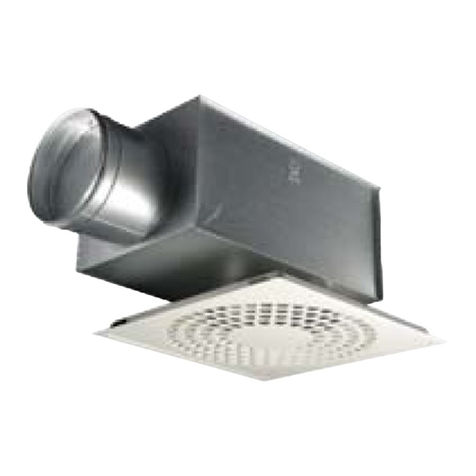
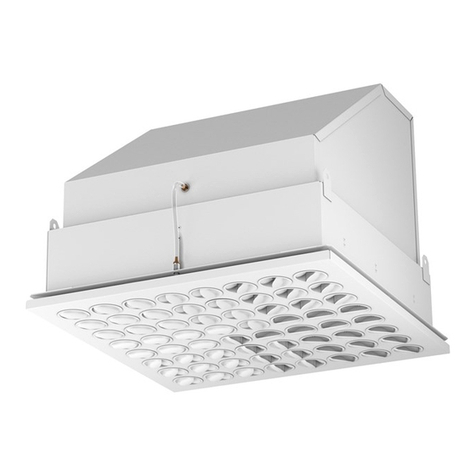
The square, perforated supply air diffuser consists of a
diffuser backing box and a diffuser face. The diffuser face
has perforations designed for managing high airflows.
The diffuser face is hung on hinges on one side and
secured by springs on the opposite side. This Quick Access
fastening system makes it simpler and quicker to open
and close the diffuser face for installation, commissioning
and cleaning. The air diffuser is also available in a low
version for installation in ceiling void where low instal-
lation height is required. The air diffuser is then supplied
without any branch.
Materials and surface treatment
The backing box and diffuser face are made of sheet
steel. The connection branch is made of galvanized sheet
steel. The interior and exterior surfaces of the air diffu-
sers are painted in our standard colour: RAL 9010. The
air diffusers are also available in optional colours: RAL
7037 Dusty grey, RAL 9006 white aluminium, RAL 9005
jet black, RAL 9007 grey aluminium and RAL 9003 signal
white (NCS 0500).
Accessories
Commissioning box:
ALS. Made of galvanized sheet steel. Contains removable
commissioning damper, fixed measurement tappings and
sound absorbing material with reinforced surface layer, to
Fire Resistance Class B-s1,d0 according to EN ISO 11925-2.
The air diffuser is also available in a low version if the
height in the ceiling void is restricted. The commissioning
box is then supplied without outlet branch.
The commissioning box is available with 1 or 2 differences
in dimension between the inlet and outlet.
Frame:
SAR K. For aesthetic installation of a lowered diffuser.
Planning
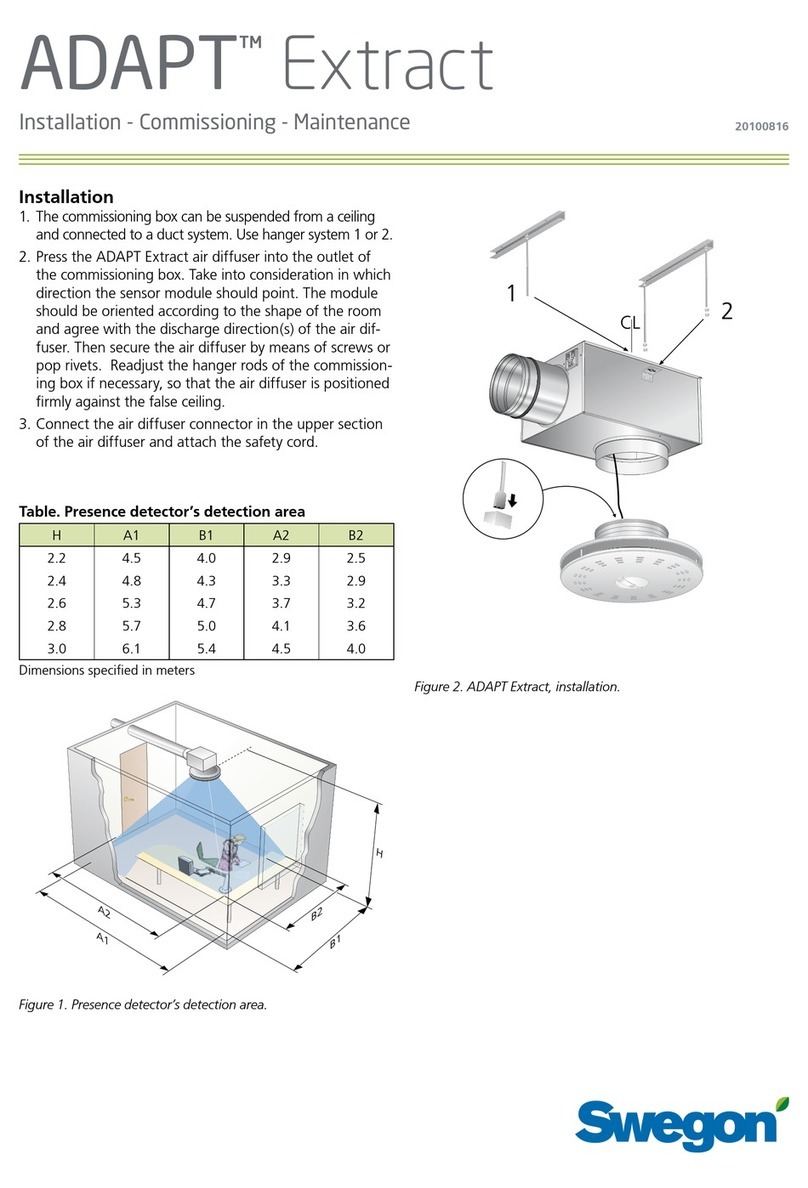
The HAWK Ceiling is available with square dimensions
of 595 x 595 mm in all connection sizes. This makes the
HAWK Ceiling very easy to install in suspended modular
ceilings with insertion dimensions for 600 x 600 mm
modules. Position the whole air diffuser on the surface
of the T-bar framework and then secure it to the duct
system. The HAWK Ceiling is also available in a low
version for installation in ceiling void where its installation
height must be minimized. See Figures 1 and 2.
Installation
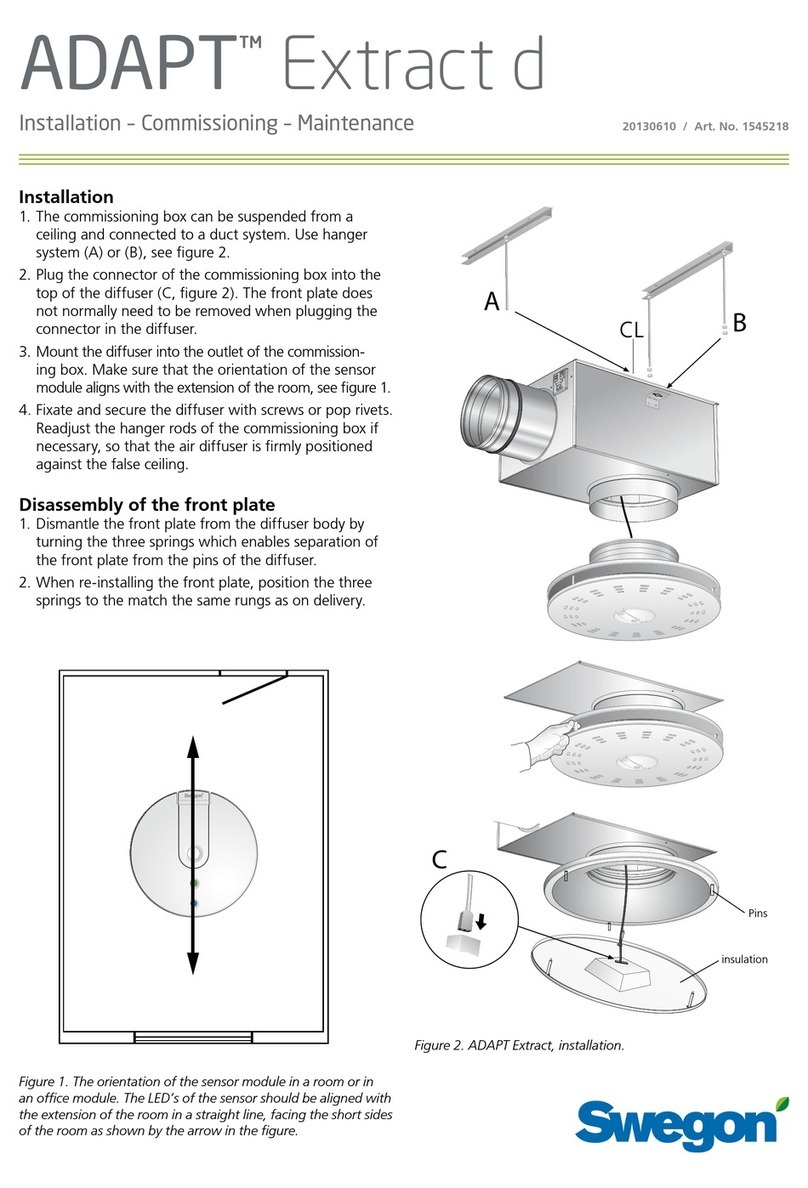
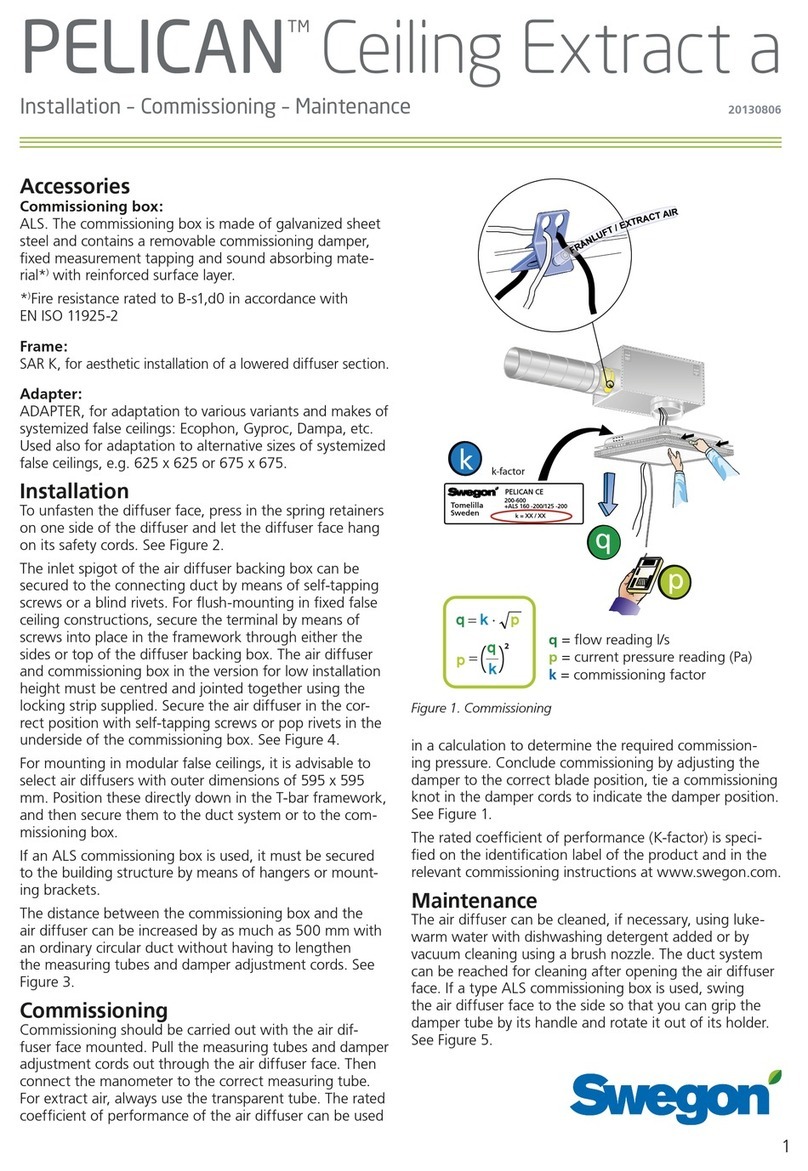
To dismantle the face (see Figure 2) prior to installing the
air diffuser, insert a thin object, such as a Quick Access
card or similar card, between the air diffuser face and
backing box to release the springs. Then slide the card
from the centre outward toward the corners. The inlet
spigot of the diffuser backing box can be secured to the
connecting ducting by means of self-tapping screws or
blind rivets.
For flush-mounting in fixed ceiling constructions, secure
the air diffuser by means of screws into place in the
framework through either the sides or top of the diffuser
backing box. The face and backing box in the version
for low installation height must be centred and jointed
together using the locking strip supplied. Secure the air
diffuser in the correct position by means of self-tapping-
screws to the underside of commissioning box.
Position these directly down in the T-bar framework, and
then secure them to the duct system or to the commissio-
ning box. If an ALS commissioning box is used, it must be
secured to the building structure by means of hangers or
mounting brackets. The distance between the air diffuser
and the commissioning box can be increased by as much
as 500 mm with an ordinary circular duct without having
to lengthen the measuring tubes and damper adjustment
cords. See Figures 1, 2 and 3.
Commissioning
Commissioning must be carried out with the diffuser
face mounted. Pull out the measuring tubes and damper
adjustment cords through the diffuser face perforations.
Connect a manometer to the measuring tubes. The desi-
red commissioning pressure can be calculated by applying
the rated coefficient of performance of the air diffuser.
Set the damper blade in the correct position and tie the
damper adjustment cords in a commissioning knot to
indicate the damper position.
The rated coefficient of performance of the air diffuser
(K-factor) is specified on the identification label and the
relevant commissioning instructions are also available at
www.swegon.com.
Maintenance
The air diffuser can be cleaned, if necessary, using luke-
warm water with dishwashing detergent added. The duct
system can be accessed after opening the diffuser face.
If an ALS commissioning box is used, pull the distributor
plate aside and then twist the damper unit from of its
mounting.
Environment
The Declaration of construction materials is available at
www.swegon.com.
