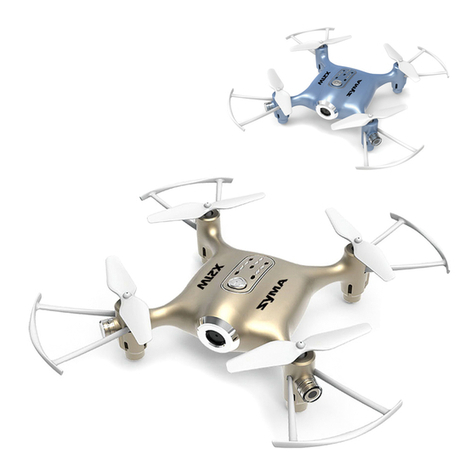
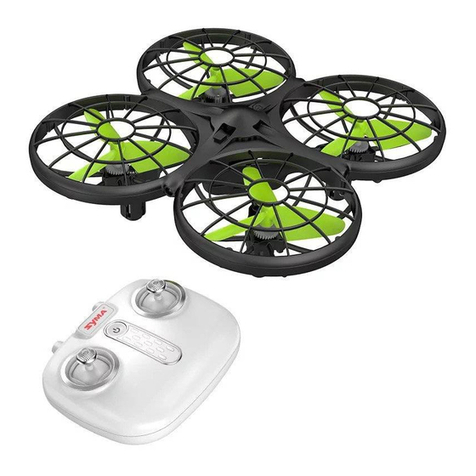
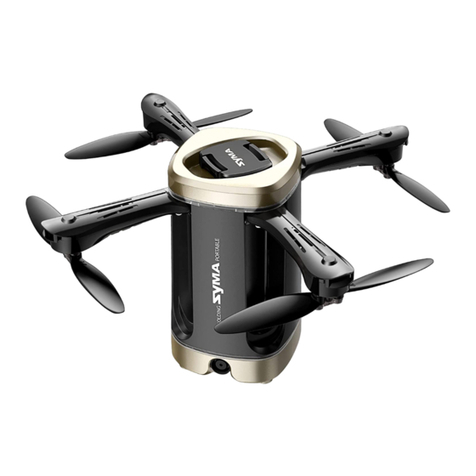
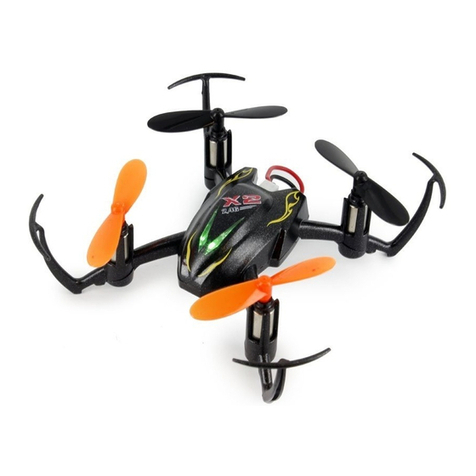
SYMA X660 User manual

User manual V1.0
Remote Control Drone
X660
8


DE
Contents
1-21
EN ENGLISHINTRODUCTION
22-43
DEUTSCH EINFÜHRUNG

Contents
1.0 Important Safety Information
2.0 Product Description
3.0 Flight Guide
4.0 Troubleshooting
6.0 Product Accessories
2
4
7
15
16
4
4
5
5
6
5.0 Contact Us 16
8.0 Warranty 19
7.0 Exploded View 17
7
9
10
11
14
1
EN
2.1 Specifications
2.2 Drone Diagram
2.3 Remote Control Diagram
2.4 Drone Battery Charging
2.5 Remote Control Use
3.1 Flight Preparation
3.2 Flight Control
3.3 Flight Mode
3.4 Smart Flight Feature
3.5 Product Feature

1. To protect the legitimate rights and interests of users, please be sure to read the contents of this
manual carefully before using this product.
2. When using this product, please be sure to strictly observe and perform the requirements, including
but not limited to the instructions and safety guidelines. For any personal injury, accident,
property loss, legal dispute, or any other adverse event causing a conflict of interest resulting from the
use of the product or any irresistible factors that violate the safety instructions, the user shall bear the
related responsibilities and losses. Syma will not take any responsibility.
3. Once you start using the product. You are deemed to have read, understood, recommended, and
accepted the terms and contents of the instructions (including disclaimers, safety instructions,
warning instructions, etc) included with this product.
4. In case you are having challenges with any aspect of the product, may it be operation or
maintenance, please get in touch with our customer service directly.
1.0 Important Safety Information
Safety Guidelines
Thank you for purchasing this SYMA product. To ensure that you operate the drone correctly and
conveniently, please read these instructions carefully before first use and store them safely for future
reference.
1. Please store the smaller-sized drone accessories in places that are out of reach of children.
2. For all first-time flights, the left joystick must be slowly pushed up in order to prevent the drone from
ascending too fast to avoid unnecessary collision and possible damage and injury.
3. When the flight is ended, first turn off the power of the remote control. Then turn off the power of the
drone.
4. Avoid placing the batteries in places with high temperatures and exposure to heat.
5. Take extra precautions to ensure that the drone is at a minimum distance of 15 feet from the pilot,
other people, and animals in order to prevent bodily injury during flight operations. A minimum
separation distance of 20 cm must be maintained between the user's body and the device under
normal use conditions.
6. Children under the age of 8 must be instructed in the correct and safe operation of the drone by an
adult.
7. Children must be under adult supervision when using this drone.
8. Non-rechargeable batteries are not to be recharged; Batteries are to be inserted with the correct
polarity; Different types of batteries or new and used batteries must not be mixed.
9. The supply terminals can not be short-circuited.
10. Discharge the battery to 40%-50% (On a full charge, fly for half of the total flight time) if it is not used
for 10 days or more, this can greatly extend the battery life.
2
EN

Repair and maintenance
1. Use a dry and soft cloth to clean the product.
2. Do not expose the product to extreme heat or direct sunlight.
3. Do not immerse the product in water as this may damage the electrical components.
4. Please check the blades, motors, and batteries regularly. In case of any damage is found, please stop
using it unless it is repaired or replaced.
11. Please keep a safe distance from the spinning propellers to avoid injury.
12. To ensure the electromagnetic environment requirement of the aviation radio (station), using
remote controls in the zone, which is in a radius of about 5000m zones from the circle center of the
airport runway, is forbidden. All users also should abide by the radio regulation set forth by the
government and regulatory agencies including the duration and area.
13. Only uses the recommended transformer for the model, and the transformer is not a toy. Check the
cord, plug, enclosure, and other parts of the transformer regularly. If any damages have been
discovered, please immediately stop using it, until it is completely repaired.
14. Never look steadily at the laser beam since the laser radiation can cause harm.
15. NOTE: Assemble the drone under adult supervision.
16. The pilot is responsible for the safe operation and safe distance from uninvolved persons and
property on the ground and from other airspace users and shall never fly the drone above crowds (> 12
persons).
17. The packing has to be kept since it contains important information.
18. It is strongly recommended to fly in areas without airflow. Do not fly in areas with an air
conditioner/electric fan or table lamp, or other electrical equipment that may be easily damaged.
19. Use only the supplied charging cable.
20. Chargers used with the drone should be examined regularly, such as the cord, plug, enclosures,
and other parts. In case of any damages are found, please stop using it unless it is repaired or replaced.
21. Do not touch the rotating rotor, avoid loose clothing or hair that could be caught in the rotor, and
do not fly near the face.
3
EN

2.0 Product Description
2.1 Specifications
Drone weight about 24g
Drone size 120x120x45 mm
Range 35m
Motor ø6
Battery capacity 3.7V 200mAh
Charging time about 40 minutes
Flight time about 7 minutes
Remote control
Operating frequency 2.4 GHz
Remote control battery 4 X1.5V"AAA"(Not included)
Package contents
Drone 1
Remote control 1
USB charging cable 1
Clockwise/counterclockwise propellers
Screwdriver
Instructions
2 (A/B)
1
1
Drone
Brand Name
Model/ITEM NO. X660
SYMA
4
EN
2.2 Drone Diagram
① Propeller protector ② Propeller ③ Motor ④ Power switch
⑤ USB Type-C Charging port
①
②
③
④
⑤

5
EN
* Charge the drone with the USB charging cable that came with the product.
* The battery will take longer to charge when you use an adapter with a smaller rated current.
Note:
!
2.3 Remote Control Diagram
Power switch
Rotate button
Spin button Flip button
One key take-off/landing
2.4 Drone Battery Charging
Left joystick(short
press to change the
light effects; press and
hold for trimming
adjustment and release
when finished; to clear
trimming settings,
press and hold
simultaneously with
the power button)
Right joystick(short
press to switch
between high and low
speed mode)
USB charging cable
USB
2 3
USB
Type-C
When charging: the red light is on
When fully charged: the red light is off
5V/1A adapter
(Not included)

6
EN
2.5 Remote Control Use
Remote control battery installation: Open the battery cover on the back of the remote control, and
install 4*AAA batteries correctly according to the electrode instructions of the battery box(battery
needs to be purchased separately)
1. When installing the battery, please make sure that the polarity of the battery matches the polarity of
the battery box. Batteries must not be installed with reversed polarity.
2. Please do not use new and old batteries together.
3. Please do not use different types of batteries together.
4. Do not use rechargeable batteries.
Important: Battery Charging Information
1. Rechargeable batteries should only be charged under adult supervision.
2. Caution: Risk of explosion if the battery is replaced with incorrect ones. Please dispose of the
batteries according to the instructions.
3. Don't use or place batteries near heat sources such as fires or heaters.
4.After flying, do not charge the battery immediately to avoid overheating and potential fire hazards.
Ensure that the battery cools down before charging.
5. Don't hit or drop the battery when charging to avoid an internal short circuit.
6. Only use the supplied charging cable for charging. If the battery is aging, please replace it with a new
battery in time.
7. After fully charged, please remove the adapter in time, otherwise the battery will be discharged and
recharged, which will shorten the battery life.
8. The toy is only to be connected to Class II equipment bearing the symbol:
Note:
!
4 x AAA Batteries
Battery Cover

7
EN
3.0 Flight Guide
3.1 Flight Preparation
Pairing the drone with the remote control
Level calibration
1. Turn on the power switch of
the remote control.
2. Push the power switch on the aircraft's body
to the "ON" position.
3. Push the left joystick (throttle) fully up and down. The indicators on the drone and remote will
change from flashing to solid, indicating that the drone is in flight-standby mode.
Place the drone on a level surface and move the left and right joysticks to the lower right corner for about
3 seconds. The indicator will flash rapidly and then stay constant,which indicates that the calibration
process is complete.
The drone cannot be calibrated if the inclination angle is greater than 10 degrees.
Table of contents
Languages:
Other SYMA Drone manuals

