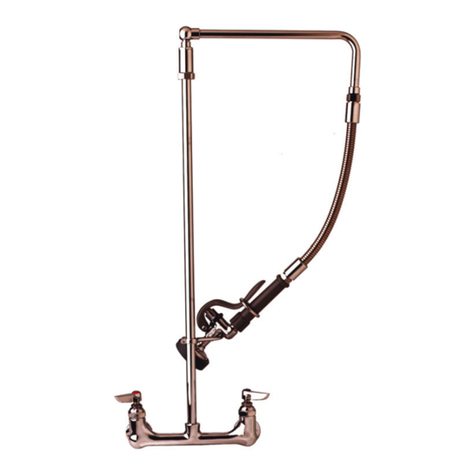
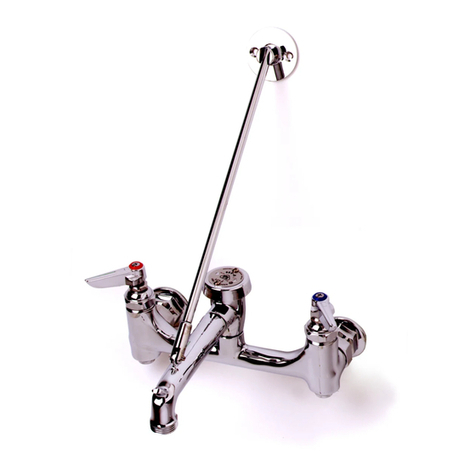
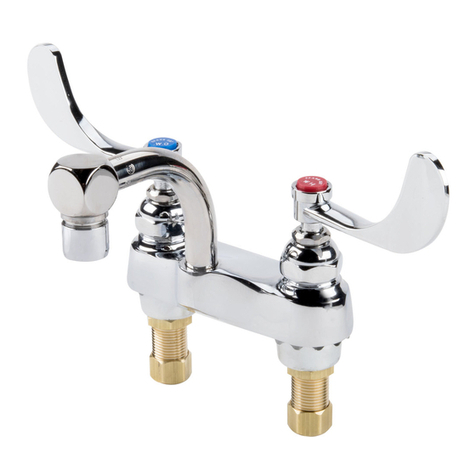
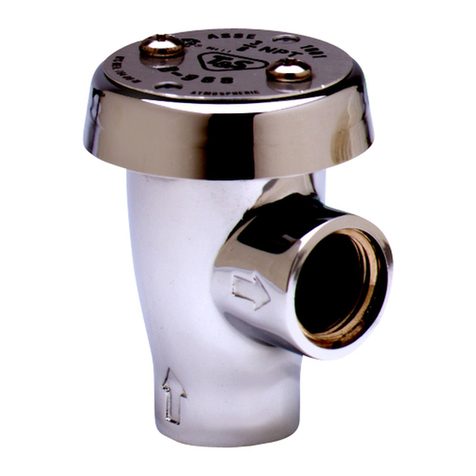
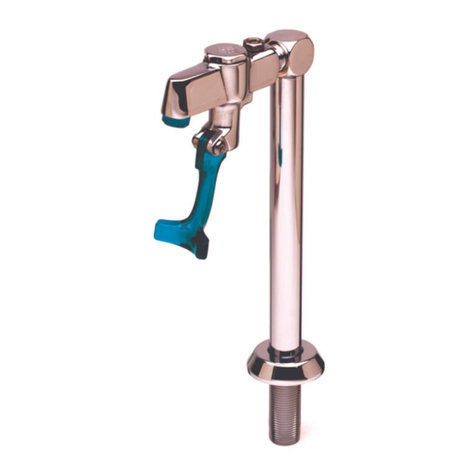
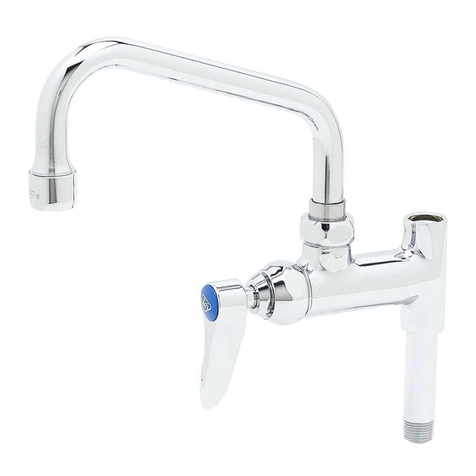
T&S B-0575 User manual

Installation and
Maintenance
Instructions
B-0575, B-0576 &
B-30K
RANGE FAUCET
"Wok Wand"
(B-0575 shown)
P/N: 098-003161-45 Rev.2
Date: 04-26-22
Drawn: TED
Checked: JRM 01-13-23
Approved: JHB 01-17-23
Limited One Year Warranty
(Commercial Applications)
T&S warrants to the original purchaser (other
than for purposes of resale) that such product is
free from defects in material and workmanship for
a period of one (1) year from the date of purchase.
During this one-year warranty period, if the product
is found to be defective, T&S shall, at its options,
repair and/or replace it. To obtain warranty service,
products must be returned to...
T&S Brass and Bronze Works, Inc.
Attn: Warranty Repair Department
2 Saddleback Cove
Travelers Rest, SC 29690
Shipping, freight, insurance, and other
transportation charges of the product to T&S and
the return of repaired or replaced product to the
purchaser are the responsibility of the purchaser.
Repair and/or replacement shall be made within a
reasonable time after receipt by T&S of the returned
product. This warranty does not cover Items which
have received secondary finishing or have been
altered or modified after purchase, or for defects
caused by physical abuse to or misuse of the
product, or shipment of the products.
Any express warranty not provided herein, and
any remedy for Breach of Contract which might
arise, is hereby excluded and disclaimed. Any
implied warranties of merchantability or fitness for
a particular purpose are limited in duration to the
warranty period provided on the product. Under no
circumstances shall T&S be liable for loss of use
or any special consequential costs, expenses or
damages.
Some states do not allow limitations on how
long and implied warranty lasts or the exclusion or
limitation of incidental or consequential damages,
so the above limitations or exclusions may not apply
to you. Specific rights under this warranty and other
rights vary from state to state.
Attention California Residents:
WARNING This product can expose you to
chemicals including Lead, Chromium (hexavalent
compounds) and Phthalates (DEHP) which are
known to the State of California to cause cancer
and birth defects or other reproductive harm.
For more information go to
www.P65Warnings.ca.gov.
Español:
Instrucciones de instalación y mantenimiento
Français:
Instructions pour l’installation et la maintenance
Deutsch:
Installations- und Wartungsanleitungen
中文:
安装与维护说明
ES
FR
DE
CN

2
Exploded View
3
Range Faucet Assemblies
1 Asm, Faucet Body (B-0575 & B-0576) N/A
2 * Wrist Action Return Spring 001625-45
3 * O-Ring 009267-45
4 * Dynamic Bearing 001621-20
5 * O-Ring 009268-45
6 * O-Ring, Center Body (qty 2) 006562-45
7 Swivel Piece N/A
8 Nut, Swivel N/A
9 Nozzle 001626-40
10 Adapter, 1/8" Female x Male Aerator 001624-25
11 Aerator, 2.2 GPM, 55/64-27 UN Female B-0199-01
* Parts of B-30K Repair Parts Kit
p
4
3
2
9
11
1
5
6
7
8
10
B-0575
B-0576
Part Number Guide

3
Installation
Installation
Note: for cold water use only.
1.
1.
Shut o water supply and drain lines. Existing supply lines should be roughed
into wall or sink back-splash. Use inlets (male for B-0575 and female for B-0576)
supplied by others.
supplied by others.
2.
2.
Install no.1 to supply line, using Teon tape. Flat side of no.1 should screw in
towards wall or sink.
3.
3.
A properly installed unit will function as shown: Open and close control is activated
when the nozzle moves to the right or left.
Installatión:
Nota: Solamente para uso de agua fria
1. Cierre la fuente principal de agua y desagüe las tuberias. Las lineas existentes de
surtido, deben de ser aproximadas en la pared ó en el espaldar de la sentina. Use
entradas (masculinas para B-0575, femeninas para B-0576) surtidas por otros.
2. Instale la parte No.1 a la linea del surtido, usando cinta para rosca de tubo. El
reborde de la parte No.1 debe ser atornillado hacia el tronco. Una vez que la parte
No.1 este en su lugar, ajuste el reborde contra la pared ó la sentina.
3. Una unidad que este instalada apropiadamente funcionará como esta demostrado:
Control de abierto y cerrado es activado cuando la boquilla se mueve a la derecha ó
a la izquierda.
L’Installation:
Noter: Pour l’eau froid seulement.
1. Fermer la réserve de l’eau et égoutter la tuyauterie. Les tuyaux qui fournir l’eau
devoir être installer au debut dans le mur ou le gaurde-boue de l’évier. Utiliser les
arrivées (Masculin pour B-0575, feminin pour B-0576) fournir par les autres.
2. Installer Nº.1 au tuyau qui fournir l’eau, utiliser le ruban en Téon. Le côté plat de
Nº.1 devoir visser vers le mur ou l’évier.
3. Un élément que vous installer correctement aller fonctionner comme indiqué
audessous: Le contrôle fermer-ouvert commencer quand l’ajutage pivoter au droit
ou au gauche.
fully open position
totalmente abierto
la position ouverte
Completement
Position Voll geönet
打开时位置
closed position
posición cerrado
la position fermée
Position Geschlossen
关闭时位置
ES
FR
EN
1
45º
top view
vista de arriba
La vue du haut
Aufsicht von oben
俯视图

4
To replace worn parts:
Note: Apply grease to all o-rings, no.4 and grooves of no.7.
1.
1.
Turn o water supply and drain lines.
2.
2.
Unscrew no.8 and remove no.7, no.8 & no.9 from faucet body.
3.
3.
Replace worn parts with new parts from B-30K parts kit.
DO NOT wipe grease o parts.
To remove no.4, make a tool as shown from a paper clip. Insert hook portion into hole
of no.4 assembly until it grabs on back face. Pull up slowly and no.4 should come out.
4.
4.
Reassemble parts in reverse order, making sure all new repair parts are in place.
EN
4
7
89
Installation:
Installation:
Hinweis: Nur für Kaltwasserversorgung.
1.
1.
Wasserzufuhr sperren und Leitungen. VorhandeneVersorgungsleitungen sollten
in die Wand oder den Spritzschutz des Beckens geschruppt werden. Einlaßventile
(männlich fur B-0575, weiblich für B-0576) von Fremdanbietem verwenden.
2.
2.
Teil Nr.1 an Versorgungsleitung installieren, Teonband verwenden Flansch von Teil
Nr.1 in Körperrichtung einschrauben. Nach dem Einschrauben von Teil Nr.1 Flansch
an Wand oder Waschbecken festschrauben.
3. Die ordnungsgemäß installierte Einheit funktioniert wie unten dargestellt: Ein/Aus-
Kontrolle wird aktiviert, wenn die Düse nach links oder rechts schwenkt.
安装
注:仅供冷水使用
1. 关闭供水和排水管道。现有的供水管道应该置于墙内或者水槽壁内,使用其他
进水管(B-0575使用外螺纹,B-0576使用内螺纹)
2. 安装编号1到供水接头,使用特氟龙胶带。编号1应该拧向墙壁或水槽。
3. 正确安装将发挥如下作用:当水嘴向右或向左移动时,打开和关闭被激活。
DE
CN
faucet body
canilla
le robinet
Armaturrumpf
龙头本体
6
5
3
2

5
ES
FR
DE
CN
Para reemplazo de las partes gastadas:
Nota: Aplique grasa a todas las juntas tóricas, No.4 y ranuras del No.7.
1.
1.
Cierre el surtido de agua y desagüe las tuberias.
2.
2.
Destornille la parte No.8 y remuéva las partes No.7, No.8 y No.9 de la canilla.
3.
3.
Reemplaze las partes gastadas con partes nuevas del estuche de partesB-30-K.
Nota: No limpie la grasa de las partes.
Para remover la parte No.4, haga una herramienta de un sujetapapel como lo demostrado
abajo. Insarte la porción con gancho en el hueco en el ensamble de la parte No.4, hasta que
enganche la supercie interna. Hale hacia arriba lentamente y la parte No.4 debe de salir.
4.
4.
Ensamble de nuevo en orden inversa, asegurese que todas las partes nuevas de
reparo esten situadas.
Pour remplacer les parties usées:
Remarque : Appliquez de la graisse sur tous les joints toriques, n° 4 et rainures de n° 7.
1. Fermer la réserve de l’eau et égoutter la tuyauterie.
2. Dévisser Nº.8 et enlever Nº.7, Nº.8 et Nº.9 du robinet.
3. Remplacer les parties usées avec les nouvelles parties de la trousse à outils B-30-K.
Noter: N’enlever pas la graisse des parties.
Pour enlever Nº.4, faire un outil comme indiqué ci-dessous d’un trombone. Insérer la partie
d’agrafe dans le trou dans l’assemblage Nº.4 jusqu’il saisir la face en arriere. Tenir lentement
jusque l’enlevement de Nº.4.
4. Remonter les parties dans l’ordre inverse, soyez certain que tous les nouvelles parties
remplacement rester à ses places.
Ersatz von Verschleißteilen:
Hinweis: Tragen Sie Fett auf alle O-Ringe Nr. 4 und Nuten Nr. 7 auf.
1. Wasser abdrehen und Wasserleitungen entleeren.
2. Nr. 8 lösen und Nr. 7, Nr. 8 und Nr. 9 vom Armaturrumpf entfernen.
3. Die Verschleißteile durch neue Teilen vom Ersatzteilsatz B-30-K ersetzen.
Anmerkung: Fett NICHT von den Teilen entfernen.
Zur Entfernung von Nr. 4 aus einer Papierklammer einen Haken anfertigen, wie unten
gezeigt. Den Haken in das Loch der Garnitur Nr. 4 einführen, bis er in die Rückseite einhakt.
Langsam nach oben ziehen und Nr. 4 sollte herauskommen.
4. Die Teile in umgekehrter Reihenfolge wieder zusammensetzen und sicherstellen,
daß sich alle Ersatzteile an der richtigen Stelle benden.
更换磨损件
注:所有o形圈都涂上润滑脂,编号4和编号7的槽。
1. 关闭供水和排水管道
2. 拧开编号8,从本体中移除编号7-9
3. 从B-30K中替换磨损件
不要擦拭配件上的油脂
移除编号4、从回形针中制作一个工具。将钩部插入编号4组装,直至抓住背面。慢
慢拉上来至编号4出来
4. 以相反的顺序重新组装零件,确保所有新的修理零件都已就位

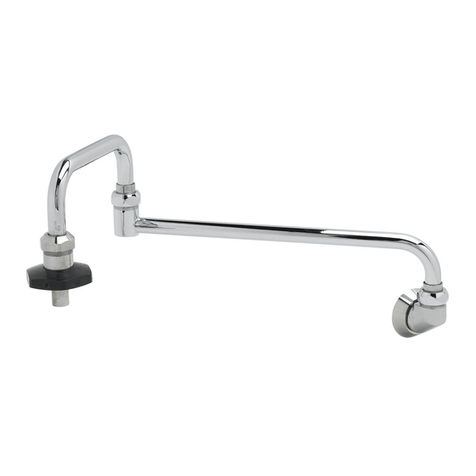
RELATED T&S BRASS PRODUCT LINE
B-0592
Pot and Kettle
Filling Faucet
T&S BRASS AND BRONZE WORKS, INC.
A firm commitment to application-engineered plumbing products
2 Saddleback Cove, P.O. Box 1088, T & S Brass-Europe
Travelers Rest, SC 29690 ‘De Veenhoeve’
Phone: (864) 834-4102 Oude Nieuwveenseweg 84
Fax: (864) 834-3518 2441 CW Nieuwveen
This manual suits for next models
2
Table of contents
Other T&S Plumbing Product manuals
T&S
T&S B-1200 Series User manual

T&S
T&S B-2740 Series User manual

T&S
T&S B-0133 Series User manual

T&S
T&S B-2300 SERIES User manual

T&S
T&S B-0200-LN User manual

T&S
T&S B-0131 User manual

T&S
T&S B-1255 User manual

T&S
T&S EVERSTEEL S-1100 Series User manual

T&S
T&S B-0695 User manual

T&S
T&S EasyInstall B-2285-BC User manual
Popular Plumbing Product manuals by other brands

Axor
Axor ShowerSelect Round 36723 1 Series Installation and user instructions

Dolphin
Dolphin DB100 Installation and maintenance guide

Glacier bay
Glacier bay HD67389W-8004 Installation and care guide

Bathlife
Bathlife TASS manual

RAFTEC
RAFTEC RV-6012 manual

DURAVIT
DURAVIT Universal UV0660 0220 Mounting and care instructions