RETAIN INSTRUCTIONS FOR FUTURE REFERENCE!
Tennsco makes every effort to ensure that all units ship complete and arrive undamaged. However, should your
unit contain missing or damaged parts, replacements may be obtained directly from Tennsco. To obtain
replacement parts, follow the instructions below or complete the form at www.tennsco.com/replacement.cfm
!!
!!
!
!!
!!
!
!!
!!
!
!!
!!
!
!!
!!
!
!!
!!
!
!!
!!
!
!!
!!
!
TO OBTAIN PROPER REPLACEMENT PARTS, PLEASE PROVIDE THE FOLLOWING INFORMATION:
Model Number Purchase Date
Description of part(s) needed and part Your company name
number(s) as shown in Parts List (above) Contact person's name
Color (Sand) Who the product was purchased from
Was item missing, or was it damaged?
Tennsco Corp., P.O. Box 1888, Dickson, TN 37056-1888 Voice: (866) 446-8686 Fax: (866) 864-4796
If requesting parts by telephone, ask for customer service and have as much of the above information ready as possible.
LIMITED WARRANTY
Tennsco warrants goods purchased hereunder to be free of defects in materials and workmanship for a period of one (1) year from the date of shipment,
hereunder. Thiswarrantyshallnotapplyintheeventgoodsaredamagedasaresultofmisuse,abuse,neglect,accident,improperapplication,modification
or repair by persons not authorized by Seller, where goods are damaged during shipment, or where the date stamps on the goods have been defaced,
modified or removed. UNLESS CONSIDERED UNENFORCEABLE OR UNLAWFUL UNDER APPLICABLE LAW:
a. ALL IMPLIED WARRANTIES, INCLUDING BUT NOT LIMITED TO WARRANTIES OR MERCHANTABILITY AND FITNESS FOR A PARTICULAR
PURPOSE ARE HEREBY EXCLUDED:
b. BUYERS REMEDY, IF ANY, FOR ANY DEFECTIVE GOODS SHALL BE LIMITED TO A REFUND BY SELLER OR REPLACEMENT OF THE GOODS
AT SELLER’S OPTION, AND SHALL IN NO EVENT INCLUDE DAMAGES OF ANY KIND, WHETHER INCIDENTAL, CONSEQUENTIAL OR
OTHERWISE.
NO GOODS ACCEPTED FOR RETURN WITHOUT PRIOR APPROVAL. Seller shall have the right to inspect any goods claimed to be defective at Buyers
place of business or require Buyer to return the goods to Seller for inspection on Seller’s premises. Transportation charges covering returned goods will
be borne by Seller only if such goods are proven to be defective, are covered by this warranty and are returned within the warranty period stated above.
TENNSCO CORP., P.O. BOX 1888, DICKSON, TN 37056-1888
(615) 446-8000 (800) 251-8184
PK-2010707
Open “L”
Upright
(Item No. 1a)
Shelf Support
(Item No. 2)
Plain Shelf
(Item No. 3)
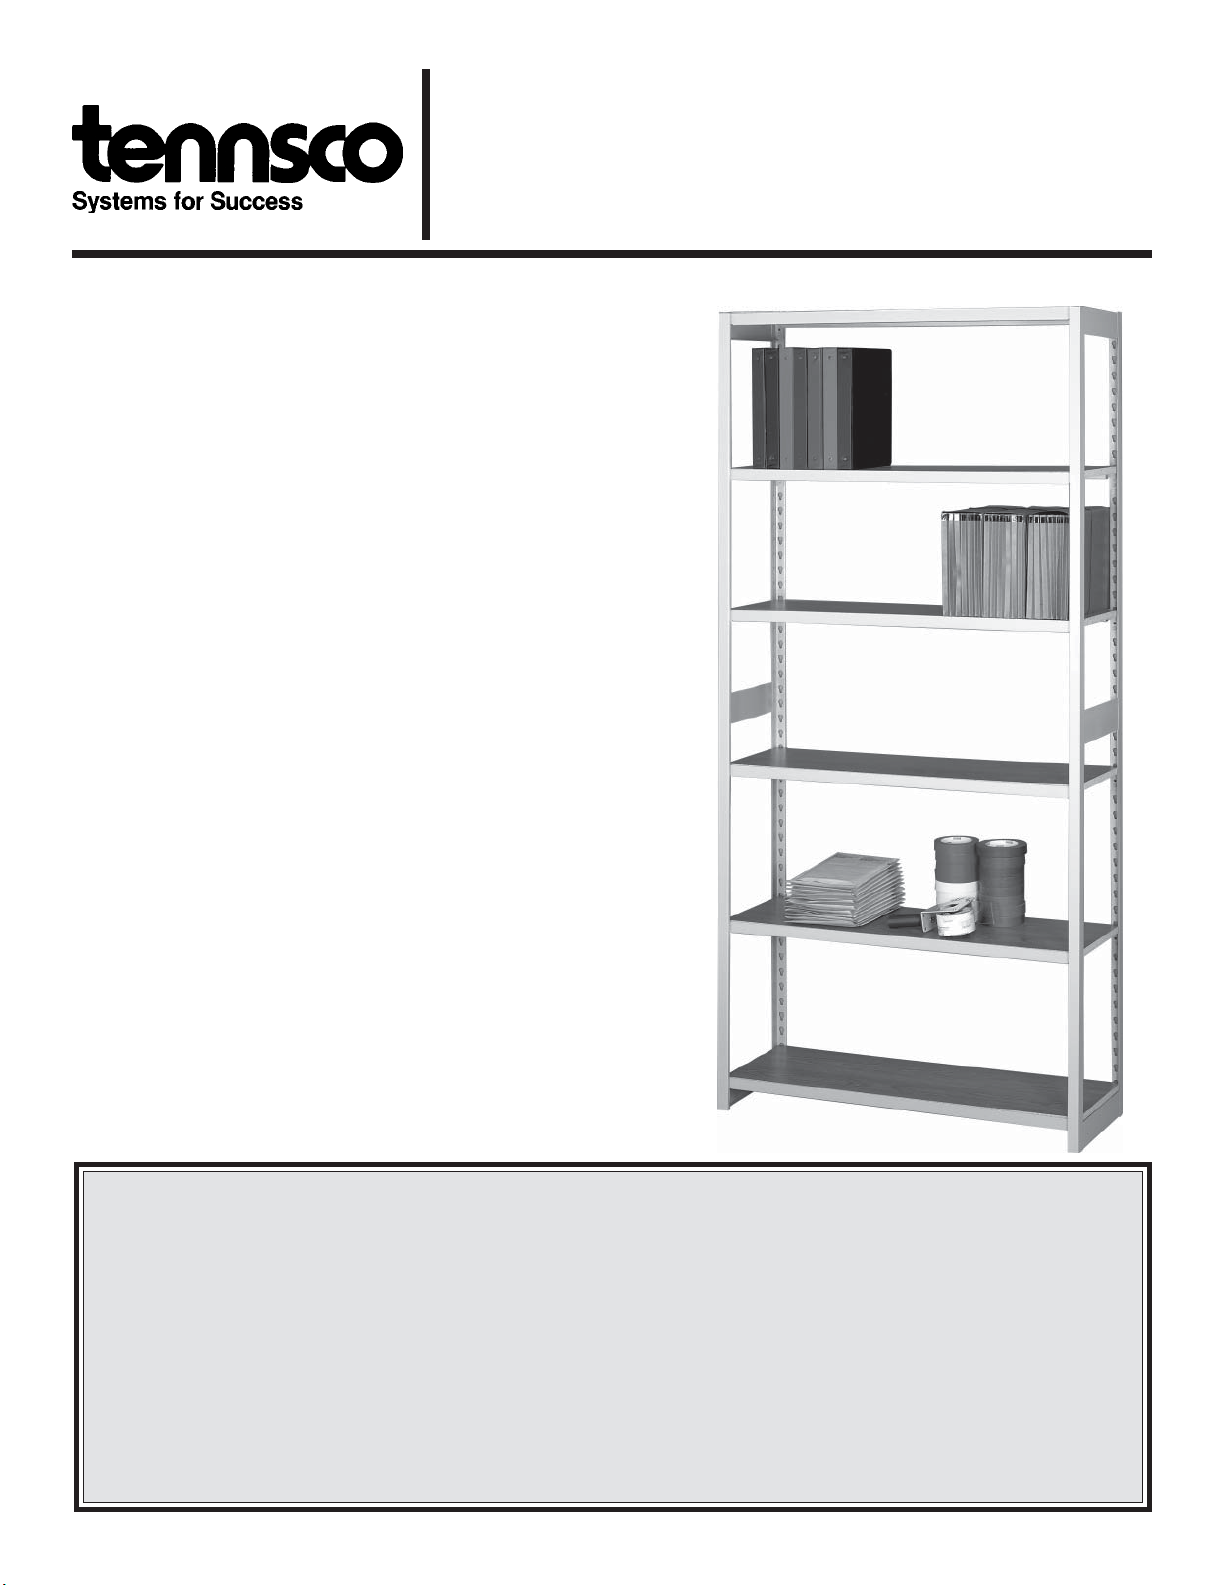
Congratulations on your purchase of Regal
Shelving from Tennsco! Regal shelving is an
attractive and versatile shelving unit designed for
strength - yet attractive enough for the front
office. Featuring particleboard shelves with a
light-oak laminate finish, Regal's shelves are
adjustable in 11/2" increments...allowing you to
customize for your specific storage needs.
Unlike lesser-made shelving that uses tab con-
nectors, Regal Shelving components snap
together with steel shoulder rivets. This allows
for easy assembly without bolts or nuts, while
providing increased strength - each shelf will
hold up to 600 lbs. Regal's heavy gauge steel
construction with baked on enamel finish as-
sures years of trouble free service, even under
the most demanding situations.
An optional sliding divider kit is also available to
help hold materials in place.
GENERALSAFETYINFORMATION
Some parts may have sharp edges. CARE must be
taken when handling various pieces to avoid injury.
For safety, wear a pair of work gloves when assem-
bling or performing any maintenance on shelving.
ASSEMBLY INSTRUCTIONS & PARTS MANUAL #2380707
Tennsco Corp., Dickson, TN 37056-1888 • (615) 446-8000
REGAL SHELVING, 36"w x 76"h
RGL-1236S, -1236A, -1536S, -1536A, -1836S, & -1836A
Plastic Foot for
"L" Upright
(Item No. 4)
Plastic Foot for
"T" Upright
(Item No. 5)
ITEM
NO. PART NO.
DESCRIPTION QUANTITY QUANTITY QUANTITY
36W x 15D x 76H
5 openings
36W x 12D x 76H
5 openings 36W x 18D x 76H
5 openings
STARTER
RGL-1236S ADD-ON
RGL-1236A STARTER
RGL-1536S ADD-ON
RGL-1536A STARTER
RGL-1836S ADD-ON
RGL-1836A
1a Open“L”Upright 1276LO 2 - - - - -
1a Open“L”Upright 1576LO - - 2 - - -
1a Open“L”Upright 1876LO - - - - 2 -
1b Closed“T”Upright 1276TO - 1 - - - -
1b Closed“T”Upright 1576TO - - - 1 - -
1b Closed“T”Upright 1876TO - - - - - 1
2 ShelfSupport HS-3614 12 12 12 12 12 12
3 Shelf PBLS-3612 6 6 - - - -
3 Shelf PBLS-3615 - - 6 6 - -
3 Shelf PBLS-3618 - - - - 6 6
4 Plastic "L" Foot LTNF-L 4 - 4 - 4 -
5 Plastic "T" Foot LTNF-T - 2 - 2 - 2
6 SlidingDivider Kit RSDK-12 - - - - - -
PACKING LIST
Open “T”
Upright
(Item No.
1b)


