1312
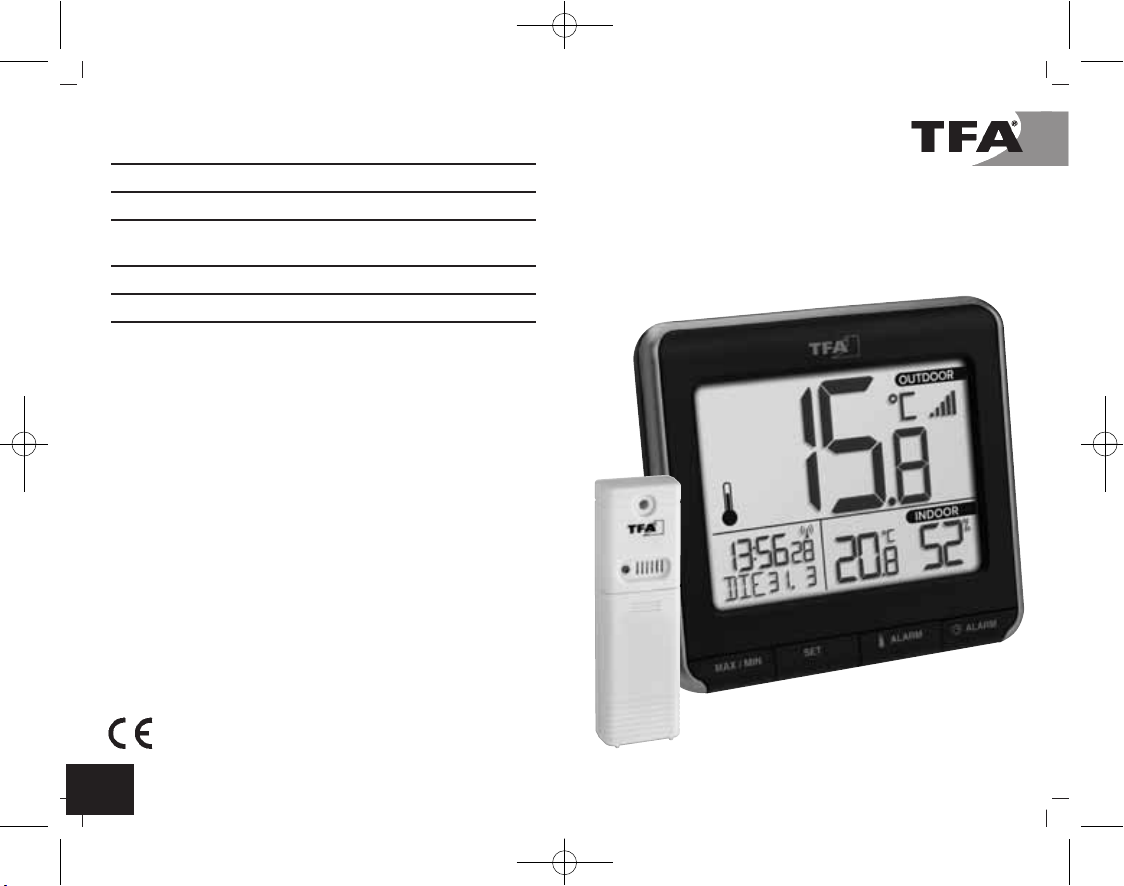
PRIO – Funk-Thermometer
• Die Zeitzonenkorrektur wird benötigt, wenn das DCF Funksignal
empfangen werden kann, die Zeitzone sich aber von der funkge-
steuerten Zeit unterscheidet (z.B. +1 = eine Stunde später).
• Bestätigen Sie die Eingabe mit der SET Taste.
7.1.4 Einstellung des 24- oder 12- Stunden-Formats
• Im Einstellungsmodus können Sie zwischen dem 24 Stunden
oder 12 Stunden-Format auswählen.
• Drücken Sie die + oder –Taste.
• Im 12-h-Format erscheint statt der Sekunden AM (vormittags)
und PM (nachmittags) auf dem Display.
• Bestätigen Sie die Eingabe mit der SET Taste.
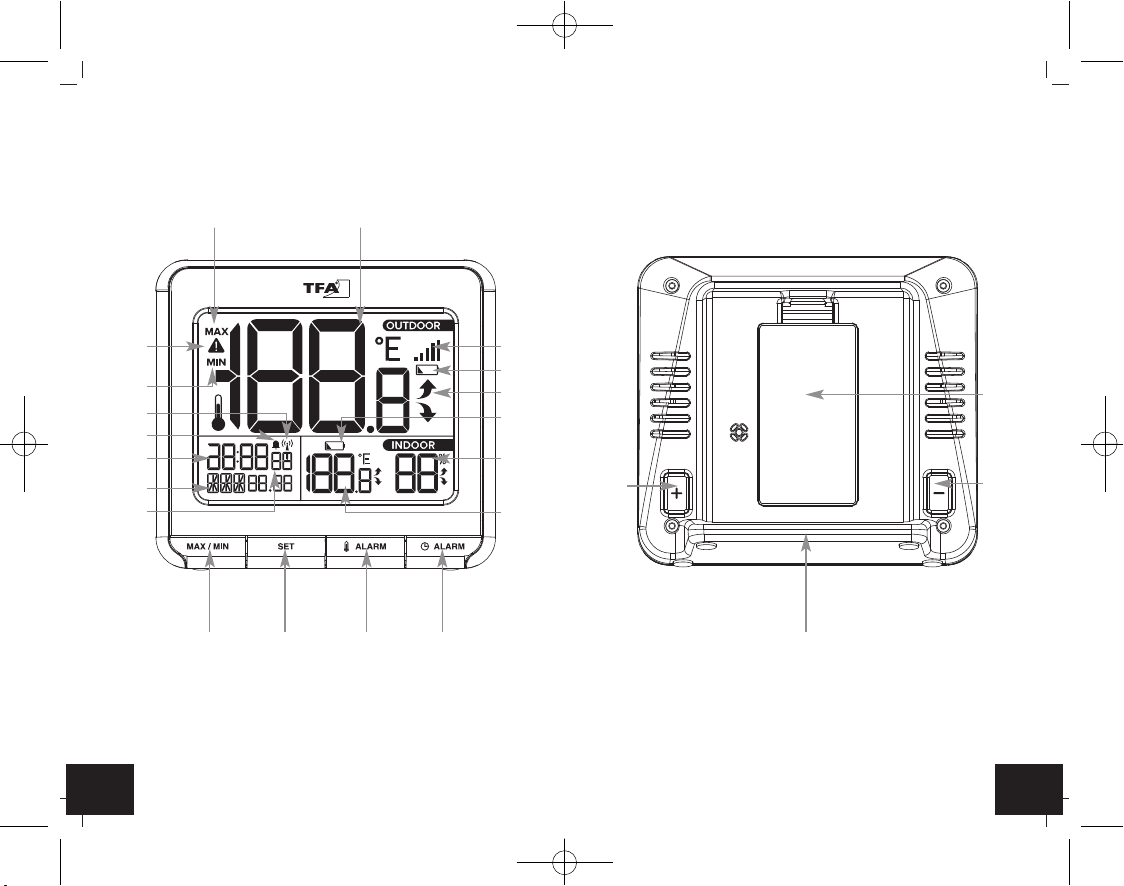
7.2 Maximum/Minimum Funktion
• Drücken Sie im Normalmodus die MAX/MIN Taste. MAX
erscheint im Display.
• Der Höchstwert für die Außentemperatur seit der Inbetriebnah-
me oder der letzten Rückstellung unter Angabe von Uhrzeit und
Datum der Speicherung wird angezeigt.
• Drücken Sie die MAX/MIN Taste noch einmal. Der niedrigste
Außentemperaturwert wird angezeigt. Wiederholen Sie den Vor-
gang zur Abfrage der Innenwerte.
• Drücken Sie die MAX/MIN Taste noch einmal, um in den Nor-
malmodus zurückzukehren.
• Das Gerät verlässt automatisch den MAX/MIN-Modus, wenn für
10 Sekunden keine Taste gedrückt wird.
• Halten Sie die –Taste für drei Sekunden gedrückt, während auf
dem Display die höchsten oder tiefsten Werte angezeigt werden,
um die Werte manuell zu löschen.
7.3 Tendenzanzeige
• Die Trendpfeile zeigen Ihnen an, ob die Werte aktuell steigen
oder fallen. Bei gleichbleibenden Werten erfolgt keine Anzeige.
PRIO – Funk-Thermometer
7.4 Einstellung der Alarmzeit
• Halten Sie die TIME ALARM Taste für drei Sekunden gedrückt,
um in den Einstellmodus zu gelangen. Das Alarmsymbol und
ALM AN erscheinen im Display.
• Die Stundenanzeige blinkt.
• Stellen Sie mit der + oder –Taste die gewünschte Zeit ein.
• Bestätigen Sie mit der TIME ALARM Taste.
• Geben Sie auf gleiche Weise die Minuten ein.
• Bestätigen Sie mit der TIME ALARM Taste.
• Im Display erscheinen die aktuelle Uhrzeit und das Alarmsym-
bol.
• Der Alarm ist aktiviert.
7.4.1 Aktivieren und Deaktivieren des Weckalarms
• Um die Alarm-Funktion zu aktivieren und zu deaktivieren, drü-
cken Sie TIME ALARM Taste im Normalmodus.
• Die zuletzt eingestellte Weckzeit erscheint für 2 Sekunden im
Display.
• Bei aktiviertem Alarm erscheinen das Alarmsymbol und ALM AN.
• Bei deaktiviertem Alarm erscheint ALM AUS.
• Um die Eingabe zu bestätigen, warten Sie kurz, bis die Anzeige
wieder in den Normalmodus zurückkehrt.
• Bei aktiviertem Alarm beginnt der Wecker zu klingeln, wenn die
eingestellte Weckzeit erreicht ist.
• Drücken Sie auf eine beliebige Taste (außer der TIME ALARM
Taste) und der Alarm wird beendet.
• Wird der Alarm nicht unterbrochen, schaltet sich der Alarmton
nach 2 Minuten aus und aktiviert sich erneut zur gleichen Weck-
zeit wieder.
• Das Alarmsymbol bleibt im Display stehen.
• Wenn der Wecker klingelt, drücken Sie die TIME ALARM Taste,
um die Snooze-Funktion zu aktivieren.
TFA_No. 30.3069_Anleitung 21.04.2020 15:00 Uhr Seite 7