TFA HY40.1 User manual

28
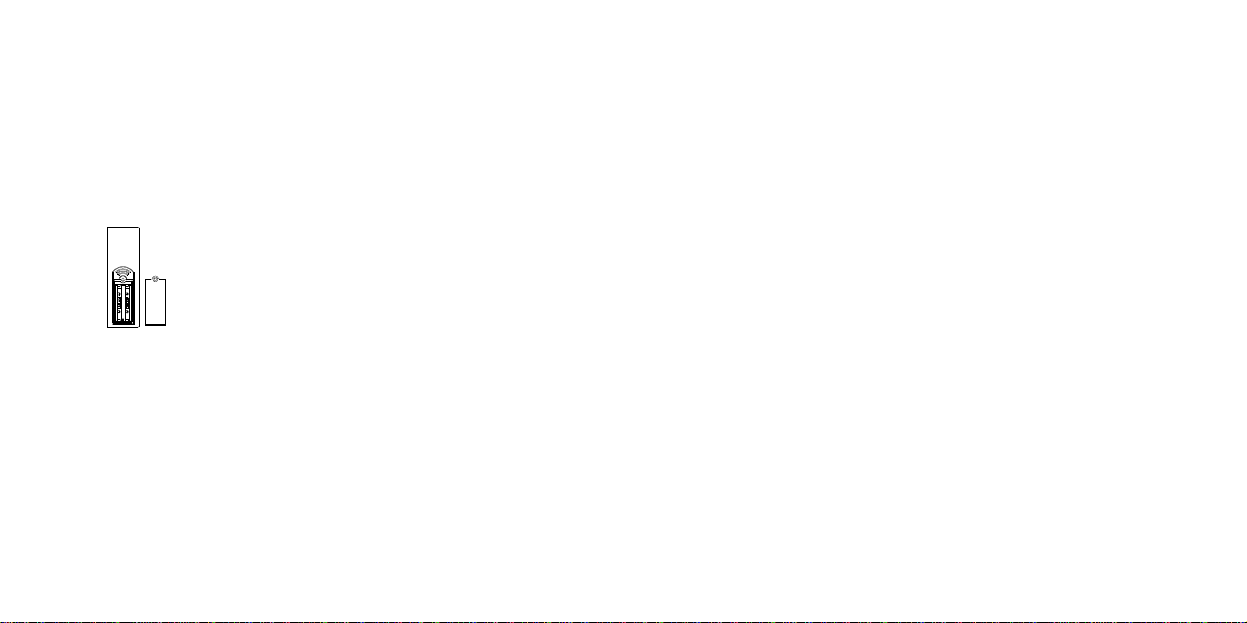
MIN/MAX/+ key
WIRELESS 433MHz TEMPERATURE STATION
Instruction Manual
INTRODUCTION:
Congratulations on purchasing this tiny 433MHz Temperature Station which displays the
time with second and up to three outdoor temperature readings. With only two easy to use
keys, this innovative product isidealfor usein the home or office.
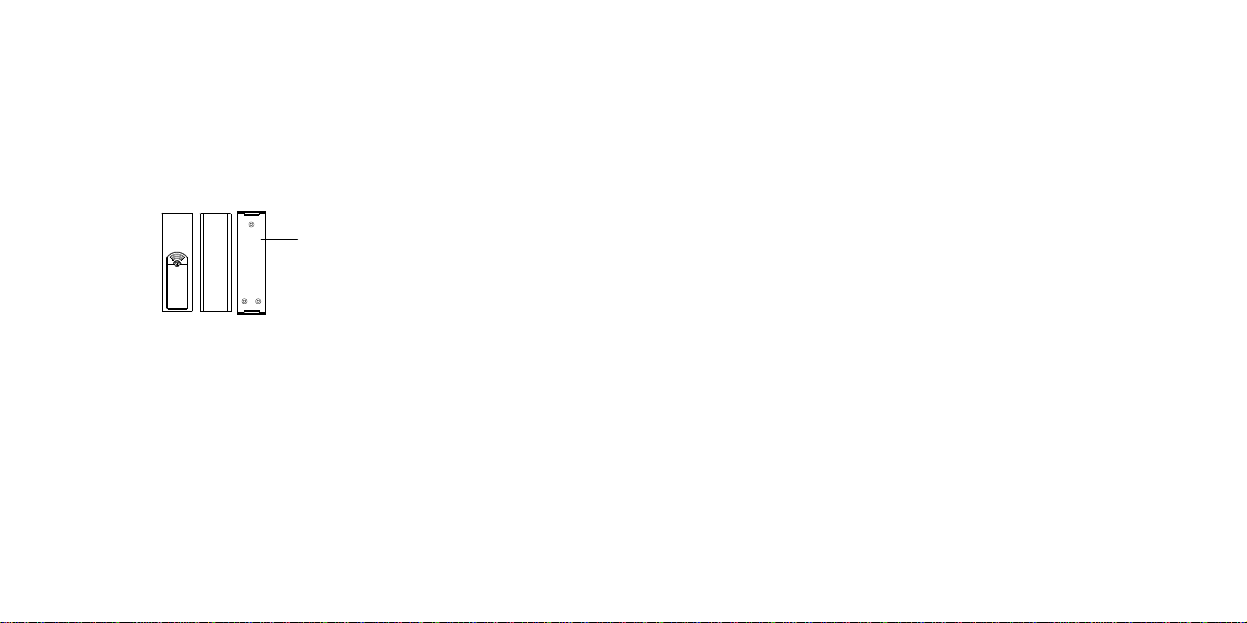
The Temperature Station
Set/ CH key
Stand
Hanging Hole
29
The Outdoor Temperature Transmitter
FEATURES:
The Temperature Station
•LCD clock in24 hour time display (hour,minutes, seconds)
•DCF-77 Radio Controlled timewith manualsettings
•Date and month calendar display
•Indoor and outdoor temperature reading in degree Celsius (°C)
Holder

30
•Can receive up to three outdoor transmitters
•Indoor and outdoor temperature with Minimum and Maximumrecords and time
received
•Table standing or wallmountable(hidden table stand)
The Outdoor Temperature Transmitter
•Remote transmission of outdoor temperature to Temperature Station by 433 MHz
signal
•Wall mounting case
SETTING UP:
1. First, inert the batteries into the Temperature Station (see “How to install and
replace batteries in the Temperature Station” below). Once the batteries are in
place, allthe segments will light up momentarily. If the indoor temperature reading is
not displayed after 30 seconds, remove the batteries and wait for at least 10 seconds
before reinserting them.

31
2. Within 3 minutes of activating the Temperature Station, place the batteries into the
outdoor transmitter (see “How to install and replace batteries in the outdoor
transmitter” below).
3. After a fewseconds of inserting the batteries into the transmitter, the Temperature
Station willstart receiving data fromthe transmitter(s). The remote temperature will
then be displayed on the Temperature Station. If this doeshappen after 15 minutes,
the batteries will need to be removed fromboth units and reset fromstep 1.
4. The Temperature Station can take up to 3 remote transmitters. If you have purchased
additionaltransmitter, followstep 2 for extra transmitters. However, ensure that you
leave 10 seconds in between the reception of the last transmitter and the set-up of the
following transmitter.The Temperature Station willnumber the transmitters in the
order of set-up, i.e. the firsttransmitter willhave the temperature displayed with the
number 1 against it and so on.
5. When all the transmitters are set up, there is a testing period, during which the display
switches quickly between allthe received transmitters at random, according to which
randomtransmission it receives. Pressing anykey willstop this process. The process
also stops automaticallyifno keys are pressed for a fewminutes.

32
6. Once the remote temperature has been received and is displayed on the Temperature
Station,the DCF-77 time code reception is automatically started. This takes typically
between 3-5 minutes in good conditions. Thistime period is an excellent opportunity
to locate the transmitter(s) in suitablelocation(s) outdoors. In order to ensure the
sufficient 433 MHz transmission however, thisshould under good conditions be no
more than 25 meters fromwhere the Temperature Station willfinally be positioned.
7. If after 10 minutes the DCF time has not been received, use the SET/ CH keyto
manually enter a time initially. The clock willautomatically attempt to receive the DCF
time at each fullhour. When thisis successful, the received timewilloverride the
manually set time. The data is also updated with the received time (Please refer also
to “DCF-77 Radio controlled time” and “Manual time setting”)

33
HOW TO INSTALL AND REPLACE BATTERIES IN THE TEMPERATURE
STATION
1. Flip open the battery cover at the backof the
Temperature Station.
2. Checking the correctpolarization, insert 2 xAA, IEC
LR6, 1.5V batteries into the battery compartment
3. Replace the cover
34
HOW TO INSTALL AND REPLACE BATTERIES IN THE TEMPERATURE
TRANSMITTER
1. Remove the battery cover at the front side with asmall
screwdriver.
2. Insert the batteries, observing the correct polarity (see
battery compartment marking).
3. Replace the battery cover on the unit.
Note:
In the event of changing batteries in any of the units, allunits need to be reset by launching
the setting up procedures. Thisisbecause a randomsecurity code is assigned by the
transmitter at start-up and this code must be received and stored by the Temperature Station
in the first minutes of power being supplied toit.

35
BATTERY CHANGE:
It isrecommended to replace the batteries inallunitson an annualbasis to ensure optimum
accuracy of these units.
Please help in the preservation of the environment. Return used batteries to
an authorized depot.
FUNCTIONKEYS:
Temperature Station:
There are two easy-to-use function keys in the Temperature Station
SET/CH key(Setting/Channel)
•Press and hold for about 3 seconds to enter the Manual setting mode.

36
•Used to toggle between the current outdoor transmitters 1, 2 and 3 (ifmore than 1
transmitter is used)
MIN/MAX/+ key(Min/ Max temperature)
•Used to toggle between the minimumand maximumrecorded readings of indoor/
outdoor temperature and the time of record.

37
LCD SCREEN
Transmitter
identification number
Date and Month
Time
Outdoor transmission
signal
Indoor temperature
Outdoor temperature
DCF Tower Icon (for
time reception)
Table of contents
Other TFA Thermometer manuals


Popular Thermometer manuals by other brands


Sper scientific
Sper scientific 800043 instruction manual

Microlife
Microlife NC 200 Operating instructions manual

Motorola
Motorola MBP69SN General questions

The MeatStick
The MeatStick The MeatStick quick start guide

Hama
Hama TH35-A operating instructions

Veridian Healthcare
Veridian Healthcare 09-349 instruction manual