TFA 35.1042 User manual

Hanging Hole
LCD Display Battery cover
Detachable stand
Function keys
WEATHER STATION
Instruction Manual
INTRODUCTION:
Congratulations on purchasing thisWeather Station with indoor temperature and humidity display and weather forecast.
It is further featuring a DCF-77 radio controlled clock. With three easy to use function keys, thisinnovative productis
idealfor usein the home or office.
FEATURES
•DCF-77 Radio controlled timewith manualsetting option
•24 hour time display
•Weather forecast with weather tendency indicator
•Indoor temperature display in °C with MIN/MAX recordings
•Indoor humidity display in RH%
•MIN/MAX recordings reset
•Wall mounting or table standing
SETTING UP:
1. Insert the batteries into the Weather Station (see “How to install and replace batteries in the Weather Station”
below). Once the batteries are inplace, allsegments of the LCD willlight up briefly. Then the indoor temperature
and humidity, the time as - : - - and the weather icon sun with clouds will be displayed. If the indoor temperature
and humidityare not displayed after 15 seconds, remove the batteries and waitfor at least 10 seconds before
reinserting them.
2. Once the indoor data have been displayed on the Weather Station, the DCF-77 time code reception is
automatically started. This takes typically between 3-5 minutes in good conditions.
3. If after 10 minutes the DCF time has not been received, use the SET keyto manually enter a time initially.The
clock willautomatically attempt each hour to receive the DCF time. When thisis successful,the received timewill
override the manually set time. (Please refer also to notes on “Radio controlled time” and “Manual time
setting”).
HOW TO INSTALL AND REPLACE BATTERIES IN THE WEATHER STATION
The Weather Station uses 2 xAA, IEC LR6, 1.5V batteries. To install and replace
the batteries, please followthe steps below:
1. Insert finger or other solid object in the space at the bottomcentre of the
battery compartment and lift up to remove the cover.
2. Insert batteries observing the correctpolarity (see marking).
3. Replace compartment cover.

MIN/MAX key
BATTERY CHANGE:
It isrecommended to replace the batteries inthe unit on an annualbasis to ensure optimum accuracy ofthese units.
Please participate in the preservation of the environment. Return used batteries to an authorised
depot.
FUNCTIONKEYS:
Weather Station:
The Weather Station has three easy to
use function keys located on the front:
SETkey (Setting)
•Enter the manualtime setting mode
•Switch to minute digit setting
•Exit time setting mode
+ key
•Change the digits in time setting mode
MIN/MAX key
•Toggle between the current /maximum/minimum indoor temperatures
•Press for around 2 seconds to reset the indoor maximumand minimumtemperature records (willreset all
temperatures to current level)
LCD SCREEN AND SETTINGS
For better distinctness the LCD screen is splitinto 3 sections displaying the informations for weather forecast,time,
indoor temperature and humidity.
LCD1- WEATHER FORECASTAND TENDENCY
THE WEATHER FORECASTING ICONS
There are 3 weather icons on the first section of the LCD which can be displayed inany of the following combinations:
Weather forecast icon
DCF Tower Icon
(for time reception)
Weather tendency indicator
Time
Indoor Temperature
in °C
Indoor relative
humidity in RH%
SET key
+ key

For every sudden or significant change in the air pressure, the weather icons willupdate accordingly to represent the
change in weather.If the icons do not change,then it means either the air pressure has not changed or the change has
been too slowfor the Weather Station to register. However, if the icon displayed is a sun or raining cloud, there willbe
no change of icon ifthe weather gets any better (with sunny icon) or worse (with rainy icon) since the icons are already
at their extremes.
The icons displayed forecasts the weather in terms of getting better or worse and not necessarily sunny or rainy as each
icon indicates. For example, if the current weather is cloudyand the rainyicon is displayed, it does not mean that the
product is faulty because itis not raining. It simplymeans that the airpressure has dropped and the weather isexpected
to get worse but not necessarily rain.
Note: After setting up, readingsfor weather forecast should be disregarded for the next 12-24 hours. This willallow
sufficient time for the Weather Station to collect air pressure data ata constant altitude and therefore resultin an
more accurate forecast.
Common to weather forecasting, absolute accuracy cannot be guaranteed. The weather forecasting feature is estimated
to have an accuracylevelof about 75% due to the varying areas the Weather Station has been designed for usein. In
areas that experience sudden changes in weather (for example fromsunny to rain),the Weather Station will be more
accurate compared to use in areas where the weather is stagnant most of the time (for examplemostly sunny).
If the Weather Station is moved to another location significantlyhigher or lower than itsinitialstanding point (for
example fromthe ground floor to the firstfloor of a house), remove the batteries and re-insert themafter about30
seconds. By doing this, the Weather Station willnot mistake the newlocation as being a possible change in air-pressure
when reallyitis due to the slight change of altitude. Again, disregard weather forecasts for the next 12 to 24 hours as
this willallowtime for operation ata constant altitude.
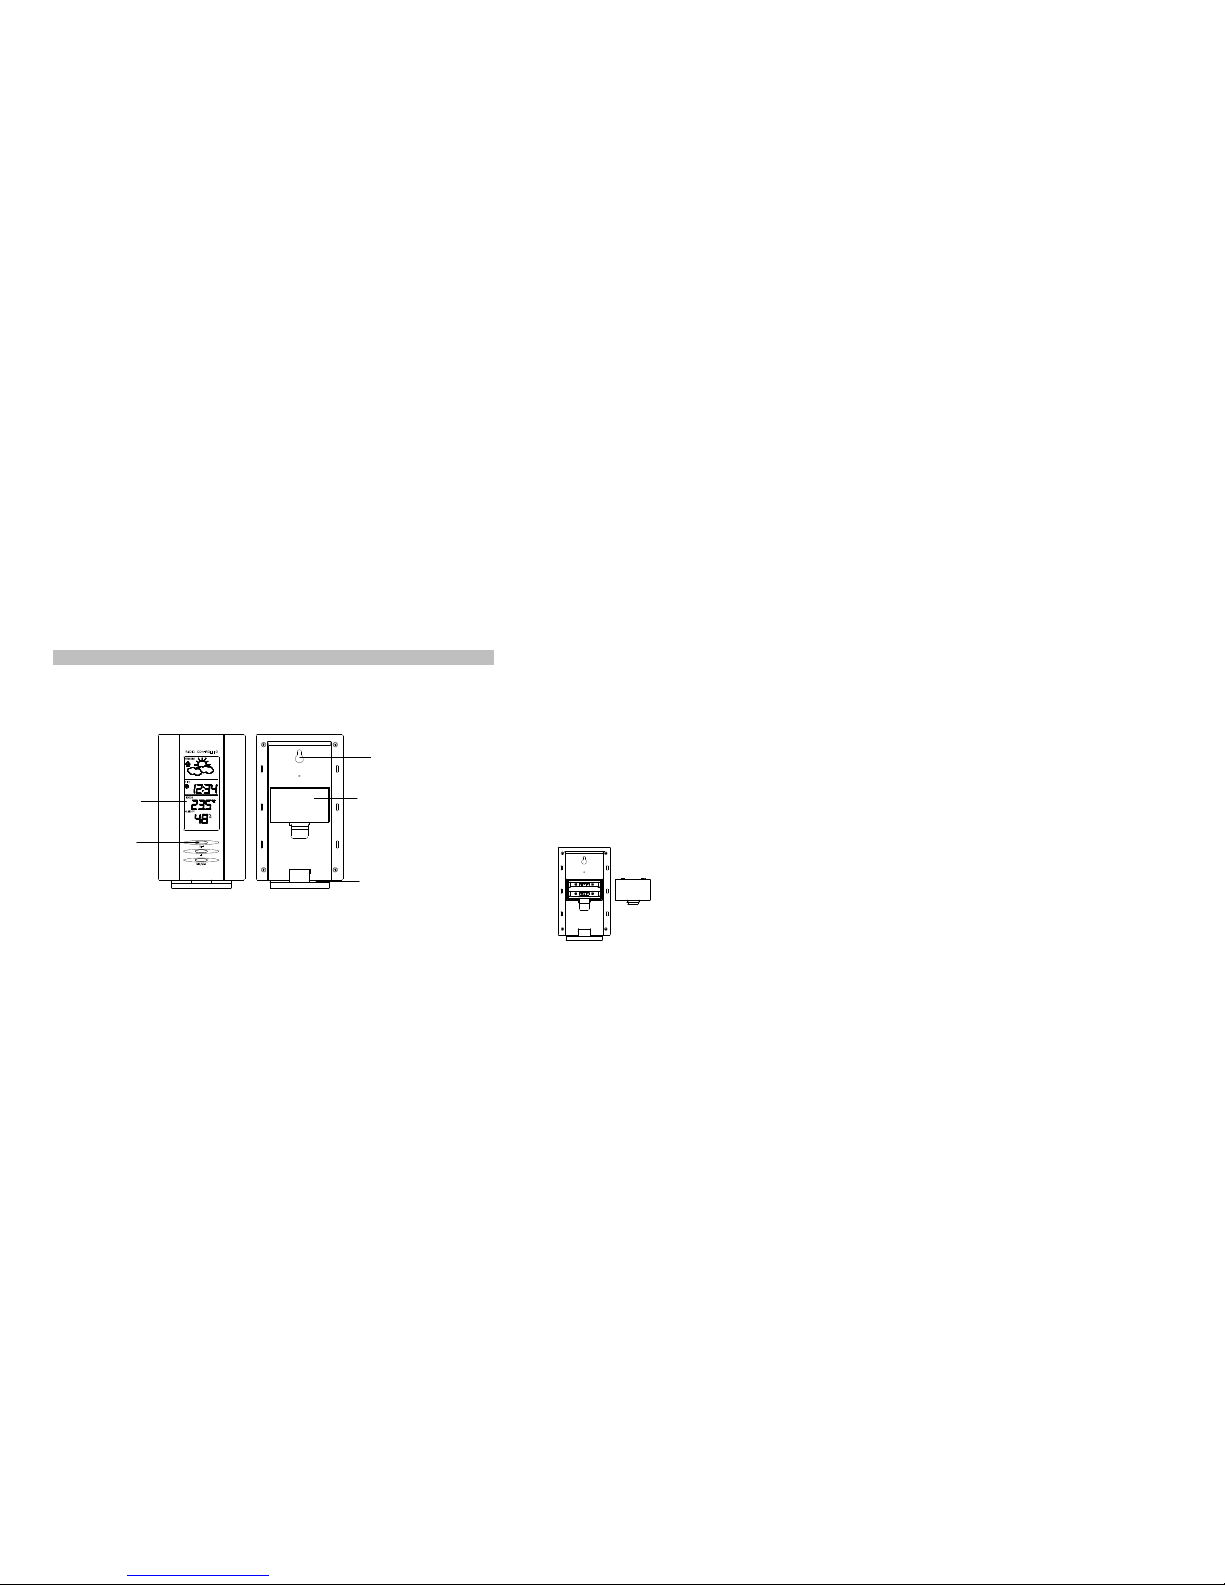
THE WEATHER TENDENCY INDICATOR
Working together with the weather icons are the weather tendency indicators (located on the left and right hand side of
the weather icons). When the indicator points upwards, it means that the air-pressure isincreasing and the weather is
expected to improve, butwhen indicator points downwards, the air-pressure isdropping and the weather is expected to
becomeworse.
Taking thisinto account, one can see howthe weather has changed and is expected to change. For example, if the
indicator is pointing downwards together with cloud and sun icons, then the last noticeable change in the weather was
when it was sunny (the sun icon only). Therefore, the next change in the weather willbe cloud with rainicons since the
indicator is pointing downwards.
Note: Once the weather tendency indicator has registered a change in air pressure, it will remain permanently
visualized on the LCD.
LCD2- RADIO CONTROLLED TIME:
The time base for the radio controlled time is a CesiumAtomic Clock operated by the Physikalisch Technische
Bundesanstalt Braunschweig which has a time deviation of less than one second inone million years. The time is coded
and transmitted fromMainflingen near Frankfurt via frequency signalDCF-77 (77.5 kHz) and has a transmitting range of
approximately 1,500 km. Your radio-controlled Weather Station receives this signaland converts it to showthe precise
time in summer or wintertime.
The qualityof the reception depends greatly on the geographiclocation. In normalcases, there should be no reception
problemswithin a 1500kmradius ofFrankfurt.
Once the indoor temperature and humidity are displayed on the Weather Station during initialset-up, the DCF tower
icon in the clock display willstart flashing in the upper left corner. Thisindicates that the clock has detected thatthere is
a radio signalpresent and is trying to receiveit. When the time code is received, the DCF tower becomes permanently
lit and the time will be displayed.
Sunny Cloudy with sunny intervals Rainy

If the tower icon flashes, butdoes not set the time or the DCFtower doesnot appear at all, then please take note of the
following:
•Recommended distance to any interfering sources like computer monitors or TV sets is a minimumof 1.5 - 2
meters.
•Within ferro-concrete rooms (basements, superstructures),the received signalis naturallyweakened. In extreme
cases, please place the unit close to a windowand/ or point its front or back towards the Frankfurt transmitter.
•During nighttime, the atmosphericdisturbances are usuallylesssevere - the reception is possiblein most cases.
MANUAL TIME SETTING:
In case the Weather Station is not able to detect the DCF-signal(disturbances, transmitting distance, etc.), the time can
be manually set. The clock willthen work as a normalQuartz clock:
1. Press the SET key for around 3 seconds untilthe time display flashes.
2. Use the + key to set the hours.
3. Press again the SET key to switch to the minutes. Use the + key to set the minutes.
4. Either press the SET key once more to exit the time set mode or do not touch any buttons for around 8 seconds
to confirmthe set time.
Note:
The unit willstilltryto receive the signaleveryhour despite it being manually set. When it does receive the signal,it will
change the manually set time into the received time. During reception attempts the DCF tower icon will flash. If
reception has been unsuccessful, then the DCF tower icon willnot appear but reception willstillbe attempted the
following hour.
LCD 3 INDOOR TEMPERATURE ANDHUMIDITY:
The indoor temperature and humidity are measured and displayed on the third section ofthe LCD.
Note: The MAX and MIN iconsapply to the indoor temperature only.
TOGGLING AND RESETTINGTHE INDOOR RECORDINGS:
1. To toggle between the indoor current, maximum and minimum temperature press the MIN/MAX key:
Once to showthe maximum temperature
Twice to showthe minimum temperature
Three times to return to the current temperature
2. To reset the minimumand maximum temperature data, pressthe MIN/MAX key continuously for about 2
seconds. This willreset the minimumand maximumdata recorded to the current temperature.
POSITIONINGTHEWEATHERSTATION:
The Weather Station comes attached with a removable table stand, which provides the option of table
standing or wallmounting the unit. To wallmount:
1. Fixa screw(not supplied) into the desired wall,leaving the head extended out by about 5mm.
2. Remove the stand fromthe Weather Station by pulling it away fromthe base and hang the
station onto the screw. Remember to ensure that it locks into place before releasing.
Indoor temperature in ºC
Minutes (flashing)
Hour(flashing)
Indoor humidity in %RH
MAX icon MIN icon

CARE AND MAINTENANCE:
•Extreme temperatures, vibration and shock should be avoided as these may cause damage to the unitand give
inaccurate forecasts and readings.
•When cleaning the display and casing, use a soft damp cloth only.Do not use solvents or scouring agents as
they may mark the LCD and casing.
•Do not submerge the unit in water.
•Immediatelyremove alllowpowered batteriesto avoidleakage and damage. Replace onlywith newbatteries of
the recommended type.
•Do not make any repairattempts to the unit. Return to its original point of purchase for repair by a qualified
engineer.Opening and tampering with the unit may invalidateits guarantee.
•Do not expose the unit to extreme and sudden temperature changes, as thismay lead to rapid changes in
forecasts and readings and thereby reduce itsaccuracy.
SPECIFICATIONS:
Indoor temperature measuring range : 0ºC to +60ºC with 0.1ºC resolution
(“OF.L” displayed if outside this range)
Indoor humidity measuring range : 25% to 95% with 1% resolution
Indoor temperature checking interval : every 10 seconds
Indoor humidity checking interval : every 20 seconds
Power supply : 2 xAA, IEC LR6, 1.5V
Battery life cycle : approximately 12 months (Alkaline batteries recommended)
Dimensions (L x WxH) : 86 x29.5 x144mm(stand excluded)
LIABILITY DISCLAIMER:
•The manufacturer and supplier cannot accept any responsibilityfor any incorrect readings and any
consequences that occur should an inaccurate reading take place.
•This product is notto be used for medicalpurposes or for publicinformation.
•This product is onlydesigned to be used in the home as indicator of temperatures and is not 100% accurate.
Readings given by this product should be taken only as an indication and notas being totallyaccurate.
•The specifications of thisproduct may change without prior notice.
•This product is nota toy. Keep out of the reach of children.
•No part ofthis manualmay be reproduced without written consentof the manufacturer.
R&TTE Directive 1999/5/EC
To be used in EC Member and EFTA States.
Summary of the Declaration of Conformity : We hereby declare that this wireless transmission device does comply with
the essentialrequirements of R&TTE Directive 1999/5/EC.

WETTERSTATION
WEATHER STATION
POSTE METEO
WEERSTATION
STAZIONE METEOROLOGICA
ESTACIÓN METEOROLÓGICA
Betriebsanleitung
Instruction Manual
Mode d’emploi
Handleiding
Manuale delle istruzioni
Manual de Instrucciones
Table of contents
Other TFA Weather Station manuals

TFA
TFA 35.1022 User manual

TFA
TFA 30.1035 User manual

TFA
TFA 35.1130 User manual

TFA
TFA slim-touch User manual

TFA
TFA 35.1078.10.IT User manual

TFA
TFA COSY BARO 35.1154 User manual

TFA
TFA Studio 35.1085 User manual

TFA
TFA 30.3016.01.IT User manual

TFA
TFA KlimaLogg Pro Pavouk DTHL User manual

TFA
TFA XENA User manual
Popular Weather Station manuals by other brands

La Crosse Technology
La Crosse Technology 308-1409BT instruction manual

XFARM
XFARM xSense Pro Quick Guide to installation and use

Renkforce
Renkforce 2203406 operating instructions

Vitek
Vitek VT-6405 Manual instruction

La Crosse Technology
La Crosse Technology 308-179OR instruction manual

Ambient Weather
Ambient Weather WS-5300 user manual