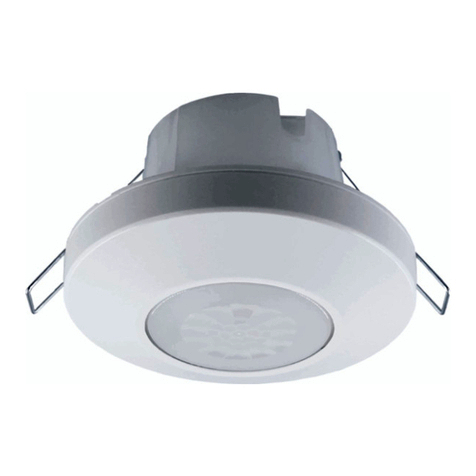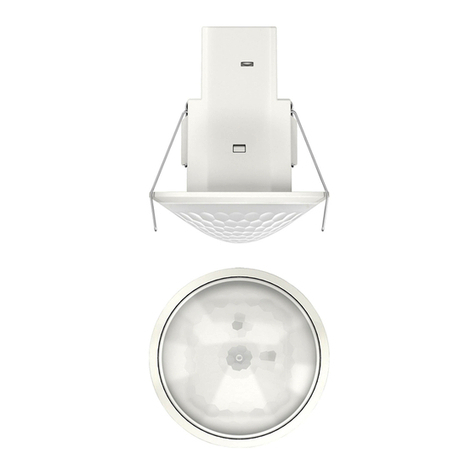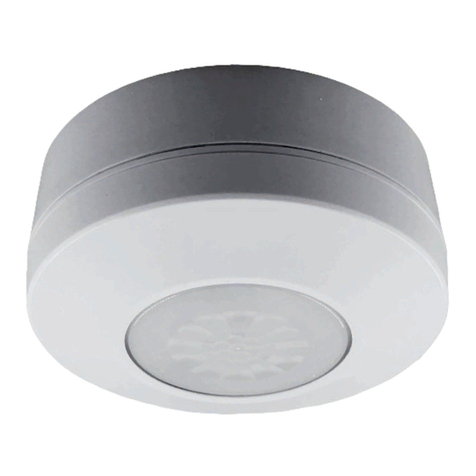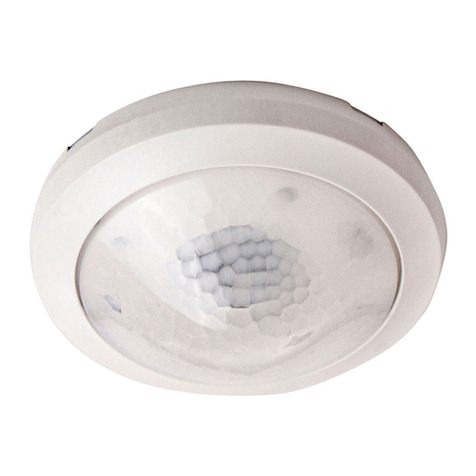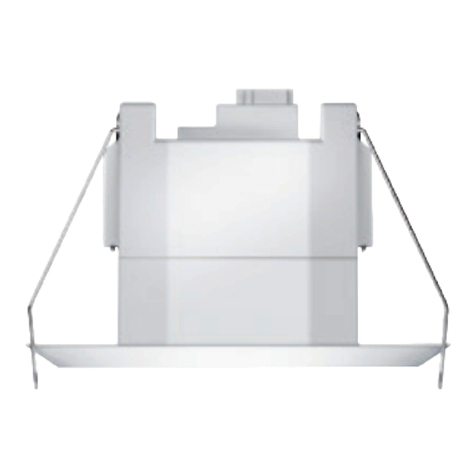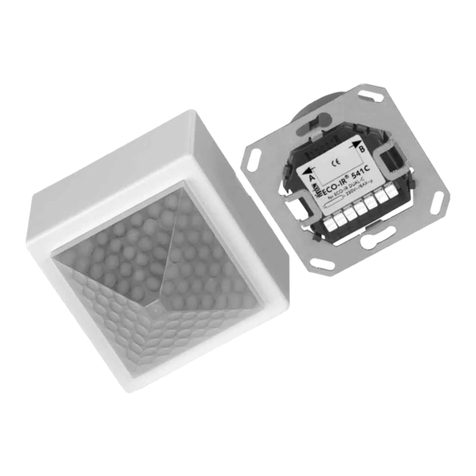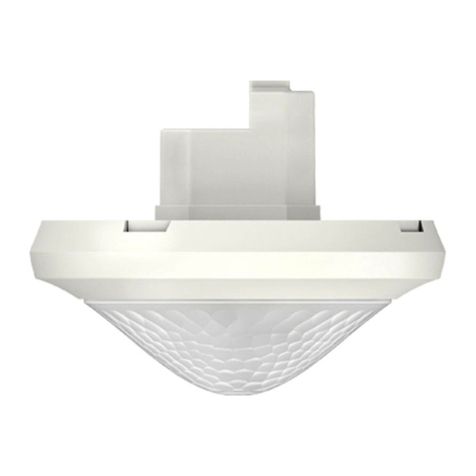
A B
C
D
CONNECTION
Connect the mains supply cable to the terminal block on the back plate as
follows (see connection diagram ):
EARTH (Green / Yellow)
NEUTRAL (Blue) N
LIVE (Brown) L
Connect the cable from the slave lighting load to the terminal block on the
backplate as follows (see connection diagram):
EARTH (Green/Yellow)
NEUTRAL (Blue) N
SWITCH LIVE (Brown) L1
• Ensure that all connections are secure.
• Connect the 3 way Photocell plug, by pushing the plug and socket inside the
floodlight together until they lock. DO NOT FORCE. THE PLUG AND SOCKET WILL
ONLY FIT TOGETHER ONE WAY AROUND (See Jumper Plug diagram).
• Secure the Photocell to the luminiare using the 4 fixing screws supplied
(see diagram C).
*** IMPORTANT ***
Switch off the electricity at the fuse box by removing the
relevant fuse or switching off the circuit breaker
before proceeding with the installation.
1 2 3 4
Dimensions
4. Installation
91
78
91
53
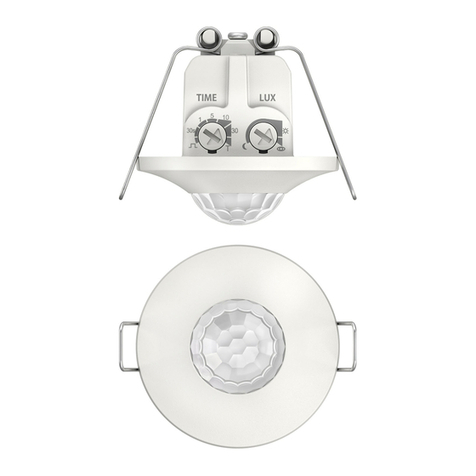
View on underside of unit shows adjustments
Lux Time on
To Set the adjustment knobs as follows:-
See diagram A.
Lux setting, fully clockwise (daylight setting)
The Lux setting determines at which light level the switch will turn its connected load
“ON”
Turning this setting fully clockwise allows you to test the circuit during daylight.
Connect the photocell to the mains and switch power on.
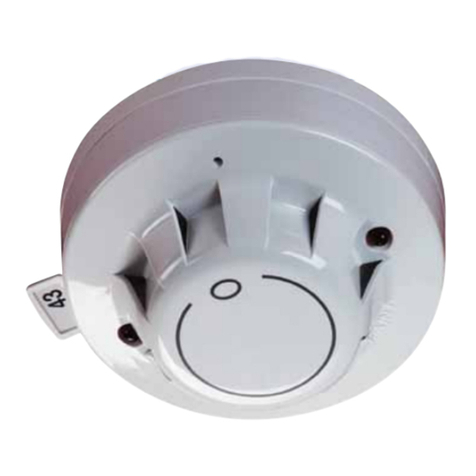
After a short delay, the unit will switch ON. This is indicated by the red LED see
diagram B. Any attached lights will also illuminate.
5. Operation and Testing
1. General Information
These instructions should be read carefully and retained for further reference and
maintenance.
2. Safety
• Before installation or maintenance, ensure that the mains supply to this system is
switched off and the circuit supply fused are removed or the circuit breaker turned off.
• It is recommended that a qualified electrican is consulted or used for the
installations of this system and install in accordance with the current IEE wiring and
Building Regulations.
• Check that the total load on the circuit including when this system is fitted does not
exceed the rating of the circuit cable, fuse or circuit breaker.
3. Technical Specifications
• 230V AC 50Hz
• Maximum Switchable Load: LED lamp -140W
Halogen lamp - 1000W
CFL - 200W
Fluorescent tube w/o PF correction - 500W
• Time ON Adjustment: 2, 4, 6, 8 hours or Dusk to Dawn
• Dusk Level Adjustment: Day & night or night time only operation
• IP55 Rated suitable for restricted external applications
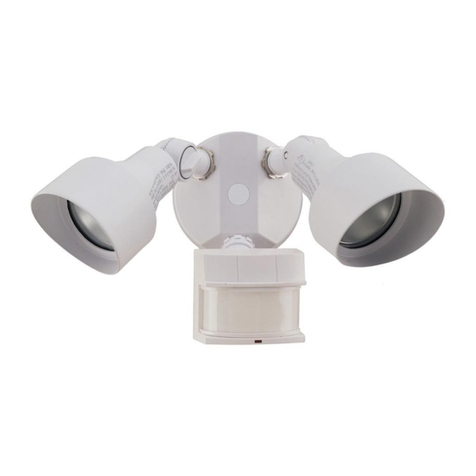
• CE Compliant Note: Any floodlight connected to the L1
Switch Live terminal 'Live Output' will be
controlled by the Photocell
• Remove the jumper plug from the floodlight.
• Pass the mains supply and load cables through the holes provided on the Photocell
ensuring that a cable gland, grommet or sealing compound is used to maintain the IP
rating.
Mains
Supply
Isolation
Switch 'Switch Live'
Mains
Supply
Isolation
Switch 'Switch Live'
Locking bar
Release clips
Press locking
bar with one
hand, grip the
release clips
with the other
and pull (push
to reconnect).
Jumper Plug
