TierTime UP BOX+ User manual

1
1
USER MANUAL
FOR UP BOX+

1
2
Precautions
Printer Body
Accessories
Unpacking
Installing Print Board
Installing Filament
Installing UP Studio Software
Initializing Printer
Automatic Platform Calibration
Automatic Nozzle Height Detection
Manual Platform Leveling
Preparing for Printing
Printer Control Buttons
LED Light Bar
Software Interface
Setup Wi-Fi
Product Activation
Loading a Model
Printing a Model
Pausing a Print Job
Rotating a Model
Scaling a Model
4
5
7
8
8
9
9
10
11
12
13
14
15
16
17
18
22
23
24
25
26
27
Table of Contents

1
3
Moving a Model
Making Copies
Merging and Saving Models
Printing Preference
Printing Parameters
Converting a 2D Picture into a 3D Model
Machine and Software Settings
Controlling Multiple Printers with USB
Printer Info and Naming a Printer
Printing Techniques
Fine Manual Calibration
Setting Compensation Values
Maintenance
Filament Check and Blackout Recovery
Troubleshooting
UP BOX+ Specications
28
29
30
31
33
34
36
37
38
39
40
42
43
44
45
46
Table of Contents

1
4
UP BOX+ 3D printer only works with the power adapter provided by the original manufacturer, otherwise the
machine could become damaged or even cause a re hazard. Keep the power adapter away from water and high
temperature environments.
During printing, the temperature of the nozzle of UP
BOX+ could reach 260°C and the print platform could
reach 100°C. Do not touch these parts with your bare
hands while they are hot—not even with the heat
resistant gloves included with the machine—as the
temperature could damage the gloves and injure
your hands.
Wear goggles when removing the supporting material from models, or detaching models from the print board.
During printing, the nozzle and the print platform
could be moving at high speeds. Do not touch these
parts while they are moving.
When printing with ABS or PLA, the plastics will generate a slight odor. Run the printer in a well-ventilated
environment. We also suggest you put the printer in an environment with a stable temperature as unwanted
cooling could cause adverse eects to the print quality.
When the UP software is sending data to the printer—indicated on the status bar on the left bottom corner of the
software interface with the text "sending layers"—do not unplug the USB cable as this will disrupt the data transfer
and result in a printing failure. The USB cable can be unplugged after the data transfer is nished.
The UP BOX+'s ideal working temperature is between 15°C and 30°C with relative humidity between 20–50%.
Users are recommneded to discharge any static charge from the body before touching the machine to prevent
interruption of printing and any potential damage to the printer.
Precautions
Warning label on printer:
High Temperature,
do not touch!
Warning label on printer:
Moving Parts, do not touch!
1
2
3
4
5
6
7

1
5
Spool Holder
Magnetic Cover
Filament Spool
Top Lid
Front Door
Initialization Button
Extrude/Withdraw Button
Pause/Stop Button
Power Interface
USB Interface
Power Switch
Printer Body

1
6
X-Axis
Y-Axis
Z-Axis
Print Platform
LED Bar
Air Filter
Print Head Mount
Automatic Leveling Probe Print Head Locking Srew
Magnets
Print Head
Nozzle
Fan
Duct
Wind
Lever
Fans
Nozzle Height Detector

1
7
Accessories
ABS Filament Nozzle WrenchPlierHex Keys
2.0mm, 2.5mm
Power Adapter USB CableScraperPower Cable
Perforated Print Board
(Perf Board)
Perforated Print Board
(Perf Board) and UP Flex
Print Board
1kg Spool Cover
Print Head Nozzle
All accessories may subject to change without prior notice. If anything is missing, please contact
Gloves
Micro SD card and
Reader
1kg Spool Rack Add-on Calibration Card

1
8
Unpacking: Remove Foams and Nylon Ties
Lay down the foam at the bottom, turn it 90 degrees to
remove, and no need to lift the platform.
Remove the nylon ties (labelled with "Remove me") from the
smooth rods.
Keep the packaging material handy. You may need it when
shipping the product in the future.
Installing Print Board
1. Position the print board on the build platform so
that all the at head screws on the heating plate
are inside the holes on the print board.
2. Press the print board and the heating plate
together at the lower left and lower right corners.
Then slide the print board forward to lock it onto
the heating plate.
3. Make sure all holes are locked properly so that
the print board is at.
4. Install or remove the print board when the
platform and print board are cool.
Unlocked Locked
Install Print Board
90°

1
9
Installing Filament
1. To install the lament spool, open the magnetic
cover and insert the lament into the guiding tube
at the spool holder.
2. Push the lament into the guiding tube until it
comes out from the other end. Put the spool
onto the spool holder and cover the spool with
the magnetic cover.
Installing UP Studio Software
1. Go to the Support Section of www.up3d.com to download the latest version of the UP Studio. The Mac
version of the UP Studio can only be obtained through Apple App Store.
2. Double-click the setup.exe le to install the software. (The default installation path is C:\Program Files\UP
Studio\). A pop-up window will appear. Select "Install" and follow the instructions to nish. The printer’s driver
will be installed in the system.
1KG Spool
Rack Add-on
To use 1KG spool, put the
Spool Rack Add-on onto
the orignal spool rack. A
protruding magnetic cover
is also provided with the
machine to accommadate
thicker spools.

1
10
Initializing Printer
Initialization is required every time the
machine is switched on. During initialization,
the print head and the print platform move
slowly and hit the endstops of the XYZ
axes. This is essential as the printer needs
to nd the endpoints to each axis. Other
software options will light up and become
available for use only after initialization.
Initialization Button
There are two ways to initialize your printer:
1. The UP BOX+ can be initialized by clicking the
"Initialize" option in the software menu (shown
above).
2. When the printer is idle, press and hold the
initialization button on the printer.
Other functions of Initialization Button:
1. Stop the current print job: During an on-going
print job, press and hold the button.
2. Reprint the last job: Double-press the button.

1
11
Platform calibration is the most important step for successful printing as it ensures part adhesion
on the rst layer. Ideally, the distance between the nozzle and the platform is constant, but in
reality the distance varies at different positions due to many reasons (e.g. a slightly tilted platform),
which could cause warping on prints or even a complete print failure. Fortunately, UP BOX+
introduces the features like automatic platform leveling and automatic nozzle height detection,
which can make the calibration process nish quickly and easily.
In the Calibration section, click Auto Level to initiate auto
leveling. The leveling probe will be lowered and start to probe
nine positions on the platform. After probing the platform, the
leveling data will be updated and stored in the machine. The
leveling probe retracts automatically.
Nozzle height detection will be started automatically after auto
leveling process. The print head will move toward the nozzle
height detector. Eventually, the nozzle will touch and press the
thin metal sheet on the device to make the measurement.
Calibration Tips:
1. Perform calibration when the nozzle is not heated.
2. Remove residual plastic on the tip of the nozzle before calibration.
3. A print board should be in place on the platform before calibration.
4. Autoleveling and nozzle height detection can only be initiated when nozzle temperature is under 80 °C.
Automatic Platform Calibration
Auto leveling probe
retracted.
Auto leveling probe
lowered.
Nozzle Height
Dectector.

1
12
Automatic Nozzle Height Detection
You may initiate the Automatic Nozzle Height Detection
without the Autoleveling.
In the Calibration section, click " Detect Nozzle".
If consistent warping still occurs after auto-leveling, it may be due to a severe unleveling of
the platform which exceeds the capability of the auto-leveling function. In which case, you
should perform a manual leveling before auto-leveling (see the next page).
You may also level the platform without using the auto-leveling and nozzle detection
functions. Please refer to Page 40 for details.
During nozzle height
detection, the print head
nozzle will touch the thin
metal sheet on the detector
to make measurement.
After nozzle height detection,
the software will ask which type
of print board is used on the
machine, choose the currently
used type of board to nish the
measurement.

1
13
Manual Platform Leveling
Usually users do not need to adjust the
platform manually. This is only necessary if
the automatic leveling function was unable
to effectively level the platform.
There are four screws under the platform
of UP BOX+: two knobs in the front and
two knobs under the platform at the back.
These knobs can be fastened or loosened
to adjust the leveling of the platform.
In the calibration section use the reset button to
set all the compsenation values to zero. Then use
the nine numbered buttons to move the platform to
different locations.
You can also use the "Move" button to move the
print platform to a particular height.
First move the print head to the center of the
platform and move the platform to almost touching
the nozzle (e.g. nozzle height). Use the Calibration
Card to determine the correct platform height.
Try to move the Calibration Card and feel the drag
between the platform and the nozzle. Make sure
you can feel the similar drag resistance at all 9
positions by moving the print head and adjusting
the screws while the platform height is xed.
The platform is too high.
The nozzle is pinning the
Calibration Card onto the
platform. Lower the platform
slightly.
The height is just right.
Can feel some resistance
when moving paper.
The platform is too low.
No resistance is felt at all
when moving the paper.
Raise the platform slightly.

1
14
Preparing for Printing
Make sure the printer switched on
and connected to a computer. Click
the "Maintenance" button in the
software.
Choose ABS or the material you
choose from the dropdown material
list, and input the lament weight.
Click "Extrude". The print head will
start to heat up. About ve minutes,
the temperature of the print head
will reach the melting temperature,
e.g. for ABS, it is 260°C. The printer
will buzz and the print head will
start to extrude.
Gently insert the lament into the
small hole on the print head. The
lament will be fed into the print
head automatically when it reaches
the extruder gear inside the print
head.
Check the nozzle for plastic
extrusion. If plastic is coming out
from the nozzle, it means the
lament is loaded correctly and the
printer is ready for printing. (The
extrusion will stop automatically
after a while.)
1
2
3
4
5

1
15
Printer Control Buttons
Printer Control Buttons
Long Press
Double Press
Single Press
INITIALIZE
LIGHTS
ON/OFF
EXTRUDE
FILAMENT
RE-PRINT
LAST JOB
LIGHTS ON
(2 mins)
WITHDRAW
FILAMENT
PLATFORM PREHEAT
15 MIN
PAUSE/
RESUME
STOP
LED Light Bar and Front Door Check
When a print job is nished,
the LED light bar will be in RED
color. Under such condition, the
machine will not respond to any
command and print jobs. This is
to prevent unwanted actions that
may crash the print head into the
printed object.
To resume to normal, the front
door must be opened once after
a print job is nished.

1
16
Printing and Pre-heating
Progress bar.
Sleeping Mode
Alternated lighting of progress
bar
Sleeping mode: Machine will enter the sleeping mode after
it has been idling for 2 minutes when it is not initialized.
Single press the initialization button can exit the sleeping
mode.
The sleeping mode is only available in certain countries. If
the machine does not enter the sleeping mode, it does not
mean it is malfunctioning.
LED Light Bar

1
17
Software Interface
Account
UP (Print)
Library
Help
Printer name
Nozzle & Platform
Temperature
Current
Material
Printer Status
Account
Settings
Share
Skin
Model
Adjustment
wheel
Back to home
Add a Model/
Picture
Print
Initialize
Calibration
Maintenance
Connection
type
Build
Space
Mirror
Save
Delete
Restore to
default
Undo
Fix
Model
Perspectives
To 2nd Level
Menu
Undo
Scale
Move
Rotate
Auto Place
To 1st level
Menu

1
18
or
Connecting to UP BOX+ through Wi-Fi requires a Wireless Local Area Network (WLAN). The
computer and the printers must connect to the same WLAN (same SSID) before they can
communicate.
In order to achieve stable Wi-Fi connection, It is highly recommended to use the printer under
a capacious Wi-Fi environment. A crowded network or an area with many Wi-Fi networks are
known to cause interruption during data transfer.
Machine Settings - Wi-Fi Connection

1
19
At the top right corner click the
printer tab
Click the “Printer Detail” button.
Wi-Fi Setup
Connect UP BOX+ to a computer through USB.
2
1

1
20
Click the dropdown menu to choose an available network.
3
Choose your network from the drop down list.
Table of contents
Other TierTime 3D Printer manuals
TierTime
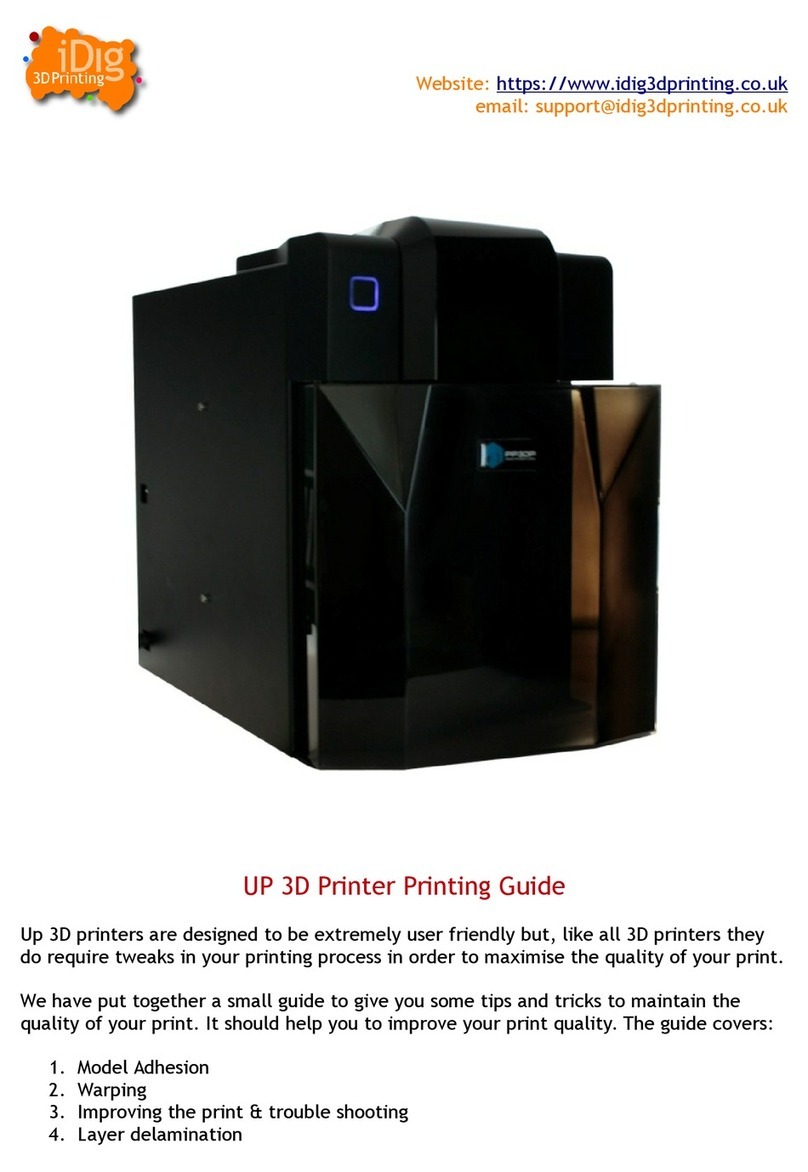
TierTime UP mini 3 User manual
TierTime
TierTime Filament Dryer PRO User manual
TierTime
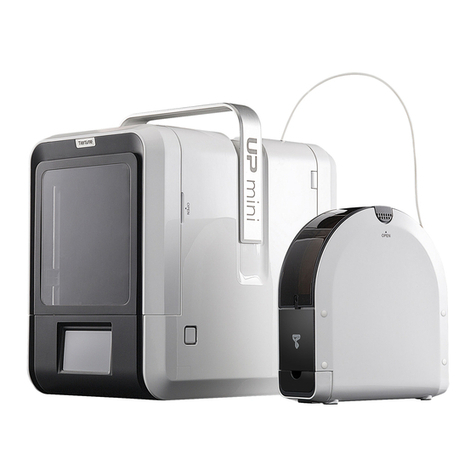
TierTime UP mini 2 Configuration guide
TierTime
TierTime UP Mini 2 ES User manual
TierTime
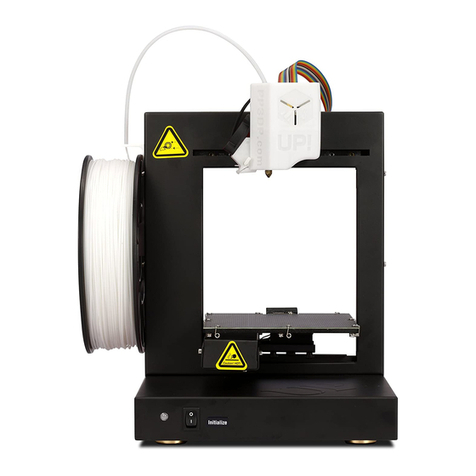
TierTime UP BOX User manual
TierTime
TierTime UP Plus 2 User manual
TierTime
TierTime UP300 User manual
TierTime
TierTime UP BOX User manual
TierTime
TierTime UP600 User manual
TierTime
TierTime UP300D User manual
