manuals.online logo
Brands
  1. Home
  2. •
  3. Brands
  4. •
  5. Toro
  6. •
  7. Lawn And Garden Equipment
  8. •
  9. Toro GreensPro 1200 User manual

Toro GreensPro 1200 User manual

Other manuals for GreensPro 1200

3

This manual suits for next models

1

Other Toro Lawn And Garden Equipment manuals

Toro Groundsmaster 360 User manual

Toro

Toro Groundsmaster 360 User manual

Toro 41602 User manual

Toro

Toro 41602 User manual

Toro Bullseye RotaQuake 630 User manual

Toro

Toro Bullseye RotaQuake 630 User manual

Toro VS-70 User manual

Toro

Toro VS-70 User manual

Toro 04475 User manual

Toro

Toro 04475 User manual

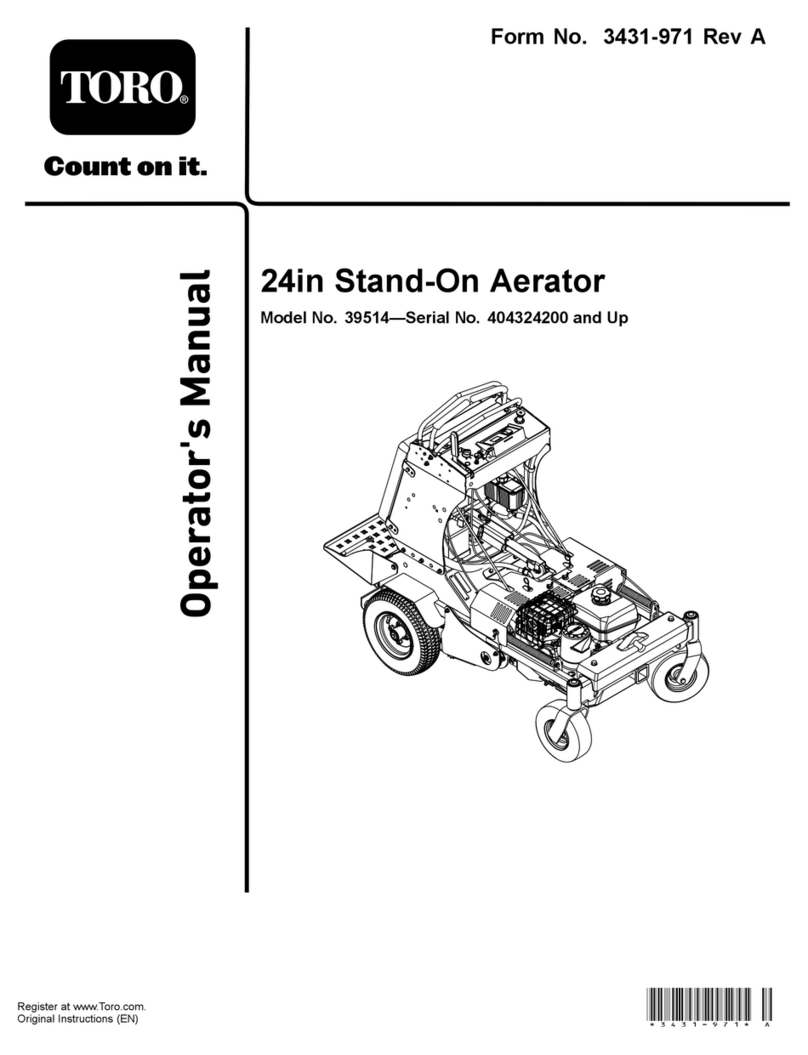
Toro 39514 User manual

Toro

Toro 39514 User manual
Toro ProCore User manual

Toro

Toro ProCore User manual

Toro ECx User manual

Toro

Toro ECx User manual

Toro Greensmaster eFlex 1800 User manual

Toro

Toro Greensmaster eFlex 1800 User manual

Toro 134-4194 User manual

Toro

Toro 134-4194 User manual
Toro 72072 User manual

Toro

Toro 72072 User manual

Toro ECx User manual

Toro

Toro ECx User manual

Toro 100 Series Z Master User manual

Toro

Toro 100 Series Z Master User manual

Toro Versa Vac 07082 User manual

Toro

Toro Versa Vac 07082 User manual

Toro 23515 User manual

Toro

Toro 23515 User manual

Toro Wheel Horse 79263 User manual

Toro

Toro Wheel Horse 79263 User manual

Toro Shovel 31803T User manual

Toro

Toro Shovel 31803T User manual

Toro 30392 User manual

Toro

Toro 30392 User manual

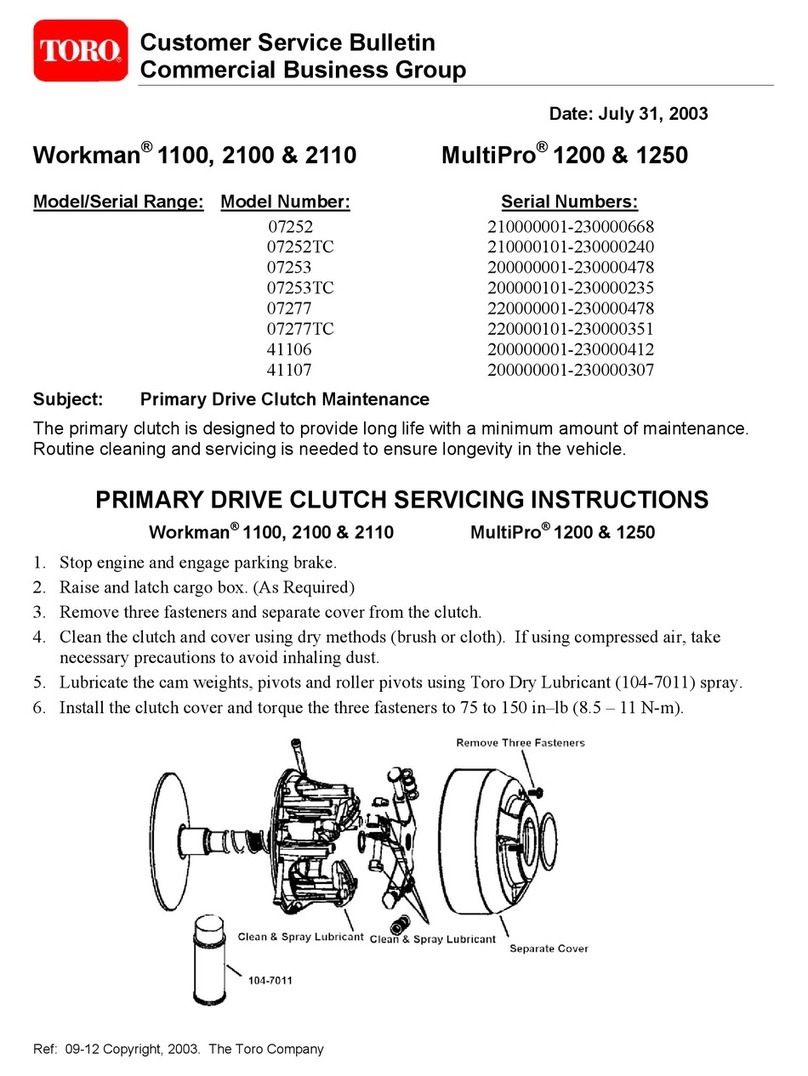
Toro Workman 1100 Reference manual

Toro

Toro Workman 1100 Reference manual

Toro 404320000 User manual

Toro

Toro 404320000 User manual

Toro Groundsmaster 3320 Series User manual

Toro

Toro Groundsmaster 3320 Series User manual

Toro 104-8950 User manual

Toro

Toro 104-8950 User manual

Toro GreensPro 1240 User manual

Toro

Toro GreensPro 1240 User manual

Toro Sand Pro 3040 User manual

Toro

Toro Sand Pro 3040 User manual

Popular Lawn And Garden Equipment manuals by other brands

Sunforce SOLAR user manual

Sunforce

Sunforce SOLAR user manual

GARDEN OF EDEN 55627 user manual

GARDEN OF EDEN

GARDEN OF EDEN 55627 user manual

Goizper Group MATABI POLMINOR instruction manual

Goizper Group

Goizper Group MATABI POLMINOR instruction manual

Rain Bird 11000 Series Operation & maintenance manual

Rain Bird

Rain Bird 11000 Series Operation & maintenance manual

Cub Cadet BB 230 brochure

Cub Cadet

Cub Cadet BB 230 brochure

EXTOL PREMIUM 8891590 Translation of the original user manual

EXTOL PREMIUM

EXTOL PREMIUM 8891590 Translation of the original user manual

Snapper 690179 installation instructions

Snapper

Snapper 690179 installation instructions

Exmark SAR481KA30 Operator's manual

Exmark

Exmark SAR481KA30 Operator's manual

Yazoo/Kees Z12 Operator's manual

Yazoo/Kees

Yazoo/Kees Z12 Operator's manual

Makita EM408MP Original instruction manual

Makita

Makita EM408MP Original instruction manual

Exmark Quest Bagger Setup instructions

Exmark

Exmark Quest Bagger Setup instructions

Manitou Systems AS960 Operator's manual

Manitou Systems

Manitou Systems AS960 Operator's manual

Vertex 1/3 HP Maintenance instructions

Vertex

Vertex 1/3 HP Maintenance instructions

GHE AeroFlo 80 manual

GHE

GHE AeroFlo 80 manual

Land Pride Post Hole Diggers HD25 Operator's manual

Land Pride

Land Pride Post Hole Diggers HD25 Operator's manual

Yazoo/Kees Z9 Commercial Collection System Z9A Operator's & parts manual

Yazoo/Kees

Yazoo/Kees Z9 Commercial Collection System Z9A Operator's & parts manual

Premier designs WindGarden 26829 Assembly instructions

Premier designs

Premier designs WindGarden 26829 Assembly instructions

Snapper 1691351 installation instructions

Snapper

Snapper 1691351 installation instructions

manuals.online logo
manuals.online logoBrands
  • About & Mission
  • Contact us
  • Privacy Policy
  • Terms and Conditions

Copyright 2025 Manuals.Online. All Rights Reserved.

FormNo.3383-774RevA
SmoothingRollerPartKit
GreensPro™1200GreensRoller
ModelNo.127-8002
InstallationInstructions
WARNING
CALIFORNIA
Proposition65Warning
ThisproductcontainsachemicalorchemicalsknowntotheStateofCaliforniato
causecancer,birthdefects,orreproductiveharm.
LooseParts
Usethechartbelowtoverifythatallpartshavebeenshipped.
DescriptionQty.Use
Nopartsrequired–Removetheexistingrollers.
Presstool1Disassembletherollers.
Spacerdisc4
Flockedbearingshield16
Bearing4
Longspacertube6
Shortspacertube2
Bearinghousingassembly4
O-ring8
Nut8
Assembletherollers.
Hex-headbolt8
Splitwasher8
Washer8
Installtherollerassemblies.
RemovingtheExistingRollers
1.Raisethemachineupoffthegroundtoaccessthe
rollerassemblies.
2.Removethehex-headbolts,thewashers,andthesplit
washerssecuringthesidesoftherollerassembliesto
thesteeringheads(Figure1).
3
G025382
21
Figure1
1.Washer3.Hex-headbolt
2.Splitwasher
©2014—TheToro®Company
8111LyndaleAvenueSouth
Bloomington,MN55420
Registeratwww.T oro.com.OriginalInstructions(EN)
PrintedintheUK
AllRightsReserved*3383-774*A
3.Removetherollerassembliesfromthemachine,and
discardthebolts,washers,andsplitwashers.
DisassemblingtheRollers
1.Removethenutsfromtheendsofeachrollerassembly
(Figure2).
1G025383
Figure2
1.Nuts(existing)
2.Increasethegap(Figure3)betweenthe2rollertubes
oneachrollerassembly.
Important:Becarefulnottodamagetheroller
tubes.
1
G025384
Figure3
1.Gap
3.Useapresstoremoveallofthecomponentsoutof
theinsideofeachrollertube,excepttheinnerbearing
housing(Figure4).
Note:Whenremovingtheouterbearinghousingin
eachrollertube,usetheincludedpresstooltoobtain
amoresecuregripontheroundedouteredgeofeach
rollertube(Figure5).
Important:Retaintheinnerbearinghousingin
eachrollertube,andtrytokeepitseatedcorrectly
inposition.
Removethecomponentsofeachrollerasfollows:
A.Support1rollerhalfwithplates,andpressthe
axleoutoftheroller.
Note:Takecarenottopresstheinsidehousing
outofthetube
B.RepeatstepAforthesecondrollerhalf.
C.Placetheouterendoftherollerintothepress
tool(radiusend),movethecenterspacertothe
side,andusealongrodtopresstheouterbearing
housingandbearingoutoftheroller.
D.Turntherolleroverandpressouttheinside
bearing.
Note:Takecarenottopressoutthehousing.
E.RepeatstepsCandDforthesecondrollerhalf.
1G025385
2
Figure4
1.Innerbearinghousing2.Rollertube
Figure5
1.Presstool3.Rollertube
2.Outerbearinghousing
4.Wipeouttheinsideofeachrollertubeandeachinner
bearinghousingtoensurethattheyarereadyfor
installingthenewparts.
Note:Discardallthecomponentsexcepttheroller
tubesandinnerbearinghousings.
AssemblingtheRollers
1.Installaspacerdiscontotheslightlylargerareaofthe
axle,wherethe2rollertubesmeet(Figure6).
2
3
G025343
1
3
Figure6
1.Axle3.Flockedbearingshield
2.Spacerdisc
2.Installaockedbearingshieldoneachsideofthe
spacerdisc(Figure6).
Important:Positioneachockedbearingshield
sothattheockedsidefacesthebearing.
3.Ensurethattheexistingbearinghousingispressed
againsttheshoulderinsidetherollertube.
2
Note:Usetheexistingrollertubesandtheexisting
innerbearinghousings.
Important:Ifnecessary,presstheexisting
bearinghousingintotherollertubetoseatitinto
position.
4.Installabearingintotheexistingbearinghousingin
therollertube(Figure7).
1
G025345
32
Figure7
1.Bearing3.Rollertube(existing)
2.Bearinghousing(existing)
5.Installtherollertubeontotheaxle,withthebearing
towardtheinsideoftheaxle(Figure8).
1
G025346
23
Figure8
1.Axle3.Spacertube
2.Rollertube
Important:Theshortaxlesareasymmetrical.For
eachshortaxle,ensurethattheshortrollertube
isontheshortsideoftheaxleandthelongroller
tubeisonthelongendoftheaxle(Figure9).
1
G025344
2
Figure9
1.Longside2.Shortside
6.Installanappropriatespacertubeontotheaxle,inside
therollertube.
Note:Forthelongendofanaxle,installalongspacer
tube;fortheshortendofanaxle,installashortspacer
tube.
7.InstallanO-ringinthegrooveonabearinghousing
assembly(Figure10).
A B
1
G025348
2
Figure10
1.O-ring2.Bearinghousingassembly
8.Installthebearinghousingassembly(withanO-ring
andabearing)intotheouterendoftherollertube
(Figure11).
1
G025347
234 3 2 1
Figure11
1.Nut3.Bearinghousingassembly
2.Flockedbearingshield4.Rollertube
9.Installaockedbearingshieldontotheendoftheaxle.
Important:Positioneachockedbearingshield
sothattheockedsidefacesthebearing.
10.Ensurethatthereareequallengthsoftheaxle
protrudingoutpastthebearings.
11.Whileholdingtheockedbearingshieldscenteredin
place,installandtighteneachnutbyhand.
Important:Iftheockedbearingshieldisnot
centeredontheaxle,itcanbecomedamagedand
causedamagetothebearing.
12.Tightenthenutsto108N-m(80ft-lb).
13.Repeatsteps1through12foreachroller.
3
InstallingtheRoller
Assemblies
1.Installtherollerassembliesintothesteeringheadsof
themachine,andsecureeachendwithanewhex-head
bolt,anewsplitwasher,andanewwasher(Figure1).
Important:Aligntheshortrollerassembliesso
thattheshorttubesareontheoutsideandthelong
tubesareontheinside(Figure12).Thisstaggers
thejointsbetweentherollertubestoimprovethe
contactwiththeturf.
2G025386
21
1
Figure12
1.Joints2.Shortrollertube
2.Ensurethateachrollerspinsfreelywithoutrubbingon
surroundingcomponents.
4