manuals.online logo
Brands
  1. Home
  2. •
  3. Brands
  4. •
  5. Toro
  6. •
  7. Lawn And Garden Equipment
  8. •
  9. Toro Groundsmaster 360 User manual

Toro Groundsmaster 360 User manual

Other manuals for Groundsmaster 360

7

This manual suits for next models

1

Other Toro Lawn And Garden Equipment manuals
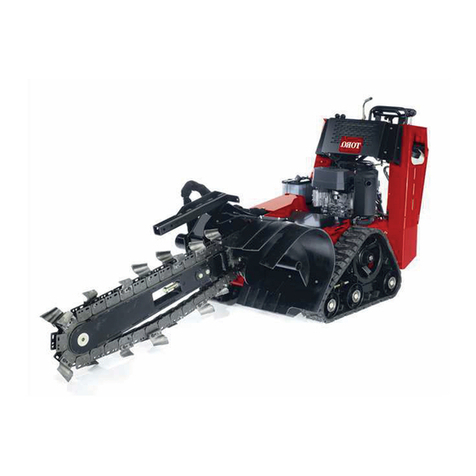
Toro Groundsmaster 4300-D User manual

Toro

Toro Groundsmaster 4300-D User manual

Toro Green Keeper 212 User manual

Toro

Toro Green Keeper 212 User manual

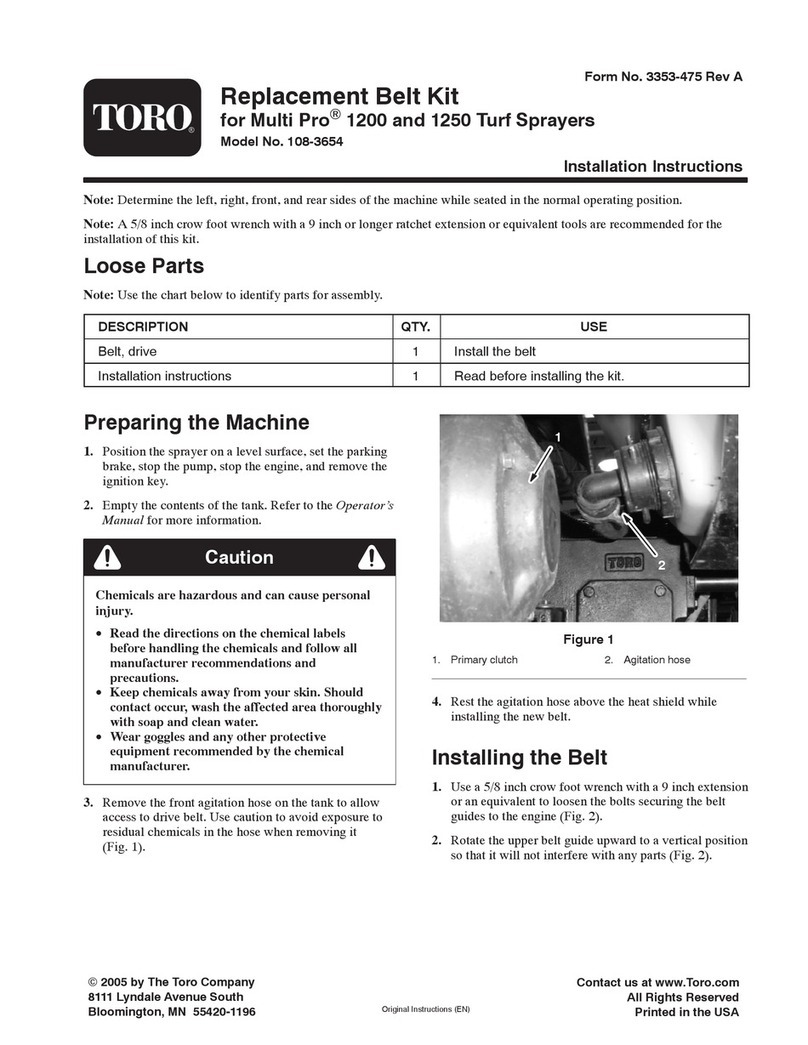
Toro 108-3654 User manual

Toro

Toro 108-3654 User manual

Toro Bullseye NuSurface 470 User manual

Toro

Toro Bullseye NuSurface 470 User manual

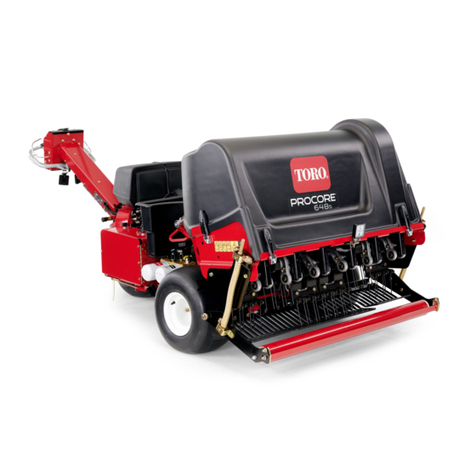
Toro ProCore User manual

Toro

Toro ProCore User manual

Toro ProLine 139-7860 User manual

Toro

Toro ProLine 139-7860 User manual
Toro 33518 User manual

Toro

Toro 33518 User manual

Toro 135-7423 User manual

Toro

Toro 135-7423 User manual

Toro Flex-Force Power System 88714 User manual

Toro

Toro Flex-Force Power System 88714 User manual

Toro 02720 User manual

Toro

Toro 02720 User manual

Toro 38365 User manual

Toro

Toro 38365 User manual

Toro 04358 Greensmaster 3150 User manual

Toro

Toro 04358 Greensmaster 3150 User manual

Toro 41339 User manual

Toro

Toro 41339 User manual

Toro procore sr54 User manual

Toro

Toro procore sr54 User manual

Toro 30701 User manual

Toro

Toro 30701 User manual

Toro 131-3302 User manual

Toro

Toro 131-3302 User manual

Toro 104-8950 User manual

Toro

Toro 104-8950 User manual

Toro 79090 User manual

Toro

Toro 79090 User manual

Toro VS-70 User manual

Toro

Toro VS-70 User manual

Toro Wheel Horse 79263 User manual

Toro

Toro Wheel Horse 79263 User manual

Toro Flex-Force Power System 88714 User manual

Toro

Toro Flex-Force Power System 88714 User manual

Toro Power Shovel 39909 User manual

Toro

Toro Power Shovel 39909 User manual

Toro TransPro 648 User manual

Toro

Toro TransPro 648 User manual

Toro 134-4194 User manual

Toro

Toro 134-4194 User manual

Popular Lawn And Garden Equipment manuals by other brands

Sunforce SOLAR user manual

Sunforce

Sunforce SOLAR user manual

GARDEN OF EDEN 55627 user manual

GARDEN OF EDEN

GARDEN OF EDEN 55627 user manual

Goizper Group MATABI POLMINOR instruction manual

Goizper Group

Goizper Group MATABI POLMINOR instruction manual

Rain Bird 11000 Series Operation & maintenance manual

Rain Bird

Rain Bird 11000 Series Operation & maintenance manual

Cub Cadet BB 230 brochure

Cub Cadet

Cub Cadet BB 230 brochure

EXTOL PREMIUM 8891590 Translation of the original user manual

EXTOL PREMIUM

EXTOL PREMIUM 8891590 Translation of the original user manual

Snapper 690179 installation instructions

Snapper

Snapper 690179 installation instructions

Exmark SAR481KA30 Operator's manual

Exmark

Exmark SAR481KA30 Operator's manual

Yazoo/Kees Z12 Operator's manual

Yazoo/Kees

Yazoo/Kees Z12 Operator's manual

Makita EM408MP Original instruction manual

Makita

Makita EM408MP Original instruction manual

Exmark Quest Bagger Setup instructions

Exmark

Exmark Quest Bagger Setup instructions

Manitou Systems AS960 Operator's manual

Manitou Systems

Manitou Systems AS960 Operator's manual

Vertex 1/3 HP Maintenance instructions

Vertex

Vertex 1/3 HP Maintenance instructions

GHE AeroFlo 80 manual

GHE

GHE AeroFlo 80 manual

Land Pride Post Hole Diggers HD25 Operator's manual

Land Pride

Land Pride Post Hole Diggers HD25 Operator's manual

Yazoo/Kees Z9 Commercial Collection System Z9A Operator's & parts manual

Yazoo/Kees

Yazoo/Kees Z9 Commercial Collection System Z9A Operator's & parts manual

Premier designs WindGarden 26829 Assembly instructions

Premier designs

Premier designs WindGarden 26829 Assembly instructions

Snapper 1691351 installation instructions

Snapper

Snapper 1691351 installation instructions

manuals.online logo
manuals.online logoBrands
  • About & Mission
  • Contact us
  • Privacy Policy
  • Terms and Conditions

Copyright 2025 Manuals.Online. All Rights Reserved.

FormNo.3406-541RevA
DifferentialLockKit
Groundsmaster®3602-WheelDriveMulti-PurposeMachine
ModelNo.30508
InstallationInstructions
WARNING
CALIFORNIA
Proposition65Warning
ThisproductcontainsachemicalorchemicalsknowntotheStateofCaliforniato
causecancer,birthdefects,orreproductiveharm.
Note:Determinetheleftandrightsidesofthemachinefromthenormaloperatingposition.
LooseParts
Usethechartbelowtoverifythatallpartshavebeenshipped.
ProcedureDescriptionQty.Use
1Nopartsrequired–Preparethemachine.
Mountplate1
Carriagescrew(3/8x1inch)2
Flangenut(3/8inch)2
90°tting1
Differentiallockvalve1
Screw(1/4x2inches)2
Flangenut(1/4inch)2
2
Hose1
Installthekit.
Switch1
3Wireharness1Installtheswitch.
4Nopartsrequired–Completetheinstallation.
1
PreparingtheMachine
NoPartsRequired
Procedure
1.Parkthemachineonalevelsurface,lowerthedeck,
engagetheparkingbrake,shutofftheengine,and
removethekeyfromtheignitionswitch.
2.Disconnectthenegativecablefromthebatterypost;
refertotheOperator’sManualforyourmachine.
WARNING
Incorrectbatterycableroutingcoulddamage
themachineandcablescausingsparks.
Sparkscancausethebatterygassesto
explode,resultinginpersonalinjury.
•Alwaysdisconnectthenegative(black)
batterycablebeforedisconnectingthe
positive(red)cable.
•Alwaysconnectthepositive(red)battery
cablebeforeconnectingthenegative
(black)cable.
3.Disconnectthepositivecablefromthebatterypost;
refertotheOperator’sManualforyourmachine.
©2016—TheToro®Company
8111LyndaleAvenueSouth
Bloomington,MN55420
Registeratwww.T oro.com.OriginalInstructions(EN)
PrintedintheUSA
AllRightsReserved*3406-541*A
2
InstallingtheDifferentialLock
Kit
Partsneededforthisprocedure:
1Mountplate
2Carriagescrew(3/8x1inch)
2Flangenut(3/8inch)
190°tting
1Differentiallockvalve
2Screw(1/4x2inches)
2Flangenut(1/4inch)
1Hose
Procedure
1.Releaseandraisetheseat.Makesurethattheseatlatch
isengaged.
2.Installthemountplatetotheframecrossmemberwith
2screws(3/8x1inch)and2nuts(3/8inch).Position
theplateasshowninFigure1.
Note:MakesurethattheO-ringsareinplaceand
lubricatedwithhydraulicuid.
3.Installthe90°adapterttingintotheendofthe
differentiallockvalve,positioningasshowninFigure1.
4.Installthedifferential-lockvalvetothemountplate
with2screws(1/4x2inch)and2nuts(1/4inch).
Positionthedifferential-lockvalveonthemountplate
asshowninFigure1.
Figure1
1.Framemember5.90°adaptertting
2.Mountplate6.Nut(3/8inch)
3.Differential-lockvalve7.Screw(1/4x2inches)
4.Nut(1/4inch)8.Screw(3/8x1inch)
5.Disconnectthehose,showninFigure2,fromthe90°
ttingontherightsideofthetransmission.
6.Installthedisconnectedendofthehosetothe90°
adapterttingonthedifferential-lockvalveandtighten
itsecurely(Figure2).
7.Installthemaleendofthenewhosetotheportinthe
differentiallockvalveandtightensecurely(Figure2).
2
8.Installthefemaleendofthenewhosetothe90°tting
ontherightsideofthetransmission(Figure2).
Figure2
1.Disconnectthehosehere.3.Connectthemaleendof
thenewhosehere.
2.Connectthehosehere.4.Connectthefemaleendof
thenewhosehere.
3
InstallingtheSwitch
Partsneededforthisprocedure:
1Switch
1Wireharness
Procedure
1.Removetheplugfromthecontrolpaneltoexposethe
switch-mountinghole(Figure3).
2.Inserttheswitchintothecontrol-panelhole(Figure3).
Positiontheswitchsothatyoupressitforward.
Figure3
1.Plug3.Harness
2.Switch
3.Removethe5button-headscrewssecuringthecontrol
paneltothetankcover.
4.Raisethepanelandplugtheharnessconnectoronthe
newwireharnessintotheswitch.
5.Routethewireharnessunderthecontrolpaneland
seatplateasshowninFigure4.
3
Figure4
1.Seatplate3.Newwireharness
2.Controlpanel
6.Installthecontrolpanelwiththebutton-headscrews
previouslyremoved.
7.Plugthefuseblockconnectoronthewireharnessinto
thefuseblockandplugthegroundblockconnector
intothegroundblock(Figure5).
Figure5
1.Tothegroundblock3.Tothedifferentiallock
valve
2.Tothefuseblock
8.Plugtheremainingharnessconnectorintothe
differentiallockvalvelocatedunderthecenterofthe
seatplate(Figure6).
Figure6
1.Harnessconnector2.Harnessclip
9.Disengagetheseatlatchandlowertheseat.
10.Pressthefrontoftheswitchandholditdownto
engagethedifferentiallock.
4
CompletingtheInstallation
NoPartsRequired
Procedure
1.Connectthepositivebatterycabletothepositivepost
ofthebattery;refertotheOperator’sManualforyour
machine.
WARNING
Incorrectbatterycableroutingcoulddamage
themachineandcablescausingsparks.
Sparkscancausethebatterygassesto
explode,resultinginpersonalinjury.
•Alwaysdisconnectthenegative(black)
batterycablebeforedisconnectingthe
positive(red)cable.
•Alwaysconnectthepositive(red)battery
cablebeforeconnectingthenegative
(black)cable.
2.Connectthenegativecablefromthebatterypost;refer
totheOperator’sManualforyourmachine.
4