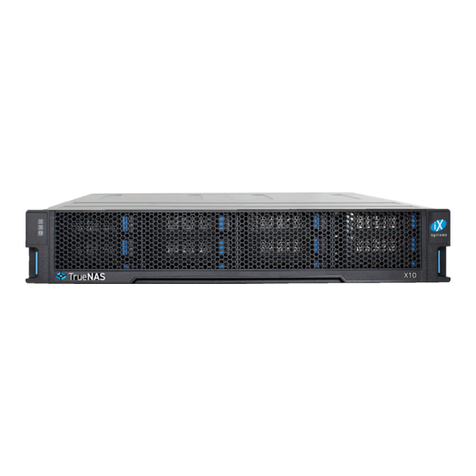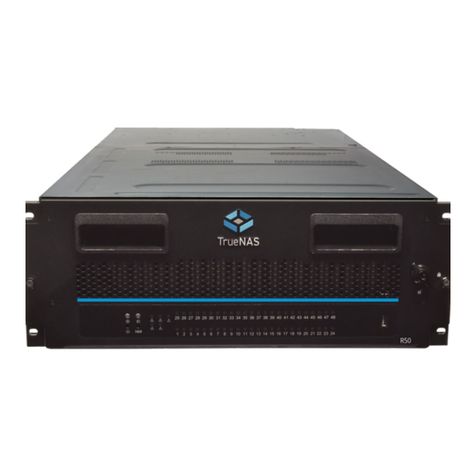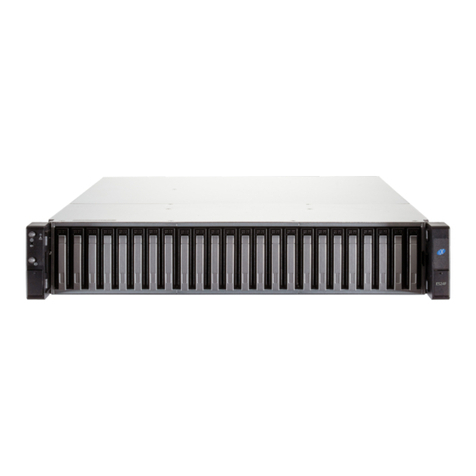
Align the chassis rails with the installed rack rails and gently slide the chassis into the rack until it stops.
Press in the slide locks, then slide the chassis in until the face of the ES60 is flush with the rack.
Image
1.4 Attach the Expansion Shelf to the Front of the Rack
Press in and turn the built-in thumbscrews to the front of the rack.
Image
1.5 Install the Drives in the Expansion Shelf
To insert a drive, release the handle with the tab on the front of the drive chassis, push it into a drive bay
until the drive handle begins to move into place, then push it the rest of the way until the handle locks into
place.
Image
1.6 Plug in the SAS Cables
Refer to the Wiring Guide. (REF THE IMAGE)
1.7 Plug in the Power Cables
Plug both power cables into the power outlets and secure the cables with the plastic cable locks. This will
turn on the Expansion Shelf.
Note: Service and management ports are not used during normal operation and should not be connected.
IMAGE
If setting up a TrueNAS®Storage Array for the first time, wait two minutes after turning on the Expansion
Shelf before powering on the TrueNAS®Array. If you already have a TrueNAS®Array in operation, you may
power on the Expansion Shelf at any time.
1.8 Install the Bezel
The back of the bezel has two screws on the left and right side. Align the two screw holes on each side with
the back of the ears on the ES60. Begin by screwing in one screw on one side, then screw in diagonally on
the opposite side. Do this for the next two screws.
IMAGE
1.9 Install the Cable Management Arm
On the rear of the ES60 JBOD, locate the two pin posts on the left side of the expansion shelf. Align the holes
on the bracket of the cable management arm with the posts on the chassis. Slide the cable management
arm forward and pull the lever on the latch upwards to lock the cable management arm into place.
IMAGE
2
